
Useful Stuff About:
Photogallery with simple thumbnails
Here's a very simple photogallery with overlay captions. Features include:
- Square or Circular photos (not rectangles)
- Hover to fade in transparent overlay with text
- Captions displayed on overlay
- Photos are NOT clickable to reveal larger image
- Responsive to small mobile devices displaying 1 photo per row on small device
- Various parameters can be changed: number of photos per row, square or circular photos, overlay color, overlay text color, overlay shape (circle or square), overlay border color and thickness
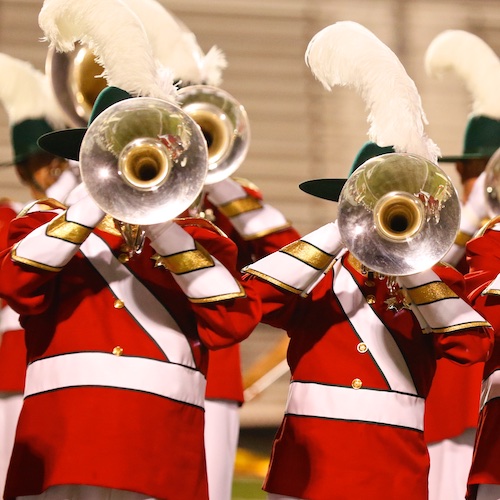
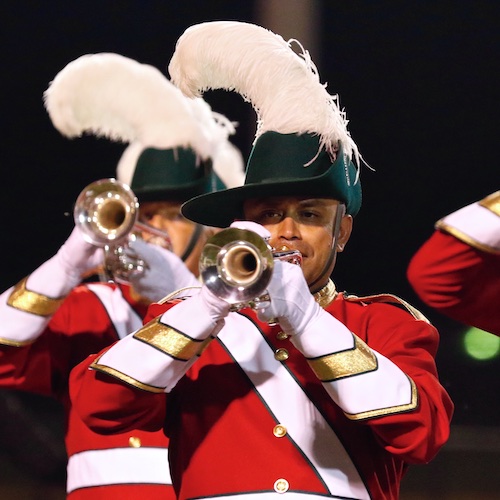
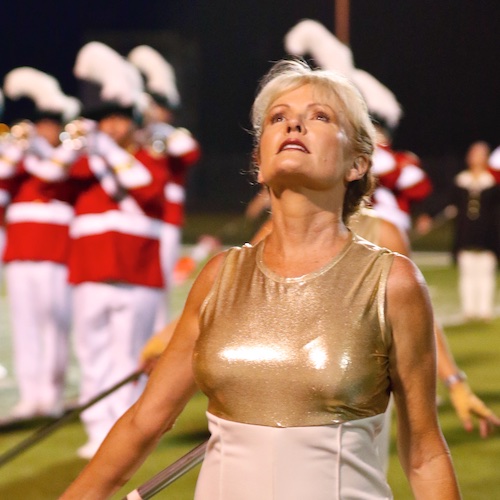
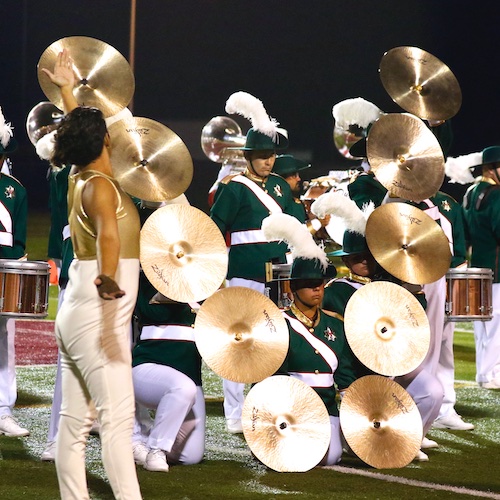
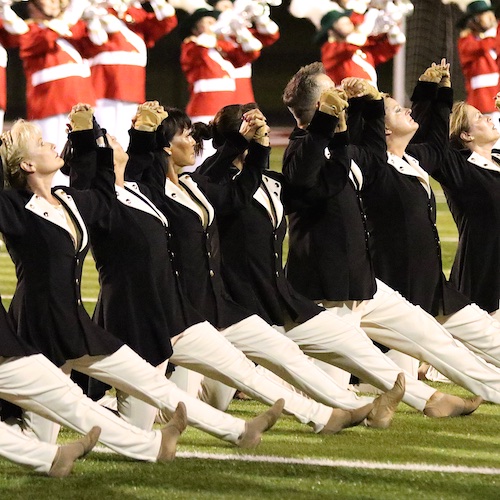
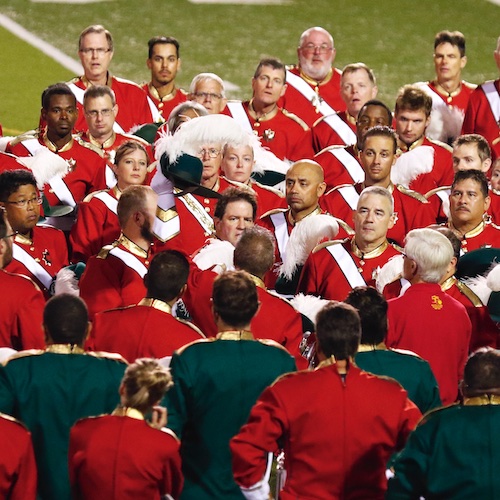
Gallery of photos from 2017 Santa Clara Vanguard 50th Anniversary Alumni Corps


Preparing your photos to match what the HTML is expecting to find
- Duplicate your photos so that you'll always have copies of your original photos.
- Move your duplicated photos into a new folder.
- Move the folder of duplicated photos into your UsernamE-Media > Documents > Digital Media Files > Websites folder.
- Crop your photos to be a square with edges no more than 750px.
- Rename your photos in a sequence 1.jpg, 2.jpg, 3.jpg, 4.jpg, ...
- Move your photos in a folder labeled "g1" (required by HTML). If you already have a g1 folder because you've used this gallery before, then create a unique folder, say, g2.
- Upload the entire "g#" folder onto the webserver.
- Copy and paste the codes below
Here's the HTML Code
- On your WordPress webpage, insert a Custom HTML block.
- Copy and paste the code in yellow below into the Custom HTML Block
- VERY IMPORTANT - Be sure to change the pasted HTML code below with the following:
- Each small block is needed for each photo. Add/delete as necessary
- If you want more than 12 photos, copy lines 124-133 below and paste it above the <div class="clearFloats"></div> line for as many new photos you need and make sure to change the newly pasted code src="../g1/#.jpg" matches name of the photos such as 13.jpg, 14.jpg, etc.
- For each new small block check id="photo#" and id="photoOverlay#" matches the src="../g1/#.jpg"
- If your photos are in a folder named g2 (instead of g1), then for each small block change the src="../g1/#.jpg" to src="../g2/#.jpg".
- For each small block, change "Caption Title, "Sub Title 1", "Sub Title 2"
- For each small block, if you don't want "Sub Title 2", delete the <div class="overlaySubTitle1">Sub Title 2</div> line
- For each small block, if you don't want "Sub Title 1", delete the <div class="overlaySubTitle1">Sub Title 1</div> line
- Copy the code in yellow below.
- On your WordPress webpage, scroll down to the bottom and expand the "Scripts-n-Styles" section if not already expanded.
- In the Styles section of "Scripts-n-Styles", paste in the yellow copied code below.
- Click on Update Styles at bottom then click on Update at top right. Then view your page. It should have the default of 2 photos in 1 row with a round overlay and caption text vertically centered. If you don't see the photos, look for and fix possible errors and/or ask for help.
- Hover over the images in the example gallery above to determine what kind of styles you want for your gallery. For consistency, choose one style (rather than the multiple styles like the gallery above which is only for the purpose of showing you examples of what you CAN do with styles).
- VERY IMPORTANT - In the Styles section of "Scripts-n-Styles", look at lines 7-64 and make the changes to what YOU want for your gallery.
- Please ask if there are other kinds of changes you want to make but don't know how to do it.
<div class="photos">

  <div class="photo" id="photo1">
    <img src="../g1/1.jpg" alt=""/>
    <div class="photoOverlay" id="photoOverlay1">
      <div class="titles">
        <div class="overlayCaptionTitle">Caption Title</div>
        <div class="overlaySubTitle1">Sub Title 1</div>
        <div class="overlaySubTitle2">Sub Title 2</div>
      </div>
    </div>
  </div>

  <div class="photo" id="photo2">
    <img src="../g1/2.jpg" alt=""/>
    <div class="photoOverlay" id="photoOverlay2">
      <div class="titles">
        <div class="overlayCaptionTitle">Caption Title</div>
        <div class="overlaySubTitle1">Sub Title 1</div>
        <div class="overlaySubTitle2">Sub Title 2</div>
      </div>
    </div>
  </div>

  <div class="photo" id="photo3">
    <img src="../g1/3.jpg" alt=""/>
    <div class="photoOverlay" id="photoOverlay3">
      <div class="titles">
        <div class="overlayCaptionTitle">Caption Title</div>
        <div class="overlaySubTitle1">Sub Title 1</div>
        <div class="overlaySubTitle2">Sub Title 2</div>
      </div>
    </div>
  </div>

  <div class="photo" id="photo4">
    <img src="../g1/4.jpg" alt=""/>
    <div class="photoOverlay" id="photoOverlay4">
      <div class="titles">
        <div class="overlayCaptionTitle">Caption Title</div>
        <div class="overlaySubTitle1">Sub Title 1</div>
        <div class="overlaySubTitle2">Sub Title 2</div>
      </div>
    </div>
  </div>

  <div class="photo" id="photo5">
    <img src="../g1/5.jpg" alt=""/>
    <div class="photoOverlay" id="photoOverlay5">
      <div class="titles">
        <div class="overlayCaptionTitle">Caption Title</div>
        <div class="overlaySubTitle1">Sub Title 1</div>
        <div class="overlaySubTitle2">Sub Title 2</div>
      </div>
    </div>
  </div>

  <div class="photo" id="photo6">
    <img src="../g1/6.jpg" alt=""/>
    <div class="photoOverlay" id="photoOverlay6">
      <div class="titles">
        <div class="overlayCaptionTitle">Caption Title</div>
        <div class="overlaySubTitle1">Sub Title 1</div>
        <div class="overlaySubTitle2">Sub Title 2</div>
      </div>
    </div>
  </div>

  <div class="photo" id="photo7">
    <img src="../g1/7.jpg" alt=""/>
    <div class="photoOverlay" id="photoOverlay7">
      <div class="titles">
        <div class="overlayCaptionTitle">Caption Title</div>
        <div class="overlaySubTitle1">Sub Title 1</div>
        <div class="overlaySubTitle2">Sub Title 2</div>
      </div>
    </div>
  </div>

  <div class="photo" id="photo8">
    <img src="../g1/8.jpg" alt=""/>
    <div class="photoOverlay" id="photoOverlay8">
      <div class="titles">
        <div class="overlayCaptionTitle">Caption Title</div>
        <div class="overlaySubTitle1">Sub Title 1</div>
        <div class="overlaySubTitle2">Sub Title 2</div>
      </div>
    </div>
  </div>

  <div class="photo" id="photo9">
    <img src="../g1/9.jpg" alt=""/>
    <div class="photoOverlay" id="photoOverlay9">
      <div class="titles">
        <div class="overlayCaptionTitle">Caption Title</div>
        <div class="overlaySubTitle1">Sub Title 1</div>
        <div class="overlaySubTitle2">Sub Title 2</div>
      </div>
    </div>
  </div>

  <div class="photo" id="photo10">
    <img src="../g1/10.jpg" alt=""/>
    <div class="photoOverlay" id="photoOverlay10">
      <div class="titles">
        <div class="overlayCaptionTitle">Caption Title</div>
        <div class="overlaySubTitle1">Sub Title 1</div>
        <div class="overlaySubTitle2">Sub Title 2</div>
      </div>
    </div>
  </div>

  <div class="photo" id="photo11">
    <img src="../g1/11.jpg" alt=""/>
    <div class="photoOverlay" id="photoOverlay11">
      <div class="titles">
        <div class="overlayCaptionTitle">Caption Title</div>
        <div class="overlaySubTitle1">Sub Title 1</div>
        <div class="overlaySubTitle2">Sub Title 2</div>
      </div>
    </div>
  </div>

  <div class="photo" id="photo12">
    <img src="../g1/12.jpg" alt=""/>
    <div class="photoOverlay" id="photoOverlay12">
      <div class="titles">
        <div class="overlayCaptionTitle">Caption Title</div>
        <div class="overlaySubTitle1">Sub Title 1</div>
        <div class="overlaySubTitle2">Sub Title 2</div>
      </div>
    </div>
  </div>


  <div class="clearFloats"></div>
</div>
Here's the CSS Code
.photos *:focus {
	outline:0;
}
.photos * {
	box-sizing:border-box;
}
.photo {/*How wide is each photo?
	2 across = 50%
	3 across = 33.3%
	4 across = 25%
	5 across = 20%
	etc.*/
	width: 50%;
}
.photo img {/*Square or round photo?
	round = 50%
	square = 0%
	*/
	border-radius: 0%;
}
.photoOverlay {/*What color do you want the overlay background? Use hexidecimal.
	white = #ffffff
	black = #000000
	etc.*/
	background-color: #000000;
	/*How do you want to style the border of the overlay*/
	border: 10px #fff solid;
	border-radius: 50%;/*circle = 50%, 0% = square*/
}
.photoOverlay:hover {/*How transparent do you want the overlay?
	80% opaque = 0.8
	65% opaque = 0.65
	47% opaque = 0.47
	etc.*/
	opacity: 0.65;
}
.titles {/*How do you want to change the VERTICAL position of overlay titles?
	 0% = vertically centered
	10% higher = 10%
	25% higher = 25%
	40% lower = -40%
	etc.*/
	margin-bottom: 0%;
}
.titles div {/*What color do you want the overlay text? Use hexidecimal.
	white = #ffffff
	black = #000000
	etc.*/
	color: #FFFFFF;
}
.overlayCaptionTitle {/*How do you want to style the Caption Title*/
	font-size: 2.1rem;
	padding-bottom: 20px;
	text-align: center;/*center, left, or right*/
}
.overlaySubTitle1 {/*How do you want to style the Sub Title 1*/
	font-size: 1.4rem;
	padding-bottom: 10px;
	text-align: center;/*center, left, or right*/
}
.overlaySubTitle2 {/*How do you want to style the Sub Title 2*/
	font-size: 1.1rem;
	text-align: center;/*center, left, or right*/
}
/*-------Don't change anything below here------------*/
.photos {
	width: 100%;
	max-width: 1000px;
	margin: auto;
	z-index: 0;
}
.photo {
	float: left;
	position: relative;
	z-index: 1;
	display: flex;
	flex-direction: row;
	flex-wrap: wrap;
}
.photo img {
	z-index: 2;
	width: 100%;
	height: auto;
	margin: 0;
}
.photoOverlay {
	box-sizing: border-box;
	z-index: 3;
	position: absolute;
	top: 0;
	left: 0;
	width: 100%;
	height: 100%;
	display: flex;
	justify-content: center;
	align-items: center;
	opacity: 0;
	-webkit-transition: all 500ms ease-in-out 0s;
	-o-transition: all 500ms ease-in-out 0s;
	transition: all 500ms ease-in-out 0s;
}
.photoOverlay:hover {
	cursor: pointer;
}
.titles {
	z-index: 2;
	width: 100%;
	height: auto;
	display: flex;
	justify-content: center;
	flex-wrap: wrap;
}
.titles div {
	width: 100% !important;
	height: auto;
	max-height: 2em;
	display: block;
	padding-right: 10px;
	padding-left: 10px;
}
.clearFloats {
	width: 100%;
	clear: both;
	height: 0px;
}
@media screen and (max-width:480px){
	.photo {
		width: 100%;
	}
}