
Introduction:
For this unit, students were challenged to research and explore his/her own passion and a specific skill that will advance them as artists in the future.
I chose to experiment with an animation technique called rotoscoping in order to develop and learn about technological literacy as well as explore with creativity. Rotoscoping is a technique where you use a video clip to trace over frame by frame to create a smooth animation without fully hand-drawing each frame. Before this unit, I was never familiar with rotoscoping, and did not have the chance to try them out. However, after discovering several animation films that solely used rotoscoping, I became more interested to research about ways to apply this technique when animating, and the pros and cons of using the technique to help myself in the future.
Production Process
For this project, I used an animation software called Clip Art Studio EX( popular software mainly used by animation companies in Japan), because this software allows for an easier rotoscoping process. However, you can also use softwares such as Adobe Aftereffects, Blender, and if looking for a more professional software, Nuke by Foundry.
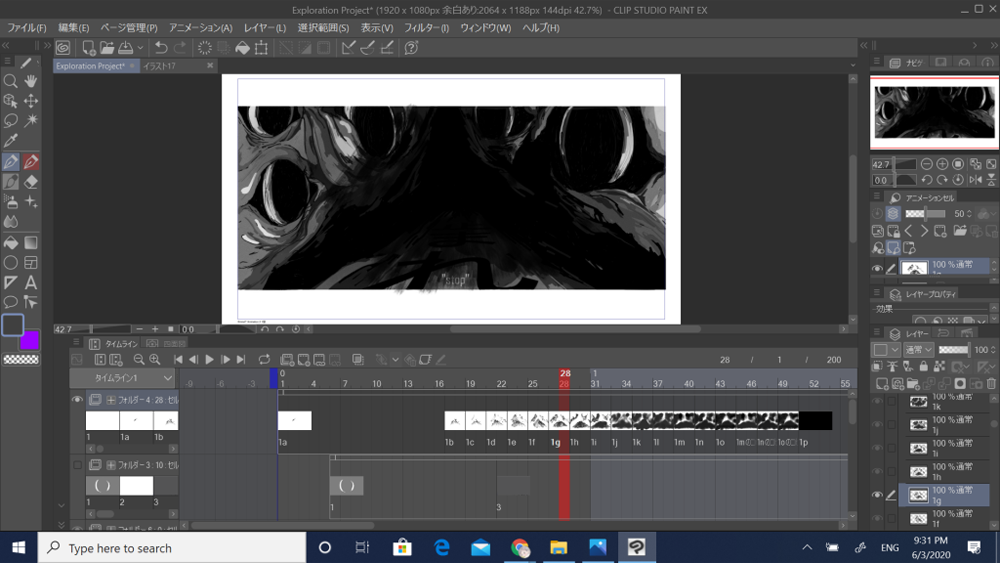
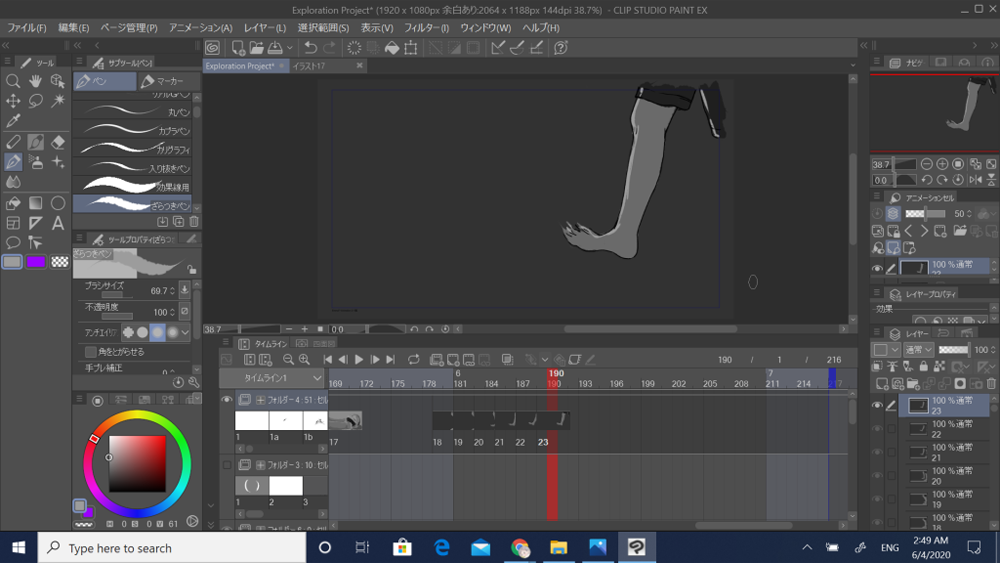
This is what my workspace looks like on Clip Art Studio EX.
The first thing I did for this project was to take a short video of a person walking to animate with rotoscope, and then upload the video into the software timeline in order to trace over it.
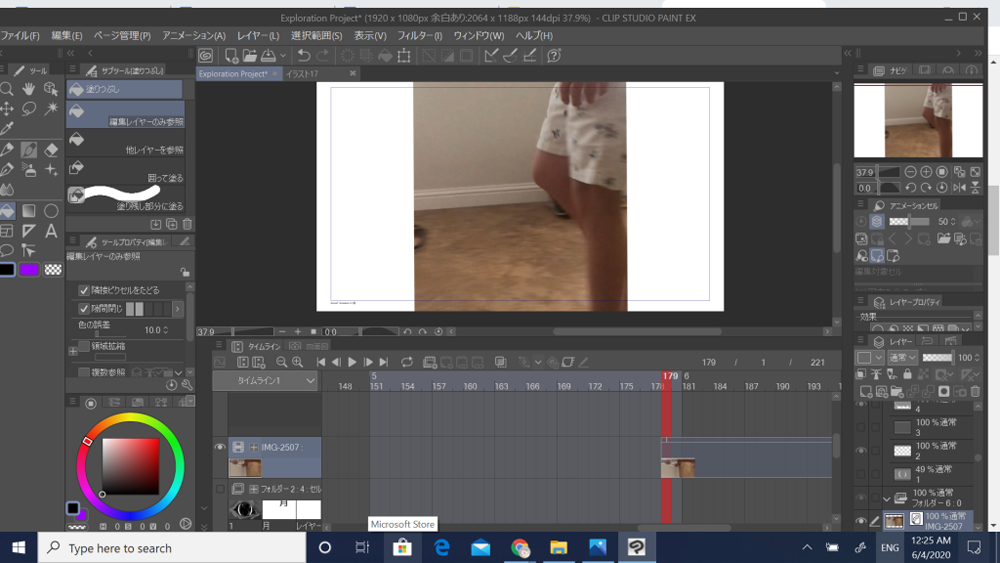
Then, I traced over the video on a new layer for each frame. The amount of tracing for rotoscoping depends on the frame rate( my animation was 24 frame/sec).
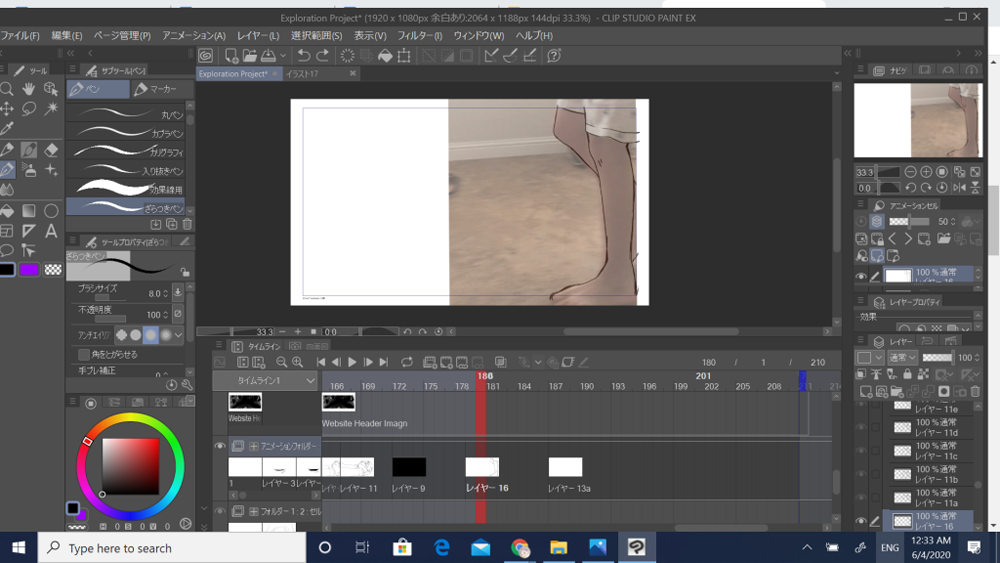
Then, I added an overlay layer to paint over each of the traced frames, so that it blends with the rest of my animation. Through my research, I discovered that there are varieties of ways to apply rotoscoping, depending on how you choose to use the traced frames to express a certain style of art.
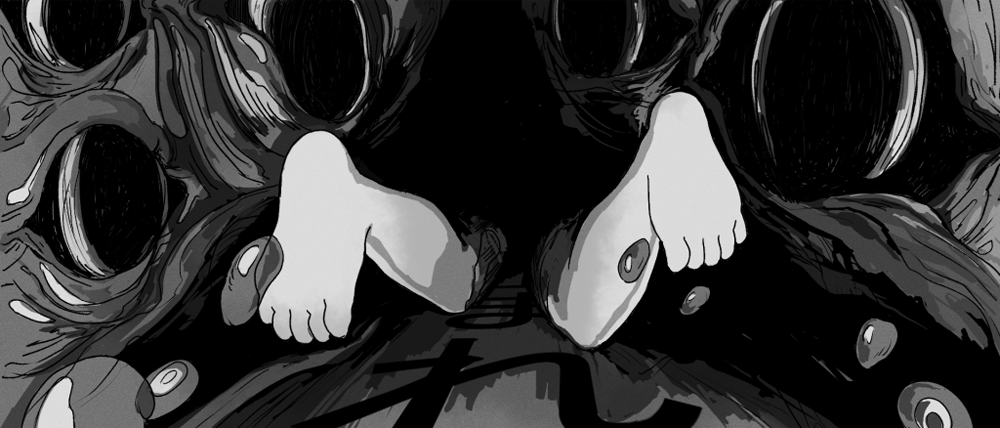
This is how my final product turned out to be like, and I only used rotoscoping for the last 2-3 seconds of a walking clip, because I wanted to compare the difference between the quality of the motions and accuracy of the animation with and without rotoscoping.
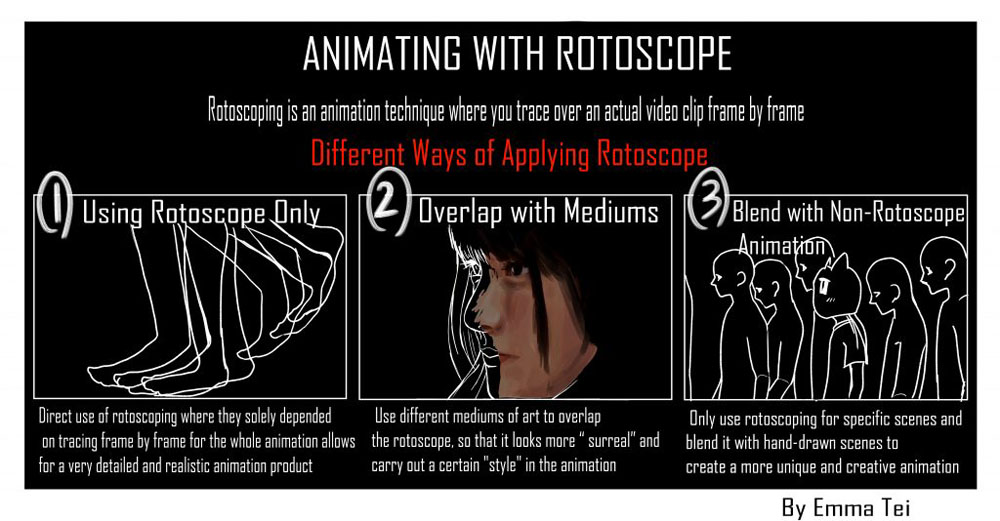
This is my Infographic that I created after researching about my topic.
This is what my workspace looked like when creating the Infographic.

Reflection
As I worked on this project, I was able to discover not only how Rotoscoping works and is applied in animation, but the various ways professional animation companies and artists utilize the technique in their own creative way. From this project, I valued the fact that challenging myself to research and experiment with a technique that I am not familiar with helped me rediscover my shortcomings and a style of art that I want to change and pursue in the future.
After we finished producing our Explorations project, we screen recorded a presentation of the project and the research in order to share and celebrate with other students.
Introduction to Music Production
For this project, students were asked to experiment and create a music that lasts the minimum of 60 seconds. We were given the freedom to use any virtual instruments and beats, and I wanted to use mainly the virtual piano to play with the Reasons software and figure out how to produce music.
This project was challenging for me, because I do not have any experience with using Reasons nor producing music, but it ultimately helped me to widen my perspective and experience that may be applied in the digital art industry.
Process
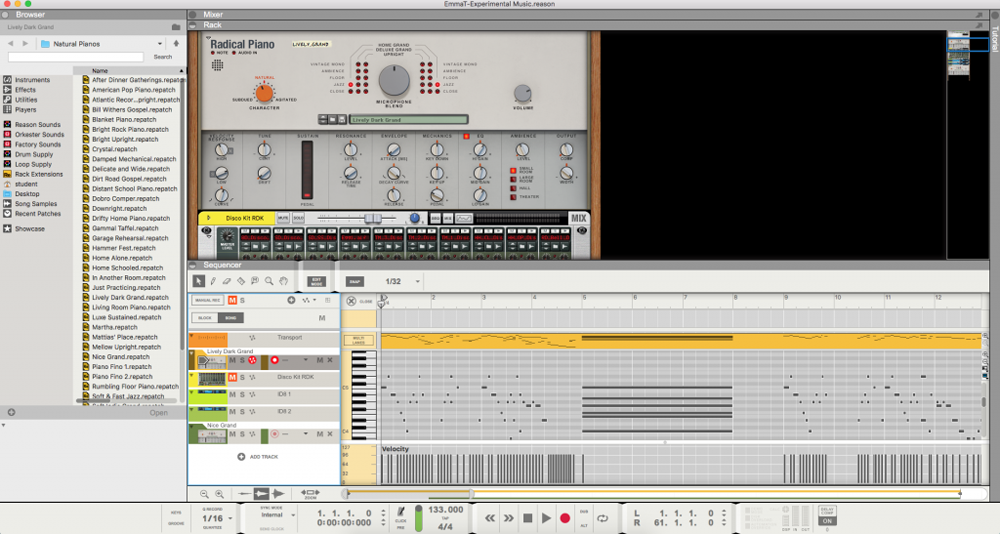
This is how my workspace looks like on the software Reason.
This is my final product for the experimental music productions.