Macro Photography

Intro and Reflection

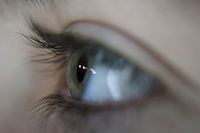
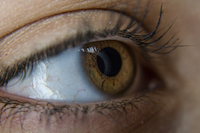
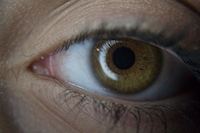
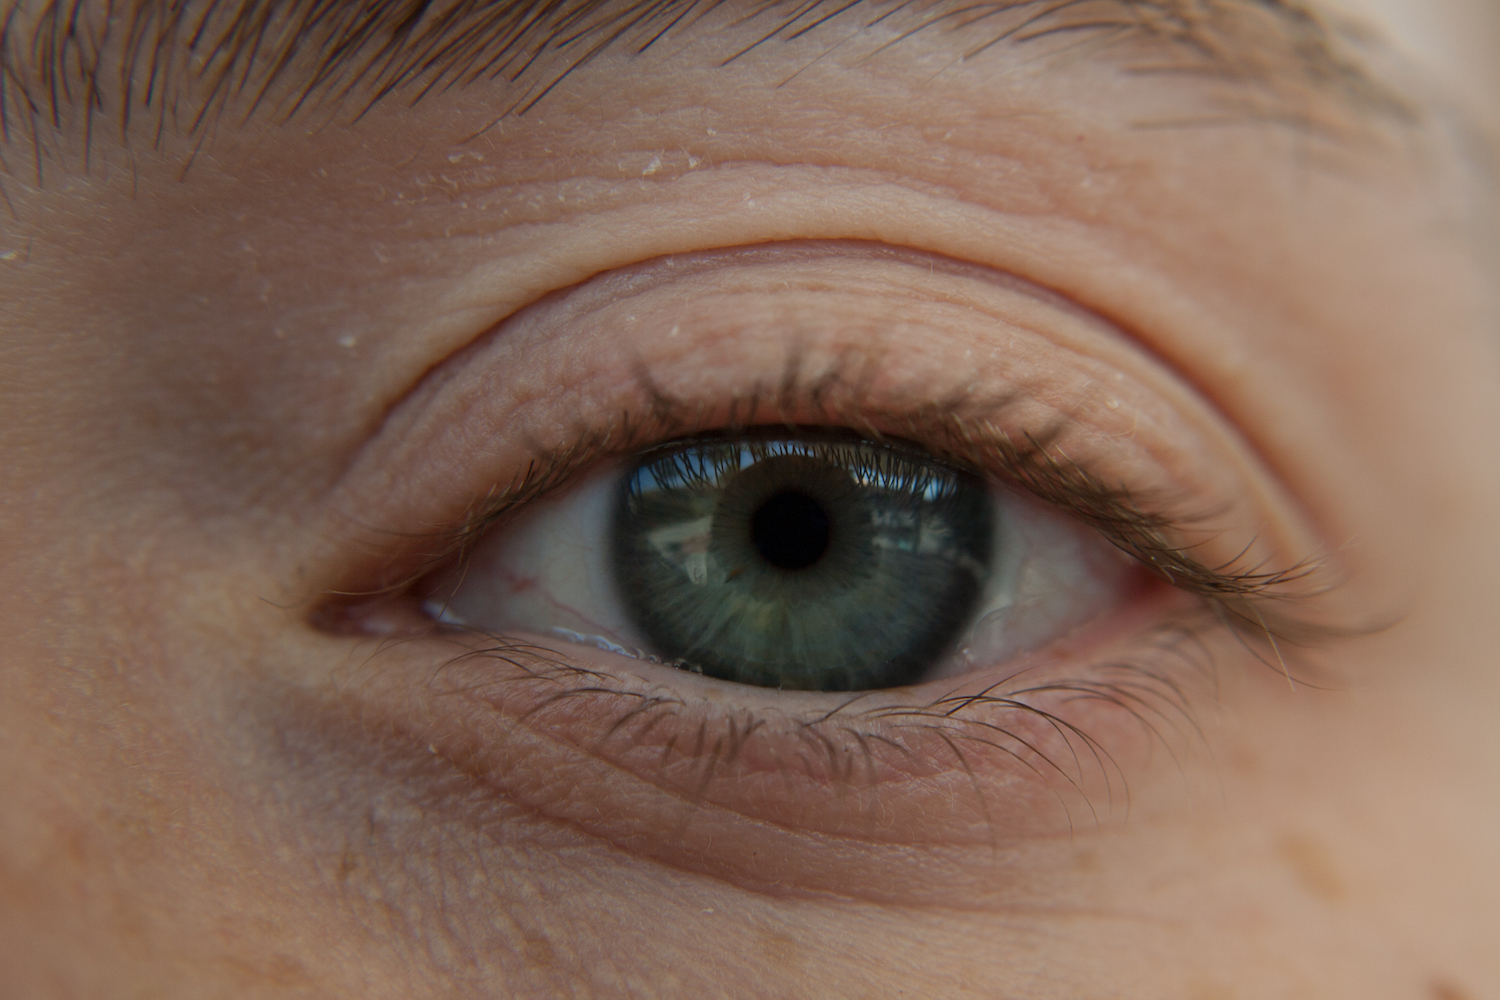
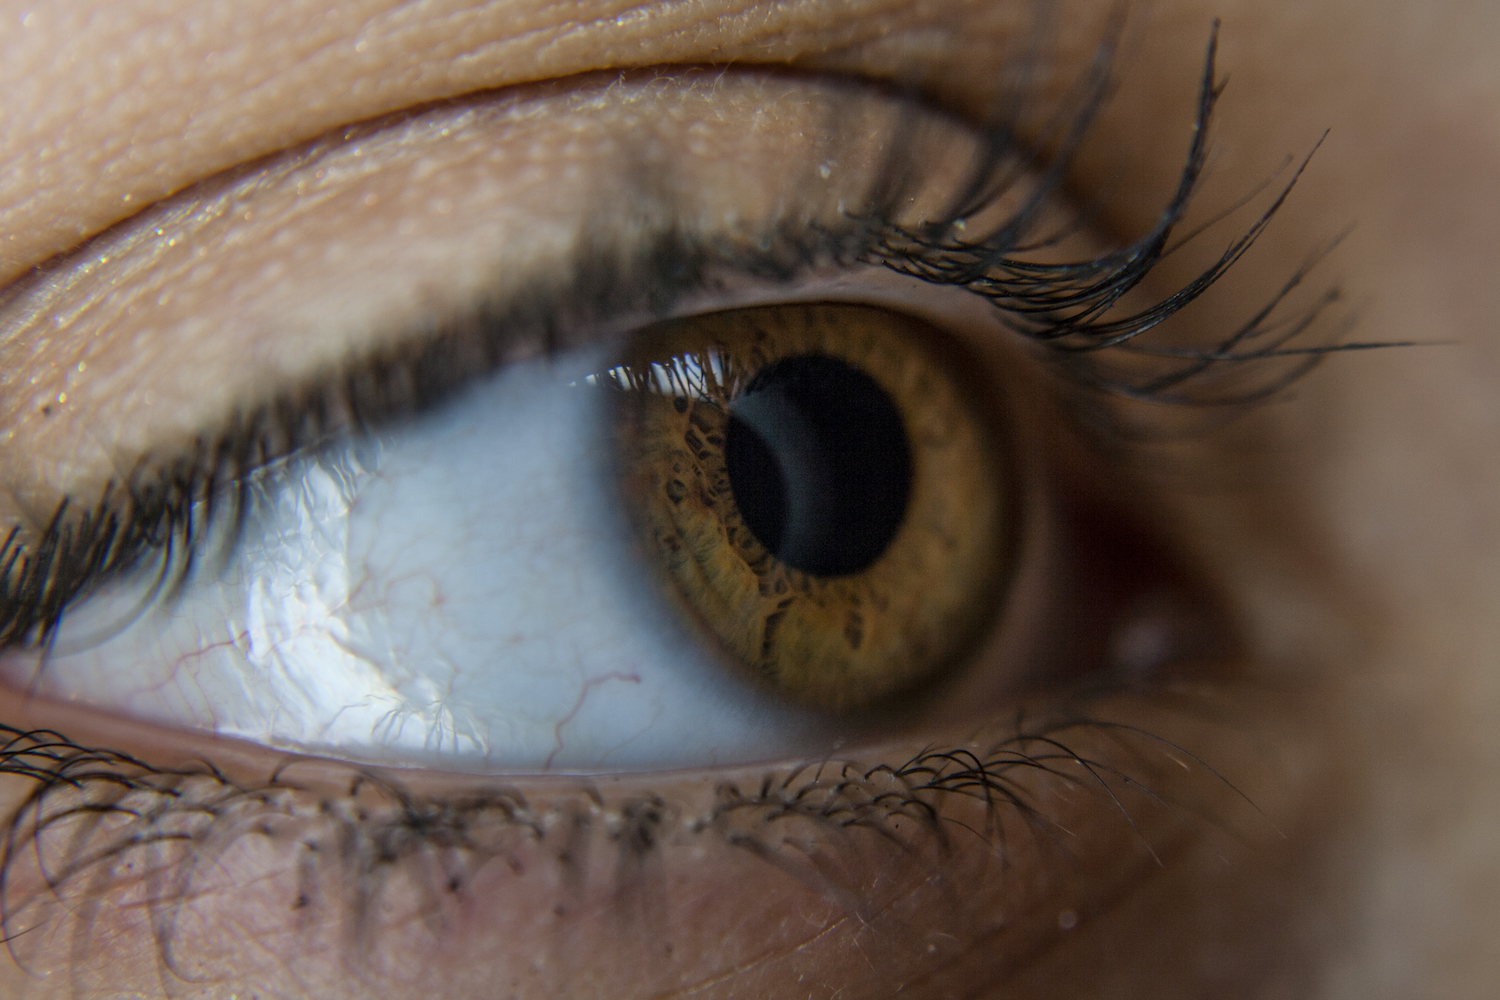
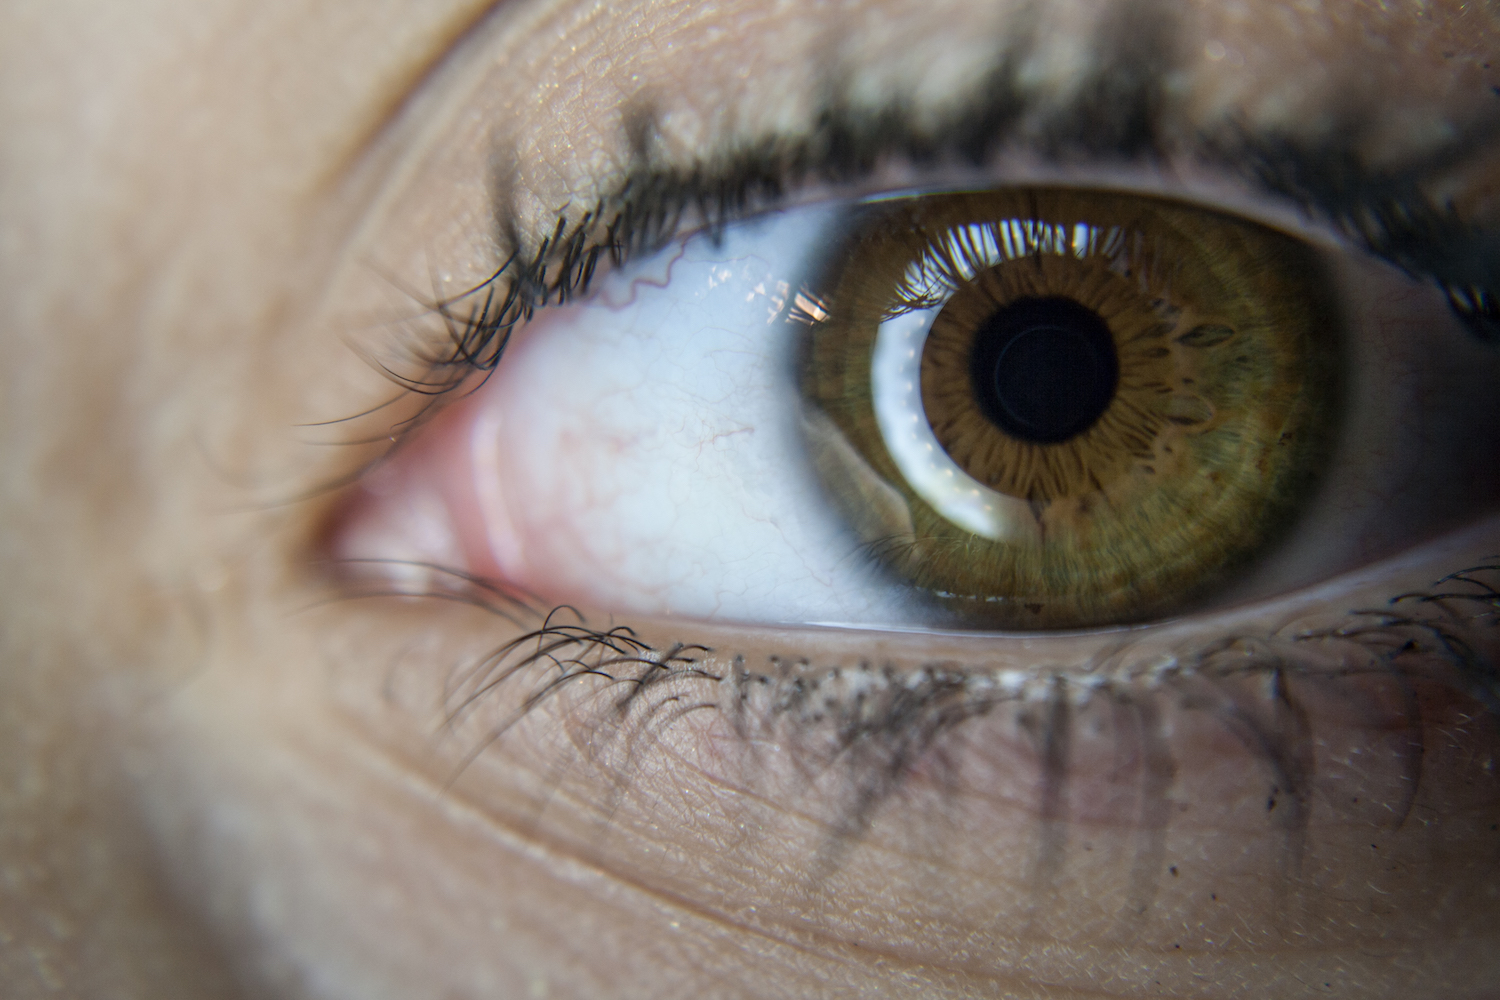
I chose to do macro photography because I saw pictures taken by photographer, Suren Manvelyan, who specializes in taking extreme macro photos of people’s eyes. I originally wanted to use the same technique as him until I learned by reading an interview of his that his technique is a secret and to ensure that they stay that way, he has a rule to never photograph another photographer’s eye. Regardless of that, I still decided it would be interesting and I’d try to get as close as possible.

I did my research mainly on macro photography and trying to figure out the best ways to get quality macro photos, especially of eyes. I originally wanted to try and take eye macro photos like photographer Suren Manvelyan. I was reading an article about him and his work when I discovered that no one knows how he gets the photos he does or his technique. He also has a rule about never photographing a photographer’s eye so that his secret stays safe. Therefore, I decided to still do eyes and attempt to get as close as I could and try and emulate the angles that he took his photos from.

Process

I started this project by checking out the proper equipment needed for macro photography. I got a tripod, macro lens and ring light from Ms. P. A tripod is necessary for macro photography because you don’t want there to be any blur on the photo so you need to eliminate all movement to avoid that from happening. The macro lens is so you can actually get the macro “look” to your photos that you want and so you can get close enough to your subject. The ring light is so you have enough light for your photos and so your shutter speed can be lower. Having a lower shutter speed allows your photos to have a cleaner look. The faster the shutter speed, the quicker the photo will be taken and the less movement there is so a lesser chance of blur in your photo. After setting up everything, I got multiple models who were willing to pose for the photos. I then chose a select few and slightly edited them to make them a little brighter and to enhance the details in the model’s iris.

Here are some of my final images:

Click 'view' to see an enlarged version of this image.
Header Text
Click 'view' to see an enlarged version of this image.
Header Text
Click 'view' to see an enlarged version of this image.
Header Text
Click 'view' to see an enlarged version of this image.
Header Text
Click 'view' to see an enlarged version of this image.
Header Text
Click 'view' to see an enlarged version of this image.

Infographic

I made my infographic about tips on how to take macro photography of eyes. I shared five tips of things that were helpful to me while shooting and that can help you get the best photo possible.