Introduction & Reflection
How can I truthfully and creatively portray a figure, place, idea, or issue in my community
and develop a unique perspective on my subject’s significance in the world?
The Junior Documentary Project challenged us to employ narrative style journalism in representing a subject, whose work represents an important aspect of our modern world. Throughout March, we reached out to potential subjects from a list of three subjects. Once we established a subject, we arranged to have interviews (in-person meeting, by phone, Zoom, email, etc.) with them, having prepared a variety of clarifying and open-ended questions to encourage unique stories. In April, we drafted and refined a multiple-page profile article with a specific research angle on the significance of our subject’s work and life, interwoven with research sources to add perspective to our angle. In May, we produced designs for our articles in a magazine format, also having the options to design a bi-fold or tri-fold brochure. This month also concluded our documentary work in our elective classes: creating a book in Design, an animation, or a film in groups or partners.
The profile documentary project has presented the most challenging work, rooted in research and synthesis, that I have undertaken. Each step presented obstacles from the beginning stage of interviewing a subject, through the middle stages of brainstorming, to the final stages of pure writing. Although I already had a wonderful relationship with my interview subject, I was nervous regardless. I had never conducted an official interview, and I felt I had messed up the recording of the interview by choosing a setting where wind is free to roam. I had fantastic content and wanted to do justice for my subject, but I didn’t have a fixed idea of what aspect of her life I wanted to focus on. Finally forming a research angle I felt good about working with, I struggled with deciding on how to structure my writing. Chronology first? Introduce her experience with performing first, and lead into her involvement in teaching next? The week the profile article was due must have been one of my most prolific weeks in all of my high school years. Even though I struggled with making decisions and was intimidated by the prospect of having to write with such a flexible form, I now have a profile article that I am proud to share with others.
I believe that working on the documentary project has helped me open a window into developing essential skills such as conducting an interview, as well as the critical thinking and planning that goes into preparing for an interview. I’m grateful for the chance to practice incorporating secondary research sources into a primary source-based body, and this practice has helped me become more ruthless in making difficult decisions when writing.
Please take a look at this introductory video to my profile subject!
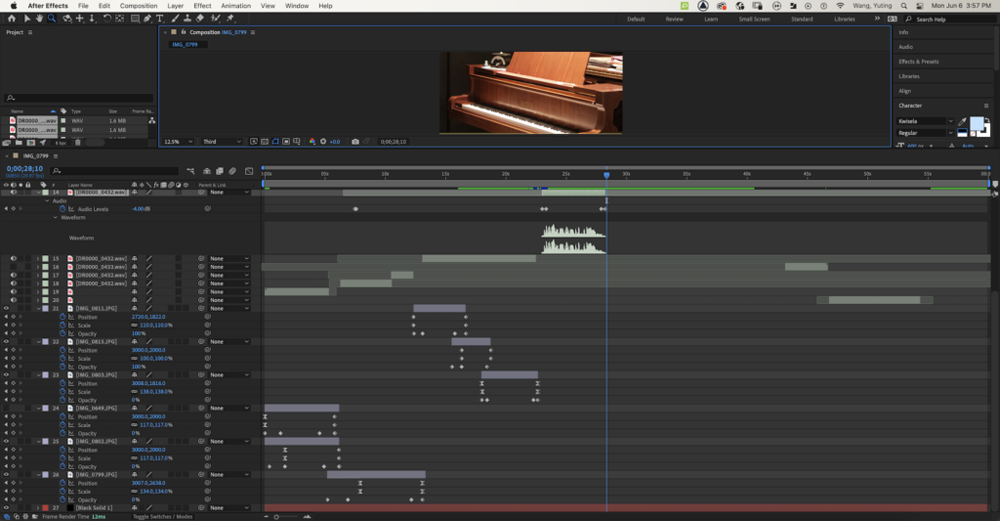
I created this video using Adobe After Effects, which I also was able to get much more practice with while making my animated documentary. It is amazing how just using keyframing for opacity, position, and scale can result in short videos such as these which create a strong impact through the Ken Burns effect. This effect involves creating videos from slowly scaling images and moving the perspective of the viewer, when there are no ‘real’ videos at hand to use in the content. Here is a screenshot of my workspace below:
The Interview Process
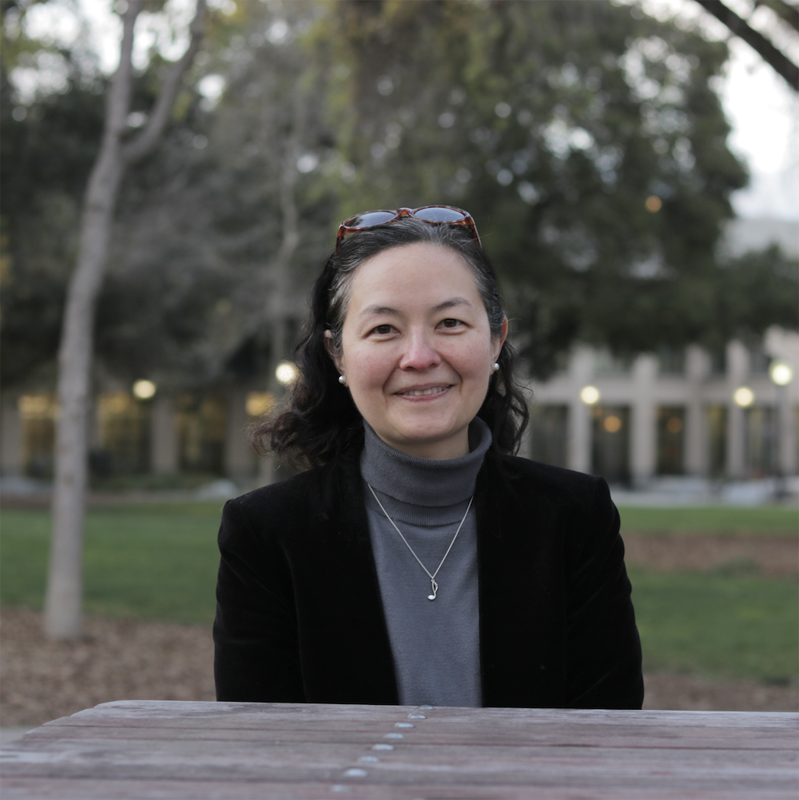
I reached out to my first subject of choice, Sandra Wright Shen, who I studied piano with throughout the 4th to 10th grades. Although she had an extremely busy schedule, March and April being the prime spring concert season, she generously made time for us to meet, on the way home from the San Francisco Conservatory of Music where she teaches during the weekend. I was happy for this opportunity to reconnect with her and talk about stories that helped me get to know her more!
Click to see the transcript of my interview with Sandra!
Sandra Wright Shen was born in Taiwan and grew up in a multiracial family, under the loving care of her Taiwanese mother, Caucasian father, and her elder half-sister. A Bay Area star, she is a member of the Steinway Society and has experience serving as a judge for several prestigious music competitions. She balances performing with teaching students from her home studio and serving as faculty at the San Francisco Conservatory of Music.
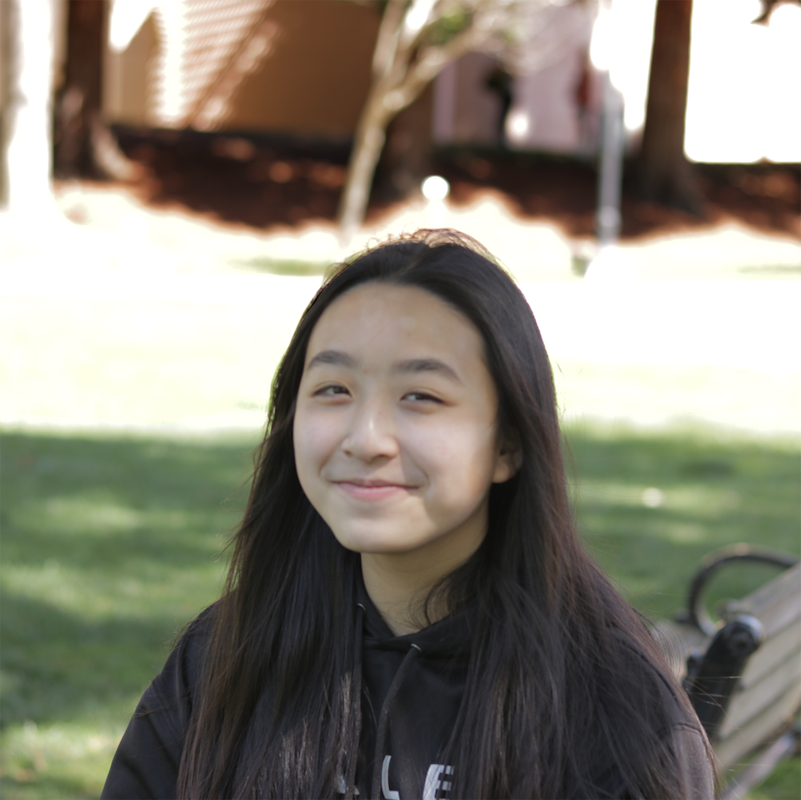
After interviewing Sandra, I was curious to hear a current student’s perspective on the manner in which she teaches them and how this may have changed with time. I interviewed a good friend who I grew to love over our shared experiences of performing at studio recitals every month, for several years. Chloe Chung offered me new insight on Sandra’s style of teaching.
Click to read the transcript of my secondary interview with Chloe!
Chloe Chung is an eighth grade student. She has been studying with Sandra for eight years, since the age of 6. At school, Chloe enjoys exploring leadership opportunities and plans events for the student body. She participates in club volleyball and is a charismatic member of both the piano and volleyball communities.
*Using Premiere Pro, we created transcripts for each interview that we conducted. These can be viewed by clicking the images above for each interviewee.
Research paper: profile documentary article
Here’s where the research and writing came in! Before we officially began the writing process, we learned about some common ways to structure a profile documentary article. Often, authors begin with an anecdotal lead, then head into their nutgraf, which refers to a paragraph with the purpose of introducing the research angle of the paper in a nutshell. Then, chronology and scenes are interwoven throughout the body of writing. A final, influential quote is often used to wrap up the article, after summarizing the subject’s hopes for their future.
The writing process: The first step of our writing process was to create a profile outline. In this outline, we designated sections of content and particular ideas that we wanted to use for each ‘category’ of the profile article structure mentioned above, such as the chronology and scenes. Once we had begun an initial draft of the article, using the ideas from our outline, we participated in several peer reviews. Sharing our progress and explaining what we intended to change or accomplish, such as achieving a certain tone of writing or making a shift in the order of the category components, was helpful in forming plans for how we would effectively bring about that change. During the writing, one essential aspect to pay attention to was correctly using the MLA format for arranging headings and citing the quotations and sources. After a few final weeks of editing and refining, our articles were complete. The document where we worked on the articles remains a live document, and Mr. Greco has been amazing in giving feedback to everyone’s work – while on paternal leave – as we revise our articles to bring the product that you see here.
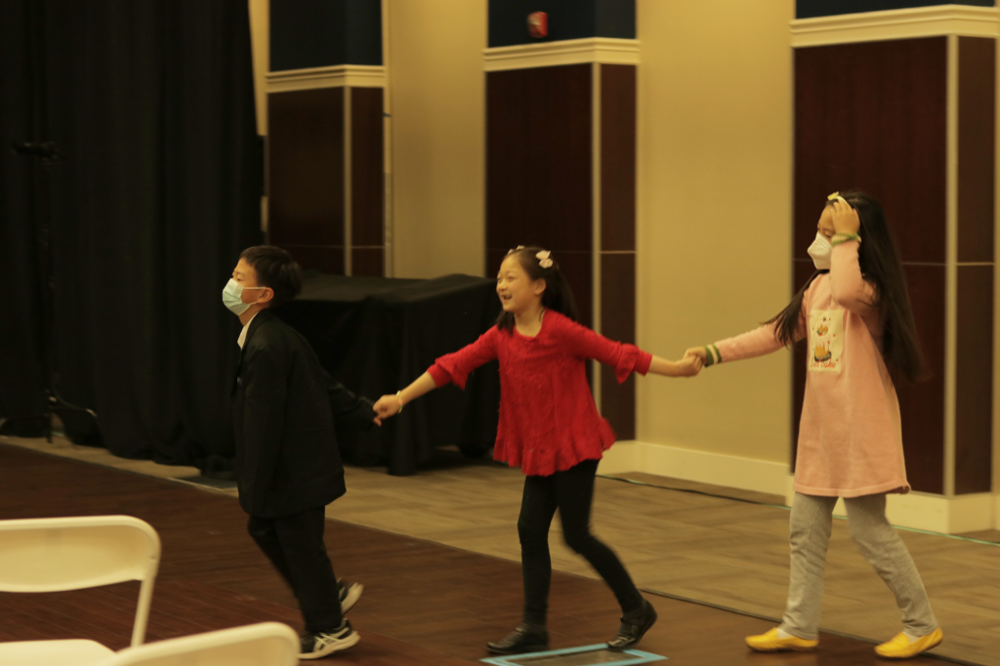
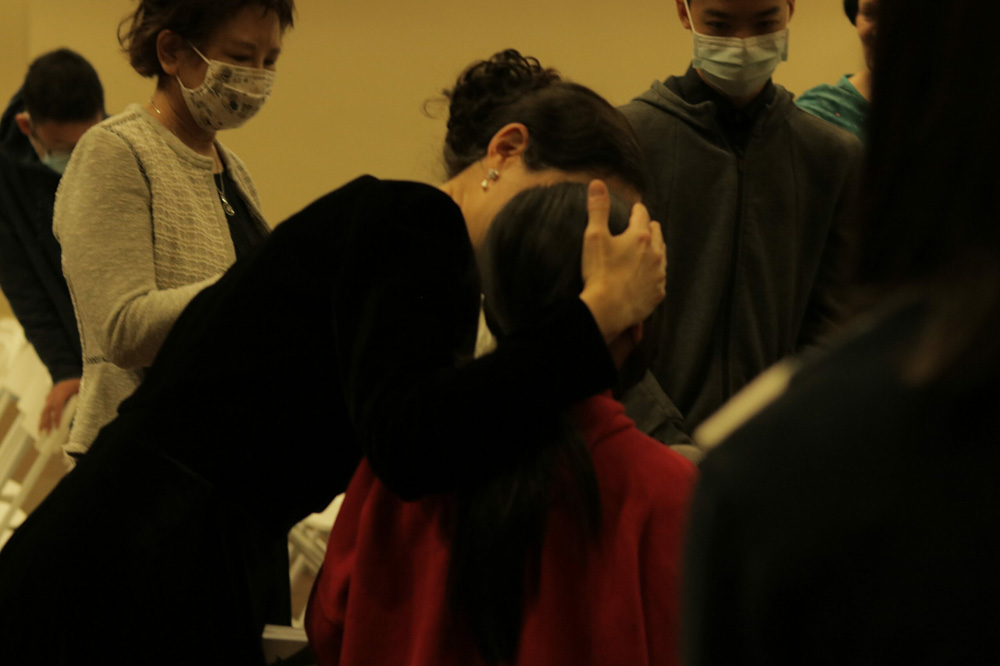
I was very fortunate to have two extra events after my interview with Sandra to collect content for my profile article. One was having the opportunity to attend Sandra’s Steinway Concert on April 7th. I’d been to Sandra’s concerts since the years I’ve been her student, but this was the first time that I went in with a goal to observe intently, describe on paper, and analyze, ultimately to be able to create a piece of observational writing that might connect well with a larger body of angled writing.
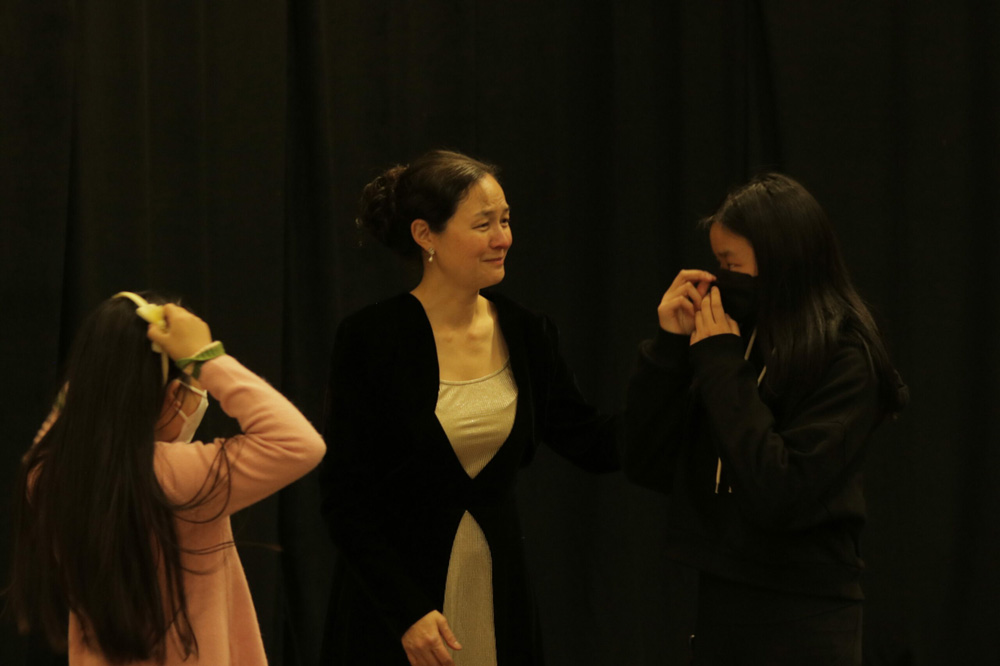
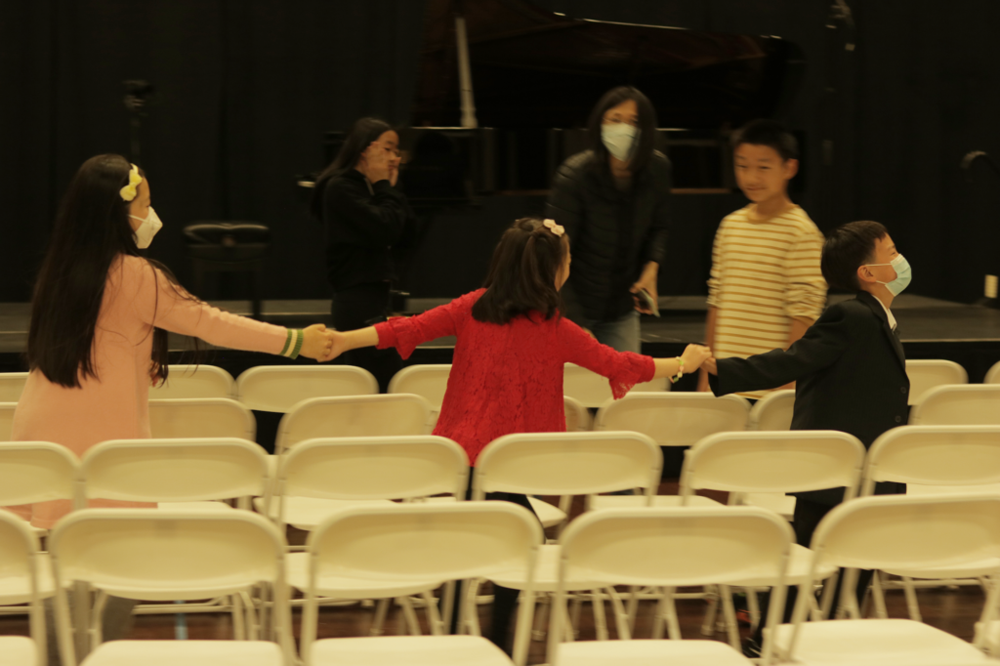
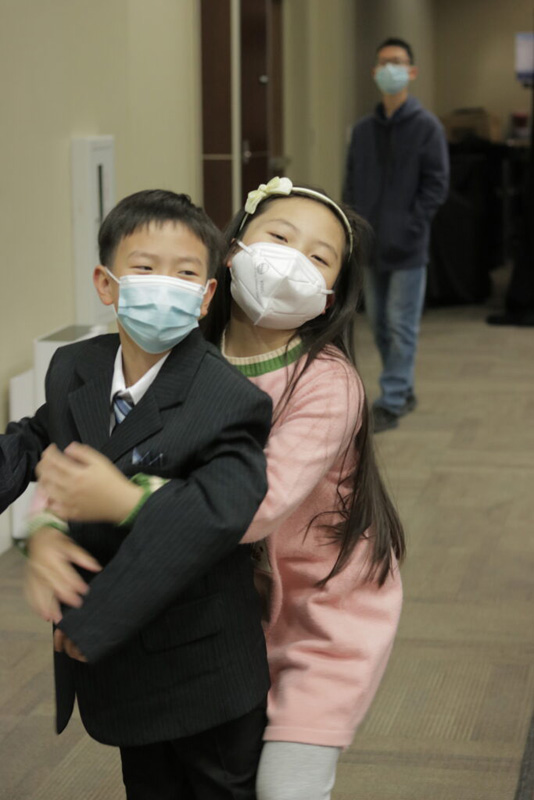
The other event was arranging to visit Sandra’s home to observe a lesson she taught. I got to view the synergy between both of my interviewees, Sandra and Chloe, as they interacted with ease.
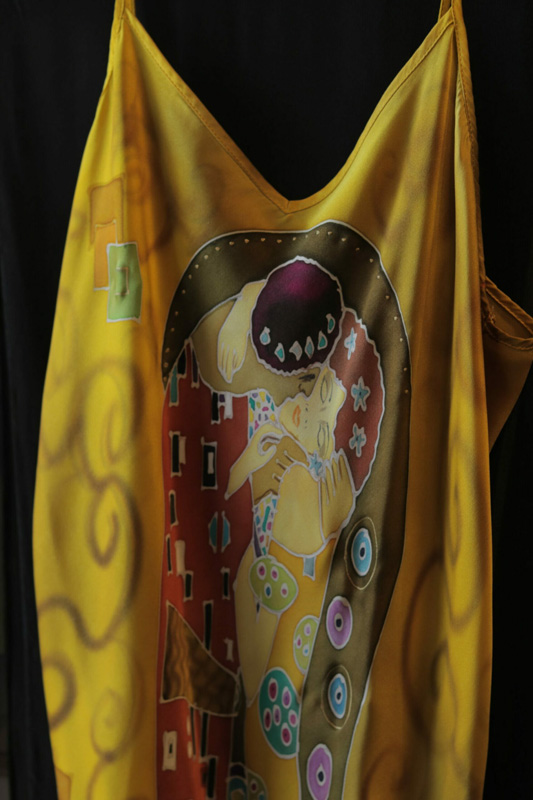
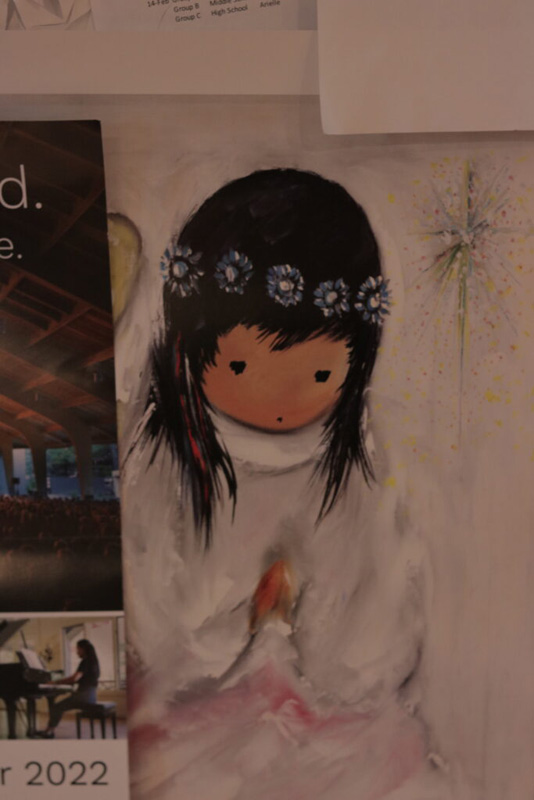
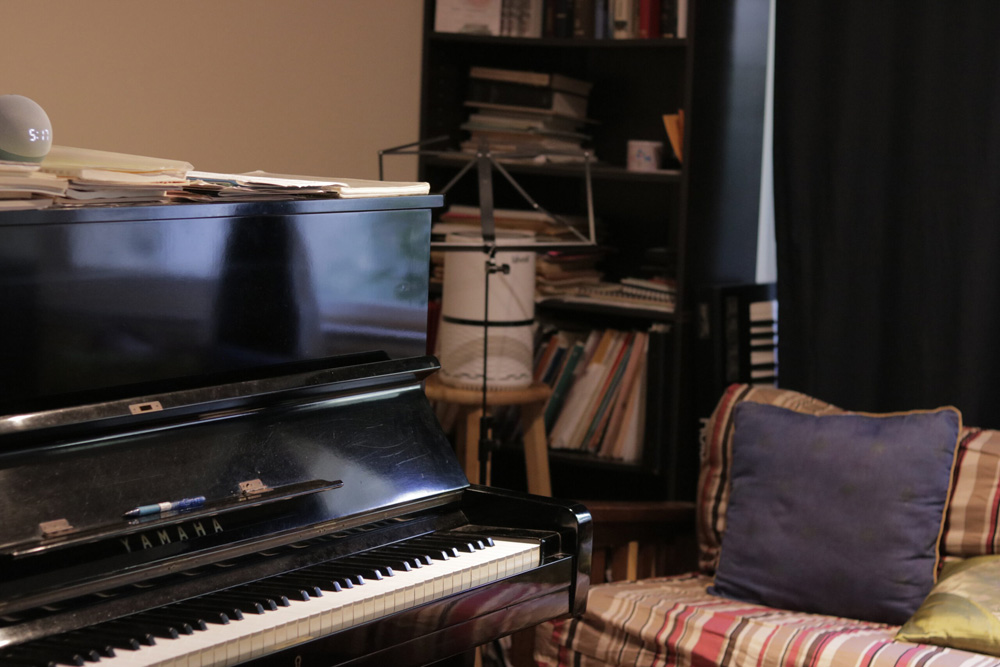
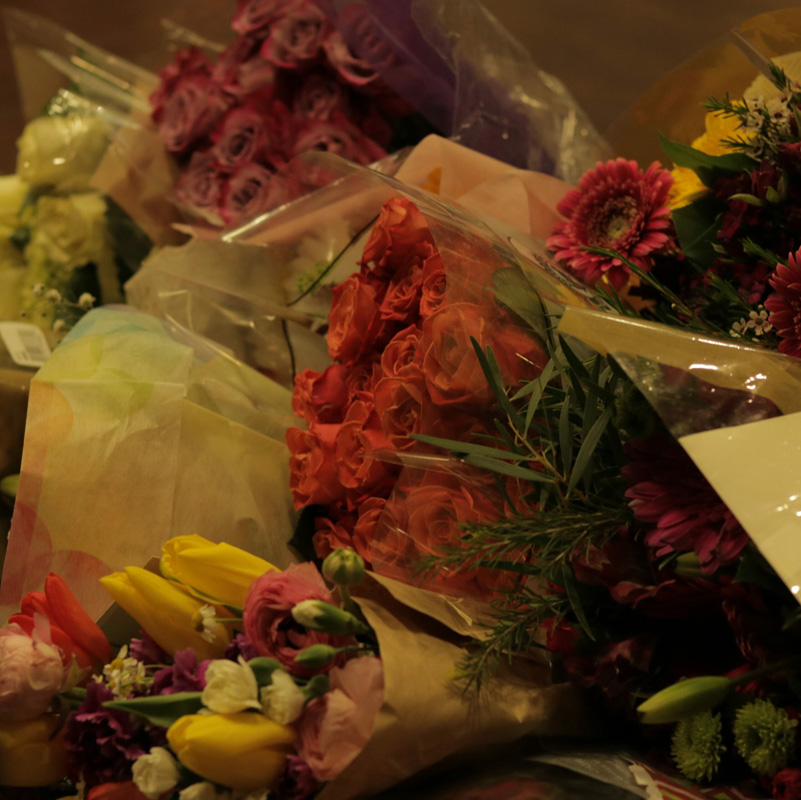
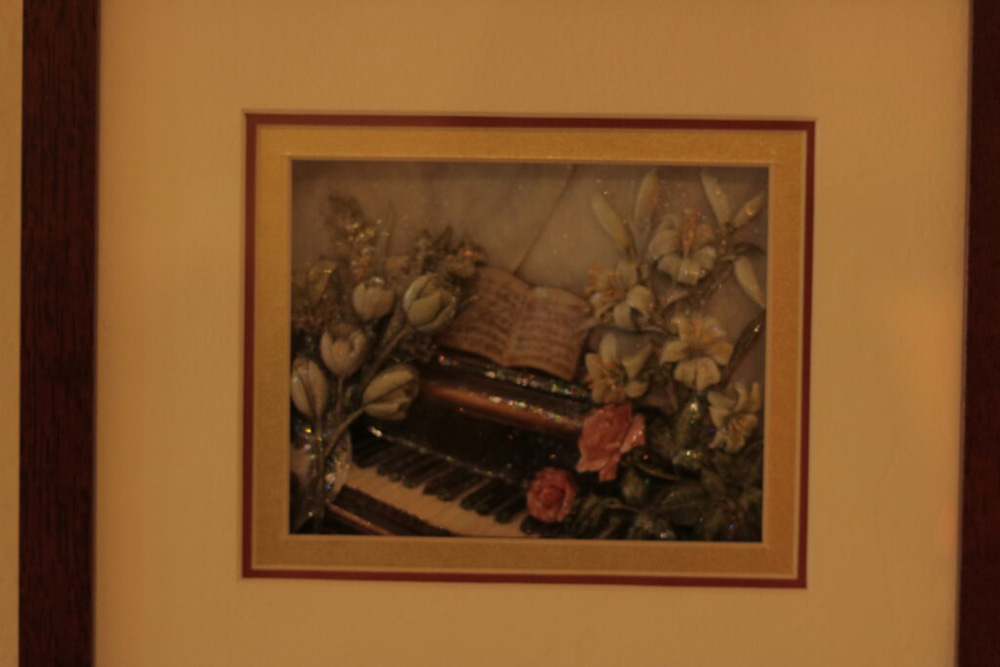
I documented both of these golden gifted opportunities through photography. Not only was I able to observe Sandra’s behavior with her students and congratulators, I also noticed details within her personal space, which tell stories of their own. Some of the objects I saw were artwork and cards that hung on a bulletin board and gifts from Sandra’s students atop the pianos. Below are combined photos from the lesson visit and the Steinway concert:
Click on the images below to read my profile documentary article, and view the magazine variation of the article!
Click to read my profile documentary article about Sandra’s journey in performance and as a teacher!
Click to read my magazine article about Sandra’s musical journey!
Animated Documentary: Brainstorming
In animation, students chose a small segment (90 seconds to 3 minutes) of the audio interview file with their subject to visually bring to life.
Before starting my animation, I documented ideas I had for each individual part of my chosen audio segment, as well as inspiration for art styles.
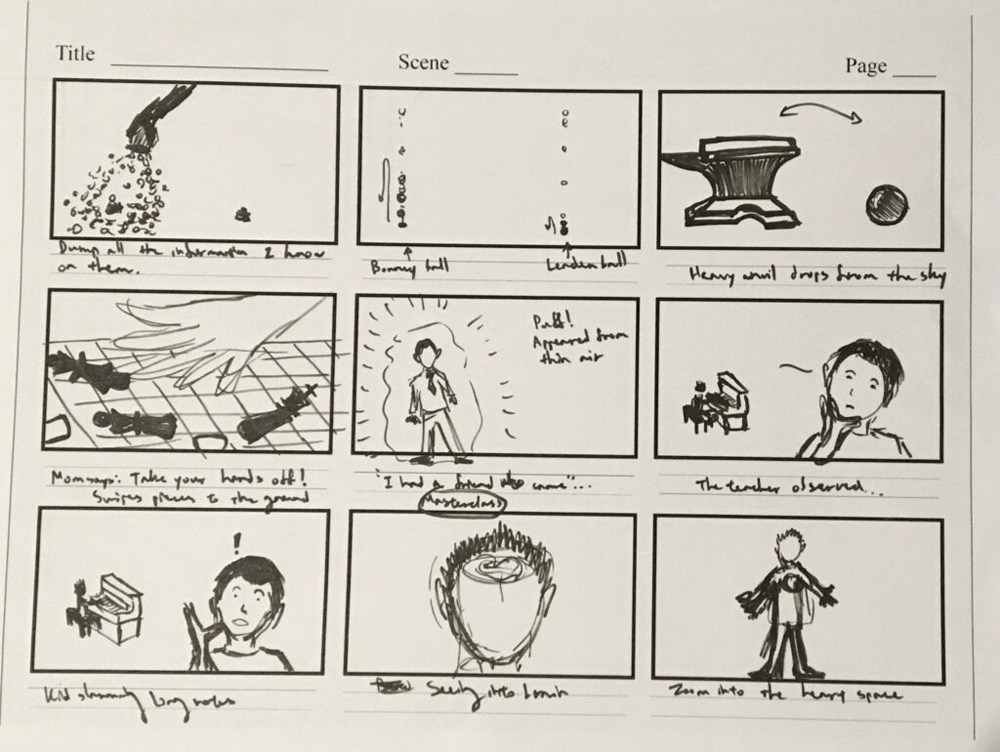
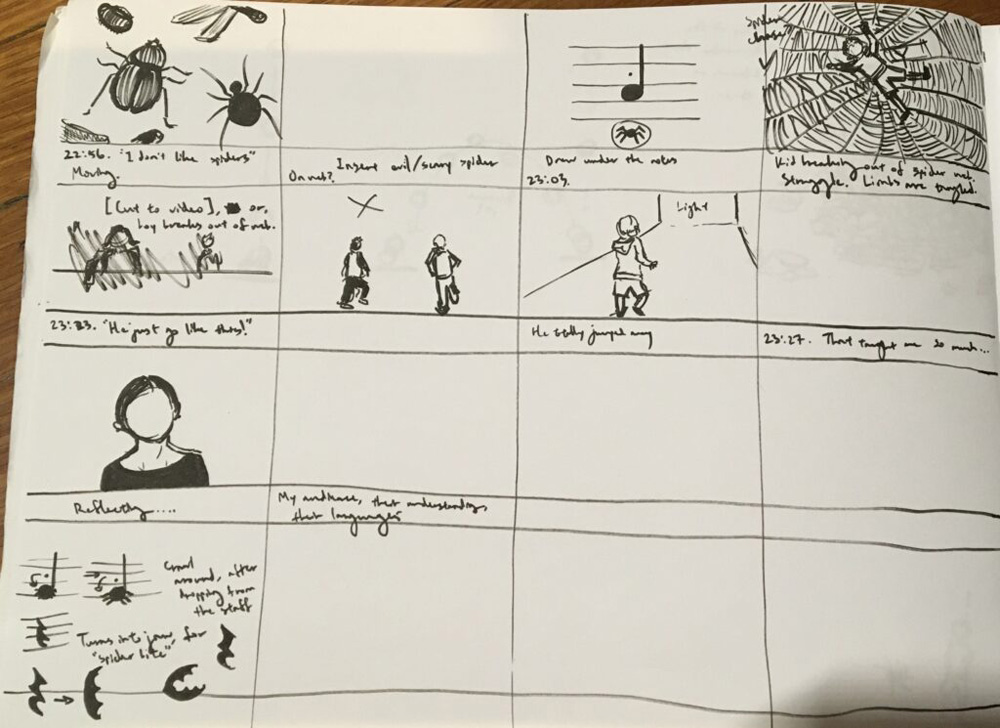
After creating my pitch, I drew out my ideas on a storyboard. Although several parts of my final animated documentary deviated from my storyboard, and I didn’t initially have ideas of how to portray some sections through animation, ultimately this step was helpful for planning out the spacing in the final composition. And, getting to draw with ink is always a plus! Below are pages from my storyboarding:
The animating Process
I used Adobe Photoshop as my main application for animating. The animation process is too often painstakingly slow, trying to transfer an abstract vision into a visual product. This was especially the case for me throughout March and April. In May, over the final few weeks of working on my project, I began to tune in to tools that Photoshop has to offer which I hadn’t previously realized existed. In particular, discovering tools related to organization helped to make my life easier!
I learned that I could duplicate a layer that was turned invisible when creating a new frame, which allows only this new frame to display the new layer. This saved time, energy, and reduced the great potential for frustration. The grouping command to organize layers into groups helped me to have a way to select an entire range of object and transform their position all at once.
Finally, I grew to love using the Tween effect for frame animation. This essentially automates a change in opacity over a set number of frames, which also determines the duration of the effect. I would select a frame without the subject, create 4-6 new frames behind it showing the same image, then create a final frame that did show the subject. Another way of creating this effect is through using keyframes in After Effects, which I also worked with.
This is an example of the layers involved in Tweening:
Ultimately, I am proud of growing as an animator and developing new Photoshop skills throughout working on my animated documentary. I feel I am able to work much more efficiently – although creating more manageable work for myself within a given time period is a separate challenge to embrace. For example, during our final class given to work on this animation, I created the ending credits over 135 frames, within an hour. Comparing this to the beginning of the year, when it took a month to create 90 frames of animation (although by hand), this is a huge step forward.


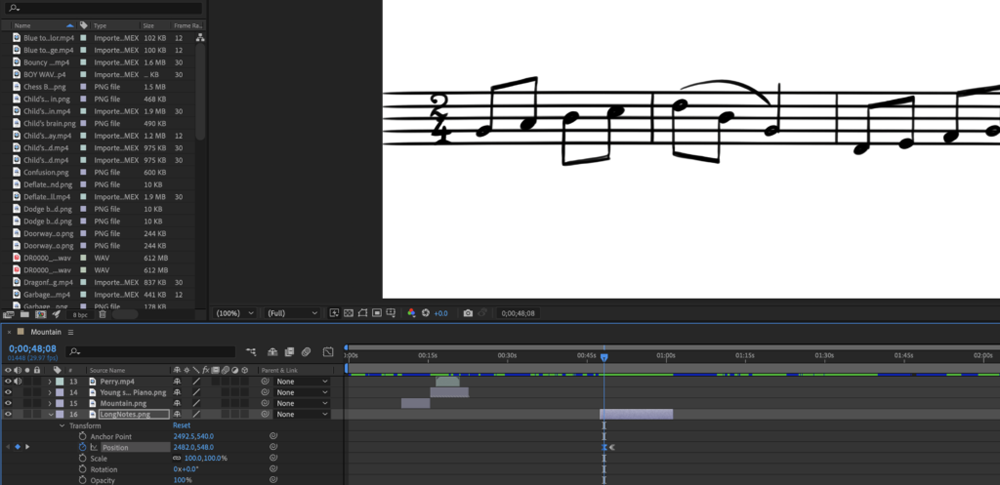
In After Effects, I used keyframing for opacity, scale, and position in order to create smooth transitions in between sequences and zoom in as needed. Above is a dandelion scene representing confused thoughts, and below is a music note sequence which pans across the screen to the right, before settling on the ‘dreaded dotted note’ for the student mentioned in the audio.
Here are a few GIFs I made during the production of the animation and some behind-the-scenes on how I made them!
- 1. Trash

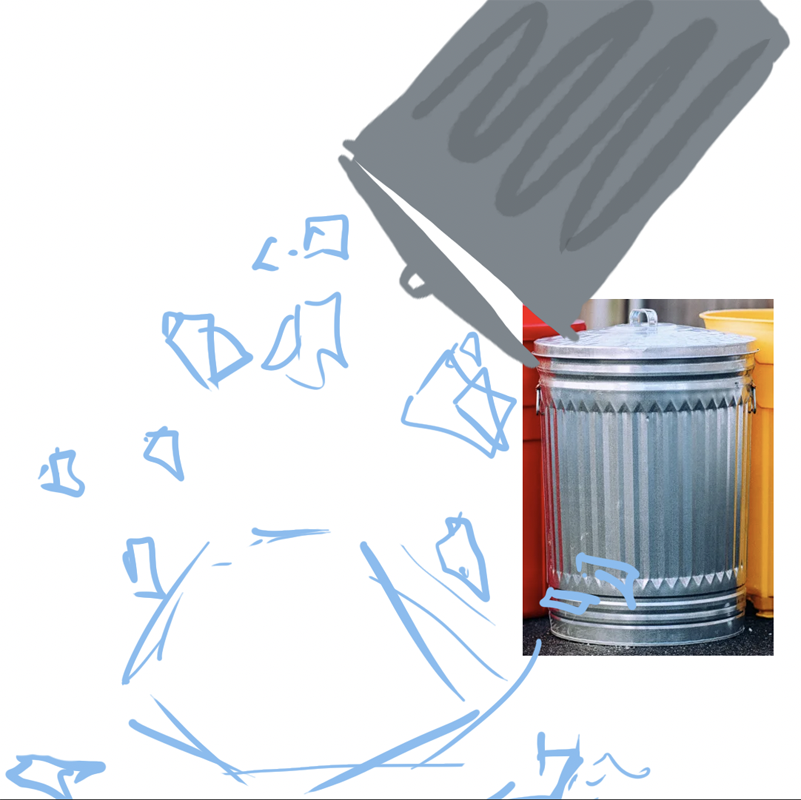
Above was an image transferred from my animation pitch, with the mountain of trash representing ‘dumping all the information’ onto a student. I used this as an outline to plan out where I wanted each piece to be positioned, almost like a key frame within the sequence. This trash can sequence was when I first realized I could turn layers invisible and duplicate them, making it easier to position and transform images.
- 2. Brainchild
Animation can help us visualize internal processes that we can’t usually see, such as in anatomy, neurology, and medical fields. With this in mind I wanted to make a sequence that brought the viewer inside the mind of the student mentioned in the audio segment of my animation. I sketched a child’s face and cerebral hemispheres, and then outside the face I filled in a dark background. When I moved and transformed the face layers, they left a white silhouette of the head shape. To have the face split in half and fall away, I learned to set a rotation point when transforming each layer, which is so useful to know for future projects!
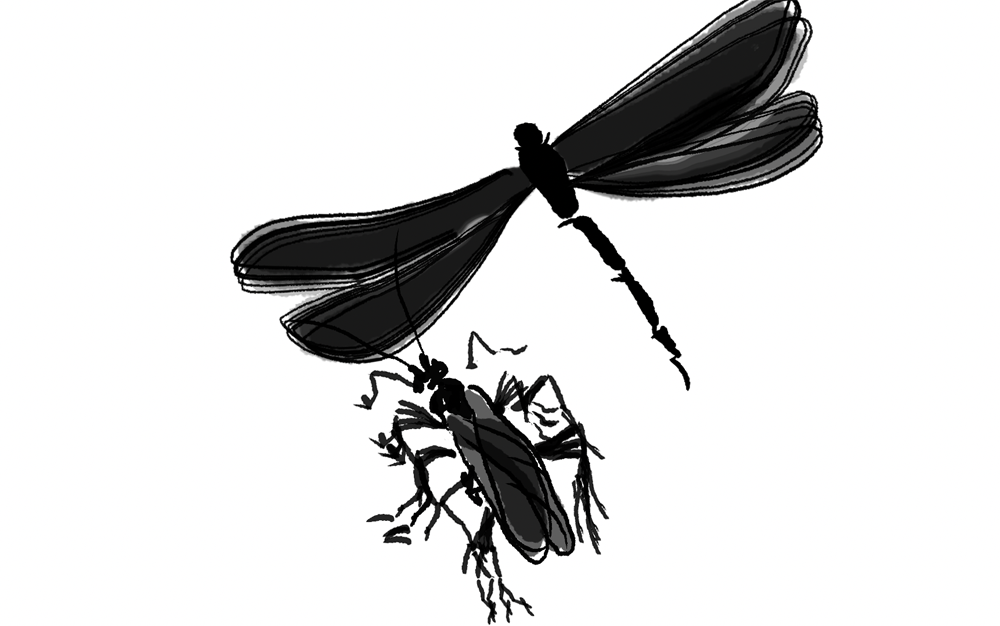
- 3. Insect
For this insect sequence, I was inspired by the art style from Chinese ink paintings. It was really fun to explore with the different brush sets in Photoshop and change up the art styles. I ended up using the Wet Media – Classic Cartoonist brush often throughout creating my project, also playing with color opacity.
I didn’t make this insect sequence very long. I lassoed each of the limbs and created multiple layers for each limb, divided at their joints, in order to create the smoothest motion possible to have it seem like the bugs are walking across the ground. I think I was able to achieve this, but sadly the motion only lasts about half of a second for each insect. Here is an image showing the many layers and limbs involved in making the motion for these insects!
- 4. Hand
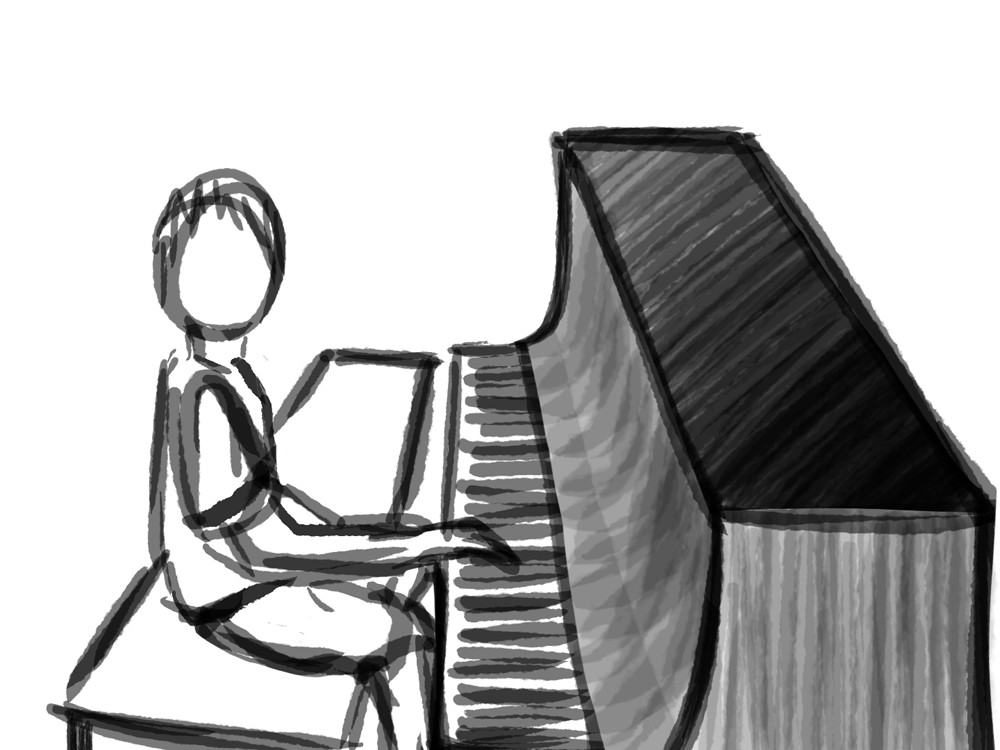
I found reference photos for the shape of hands, even taking a few photos of my own hand in a certain lighting setting as a model for how to create the shading on the hand. The hand uses several layers: layers for the black outline, the peach color fill, a light-opacity pink fill, and light-opacity shading as the top layer. In the composition, the intervals of the hand coming in contact with the keys to play a note perfectly matches with the audio of my teacher tapping on the wooden table where we conducted the interview, which brings me joy!
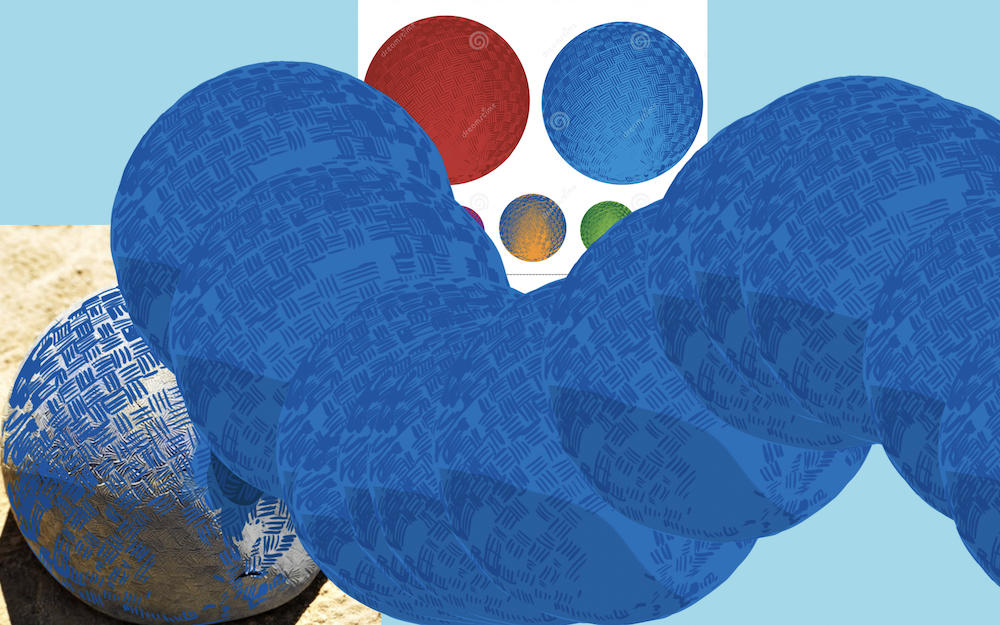
- 5. Bounce

I used the analogy of a bouncy ball to visualize the proper way to play a staccato note. In contrast, I also included in my animation a sequence for a deflated dodgeball to demonstrate the student’s flat notes. Below, this image shows all the layers making up the ball’s motion, as well as reference photos which inspired the ball’s pattern and shading.
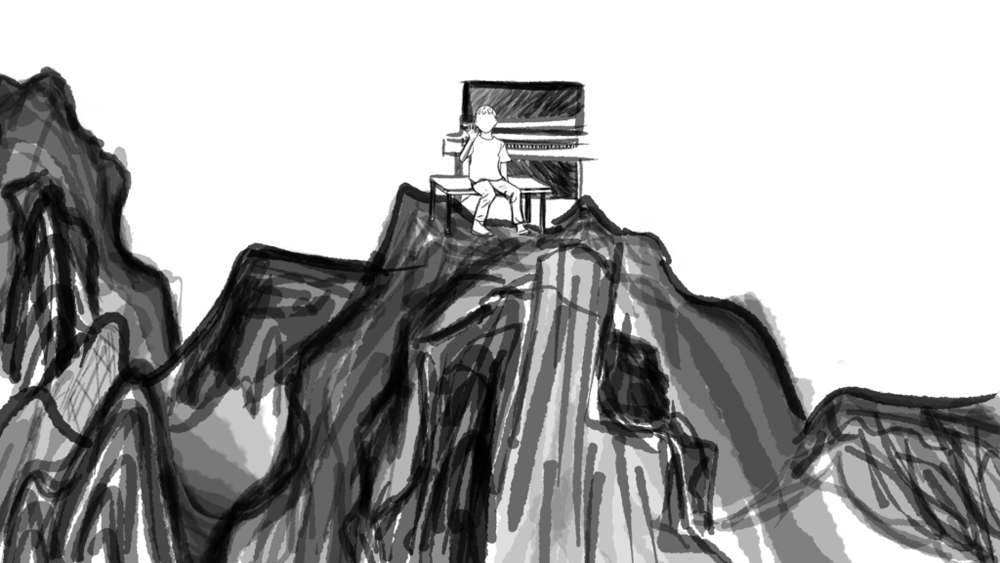
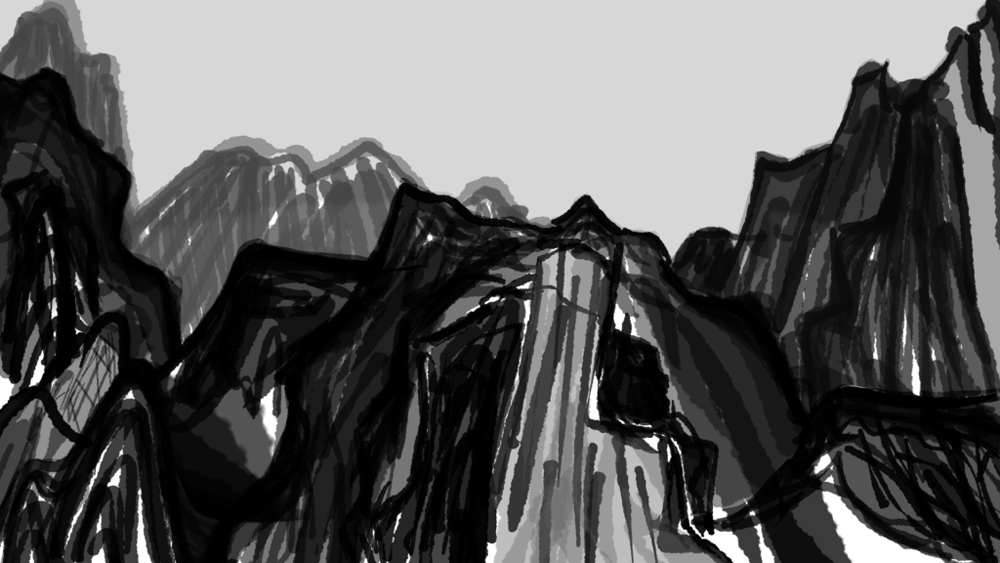
- 6. Mountain

Like in the insect sequence, I wanted to create an effect similar to Chinese ink paintings in my sequence of mountains and cliffs. It was really fun to freehand the shapes of the mountains, using several layers to play with the depth of the shading.
Final Animated documentary
After months of researching, writing, and meticulous drawing, I bring you…
Please enjoy!