Welcome to my explorations website. The final project in freestyle for juinior year is to explore a topic that you are interested in. Just a week or two before the project started freestyle bought a 3D printer. It was all set up but no one knew how to use it. I had always wanted to try a 3D printer out so I decided to make it my project about me exploring how the printer functions. I started off by contacting some parents at freestyle to see if one could come in and give me some basics. Communication with the parents was weird as they did't seem to get my messages, so I just started doing my own reasearch. I read the directions and online tutorials and quickly figuered out how it works. My very first print was a white spiral cage. It was meant to have a ball inside but I edited the ball out so it would print faster. It came out wonderfully. My second print incorperated multiple parts. I downloaded a gear cube design from a website and printed out the pieces in two seperate prints one in blue and the other in green. Having a print with seperate parts is the only way to get multiple colors in your design. I then went and printed out nine diferent pokemon each in a different color to see how each color came out. I was done printing other peoples designs and began work on my own. Mr. Flo gave me the idea to print out a Freestyle sign.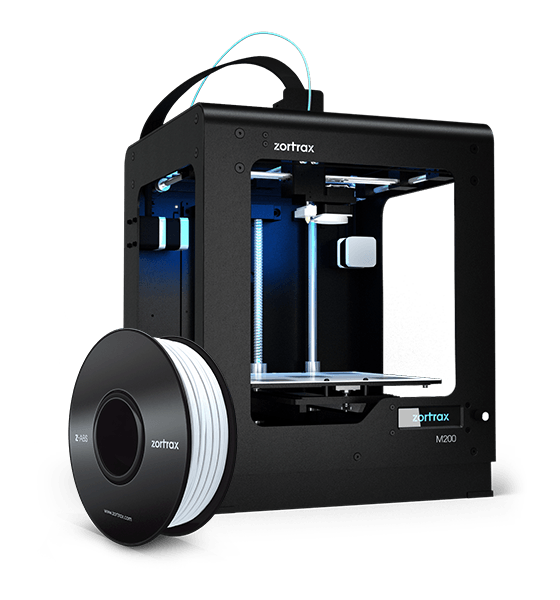 I used a program called Blender to create a 3D version of the Freestyle font. After I learned how to create the letters I exported the file into a much simpler browser-based modeling tool called TinkerCad. I put the letters on top of a disc and exported it for printing! The disc took about five hours and was the first sort of misprint I encountered. while printing part of the disc poped up causing one side to warp a little. I cleaned the printing plate quite thourougly after this. The two freestyle letters came out nicely. I glued the two peices together and I was finished. Satisfied with my work I started working on making the tutorial video so that other students at Freestyle could use the printer. I wan't done with all my prints though, my design teacher asked me last minute to print her a warriors headband for the upcoming playoff basketball game. I maneged to finish it before the period was over. It apperently came out great! (I should have asked for some extra credit in her class.) In the next section you can watch my tutorial video it might even come in handy if you have a Zortrax M200.
 (1).png)


 1
1 2
2 3
3 4
4 5
5 6
6 7
7 8
8 9
9 10
10 11
11 12
12 13
13 14
14 15
15 16
16 17
17 18
18 19
19 20
20