Introduction to Conceptual
During the conceptual unit, we learned to develop our communication and abstract thinking skills by using unconventional forms to express ourselves. This unit focused on taking risks with our art in order to convey our opinions. We developed technical communication skills by learning how to use professional equipment and applications like DSLR cameras, audio recorders, a variety of Adobe applications, Pro Tools, and more.
Animation Works
Phenakistoscope Wheel
For our first assignment, we created an early form of animation known as phenakistoscopes. A phenakistoscope is a rotating disc that shows images through slits. When the disc is rotated quickly and person looks through the slits, it creates the illusion of motion.
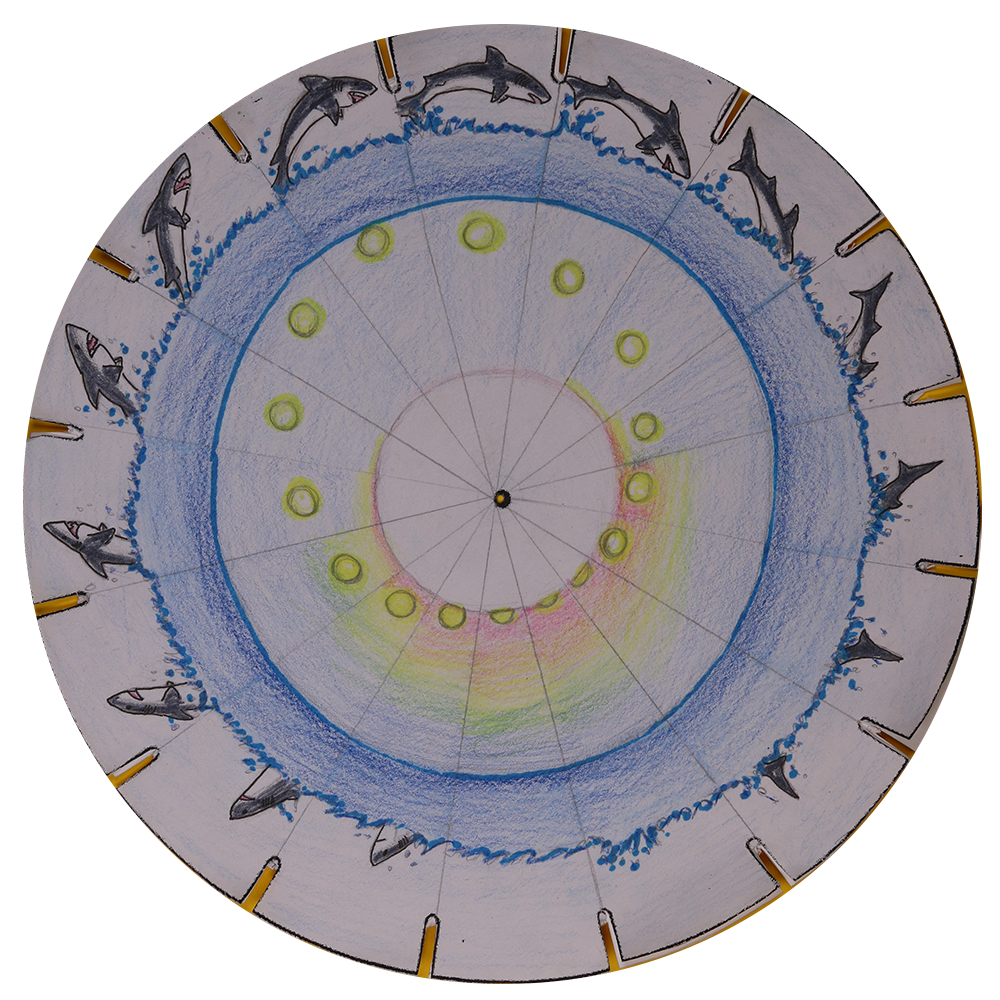
We created these by dividing a paper disc we cut out into 16 parts. We drew a frame in each part and then attached the center of the disk to a stick so we were able to spin them and see the animation. To create the digital version, we rotated the disc in Photoshop and turned it into a gif.
Zoetrope
A zoetrope is another early animation device. It is a cylinder with slits in it that has images on the inside. When it is rotated and a person looks through the slits, it makes it seem like the images are moving.

We made our Zoetropes by dividing a long strip of paper into 12 parts, and then we drew the frames. Once that was completed, we put them in the Zoetrope wheel to create the illusion of motion.
Flipbook
We also created flip-books to explore emotions. Our job was to convey an emotion by using shapes. In my flipbook “Melted” I tried to capture the feeling of anger by using jagged shapes and triangles.
Behind the Scenes: Flipbook
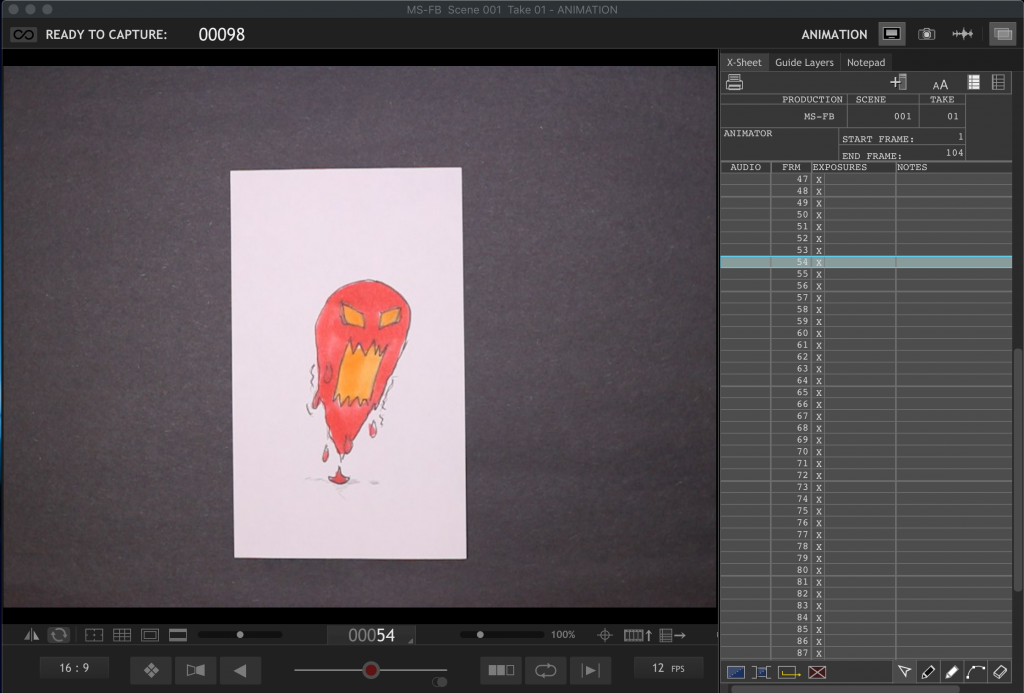
We used Dragonframe to create the digital version of our flipbook. We placed each page under the camera and took pictures that were uploaded into Dragonframe and exported as a video.
Exquisite Corpse
An exquisite corpse is when a collection of images is assembled by different collaborators who each add a part to the sequence. For our exquisite corpse animations, we had to work as a group to make sure our first and last frames matched up with our classmates’ first and last frames.
Direct Techniques
In addition, we created direct technique animations with Dragonframe which helped us explore pose-to-pose animation. I used paper cutouts and whiteboard markers for my direct technique animations.
Behind the Scenes: Direct Techniques
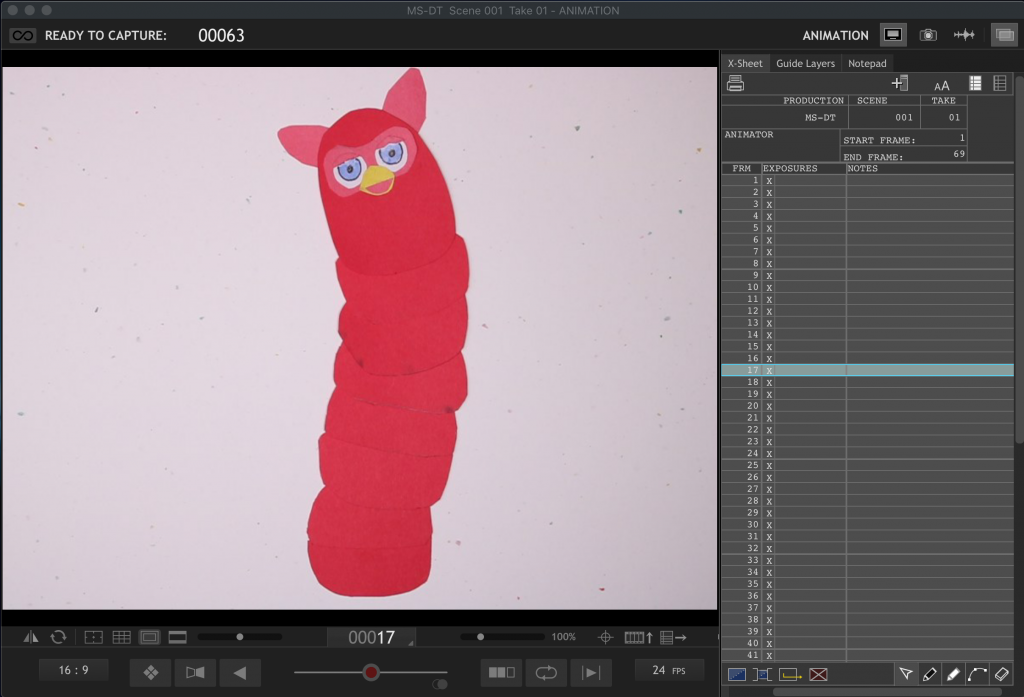
This is what our workspace in Dragonframe looks like. We put our materials under the camera, in this case it’s paper-cutouts, and then take pictures which are uploaded into Dragonframe. The bars on the side tell us the number of frames we have. To make this long furby animation, I moved the paper-cutouts a little bit in each shot to make it look like the furby is elongating.
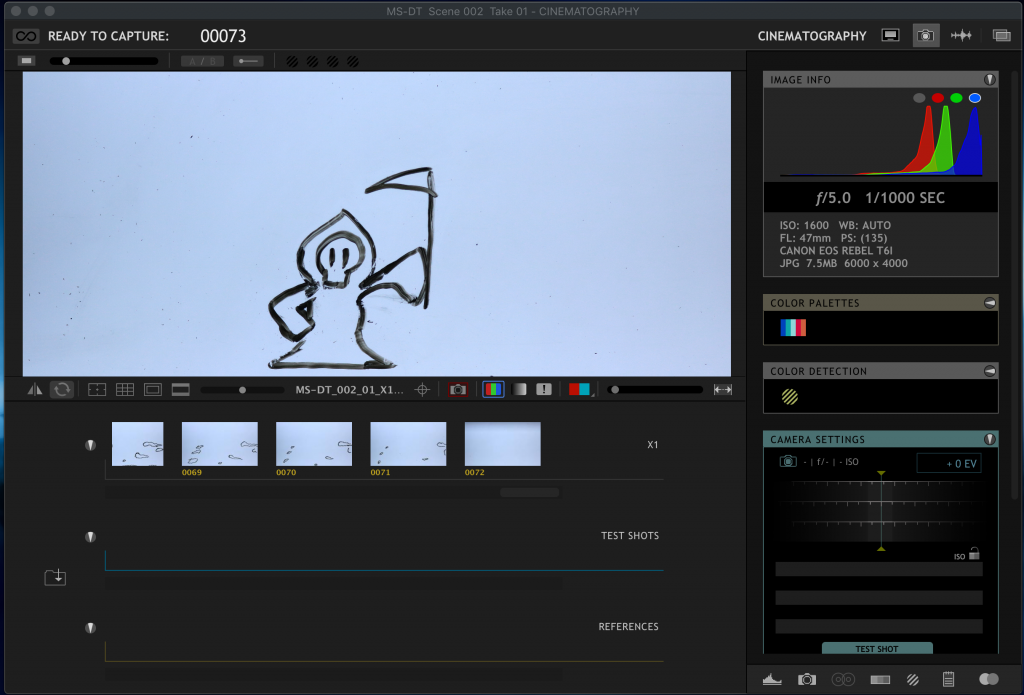
In this section of Dragonframe, we use the camera settings to adjust the lighting and make sure everything is clear and focused when we start taking the pictures.
Animation Reflection
Throughout all of our productions, I really valued how we learned collaboration skills. Even though most of these animations (with the exception of the exquisite corpse) were done individually, we still got to give each other feedback and work towards improvement. In addition, we got to learn a little about how early animations worked with the phenakistoscopes and the zoetropes. The flipbooks were really fun to create, and we got familiar with using a lightboard during that project. The exquisite corpse gave us further experience with lightboards and teamwork skills. Finally, we learned how to operate Dragonframe for our direct techniques projects.
Poems
As a part of the conceptual unit we used poetry to explore how to creatively express ourselves through writing. We created a haiku and an ekphrastic poem. We also used Adobe Premier Pro, Adobe Photoshop, and Avid Pro Tools to add audio and background images to our poems.
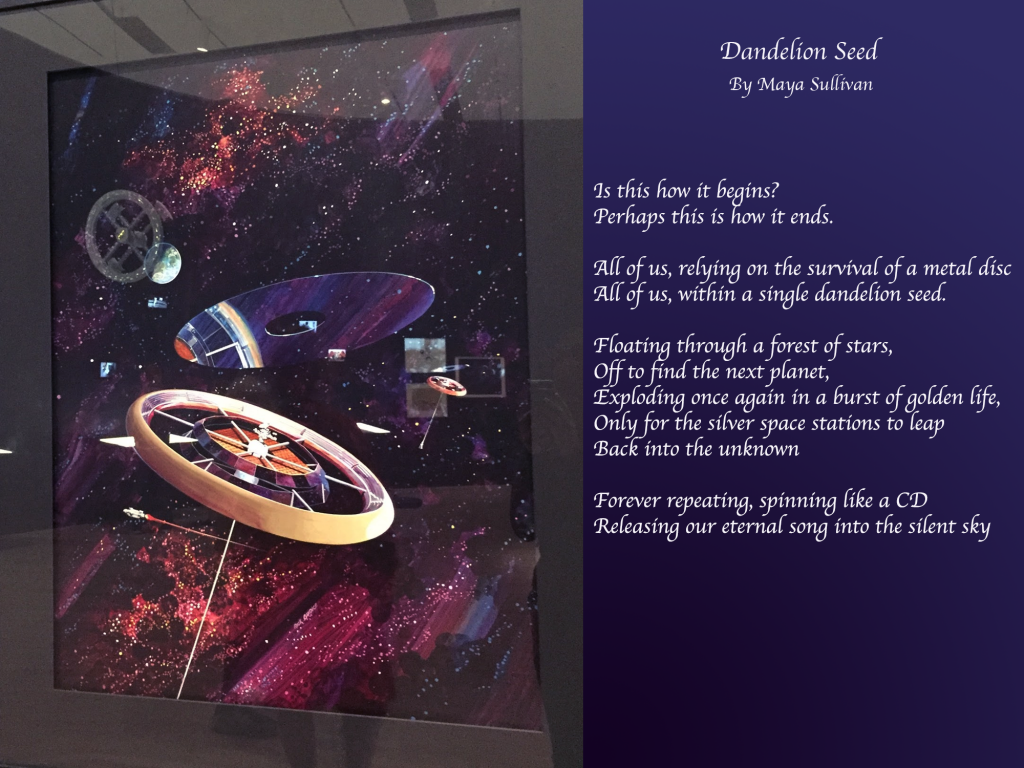
During the poetry production we learned how to use different formats and mediums to present our poetry. We learned how to use our voice in order to emphasize certain parts of our poems in order to convey meaning. Then we learned how to use images and music in order to further enhance our poems by using Protools and Photoshop. In Protools, we got to add music and sound effects to our poetry, and we learned how to edit unwanted sounds out of our audio to make it more appealing. We also learned about how to fade certain parts of the audio in and out. In Photoshop, we learned how to put text on a picture and adjust the fonts. I really valued learning how to create and edit poetry during this unit.
Poems: Behind the Scenes
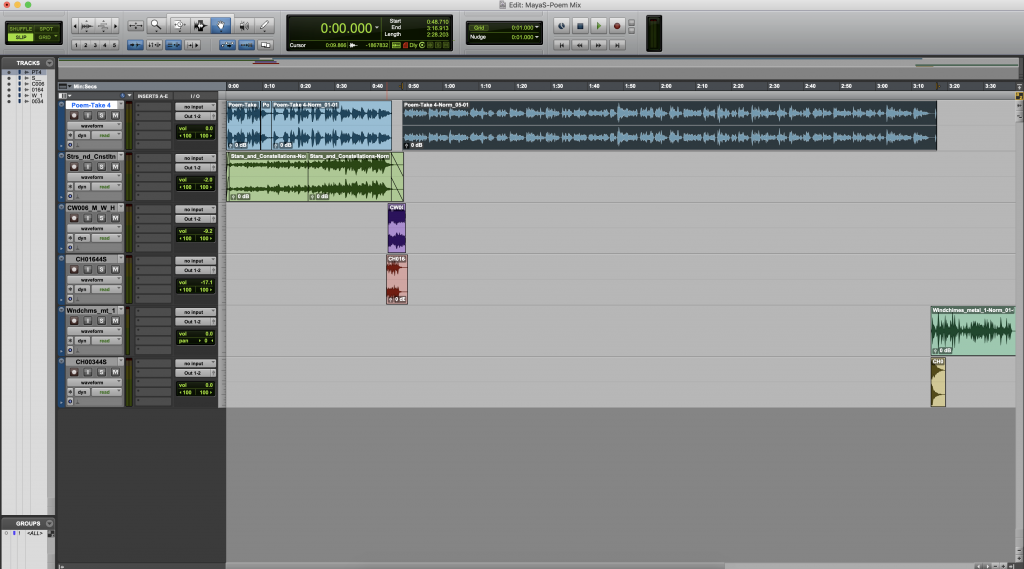
We used Protools to edit the audio for our poem. We learned how to adjust the music and the vocal performance to enhance performance.
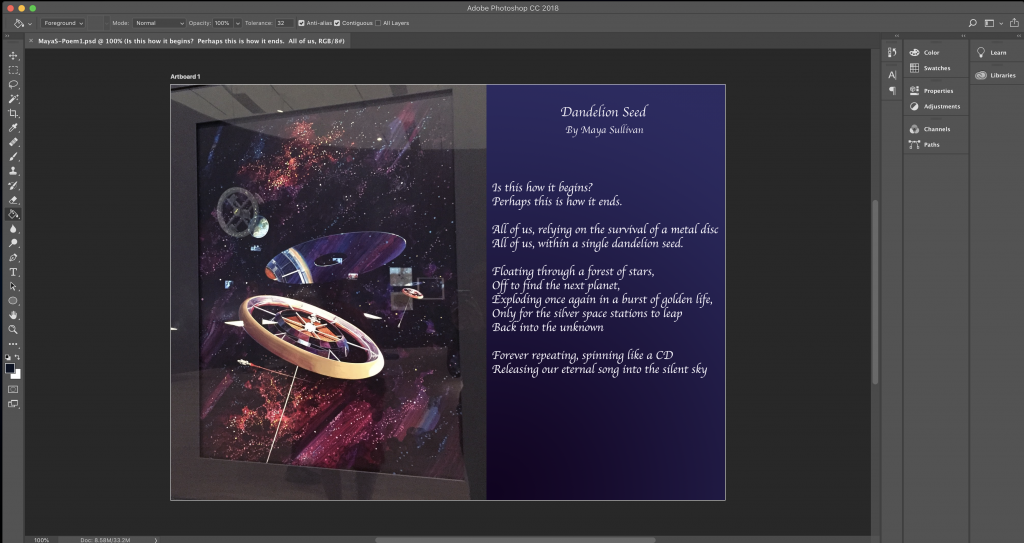
We used Photoshop to edit the background and text of our poems.
Photo Haiku
In our English class, we were given a random concept statement and then we were tasked with writing a haiku based on the concept statement. My concept statement was “the feeling of defensiveness through learning to love.” Once we had completed the haiku, we turned it into a video complete with a photo and background music.
Photo Haiku: Behind the Scenes
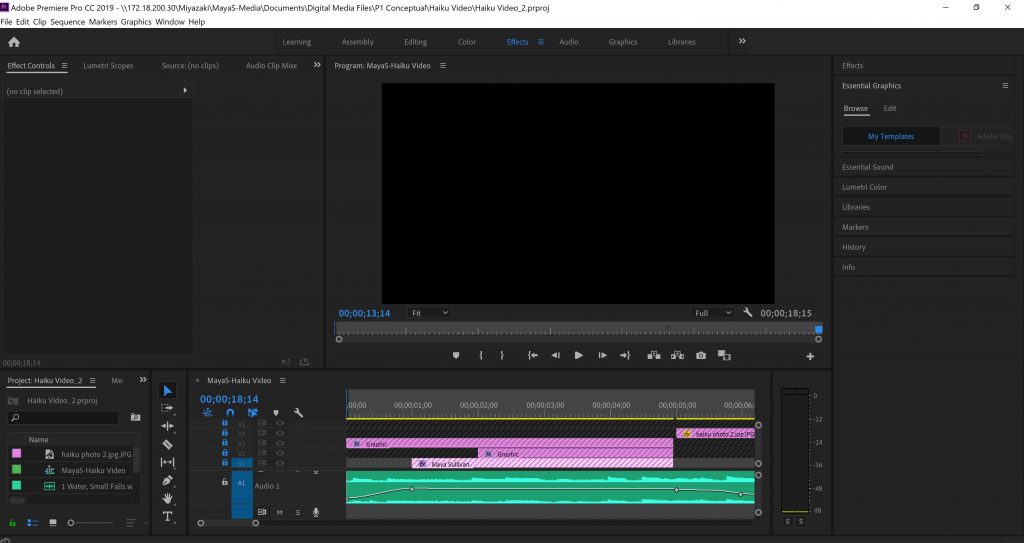
The photo Haiku project was a good way to utilize most of the knowledge we gained about how to use Premier. We learned how to edit the text onscreen and make the audio fade in and out. We used our English work for Digital Media and combined it into one video, which is a nice way to showcase our work for both classes.
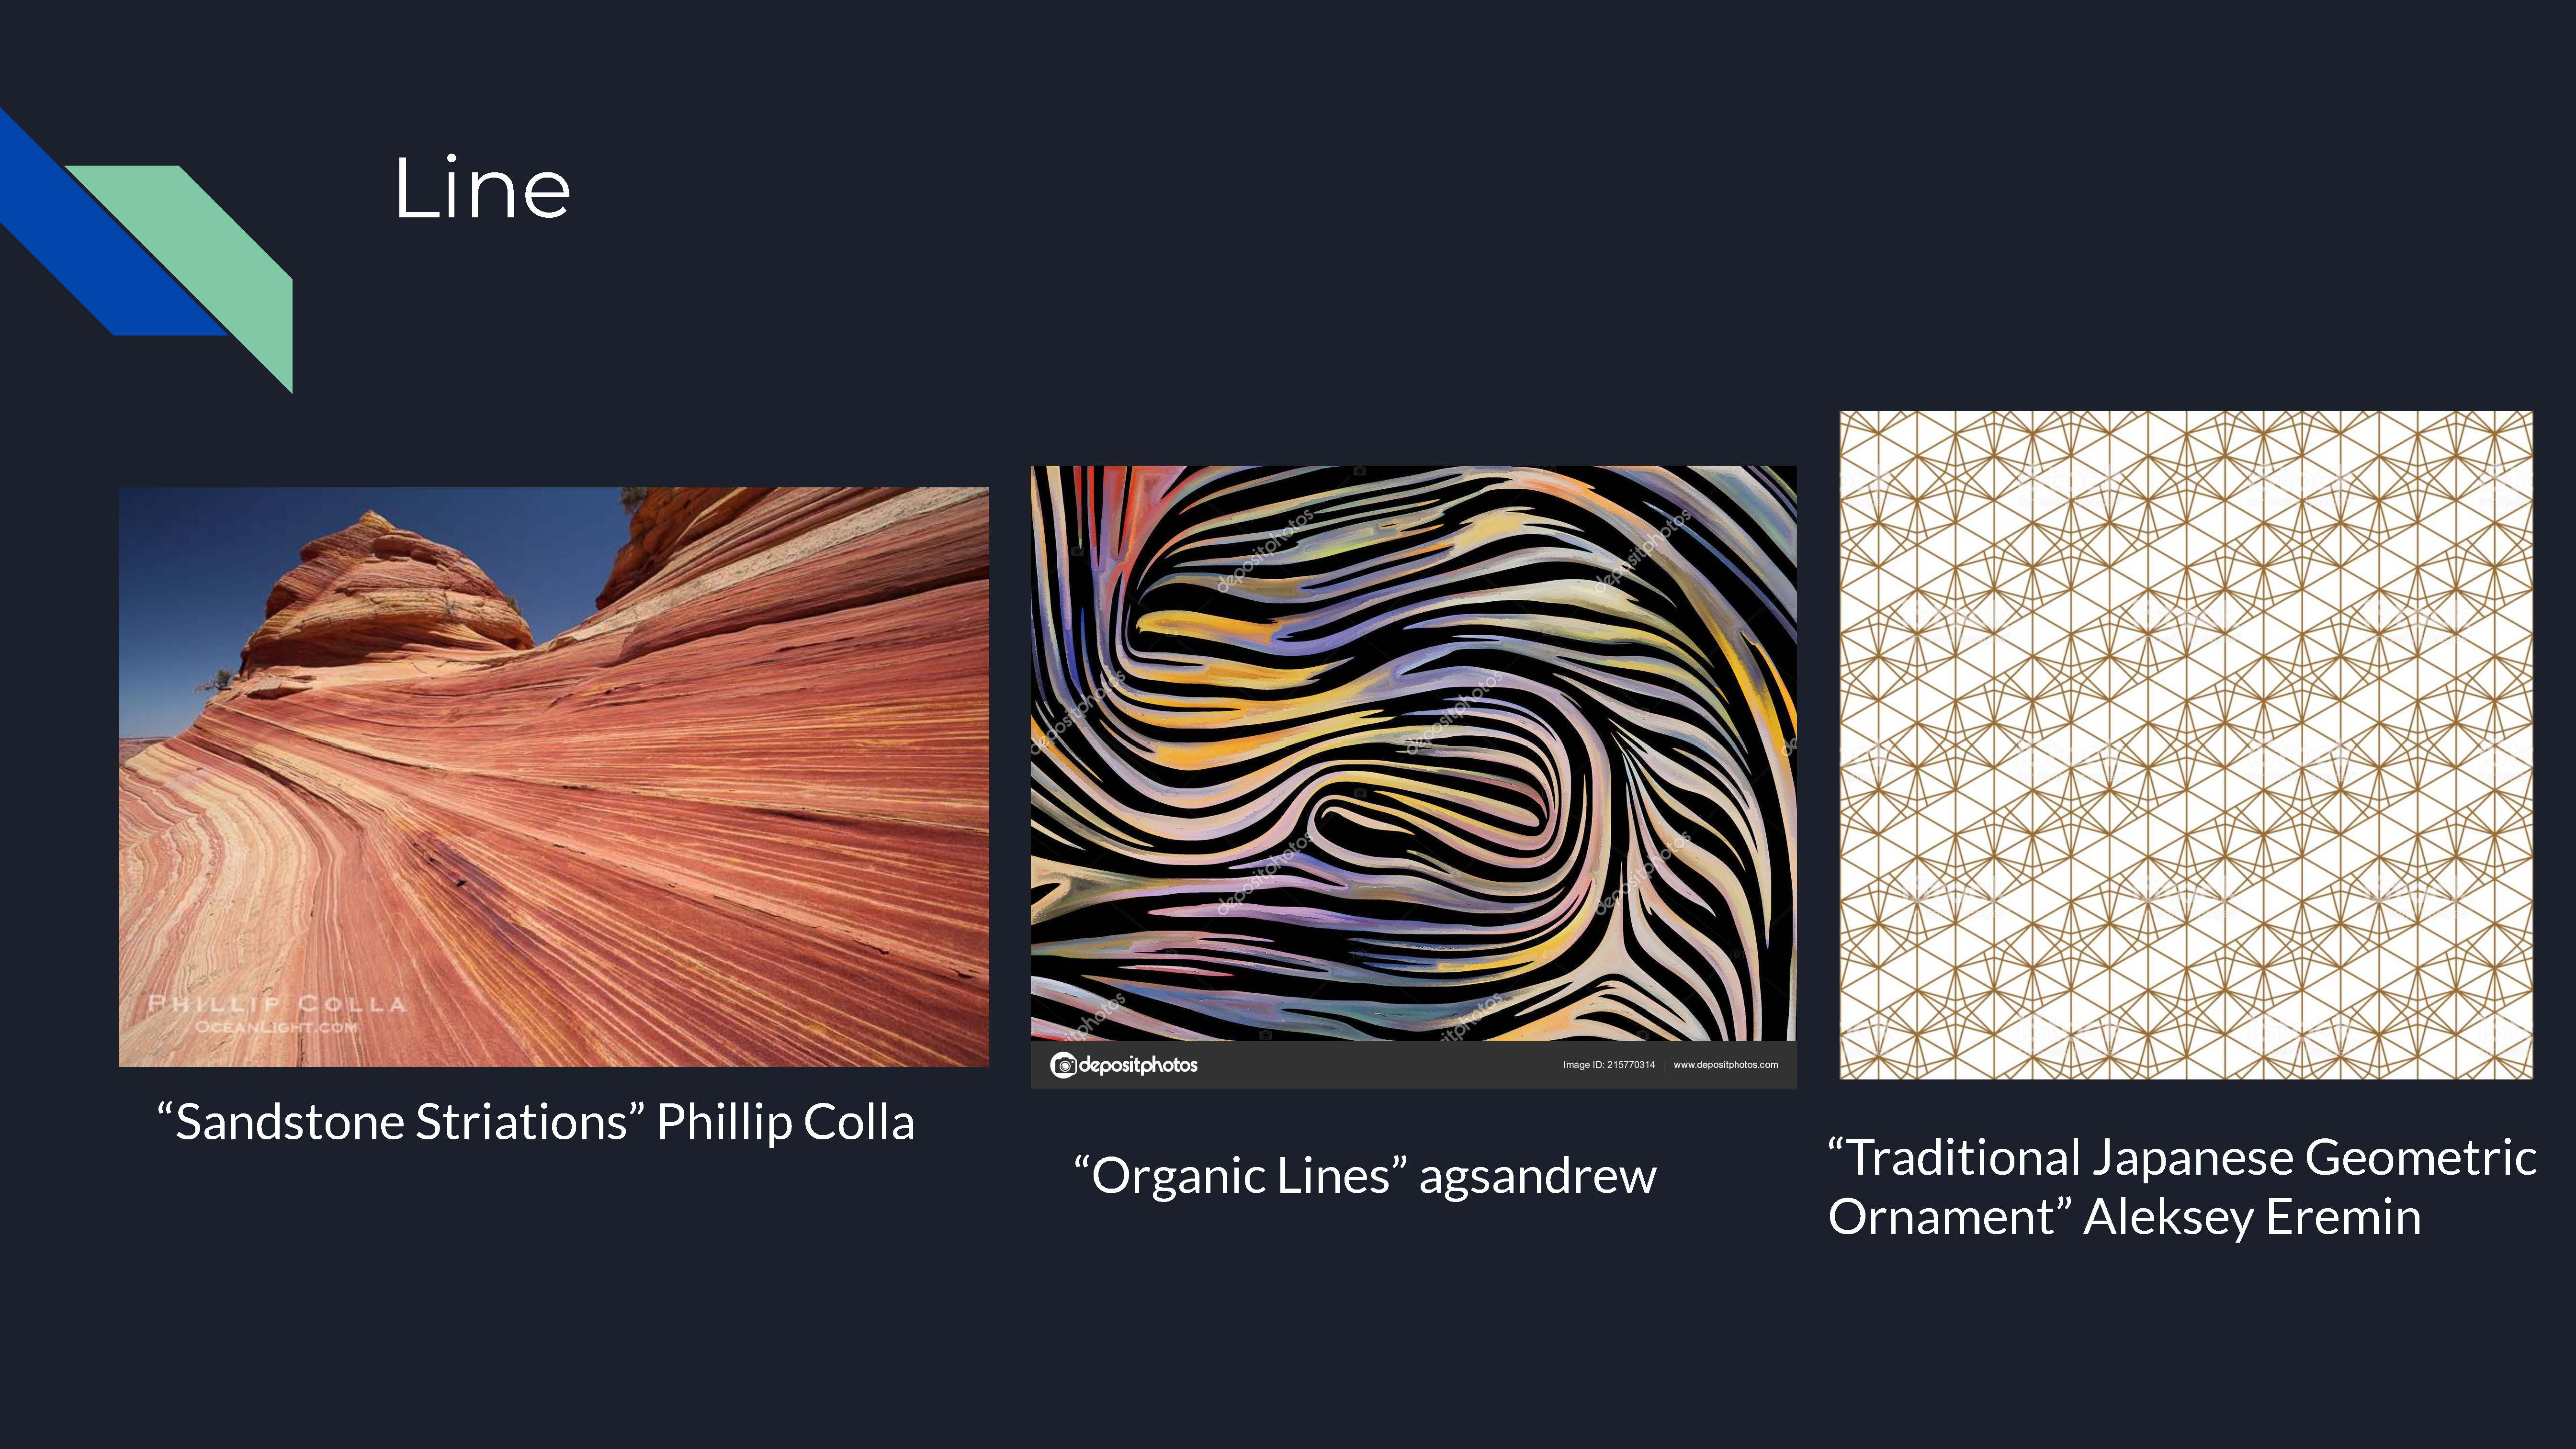
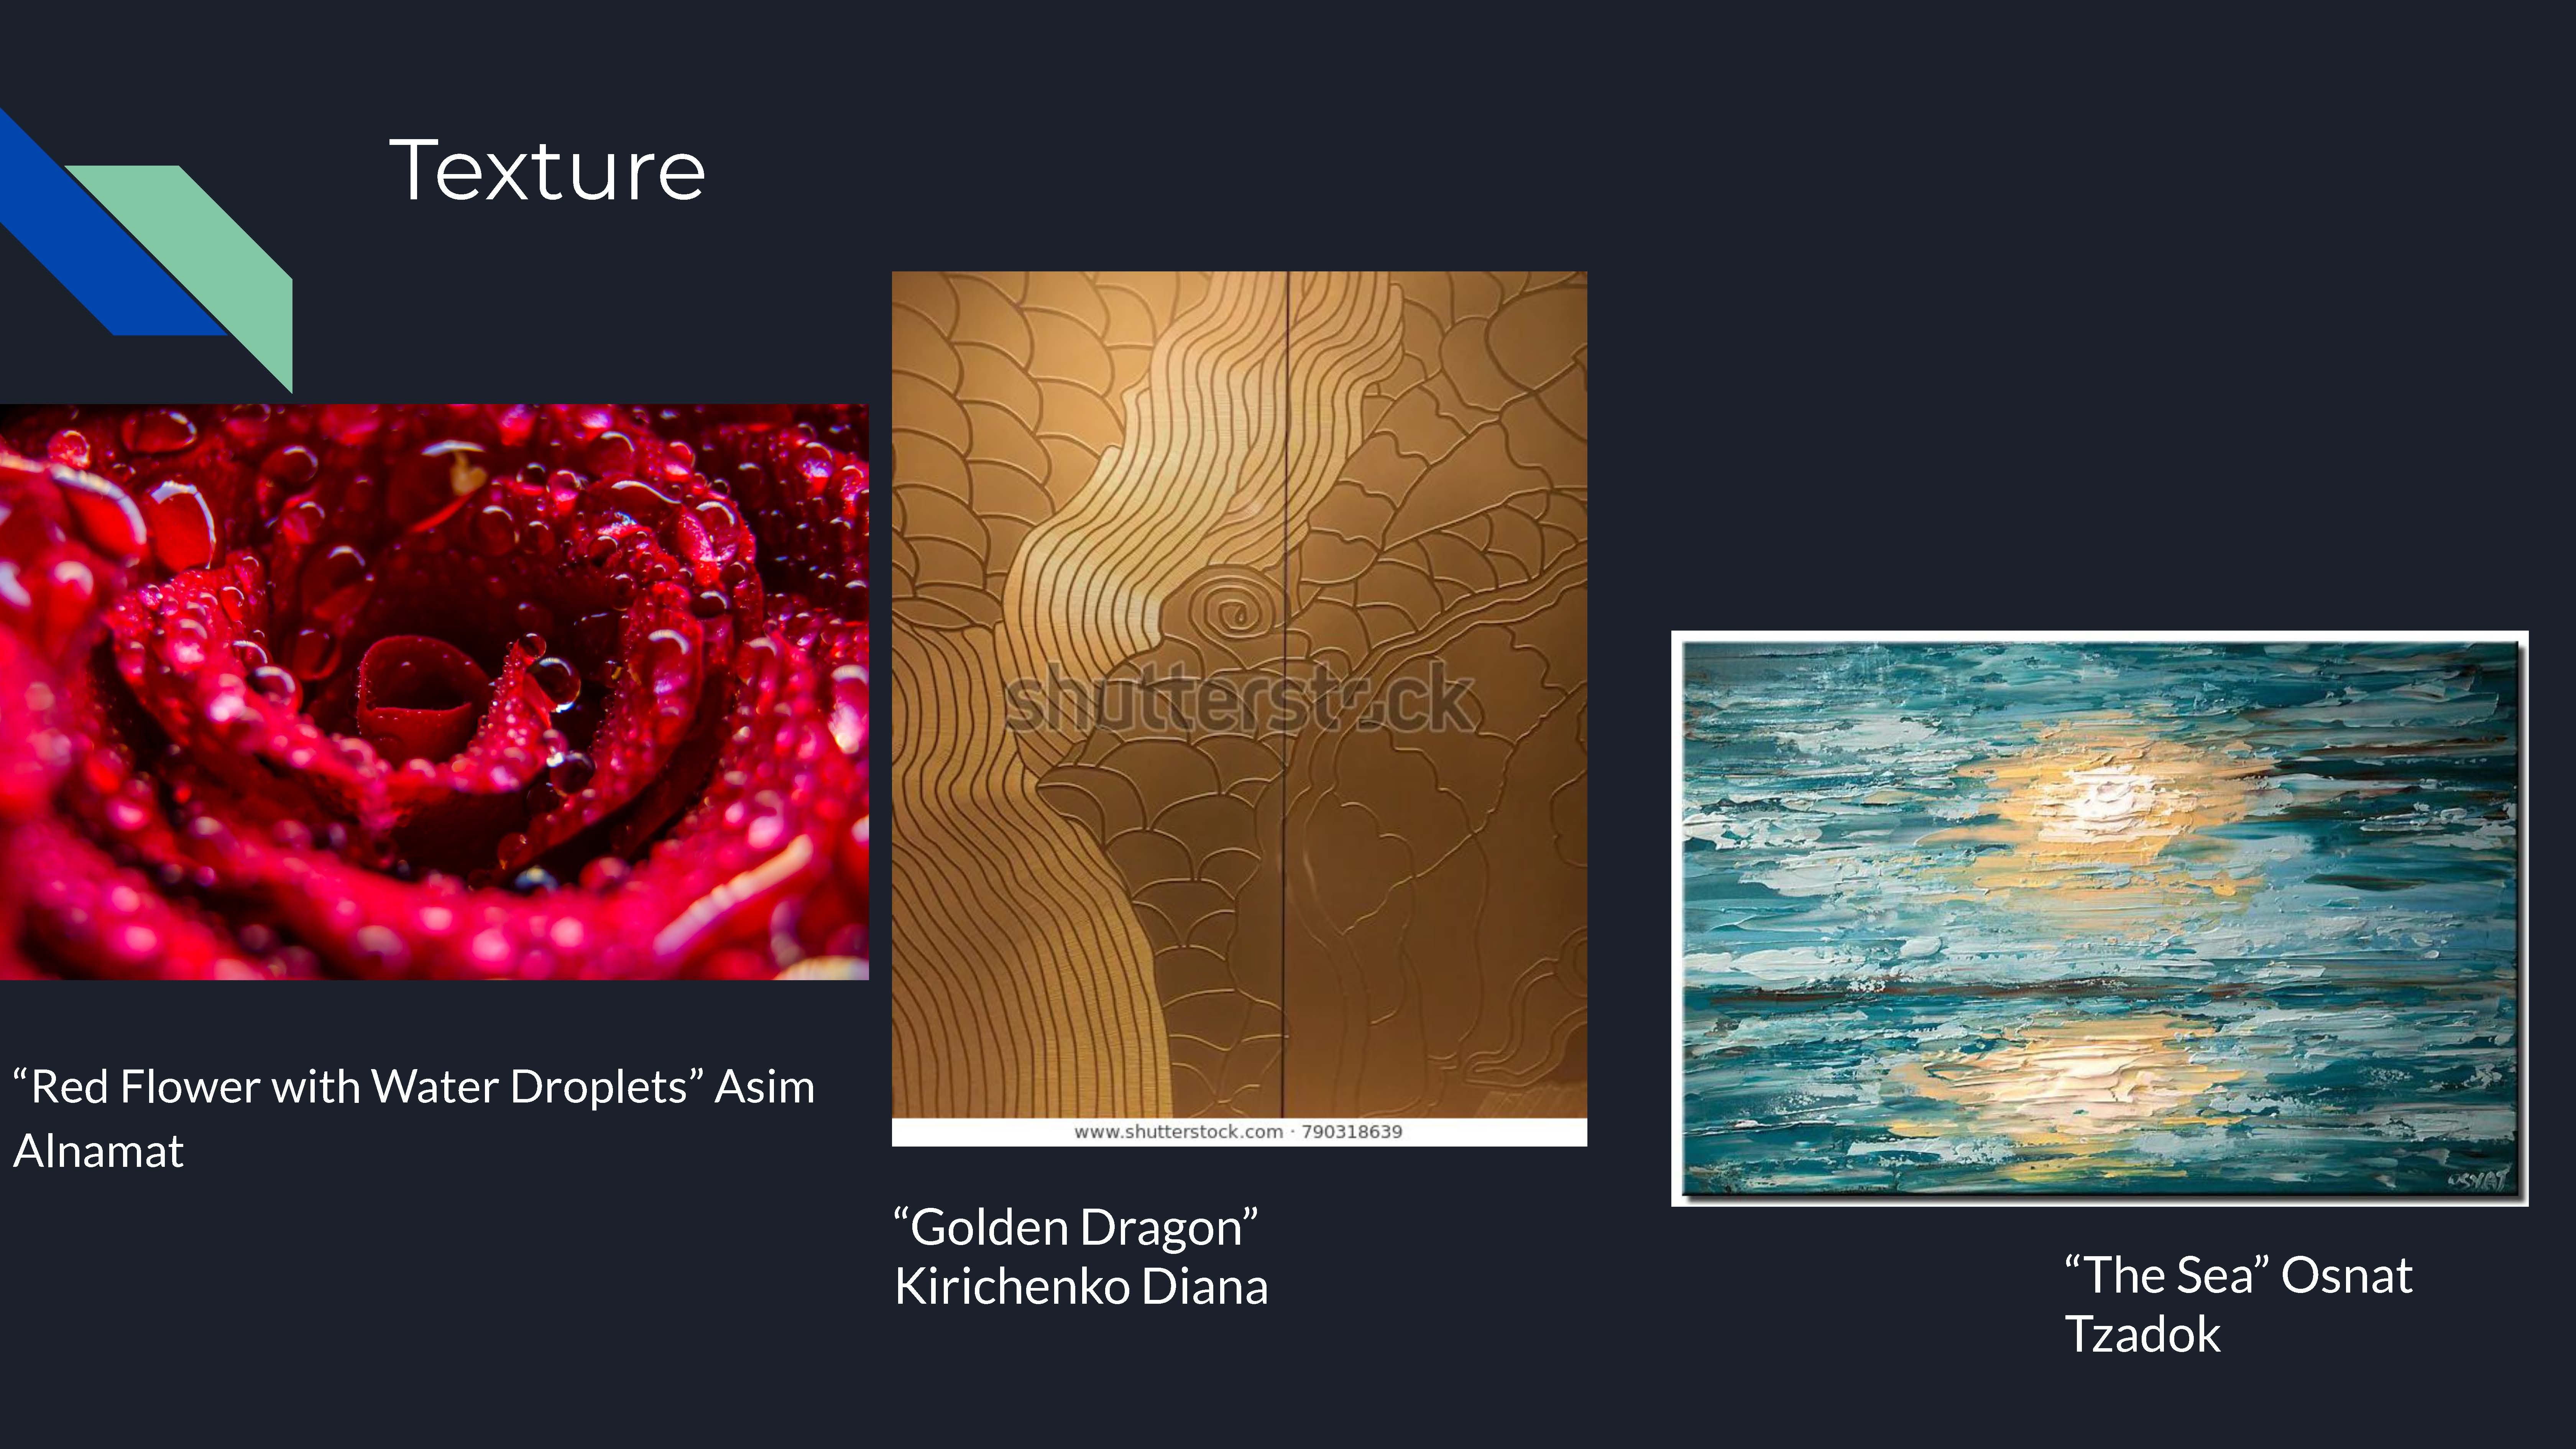
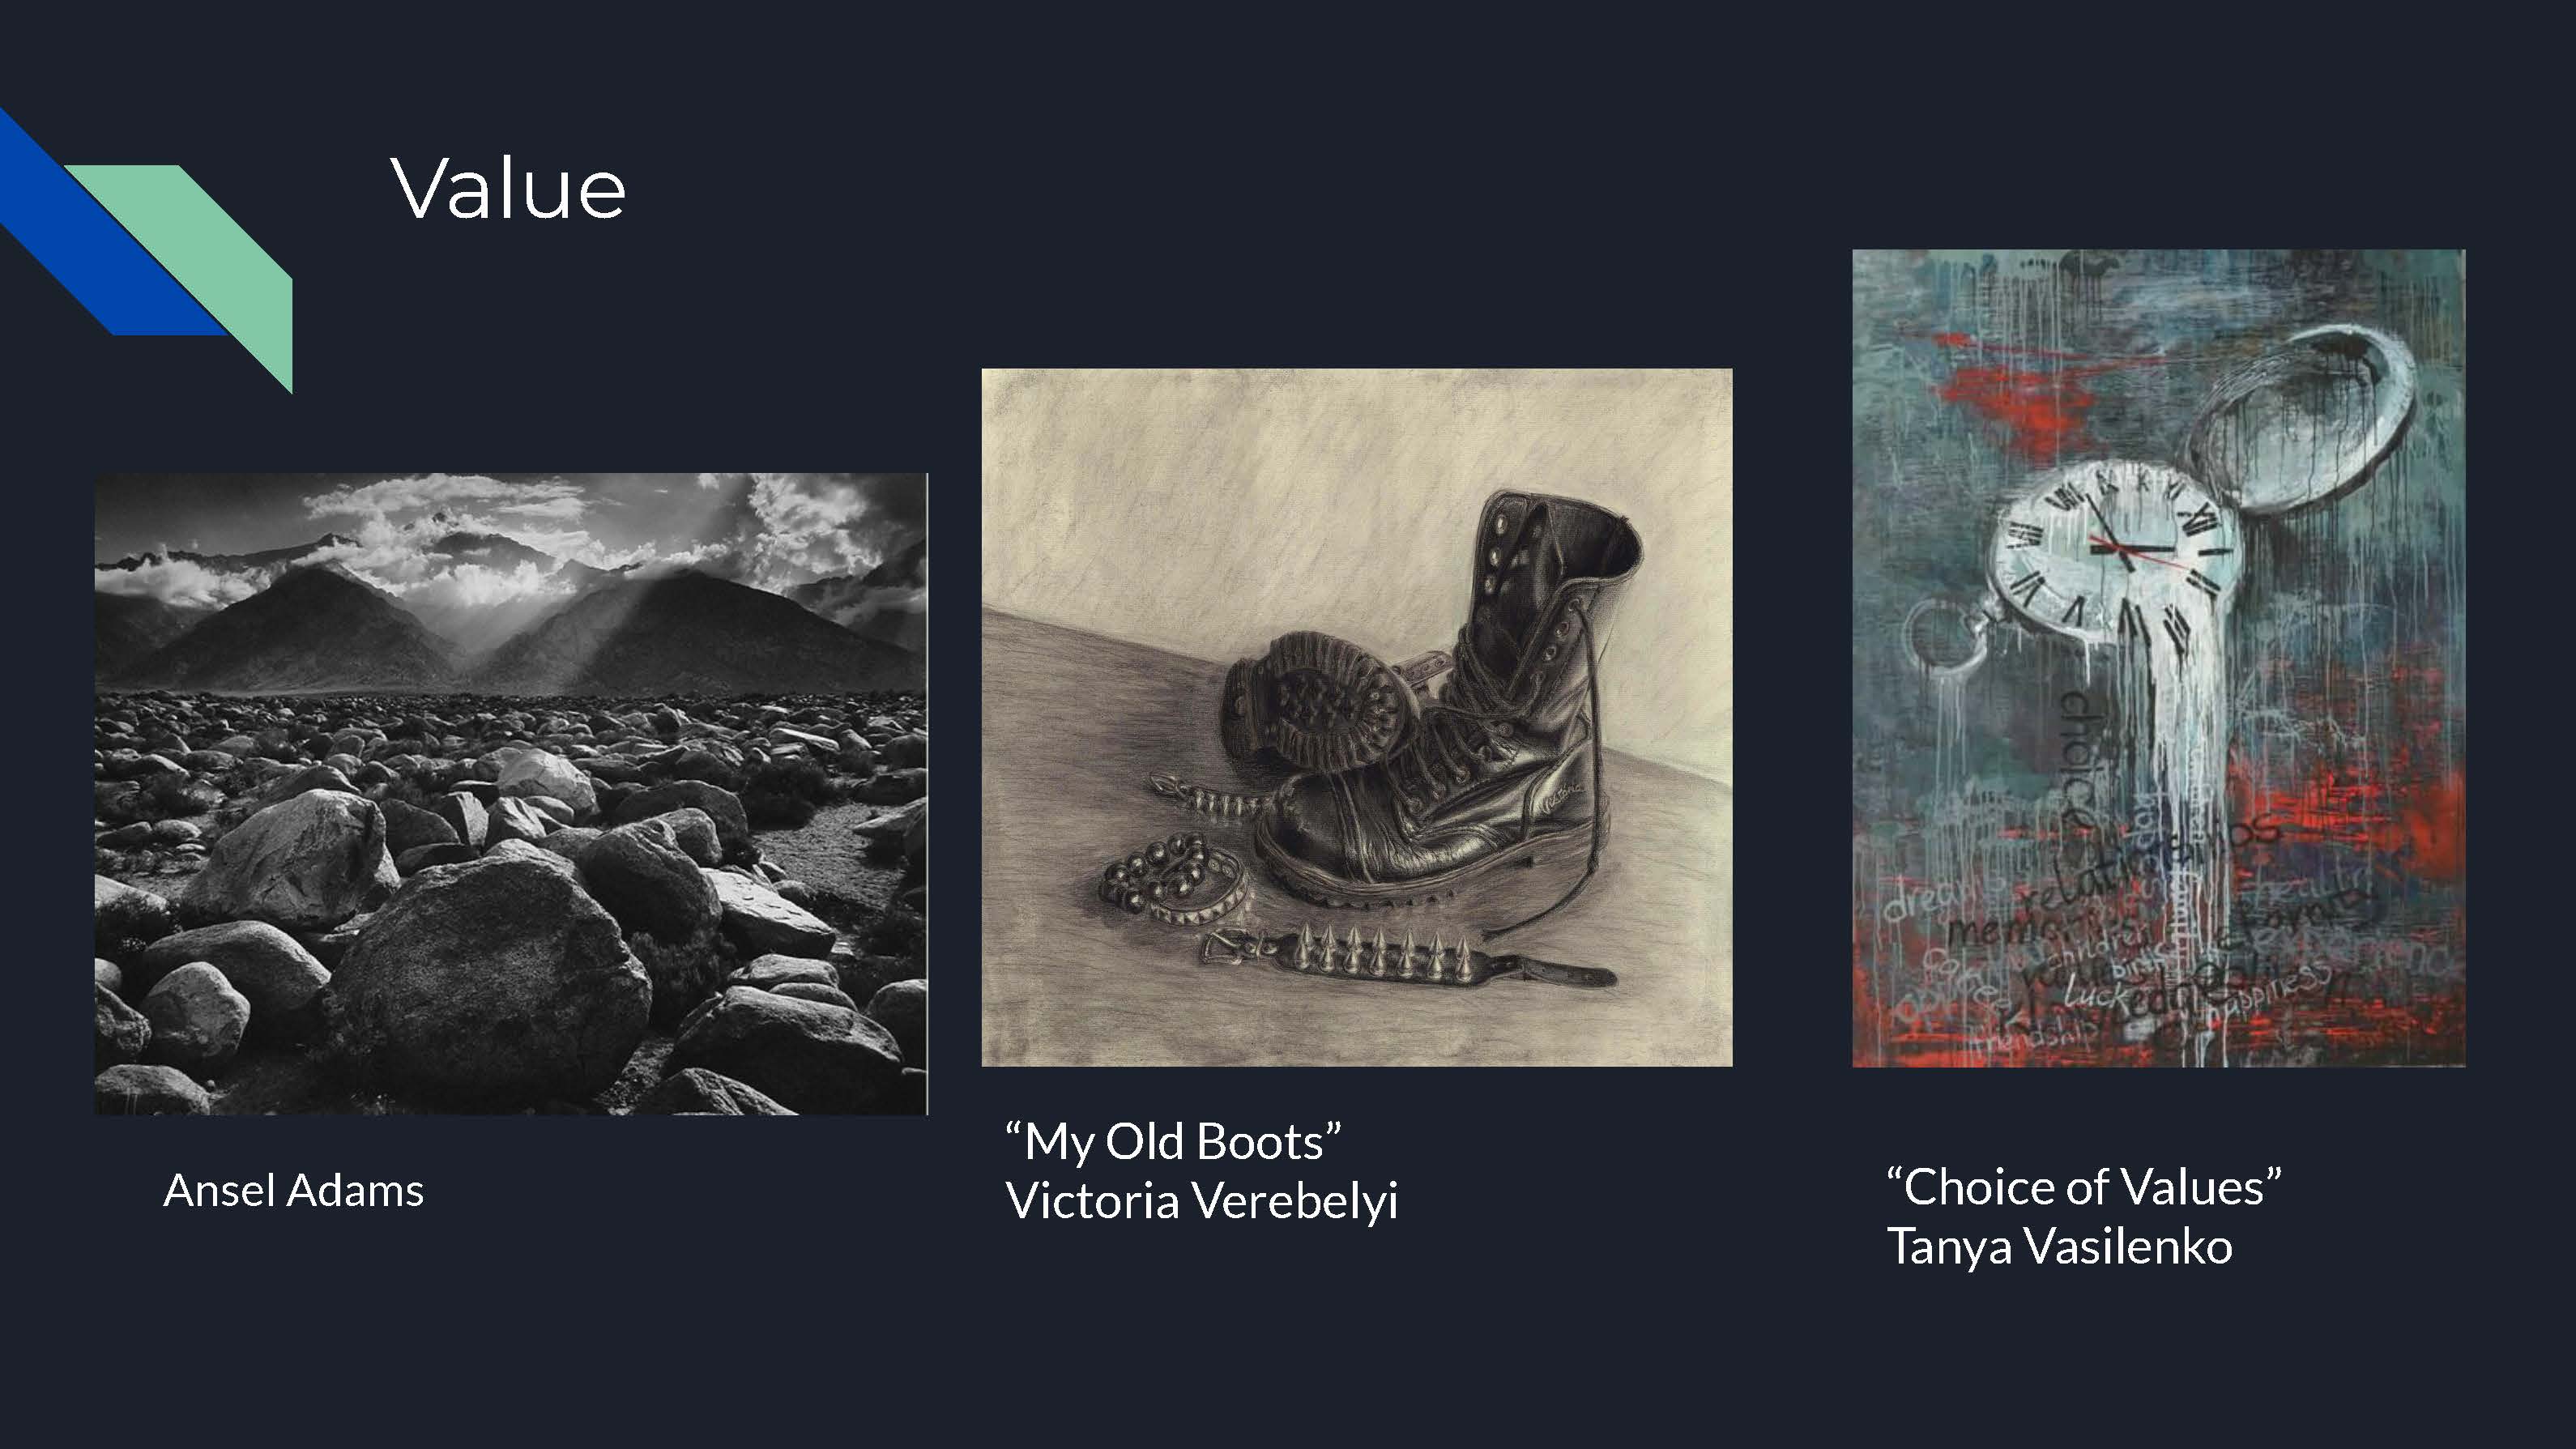
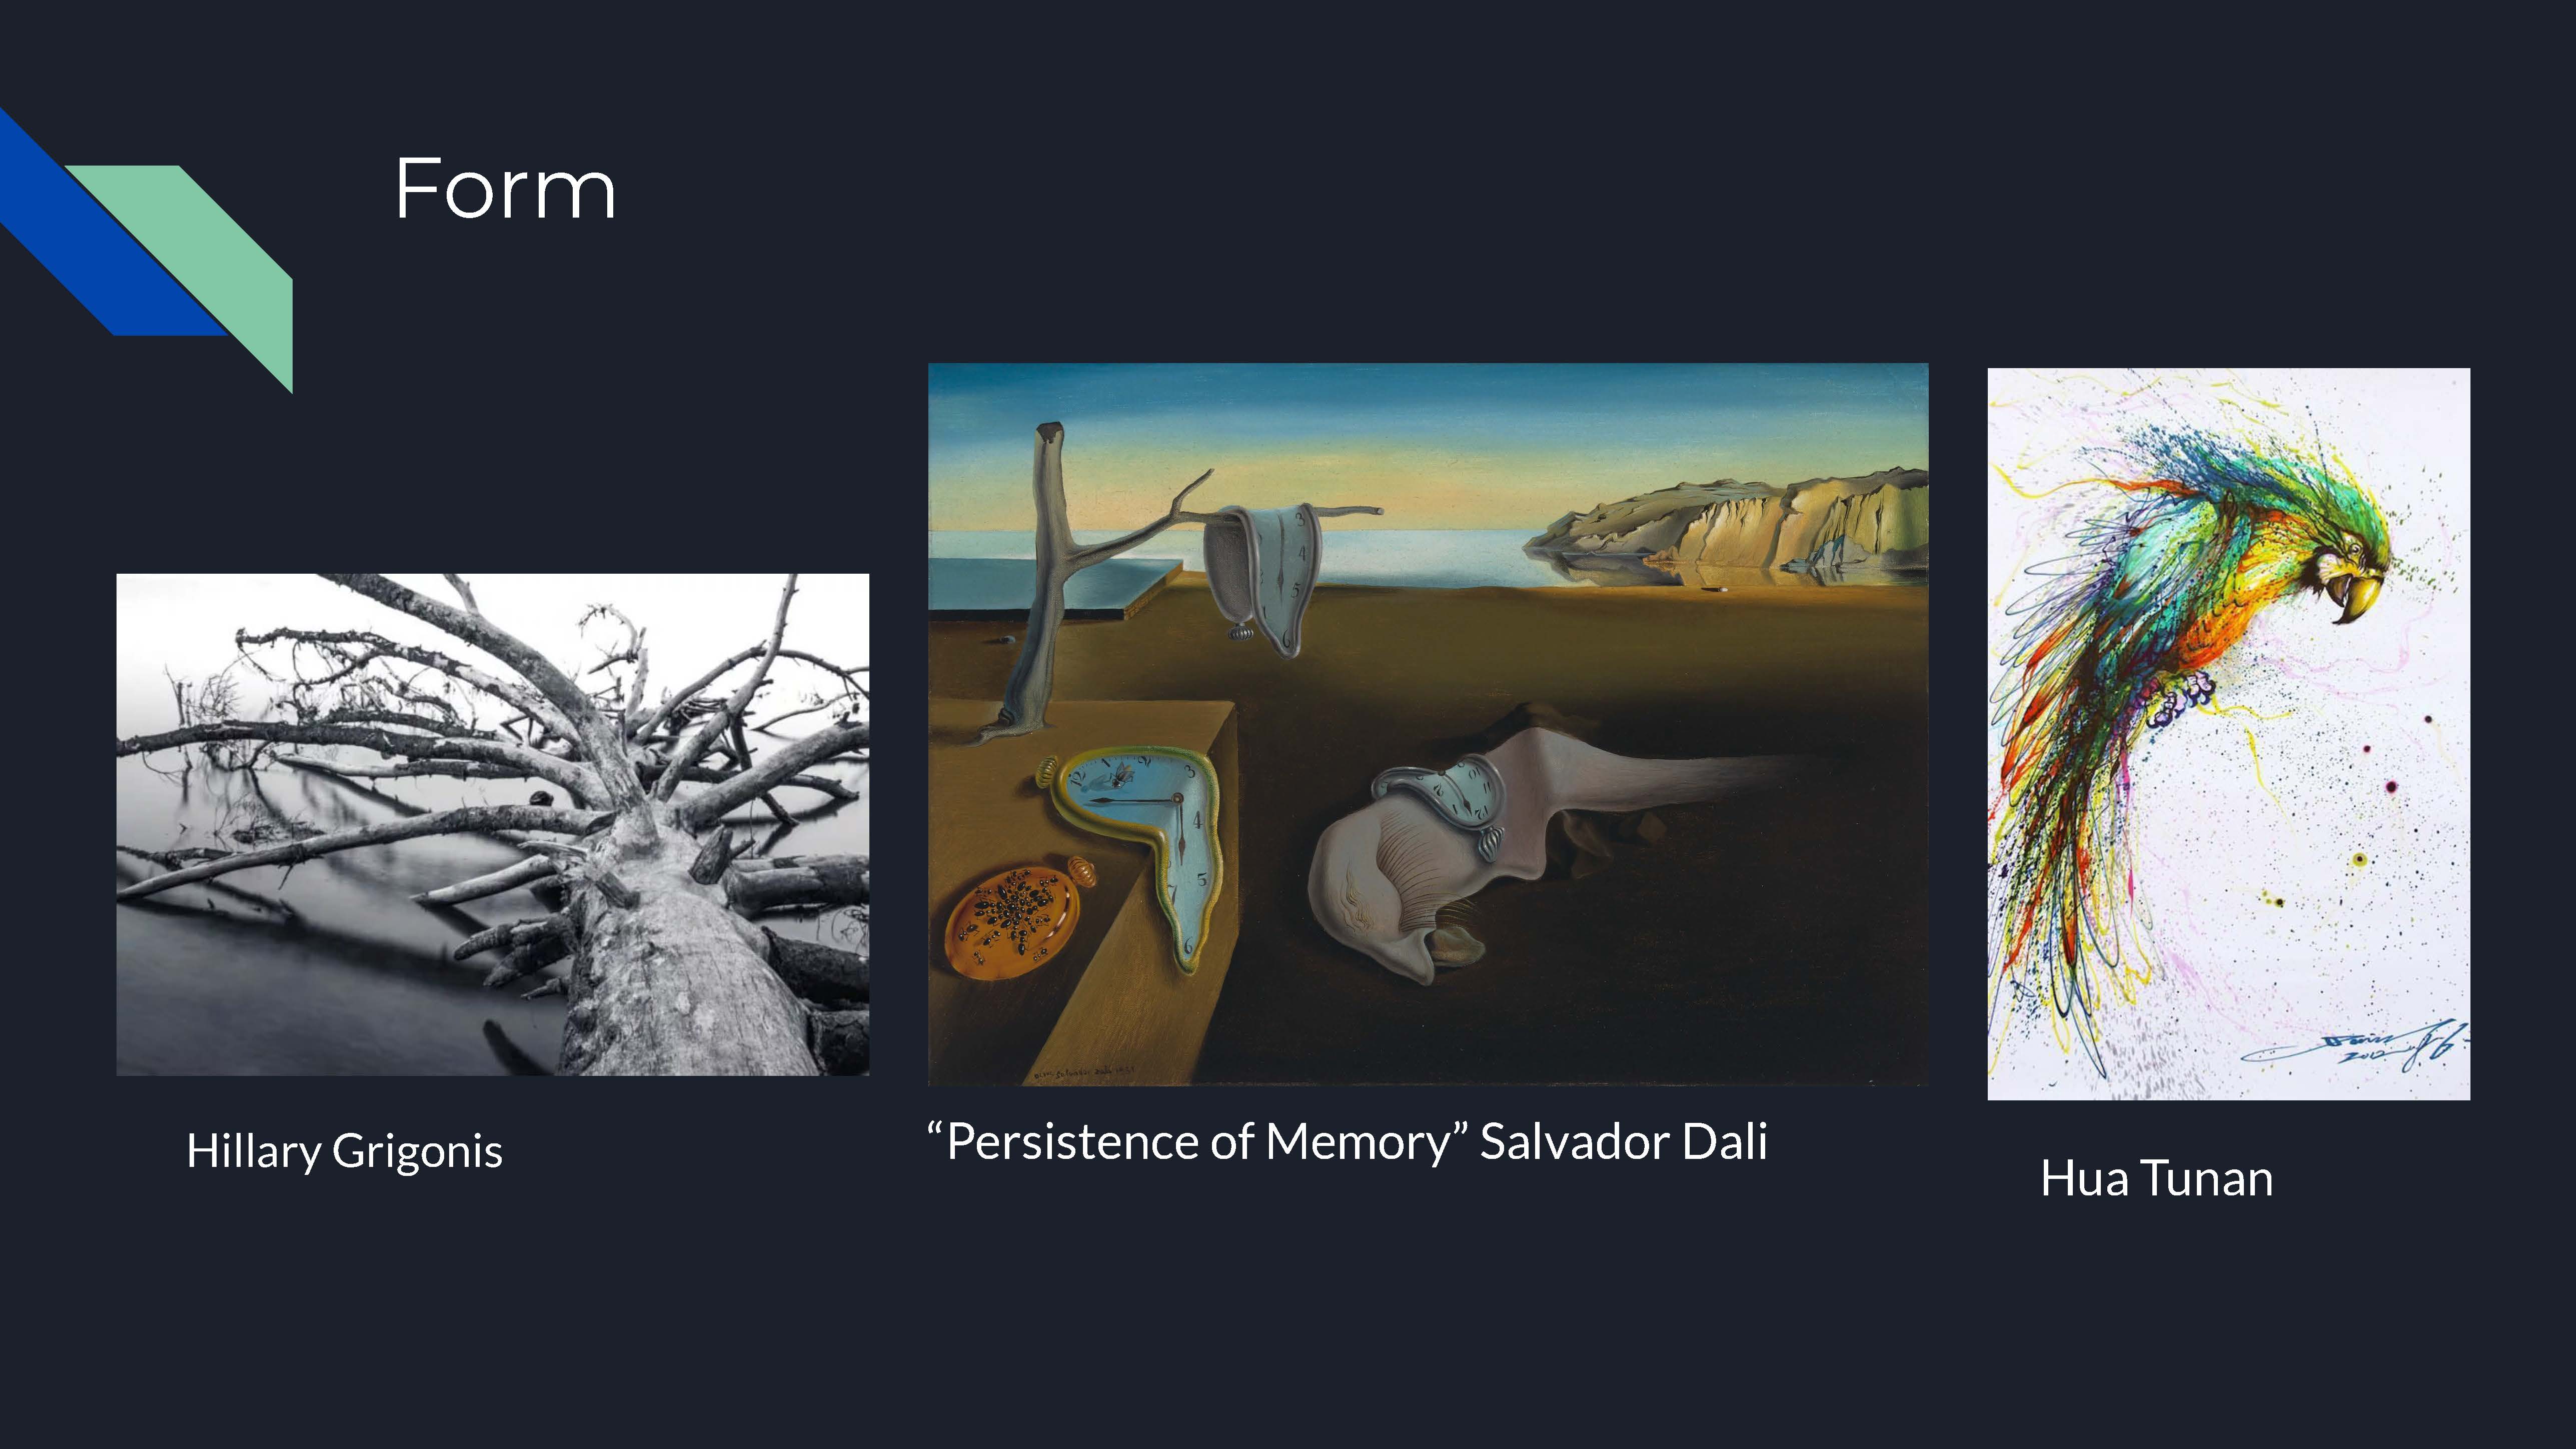
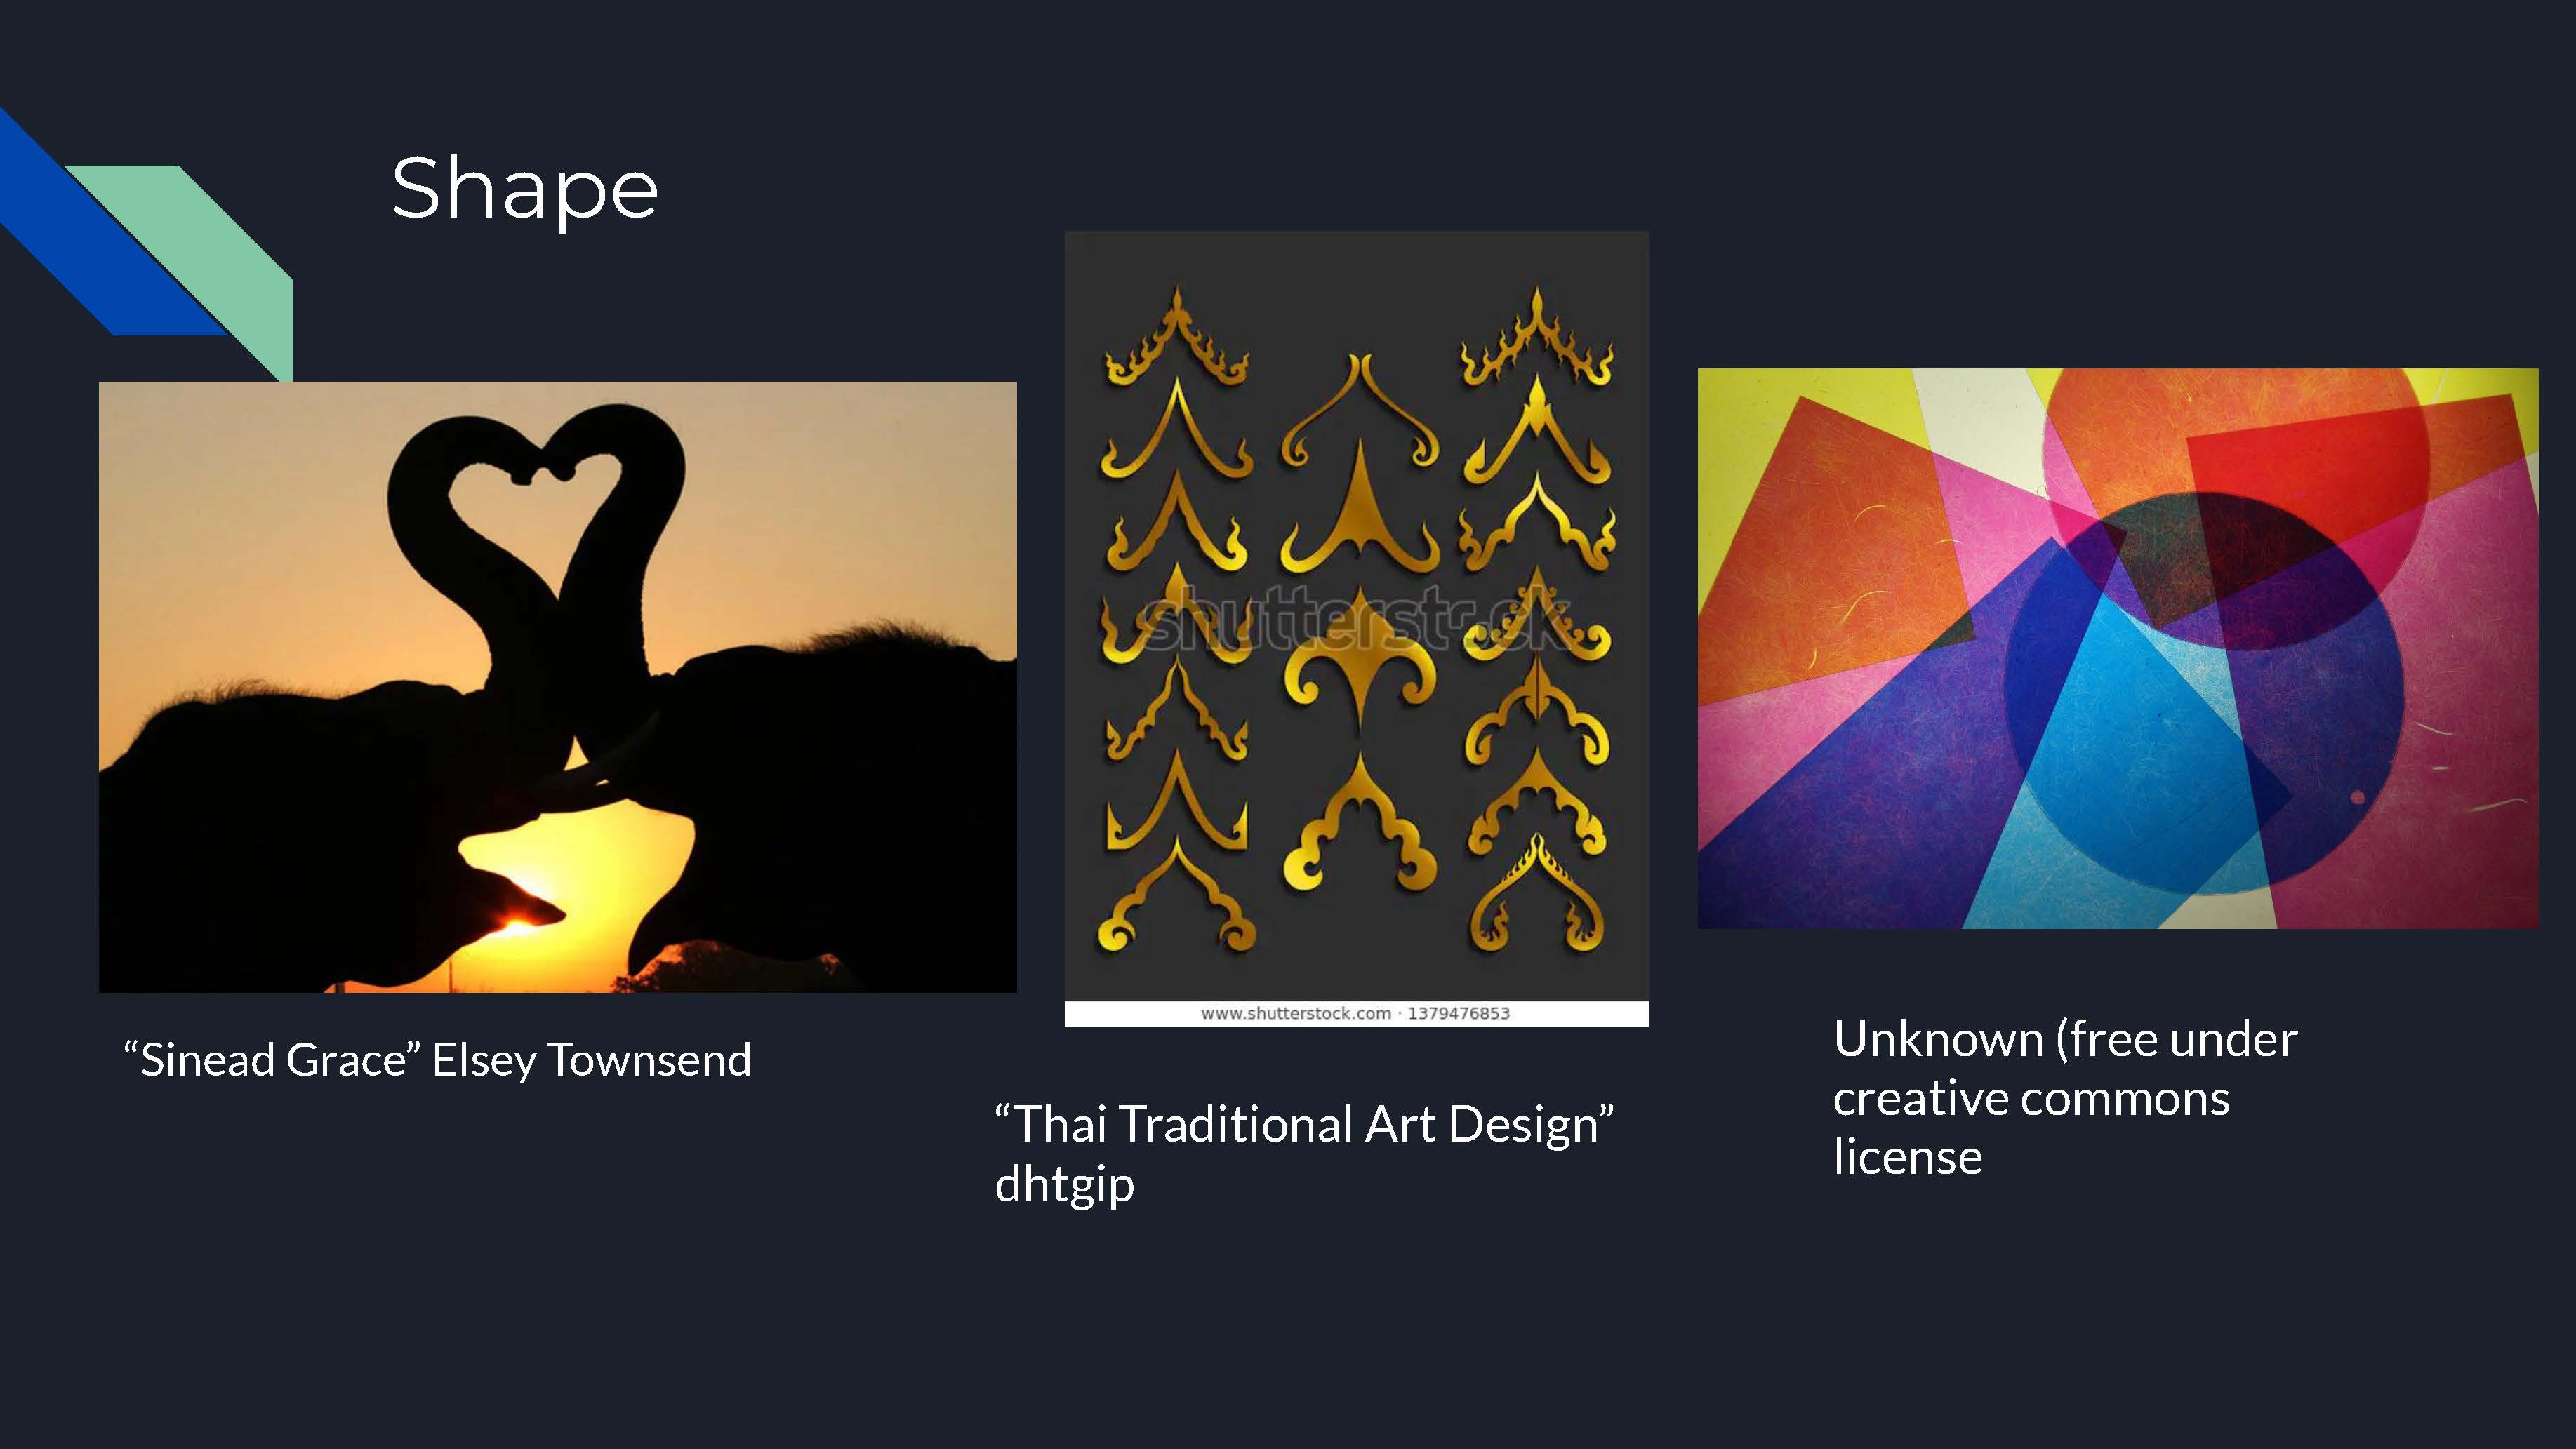
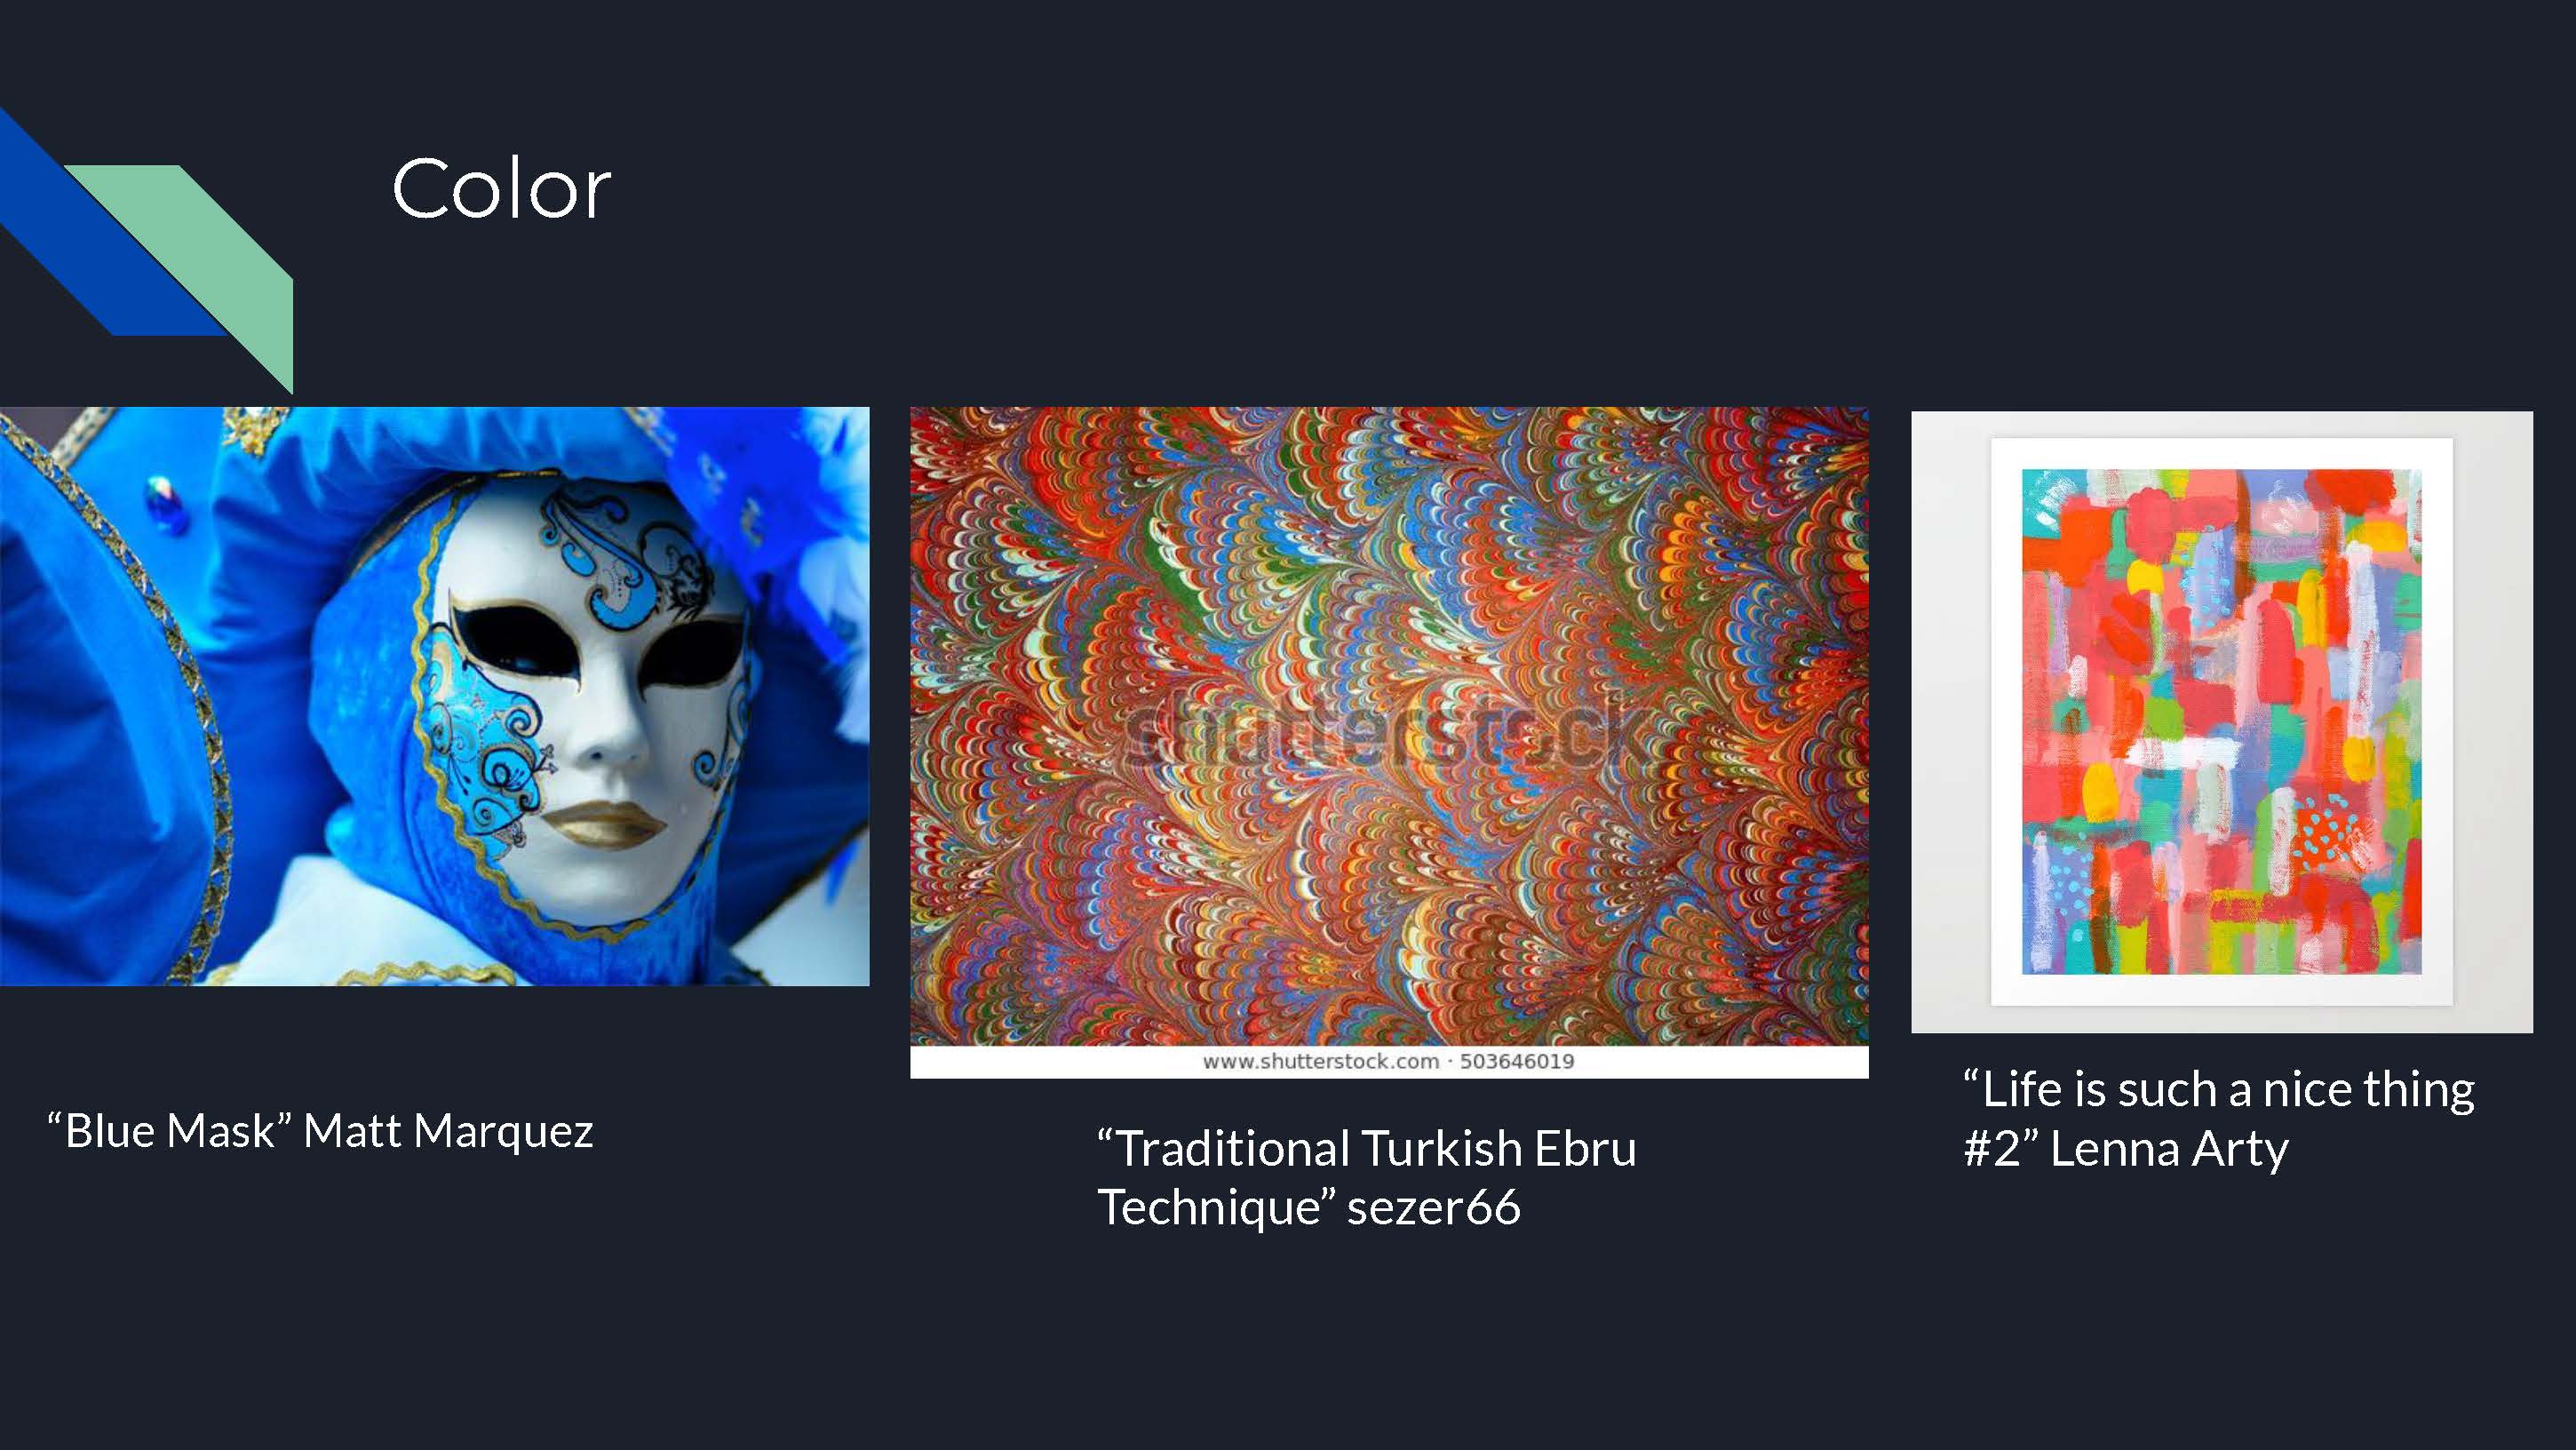
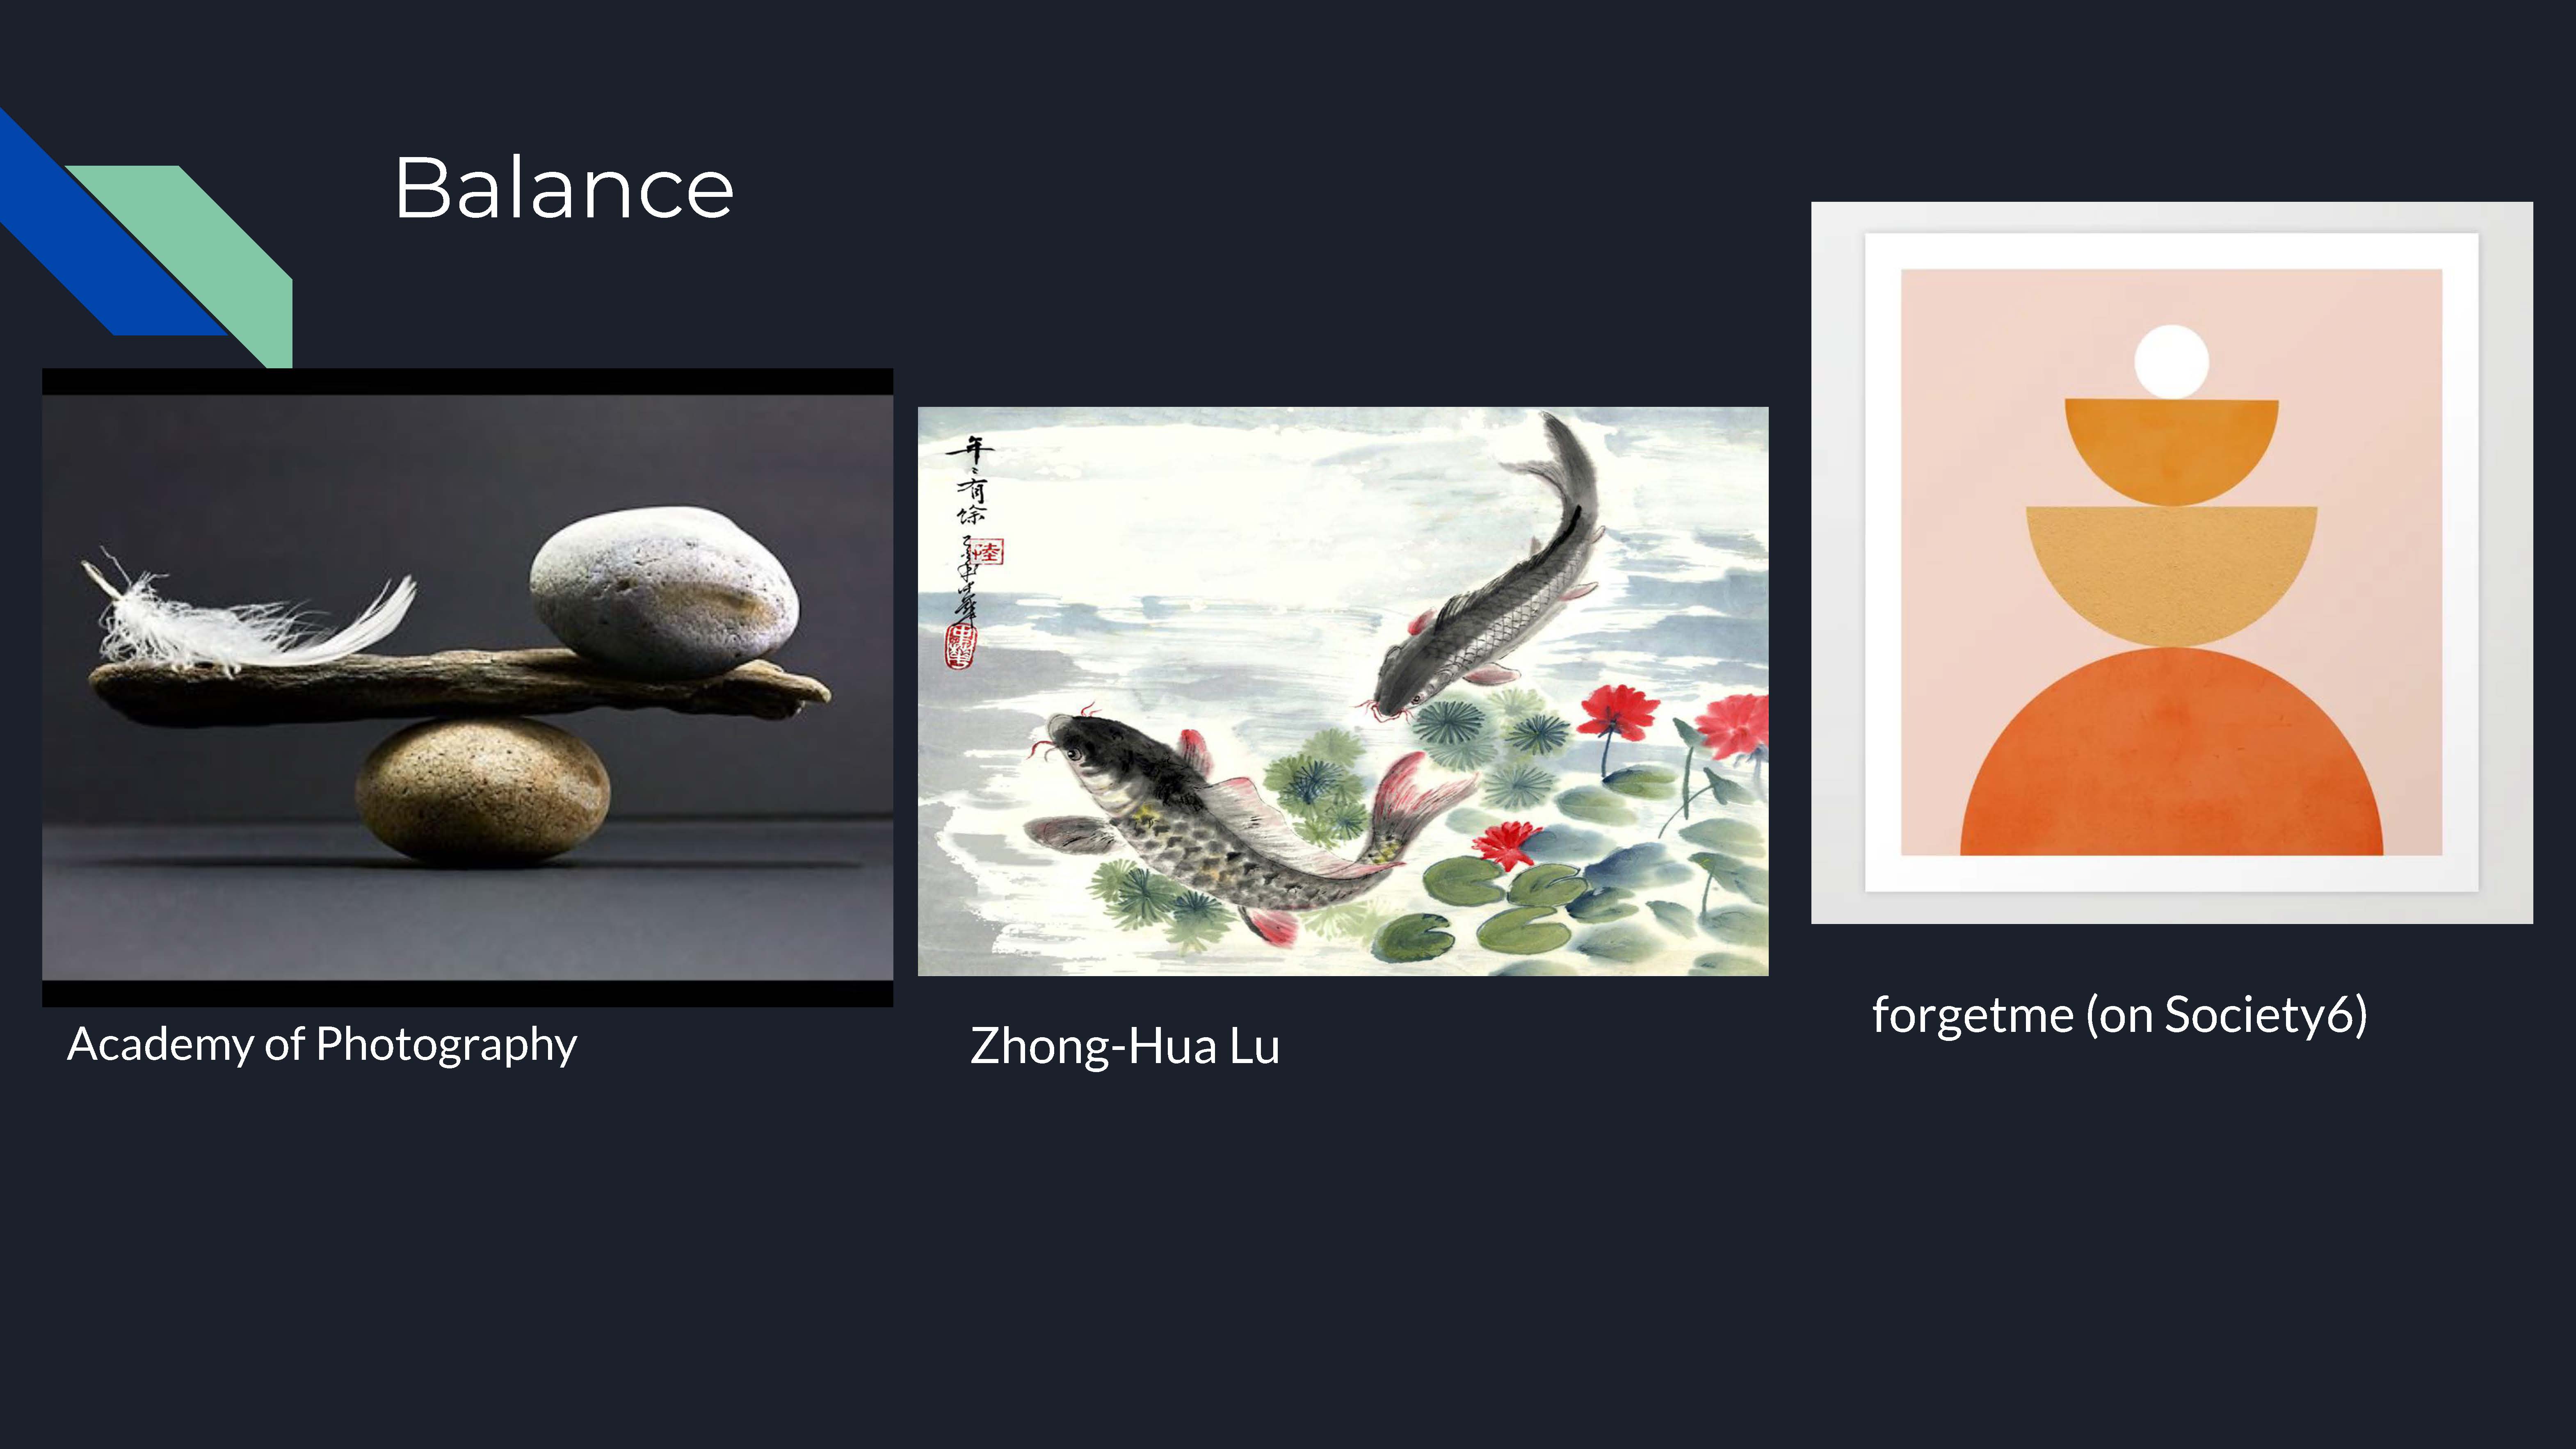
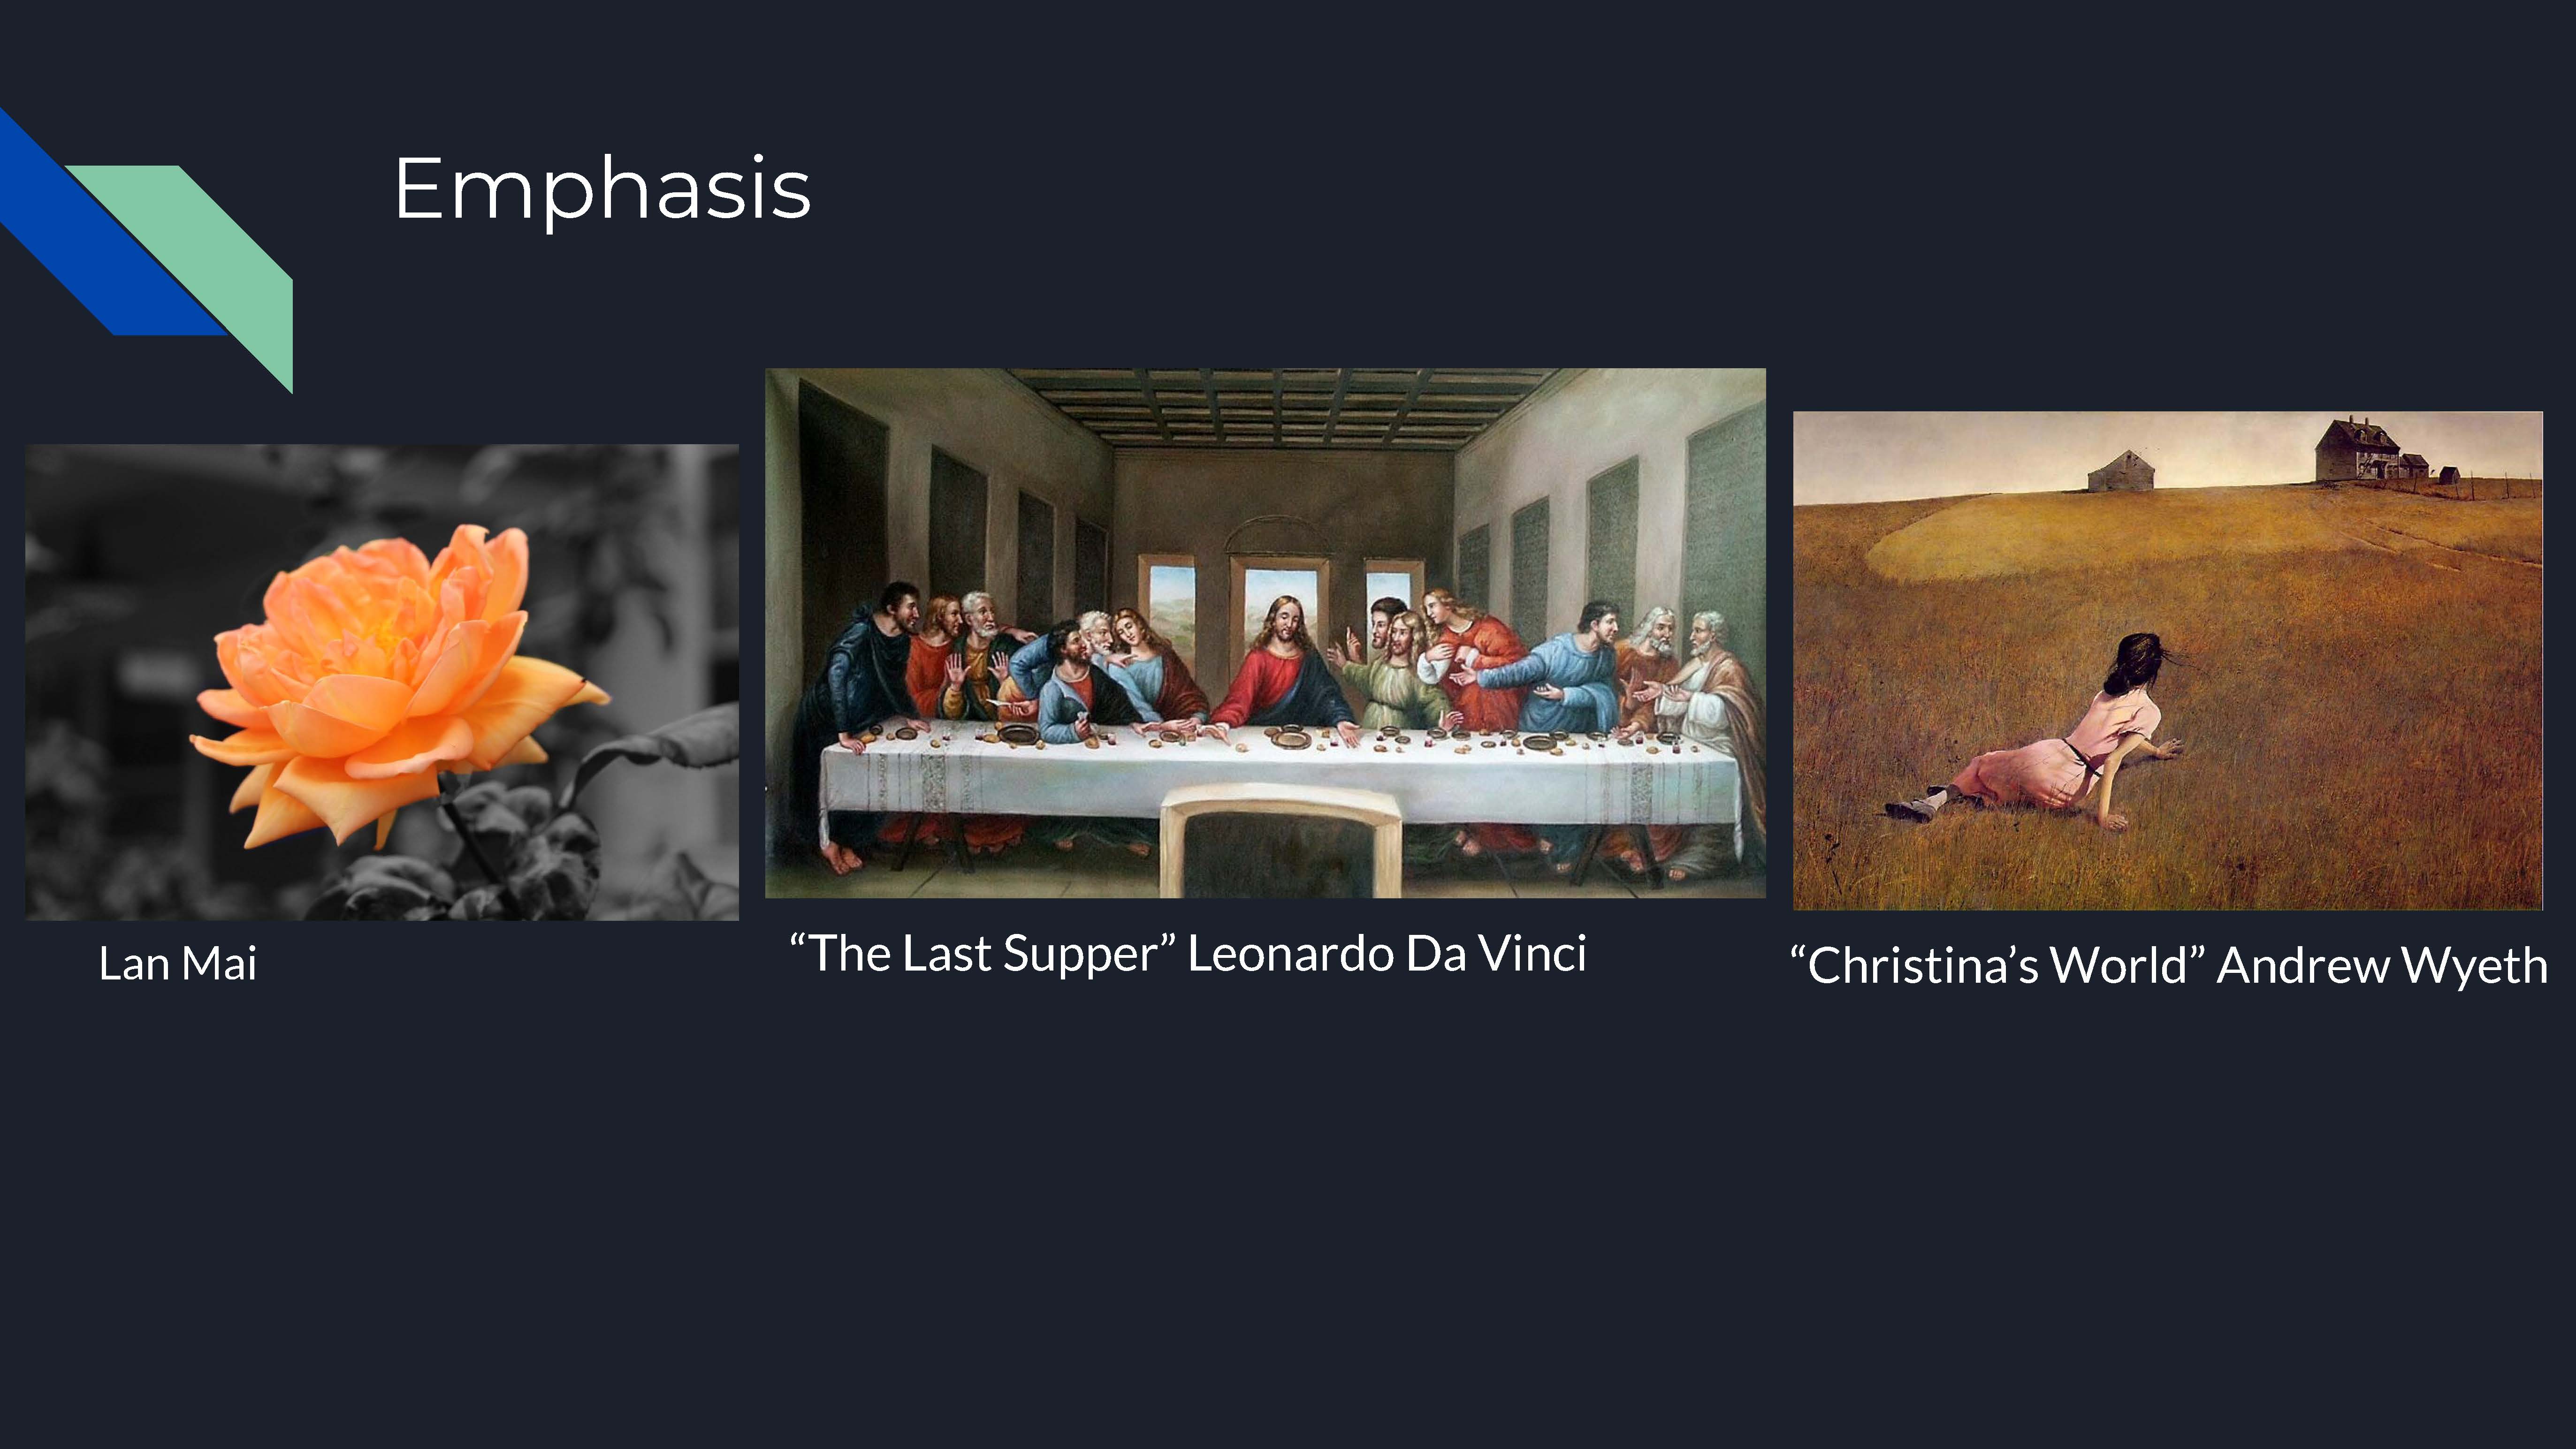
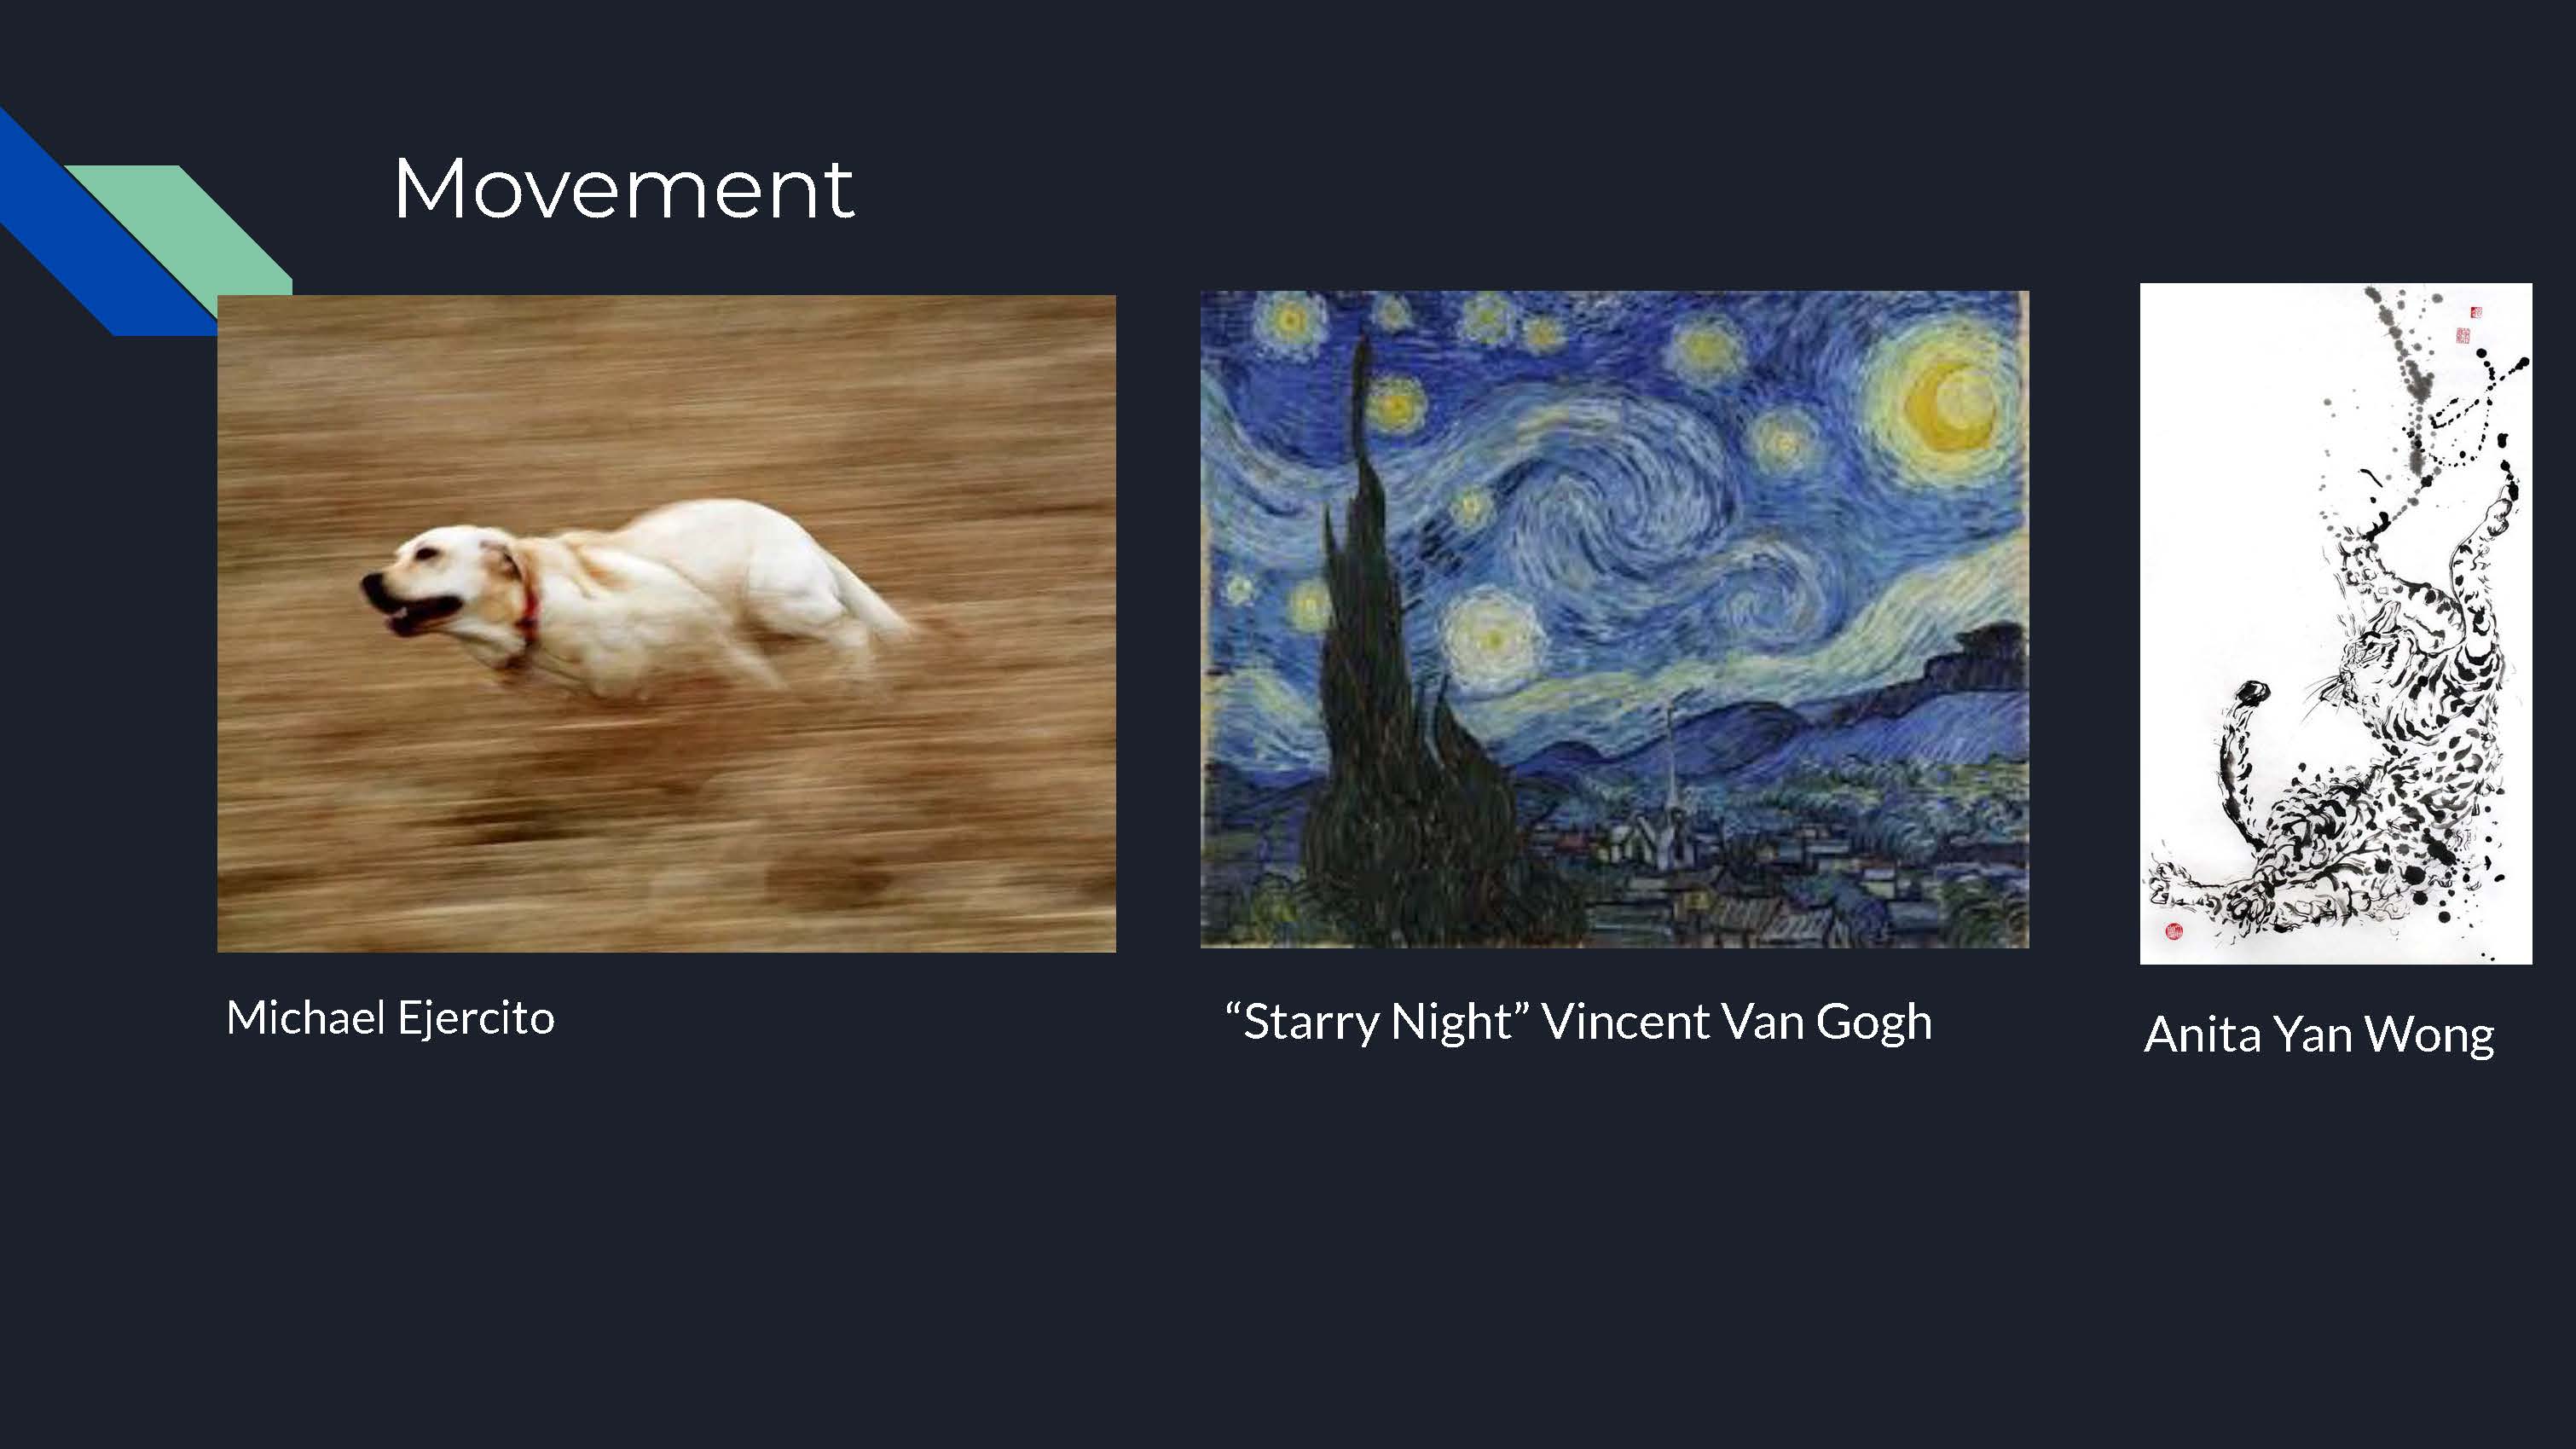
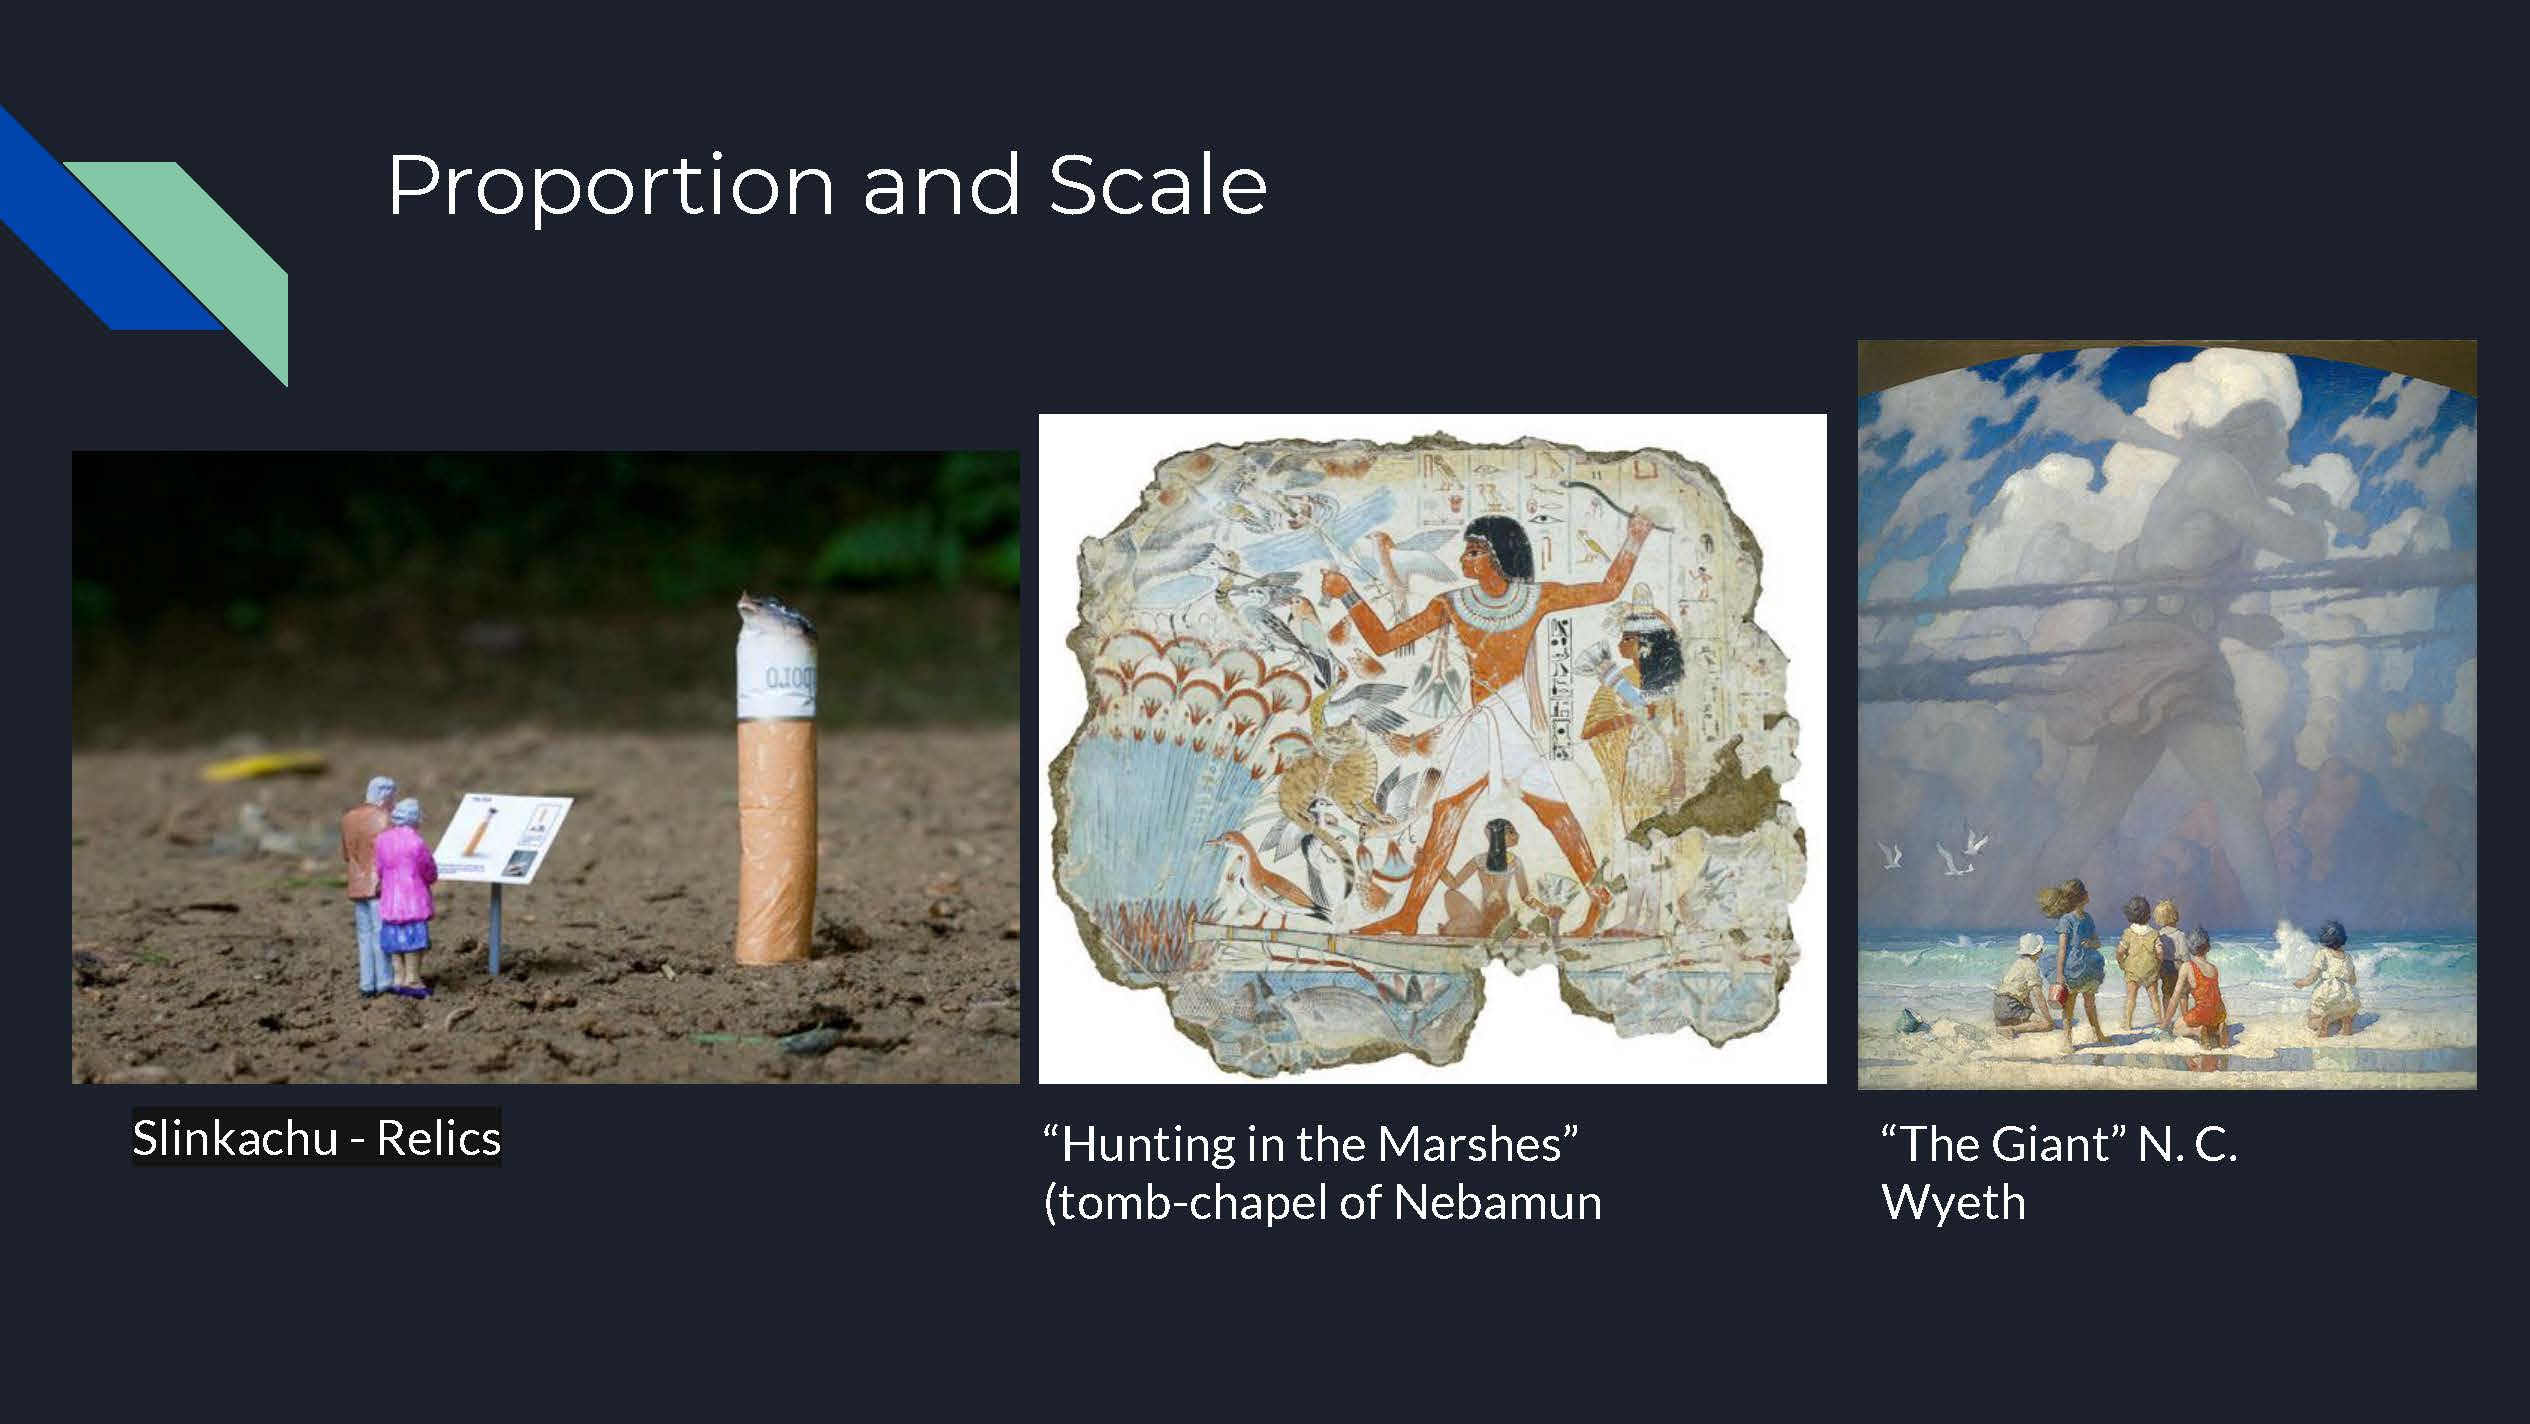
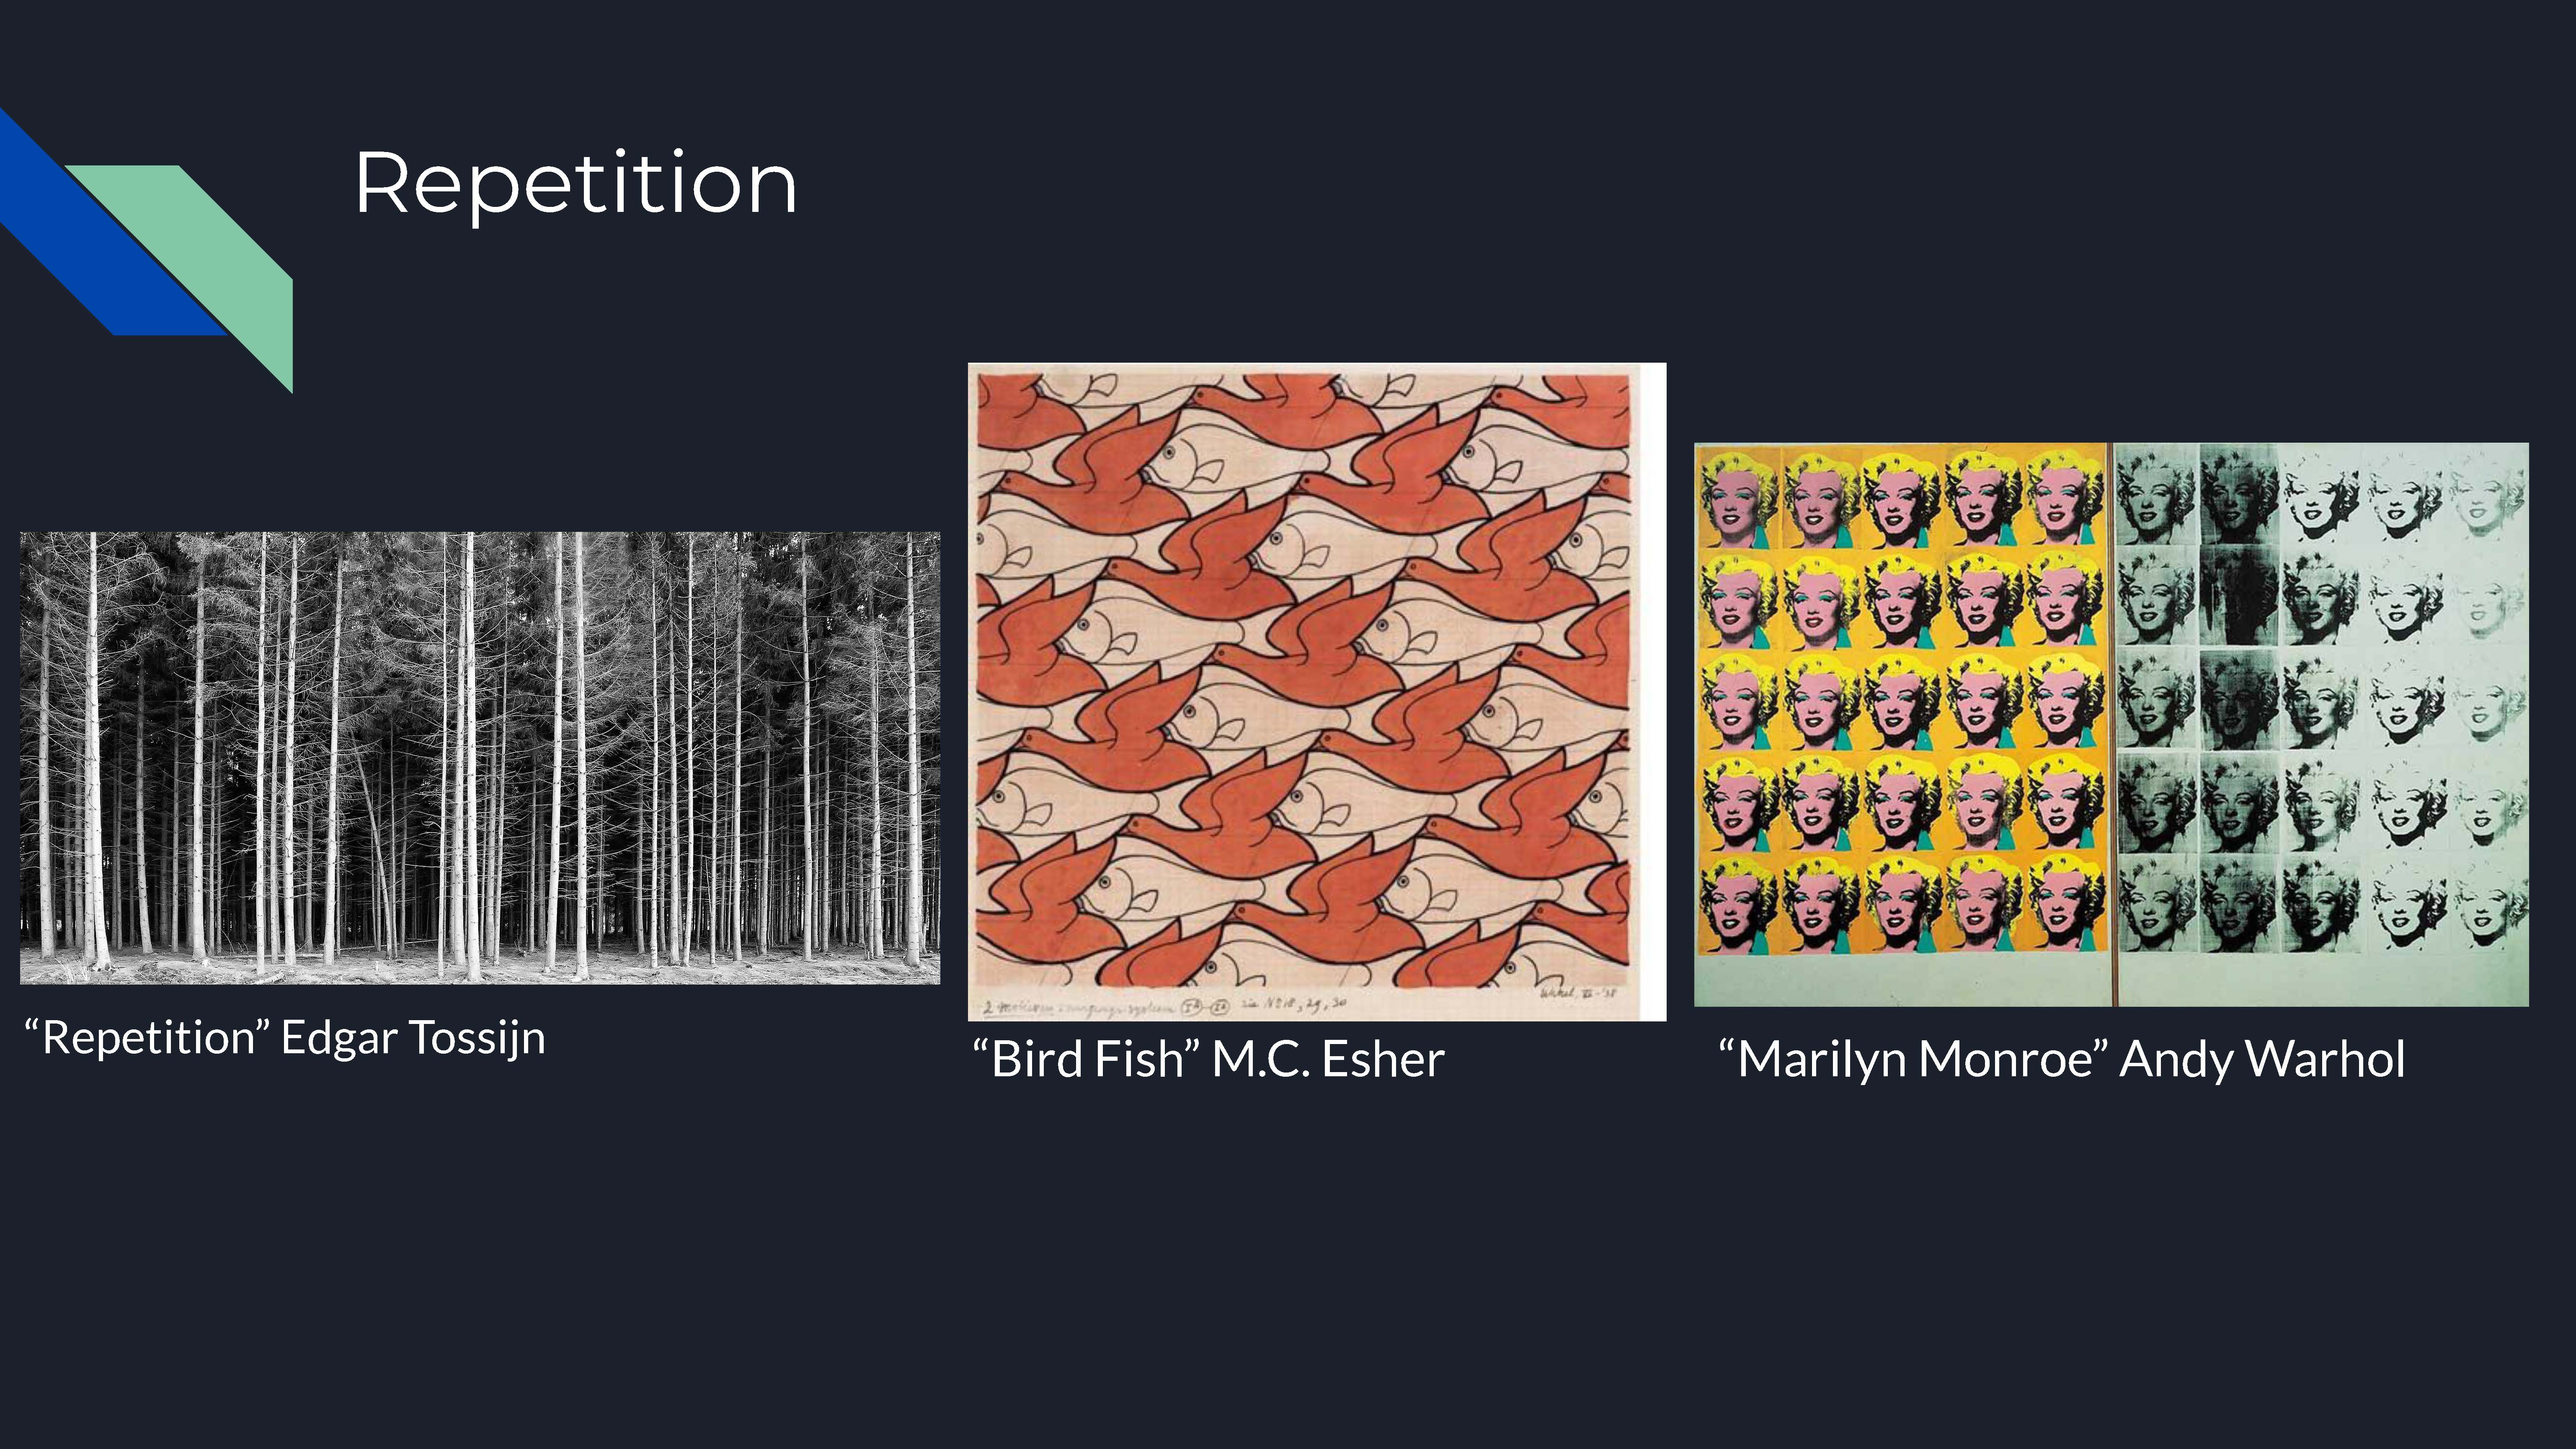
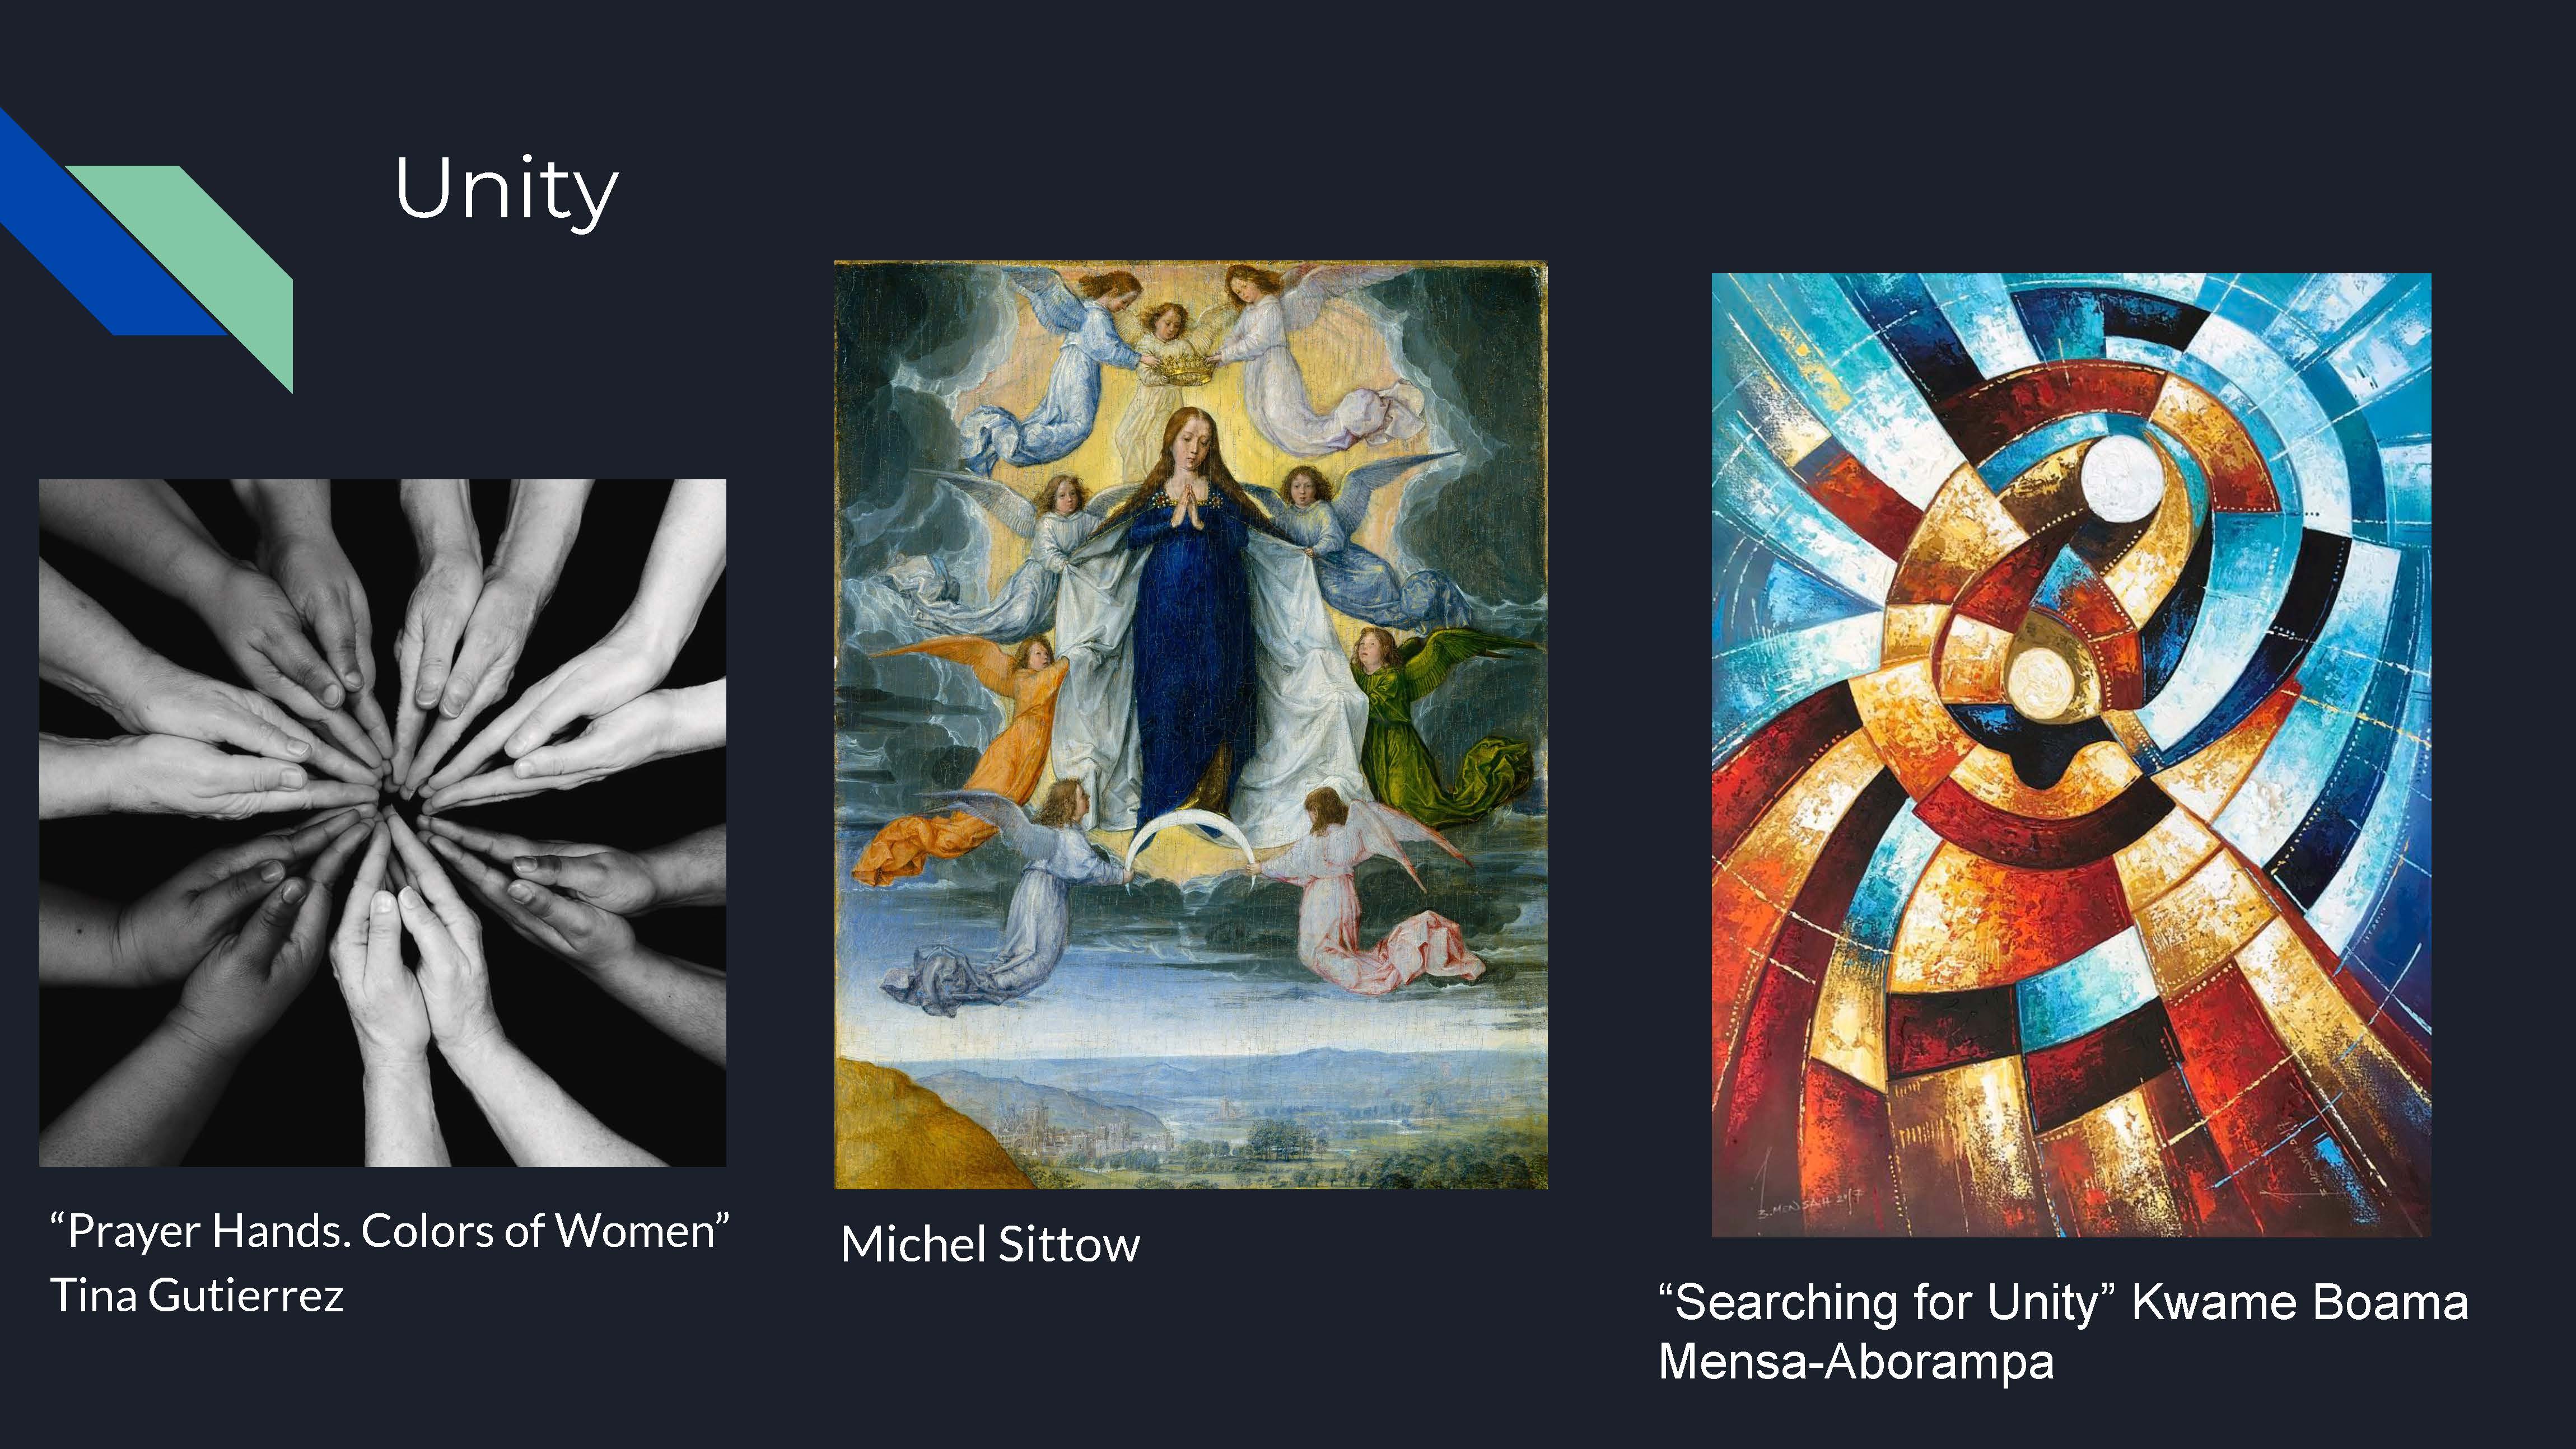
Elements and Principles of Art
In Digital Media, we learned about the elements and principles of art so that we could use them effectively in our future projects. Knowing about these elements and principles is important to have for our future productions in order to make them more appealing.