Explorations

Intro

Our final project at Freestyle as a Junior was to pursue a topic that we were passionate about. Because I am interested in the cinematics of film and photography, I wanted to teach myself how to make my film look more cinematic. I always watch videos and movies and realize that the footage they use is manipulated in a way to have a cinematic effect so I wanted to see if a few changes could bring my film to the next level. I used Premiere Pro in order to color grade and edit clips that I had taken over the past year. In the end, I realized that a few small changes can make a big difference in the appearance of your footage.

Production

The first step was to find footage that I thought had the potential to look really aesthetically cinematic. Then, I imported all of the clips into Adobe Premiere Pro. I decided that I wanted to make a before and after style film, using the raw and unedited clips and then following them with the finish product. In order to make my film more cinematic, I did some research about editing styles that would give my footage a cleaner look. First, I used Lumetri Color to change the mood of my clips by playing around with temperature, exposure and hues. Then, I added cinematic bars using the crop tool in order to make my film narrow like the movies. In addition, I converted all of my clips from 60 fps to 24 fps in order to make my clips smoother and slower.

Here is an example of my work.

Infographic

For my infographic, I decided to use examples of cinematic movies that use some of the techniques that I chose to use. They are all displayed within the word CINEMATIC and their labels are beneath. On top, I drew some graphic illustrations of symbols to represent each technique that I used to make my film more cinematic. These include slowing down, adding music, color grading, using a low aperature, and adding cinematic bars. I wanted to keep my graphic simple and easy to read so that it is accessible for all creators.

Reflection

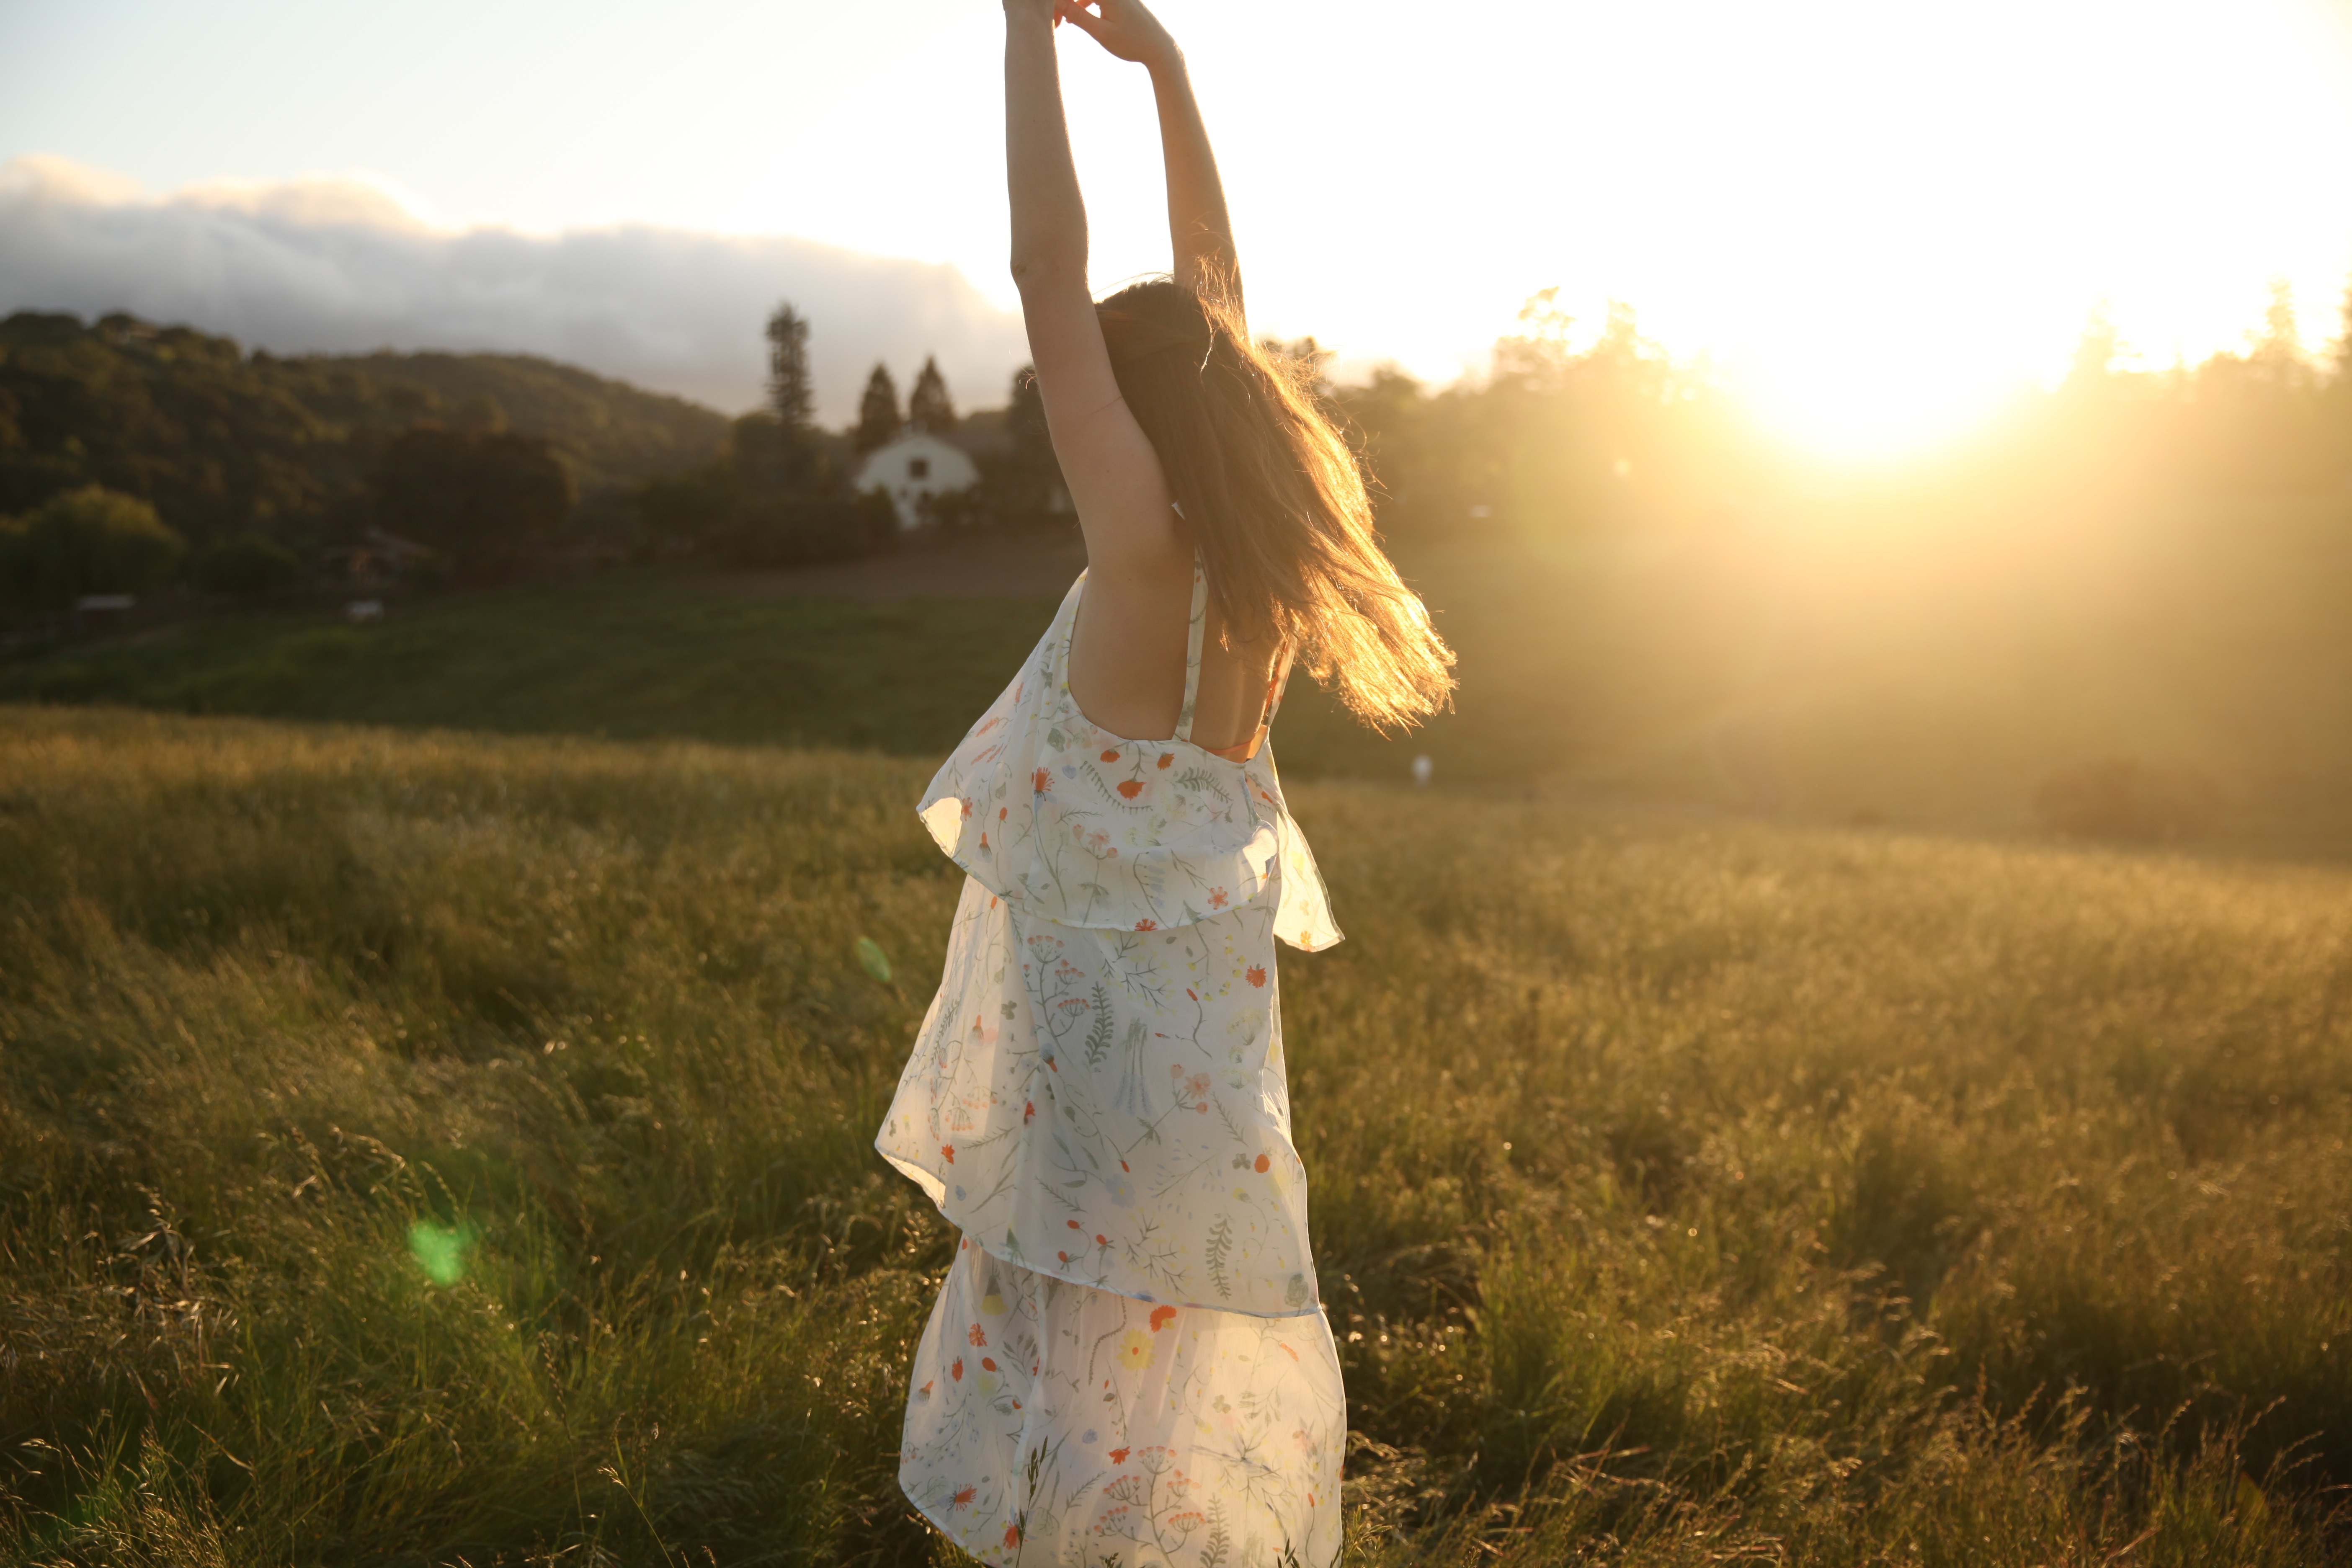
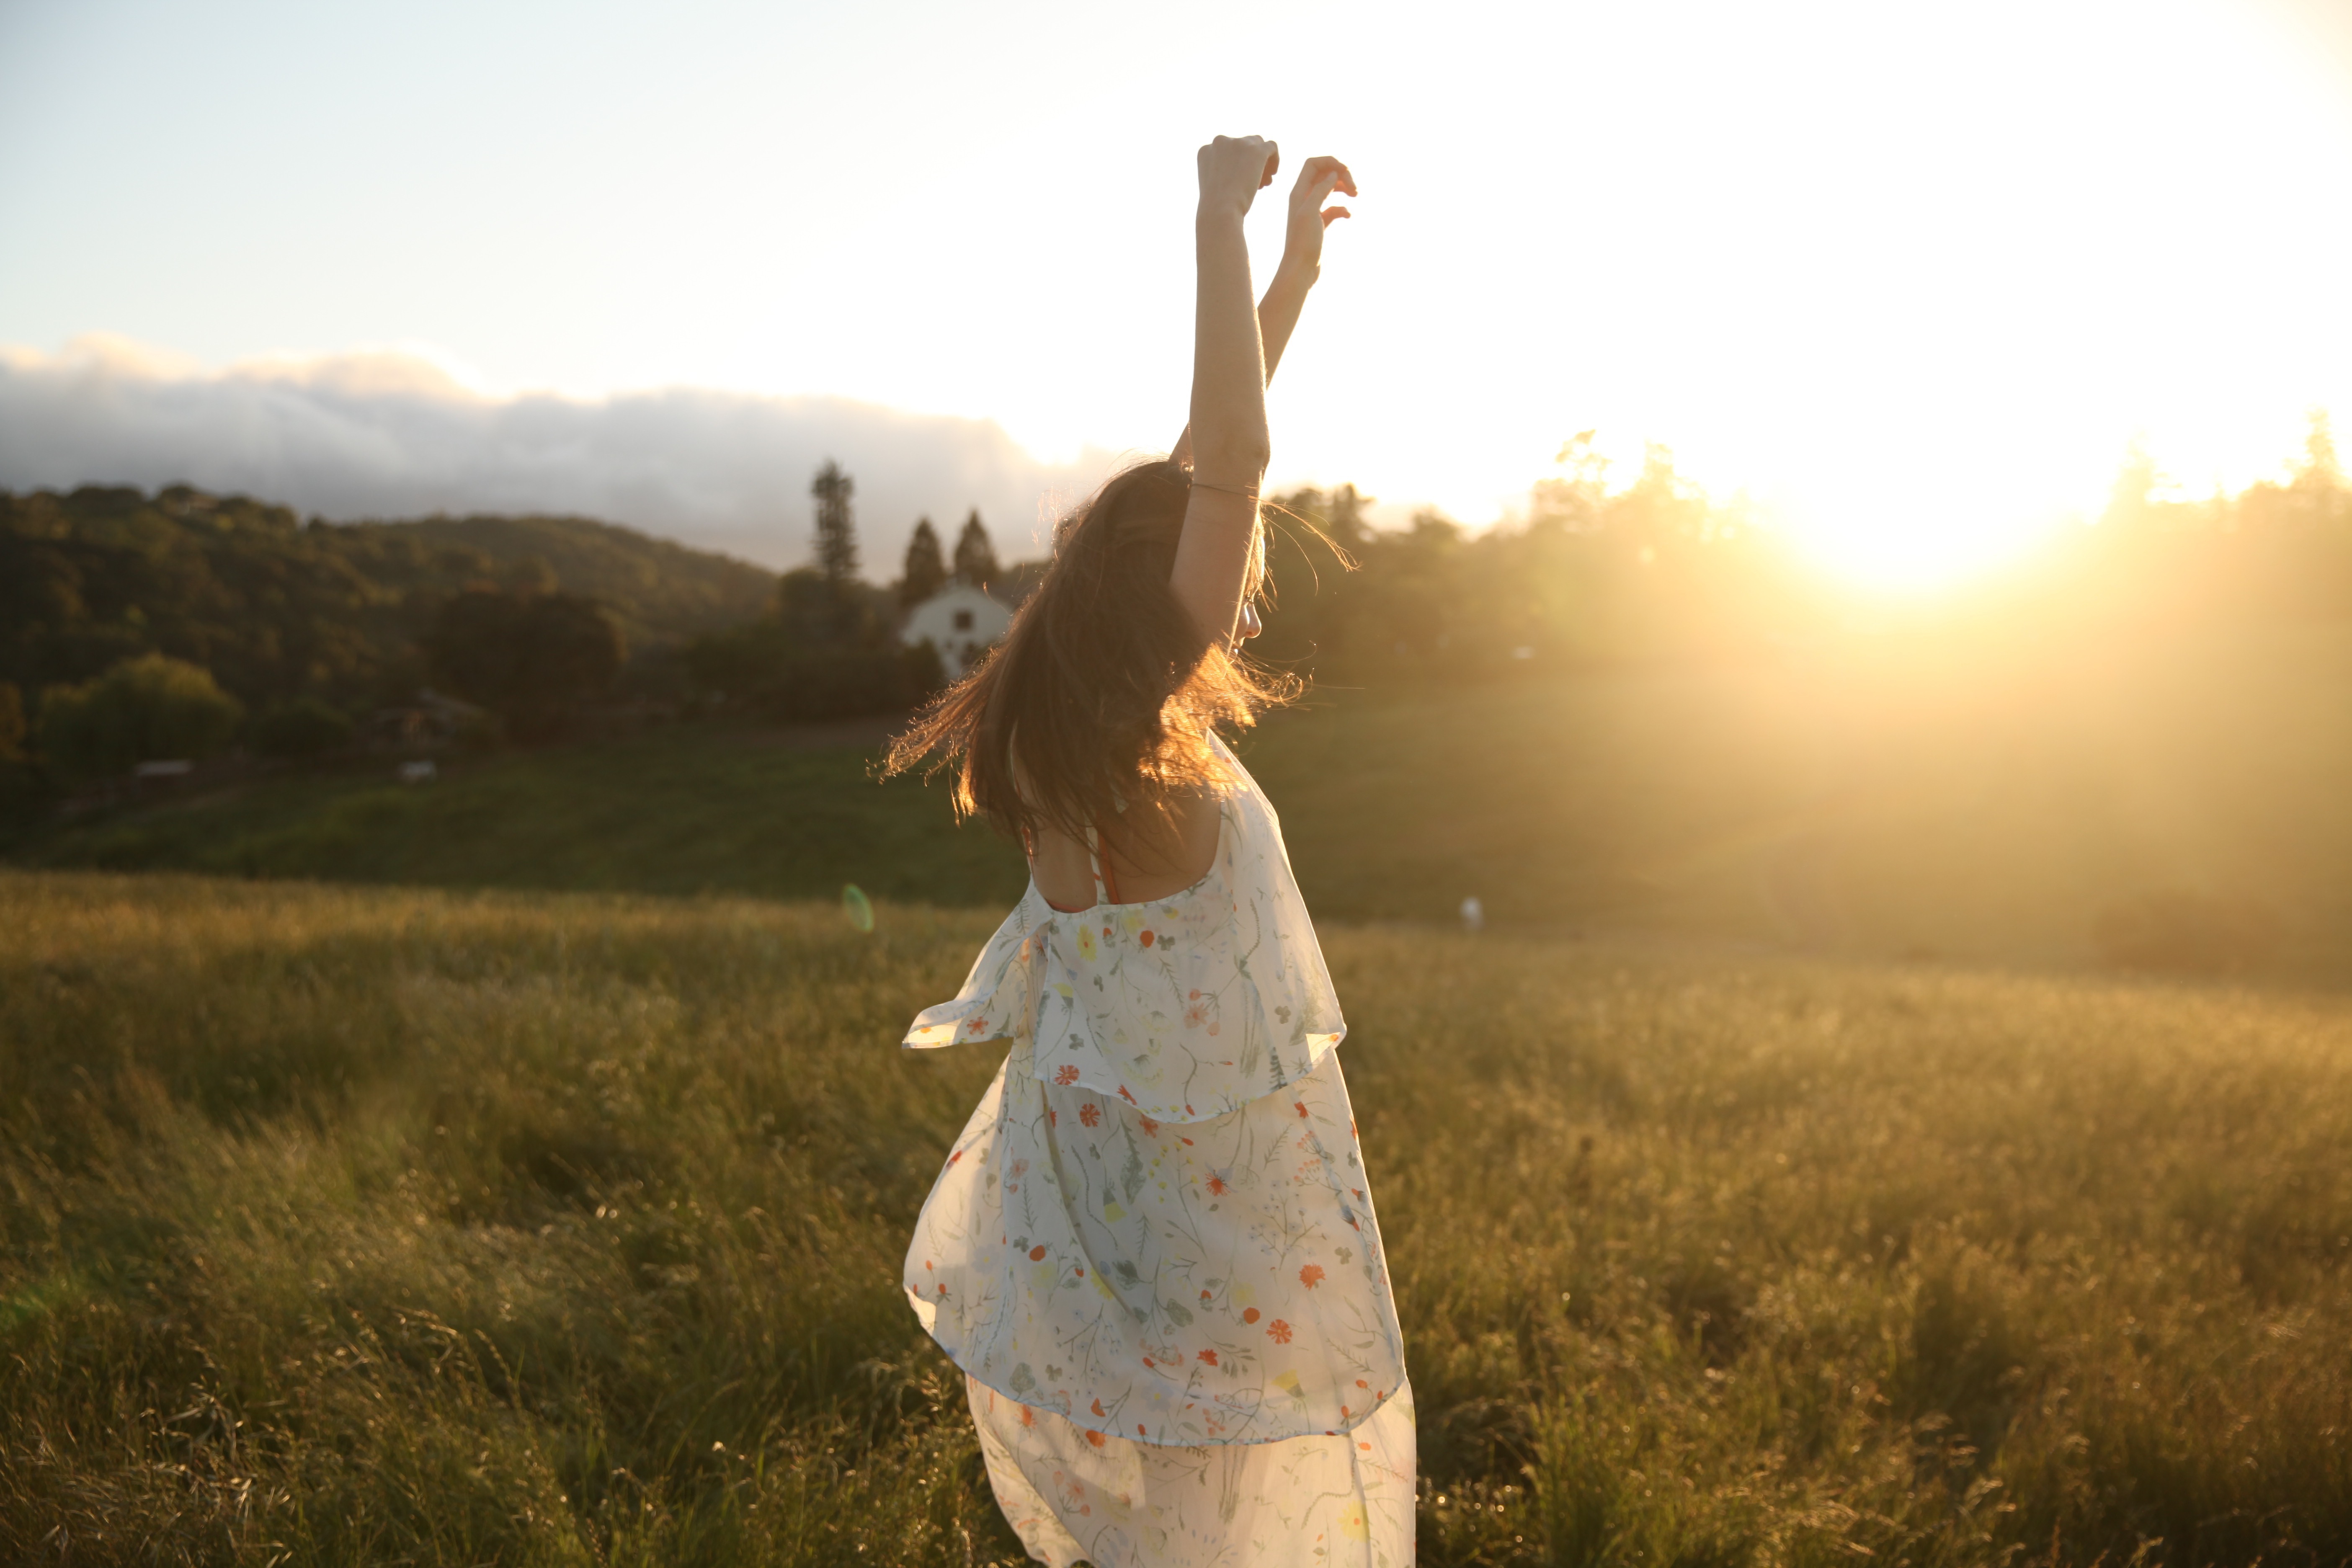
Throughout this process, I have learned a lot about myself and my interests regarding cinematography. I had always admired watching movies and youtube videos with super cinematic shots, specifically the use of LUTs and color grading from apps like Premiere Pro. Because I am taking film next year at Freestyle, I thought it would be smart to practice using Premiere in order to gain a comfortability that would be useful for my endeavors next year.

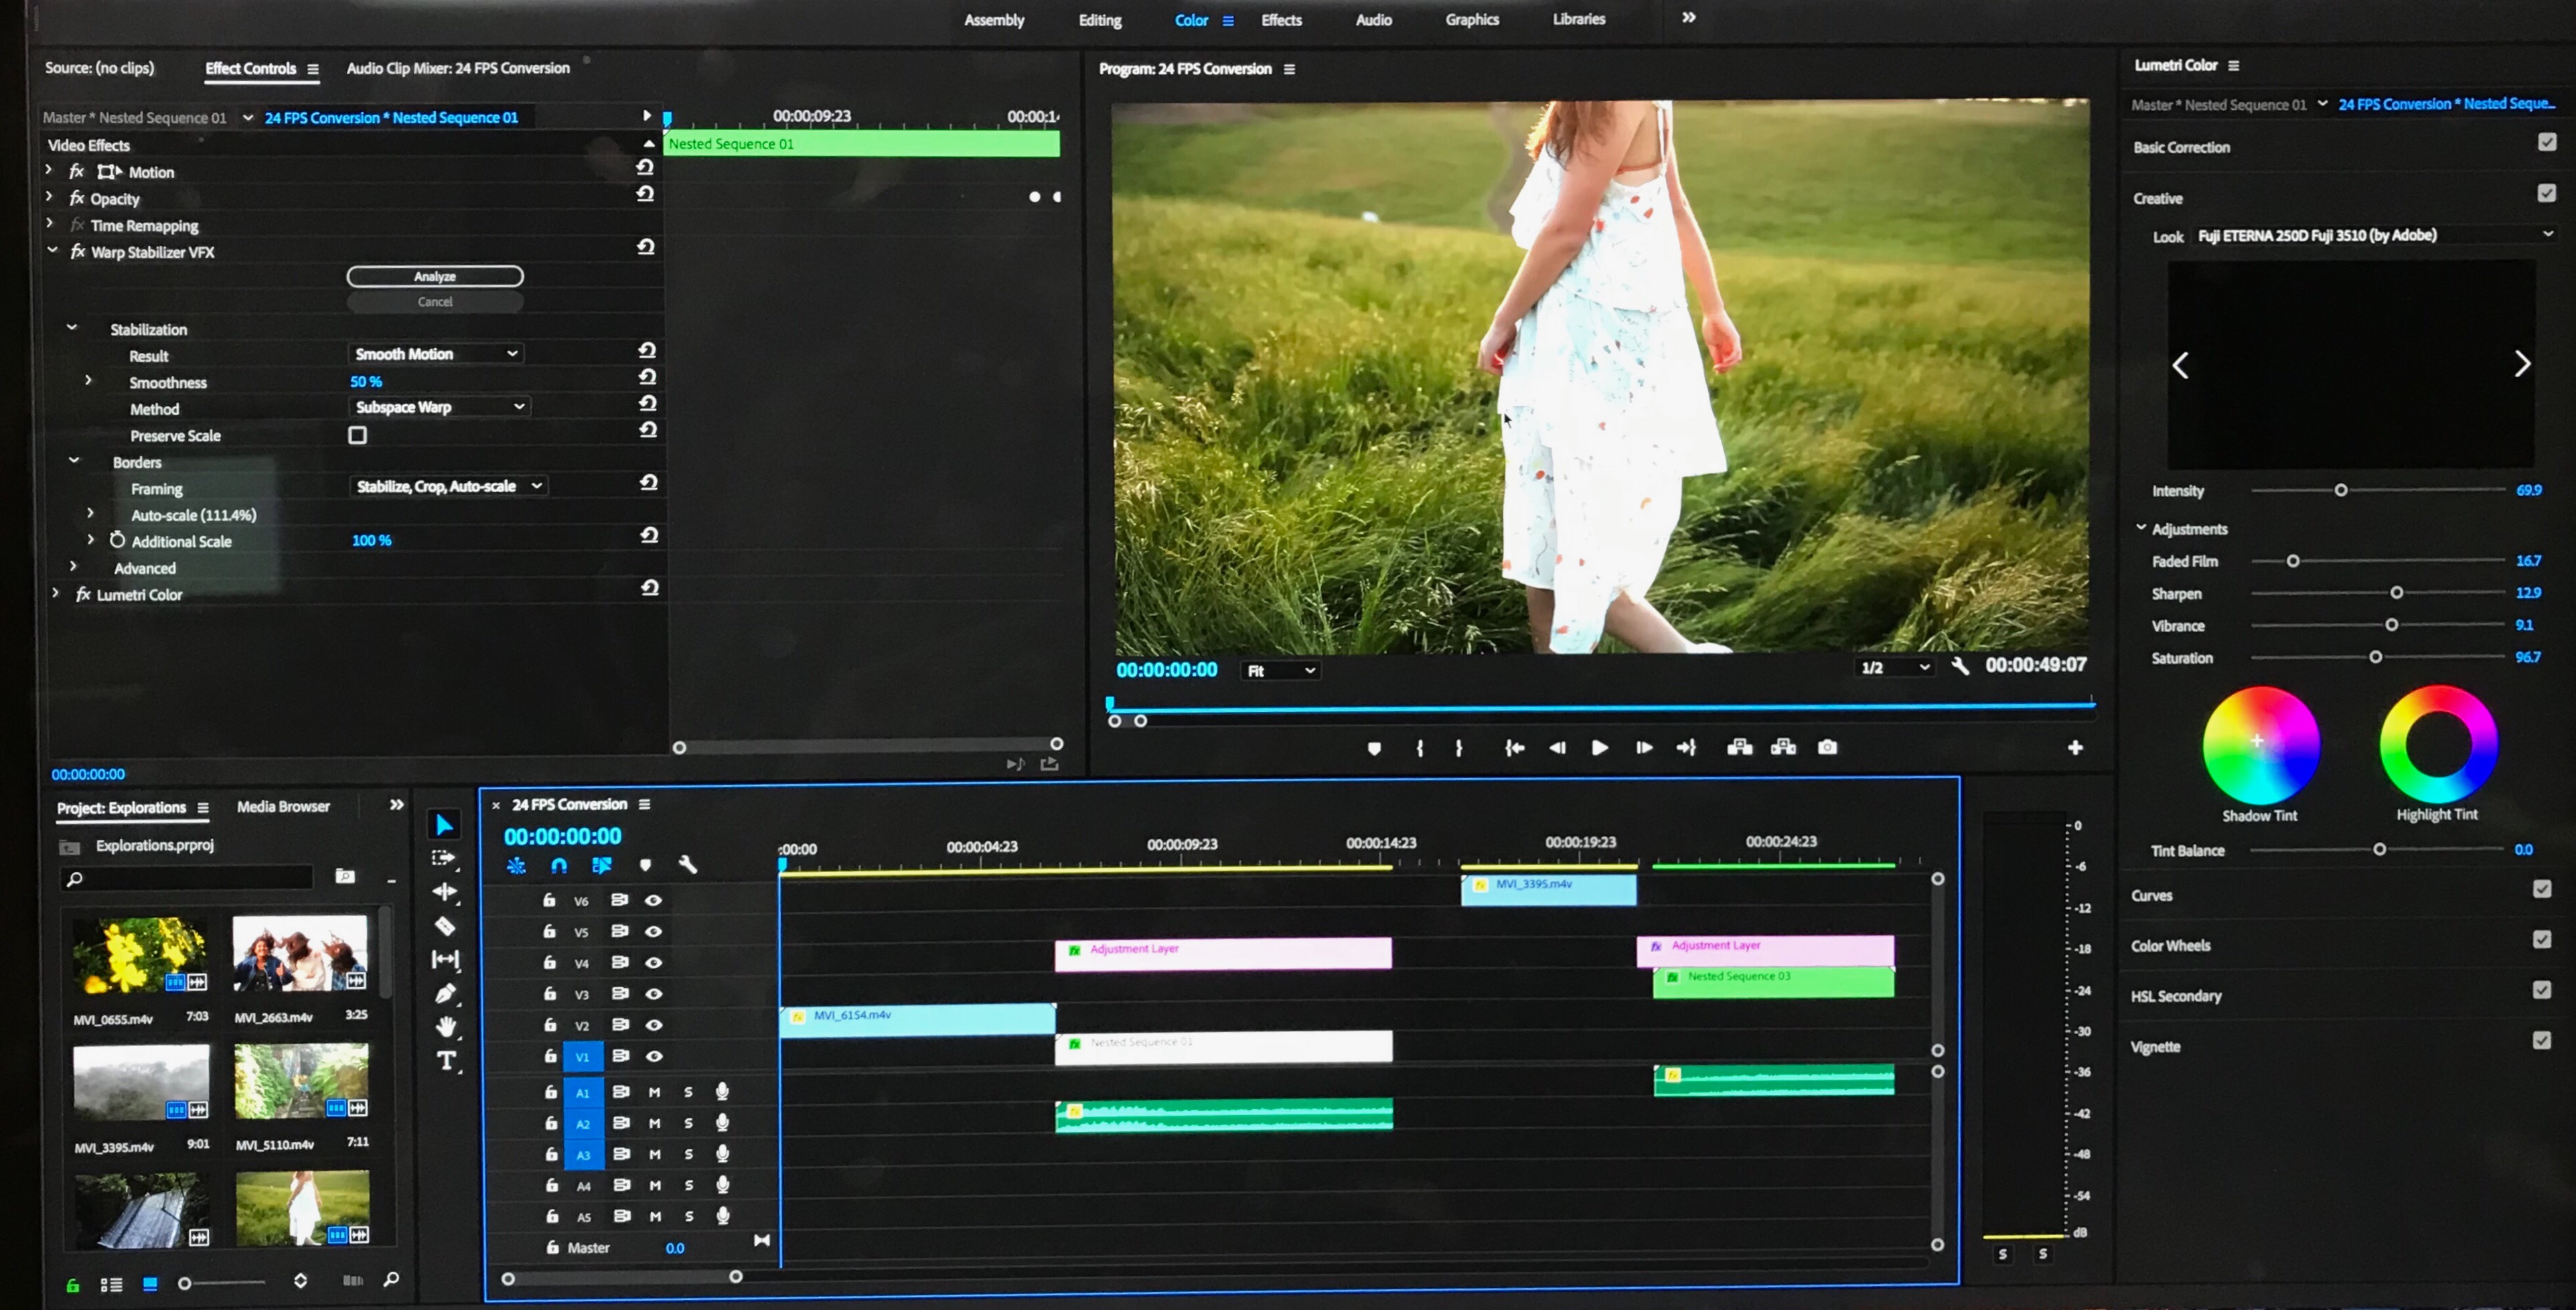
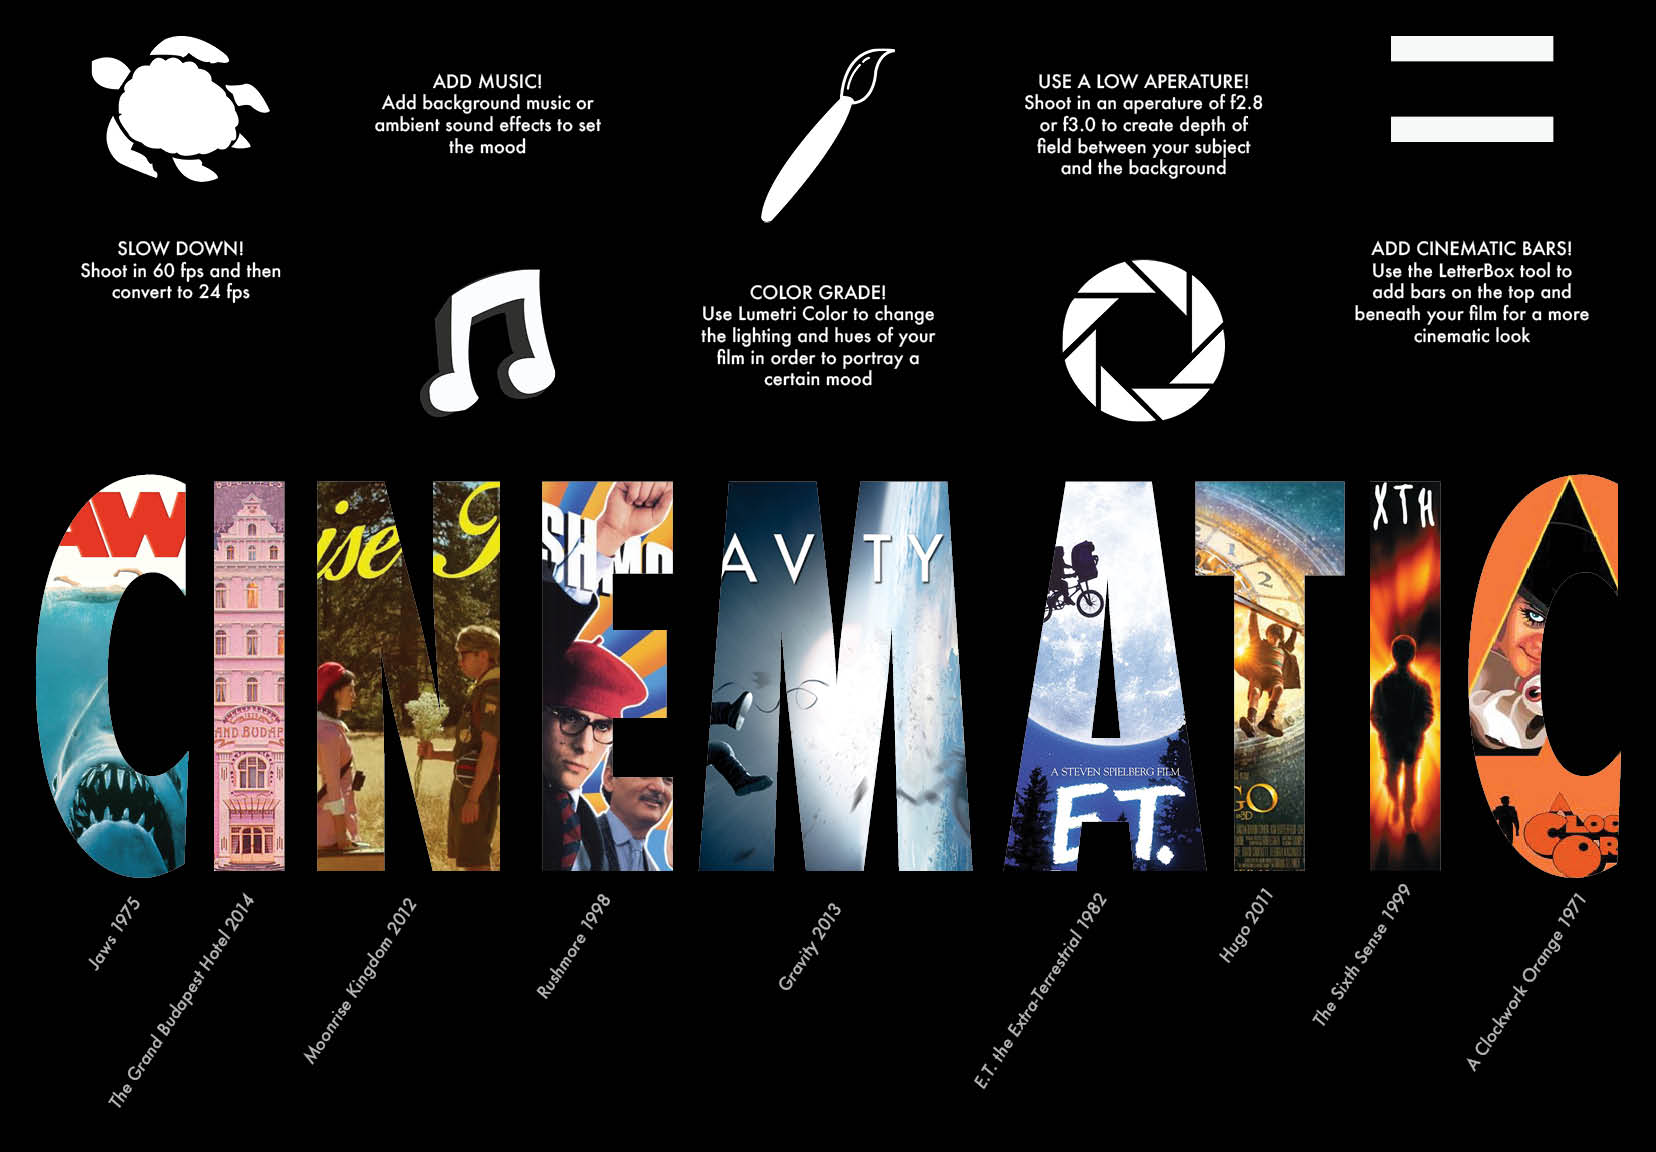
By using techniques such as color grading and converting my work to 24 fps, I realized how easy it was to take an okay shot and make it look incredible. Everyone I showed told me that the edited clip looked so much more professional and that they wanted to learn how to do it as well. As cinematography is something that I am very interested in and just beginning to explore, I felt that this project taught me that anything is possible to achieve when you set your mind to it. I probably watched over a few hours of youtube videos looking for tutorials about how to make film more cinematic.

Once I started playing around in Premiere, I noticed that it was easy to manipulate colors using Lumetri color in order to completely change the mood of the clip. For example, in my one edited clip of the fog blowing over the trees in the Santa Cruz mountains, I used temperature sliders to make the mood more mysterious with a blue hue. I personally did not know the capabilities I had when it came to color grading, but now I know for sure I will use my skills in the future to achieve my satisfaction in cinematography.