
Introduction
The conceptual unit of Junior year challenged me to respond to the question “How can I use unconventional forms to express myself?” This collection of projects introduces the concept of expressing emotions and beliefs through different art forms, including photography, music, photo editing, writing, and more. We learn to use professional software and equipment including Adobe Photoshop, Adobe Premiere Pro, Adobe Audition, WordPress, and DSLR cameras as we go through the process of taking risks in our artistic expression.
Our first project at Freestyle was the Art Reflection Video, which started with our field trip to the San Francisco Museum of Modern Art. We chose a piece of art at the museum and reflected on it, eventually turning the reflection into a video with audio and visuals. Being the first project I ever worked on at Freestyle, I was pleasantly surprised with how much I was already being stretched beyond my comfort zone. It also happened to be the first assignment I had ever worked on that involved working on different aspects of it in different classes, which I found to be quite enjoyable, as in the end it felt more rewarding.
Art Reflection Video
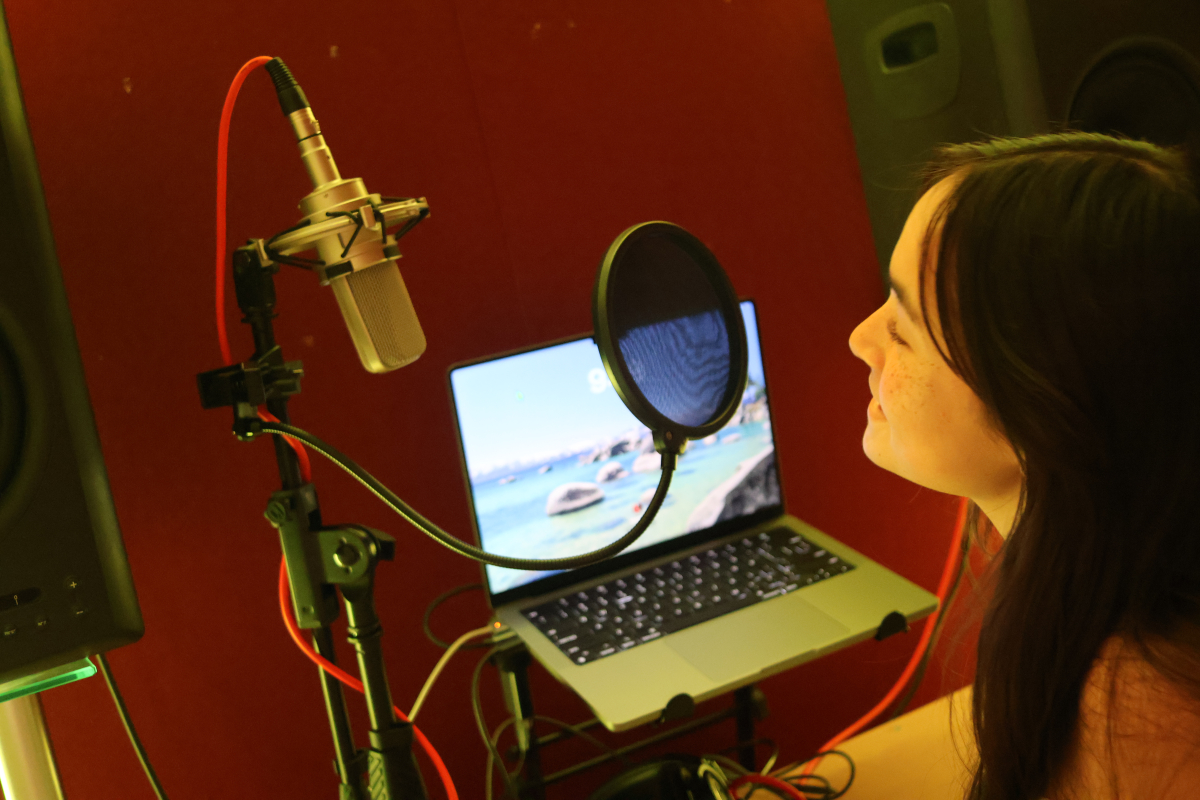
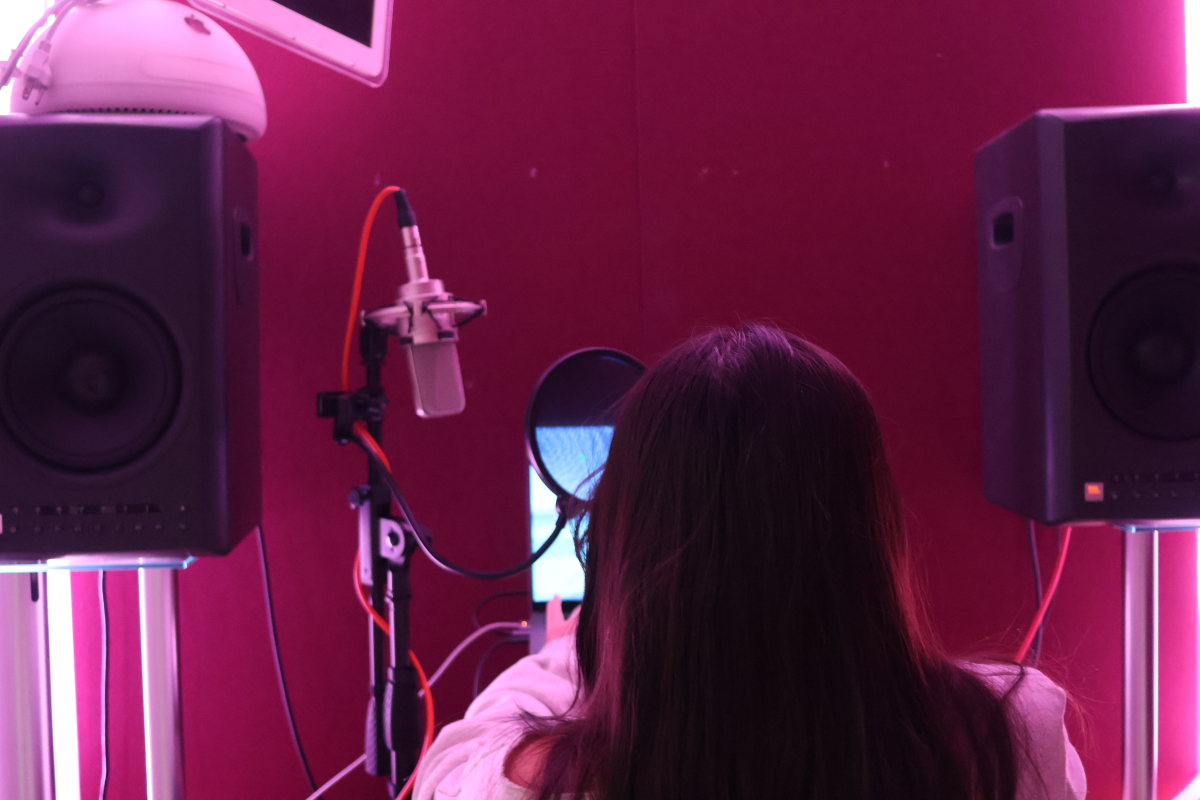
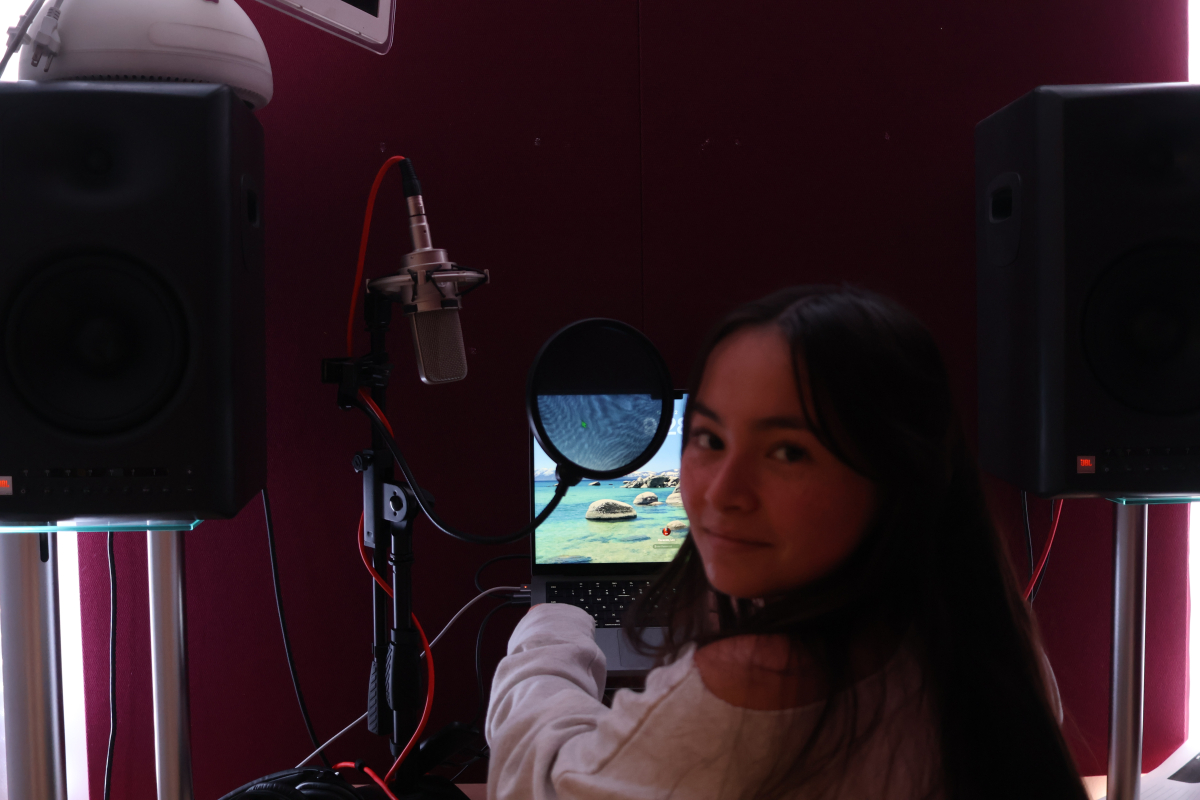
For this video production project, we started off by going to the San Francisco Museum of Modern Art for a school field trip where we chose a piece of art that inspired awe, and reflected about it. In our English class, we revised our reflections into a polished text, which we then took into Digital Media where we used Tascam Audio Recorders to record a voiceover of our reflection text. After this, we edited the audio with images of the artwork, music, and words in Adobe Premiere Pro. Using keyframes we were tasked with panning the images to create interesting visual effects and put the words on screen to emphasize certain points. Seeing myself produce a professional video made me realize how much I had improved my technical abilities in such a short period of time.

I truly value how this project was singlehandedly able to increase my confidence in relation to what I am capable of creating. In the past, I have typically focused on making physical pieces of art, but learning video production helped me expand my horizons and learn a new form of expression. Being challenged with thinking an writing in a conceptual manner in English changed the way I thought about writing as a whole, allowing me to express myself in a new way through writing. Producing audio and video in Digital Media gave me a newfound interest in telling stories visually and orally, as I now have the technical skills to do so using professional software.
Parody Production
▶ Sandwich War Parody
⏸ Sandwich War Parody

Artist Statement: We chose the song, Love is an Open Door, from the Disney movie, Frozen, as our song to make into a parody. We chose this song because we thought it would be a fun duet that we could sing back and forth. Our song is about sandwiches, which is inspired from the line from the original song “We finish each others – sandwiches!” as we thought it would be a fun concept.
The first step in the process of producing this song was to write the parody lyrics and figure out the logistics of who would be singing each line. After this, we set up the Multitrack Mixdown session in Adobe Audition, which required learning how to put effects on multiple tracks at once and recording properly. Next, we recorded the audio, which took a few takes, then edited it all together. The editing consisted of us splicing different parts of audio together, cutting out the bad parts, adding effects, and more. What we valued most about the process of making a parody was the opportunity to be creative on a project together, while simultaneously learning a new Adobe program. In looking back at the parody process, we would say that changing the parody lyrics to match the same number of syllables/spacing may have helped us with a smoother recording process. However, it was still an enjoyable learning experience either way.
Our message with the lyrics was about having fun and finding joy in the simplest tasks of daily life. We wanted to touch on the idea of childhood fun and carefree nature, so we wrote our parody lyrics about a food fight, or fighting over sandwich ingredients. Our idea stemmed from the fights you might have in the kitchen with a sibling at a young age, throwing food back and forth and laughing. We are most proud of the parody lyrics we wrote because they are based on a joke written in the lyrics of the original song. We enjoyed taking one line from the original song and turning it into the concept for our entire parody.
Parody Lyrics
Okay, can I just say something crazy?
I love crazy!
All my life I’ve been starving, just hangry
And dreamin’ about whole wheat bread
I was thinking it’s time to make a sandwich
‘Cause like
I’ve been looking for some cheese
But you took the last slice
And suddenly it’s clear
So the kitchen’s a battleground
But with you
Sandwich war!
Sandwich war!
Crumbs on the floor
We better not be out of pickles!
This is a sandwich war!
This is a sandwich war!
War!
This is a sandwich war!
War!
This is a sandwich war!
War!
This is a sandwich war!
This is a sandwich war!
My food!
My food!
This is a sandwich war!
I mean it’s crazy
What?
We finish each others
BLTs!
That’s what I was gonna make!
I’ve never met someone
Who steals my chips like you
Jinx!
Jinx again!
Our stomachs rumbling in perfect tune
Fighting over all the ingredients
Bread!
Cheese!
Butter!
Ketchup!
And mustard!
Ima make my sandwich
My sandwich!
You’re gonna be hungry
We don’t have to seal all the food!
This is a sandwich war!
This is a sandwich war!

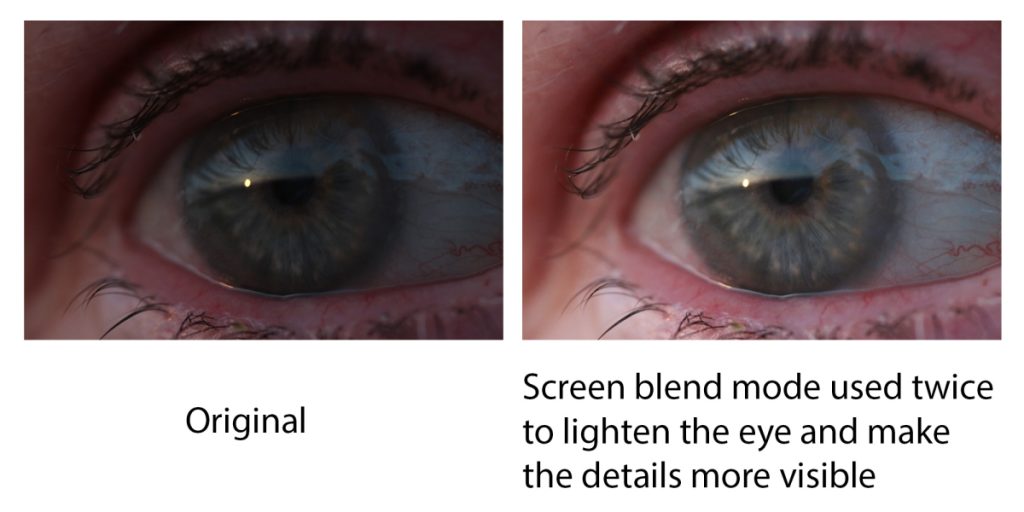
Photoshop Blend Mode Editing
During the course of this compilation of assignments, our goal was to learn to use blend modes in Photoshop effectively to edit photos. The main blend modes we focused on were Multiply, Screen, and Overlay, as we were taught how they functioned to ensure we would be able to apply them to our projects properly. During the creative section of this assignment, we used pictures we had already taken on our DSLR cameras and edited them using various blend modes to fix the brightness and contrast, as well as placing different images over one another. Some different techniques we learned included brushing black and/or white over images with blend modes to isolate the effects in specific places. The skills we learned using blend modes we are now using for projects such as our bi-monthly photo blogs and more.
For learning and using blend mode creatively, I value how I now am able to edit photos quickly and effectively to improve their appearance. If photos are too bright, dark, or need more contrast, I can quickly fix these issues with blend modes, making the editing process for photos much less tedious and time consuming. Also, I have the ability to use blend modes to create different effects, such as overlaying different photos on top of each other, which can add significant interest to an image.
In my creative projects, I see myself using blend modes to my advantage when it comes to making edits simply with just one blend mode. I also see myself using different blend mode techniques to create different effects like I experimented with in the “blend two photos” part of this assignment. I like the idea of being able to use one set of tools for so many different things and projects in the future.


DSLR Photos
This project aimed to teach us the various modes and settings on our DSLR cameras which we eventually moved on to experimenting with. The different settings we learned about were Av mode, changing the depth of field; Tv mode, nighttime long exposure photography; P mode, changing the ISO; White Balance changing the color temperature; and flash photography in front of backdrops. This assignment became the basic foundation for our usage of our cameras for future projects including photo blogs, the Nature Name project in Design, and our Conceptual Photography project for Design (both shown later) to name a few.


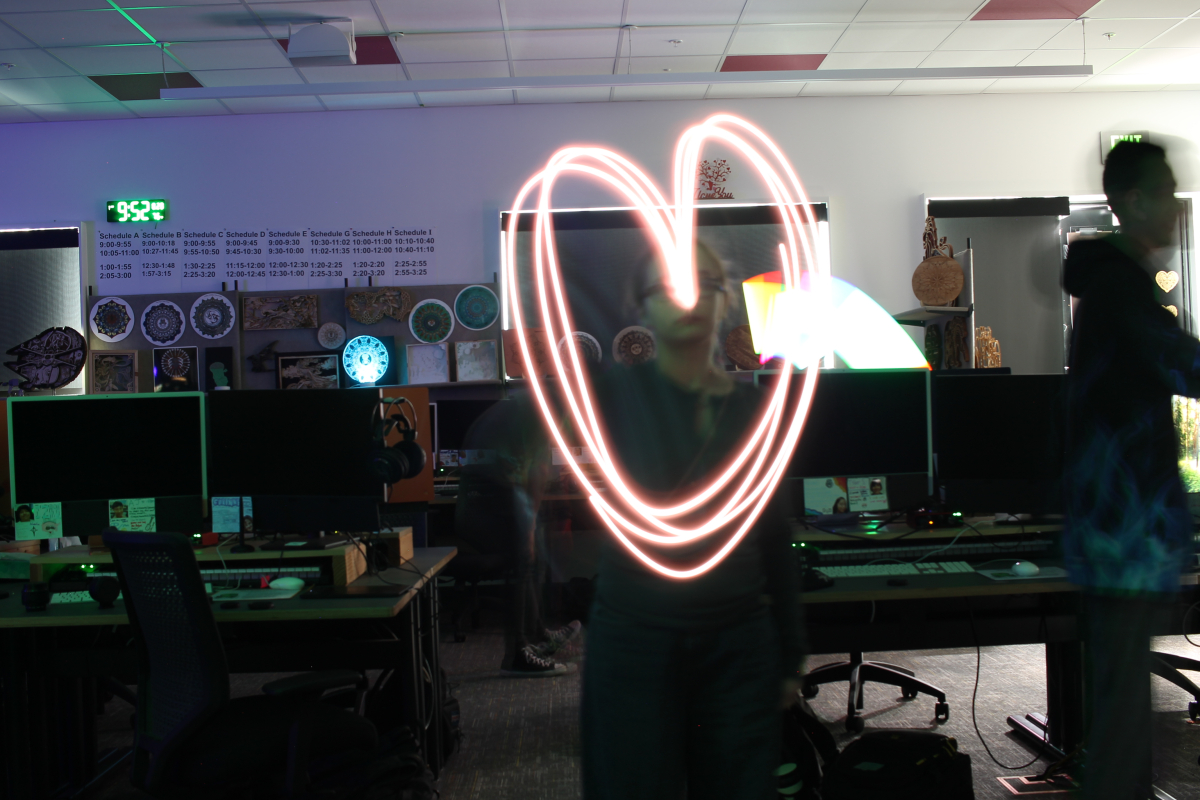
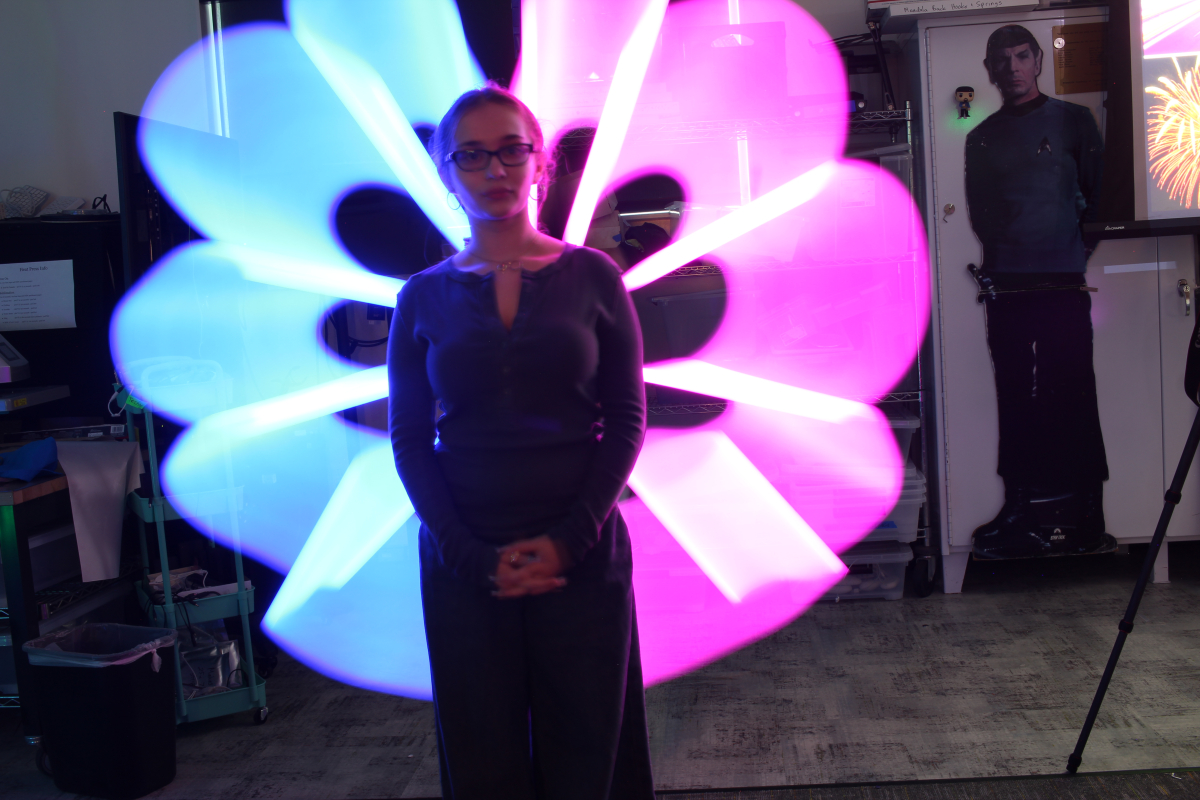
Overall, I found this project to be very helpful and a great learning experience due to how much I was able to learn about photography and how much information I can now apply to other projects. Playing with the Av mode introduced me to emphasizing a focal point in an image, while Tv mode taught me how to create designs with light using a long exposure time. Practicing using flash for portraits taught me how different angles of light change the way photographs look, including the tone of the photo itself. Experimenting with P mode changing the ISO helped me understand how the camera works on a functional level, and how I have to change it depending on the lighting of the environment I am shooting in. Lastly, learning of the different White Balance settings helped me understand how to change the color balance of an image to cancel out or emphasize certain tones in the image, which I certainly see coming in handy in the future.
Design Projects
In Design, we have learned about and experimented with the elements and principles of Design through photography and photo editing. For editing photos, we have become familiar with the basics of Adobe Photoshop and Camera Raw, using adjustment layers and layer masks to improve the composition of our photos. We have learned to look beyond regular everyday aspects of the world to see the elements of design utilized within them, notably seen in the Nature Name Photography project. Another important feature of our Design class is the learned skill of applying juxtaposition in photography to create an alternate meaning in the composition.
I personally value being a Design student because of the everyday application of the skills we are taught. I have learned to look at the world in a different light, creating a new perspective with which I am able to view my environment in. The skills I have learned and will learn in this class can easily be applied to future projects, including in the career of Graphic Design, which I am more than interested in going into. Many companies and businesses big and small need logos, advertisements, website design, and more made for them, which all require Design skills. Additionally, in this class, we learn to use professional applications and software that are commonly used in the real world, meaning I will already have plenty of usable knowledge when it comes to doing graphic design professionally. In a world where artificial intelligence is becoming more and more commonplace, many people and companies will choose to turn towards real human artists for their authentic creations, and Design is teaching me the expertise to become one of these artists.
Nature Name Photography
For this project, we were challenged with finding elements of nature that resembled the letters of our names — without human manipulation — and photographing them with our macro lenses on our cameras. After we finished shooting, we picked our favorites of each letter of our names and put them into Adobe Photoshop. Using adjustment layers, cropping, and other editing techniques, we assembled the letter photos in one Photoshop document to spell out our names.


Conceptual Photography
During this project, we learned about conceptual art and how its true meaning can lay deeper beneath the surface. We were challenged with conveying a certain meaning through one photograph, using juxtaposition of objects. The objects could have no literal meaning, as they must clearly illustrate the statement given using symbolism. We brainstormed ideas as a class, then shot the images outside of school. After choosing our favorite image, we edited them in Photoshop to finish off the photograph.

Artist statement: “I am exploring the feeling of relief through the experience of making music”
In my conceptual photograph, there is a nondescript negative test leaning against pots and a stirring paddle. The test itself is quite shocking when compared to the rest of the image, as it is much brighter and serves as the obvious focal point. The pots are situated in such a way that they look like part of a drum kit, forming a sort of semicircle. This was meant to illustrate the concept of making music, as children often use paddles or spoons to bang on pans from the kitchen – much like drums – as their first form of music. The test that is resting on one of the pots is there to represent the emotion of relief, as once you take some kind of test, much like a pregnancy or COVID test, and it comes back negative, you experience an overwhelming feeling of relief. Since the test is front and center, with the lighting almost directly hitting it, it is where the viewers’ eyes are immediately drawn, making it the focus of the image. The low angle the photograph is taken from is to capture the perspective of a child who would be sitting on the floor and using the pots and paddle as their makeshift drum kit to make their own music. In this way, the pots and paddle juxtaposed against the negative test all go together to portray both the feeling of relief and the experience of making music in one photograph.
For the photography part of this project, I had to use trial and error to figure out which camera settings would produce the kind of image I was looking for, along with the angles I wanted to use to depict the proper perspective. I learned that your first idea of what you want the composition to look like will oftentimes look nothing like your final image. I changed the layout of my objects multiple times before I was content with the way they appeared when photographed. By learning as I went through the process of photographing my composition, I was able to refine my final product to illustrate the concepts I was originally looking for. During the Photoshopping part, I learned more about the different kinds of adjustment layers and filters that could be used to enhance the photo, and how different ones create different effects. Learning about these, I was able to apply both cooling filters and color filters to create greater contrast between the background and the focal point of the test. I was able to increase the exposure of the test, and change its color to make it appear as if it truly is not meant to be there, which adds to the interest of the image. It also makes the viewers think more about the meaning of the test and why it may look the way it does.
