Zenith
The Zenith Project is a chance for seniors to take everything they have learned and create a passion project that represents the peak of their time at Freestyle. Seniors can choose anything for this project — they can revisit and improve upon an old skill or try something completely new.
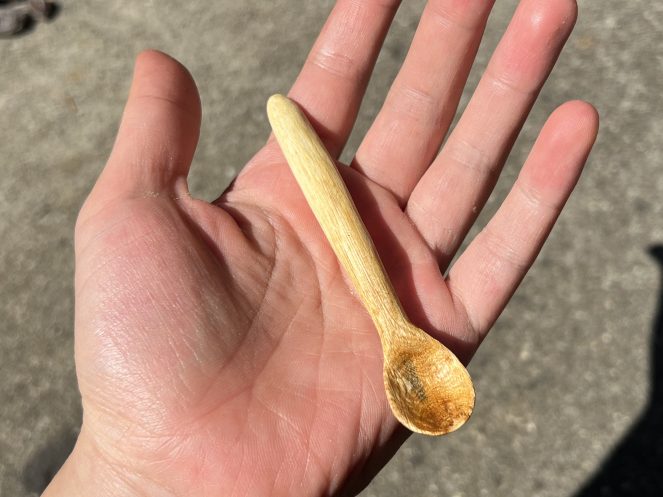
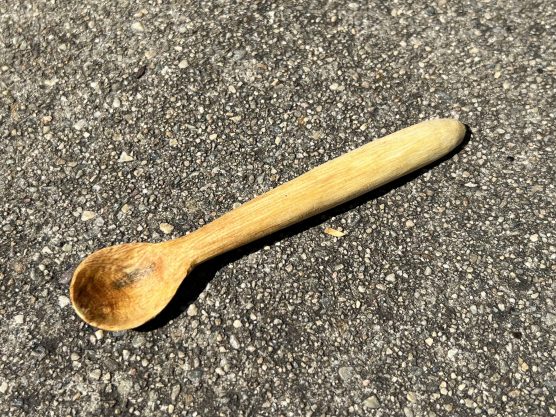
For my project, I chose to do wood carving. I have never done wood carving before this project. I have been interested in wood carving for a while, and even bought tools for it, but have never had the time to carve anything. My goal for this project is to carve three items: a bear figure, a fox figure, and a spoon. I think that these things will give me a more well rounded experience in carving as they will use different techniques.
This Zenith project is a new challenge for me because I have never tried it before and don’t know how long it will take. I understand that I may not have time to complete all of my objects, and may have to sacrifice some to complete anything.
I will incorporate my new skills from Animation of working with digital 3D art to working with physical 3D art. Now that I have learned digital sculpting, I will be better prepared for physical sculpting in the form of wood carving.
Process
BEAR
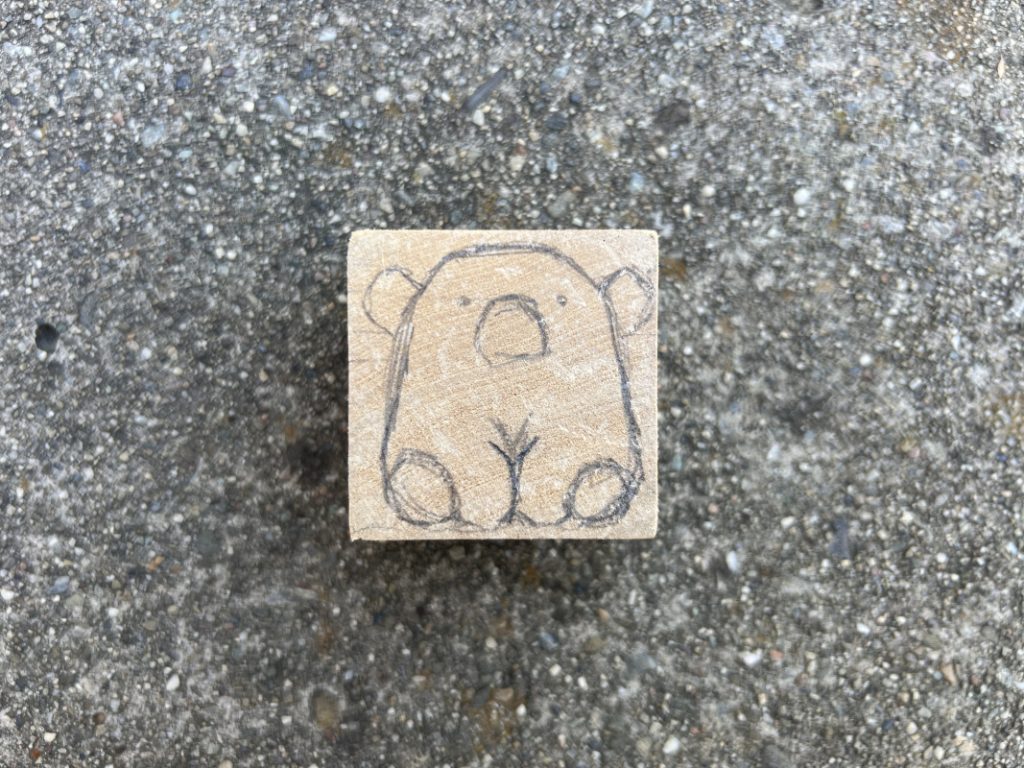
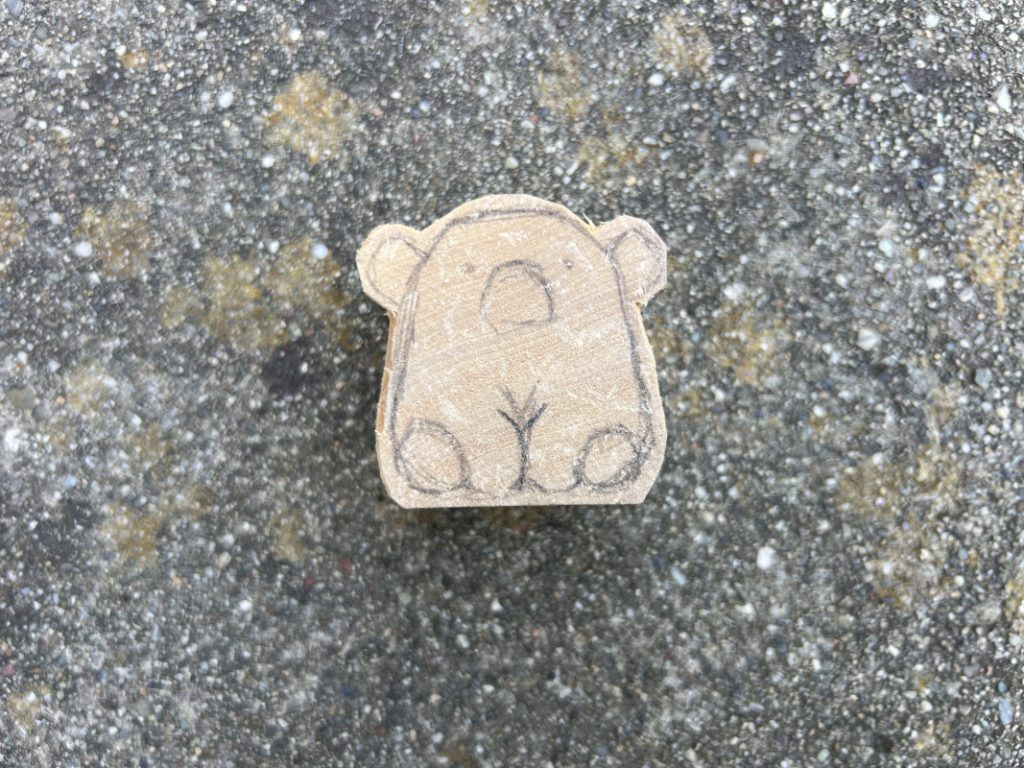
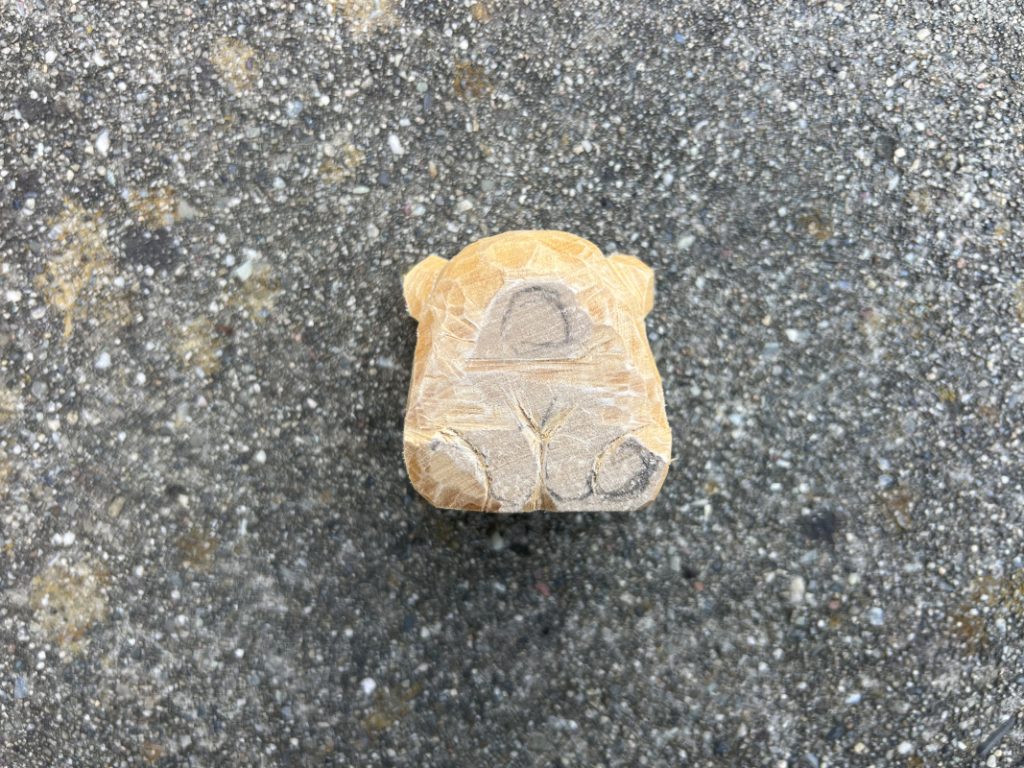
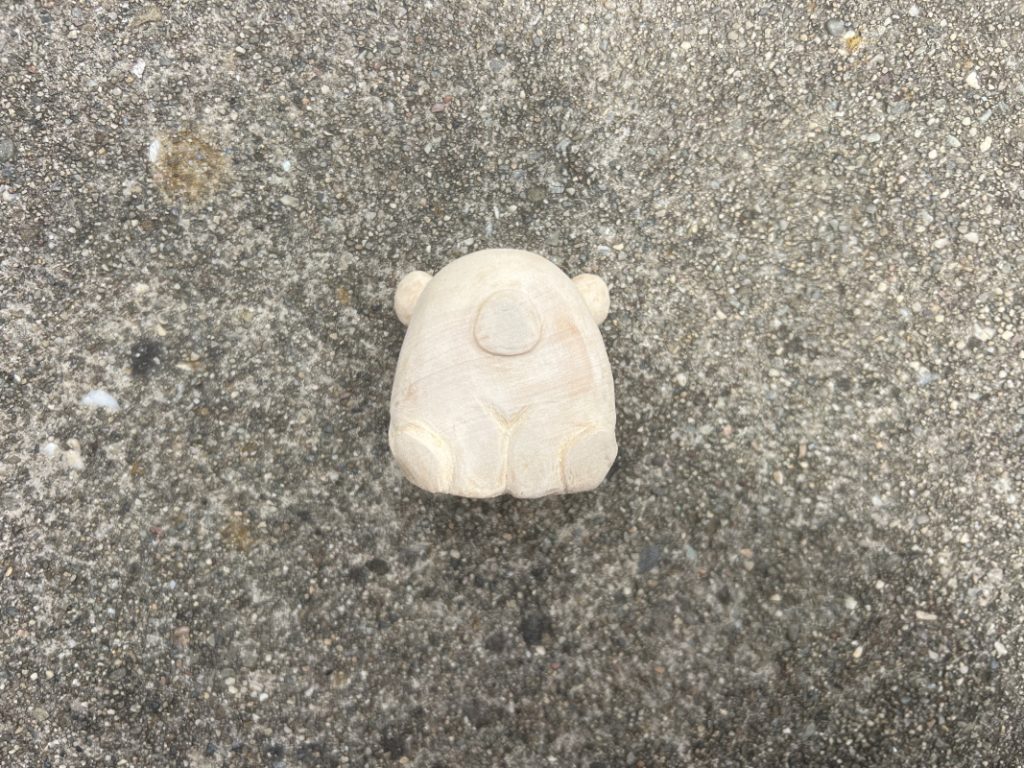
My first step before carving was to sketch my design on the wood. Following my sketch, I carved around the bear, removing excess wood. Then I started carving out the 3D elements from the front and back, starting to define nose, paws, and ears.
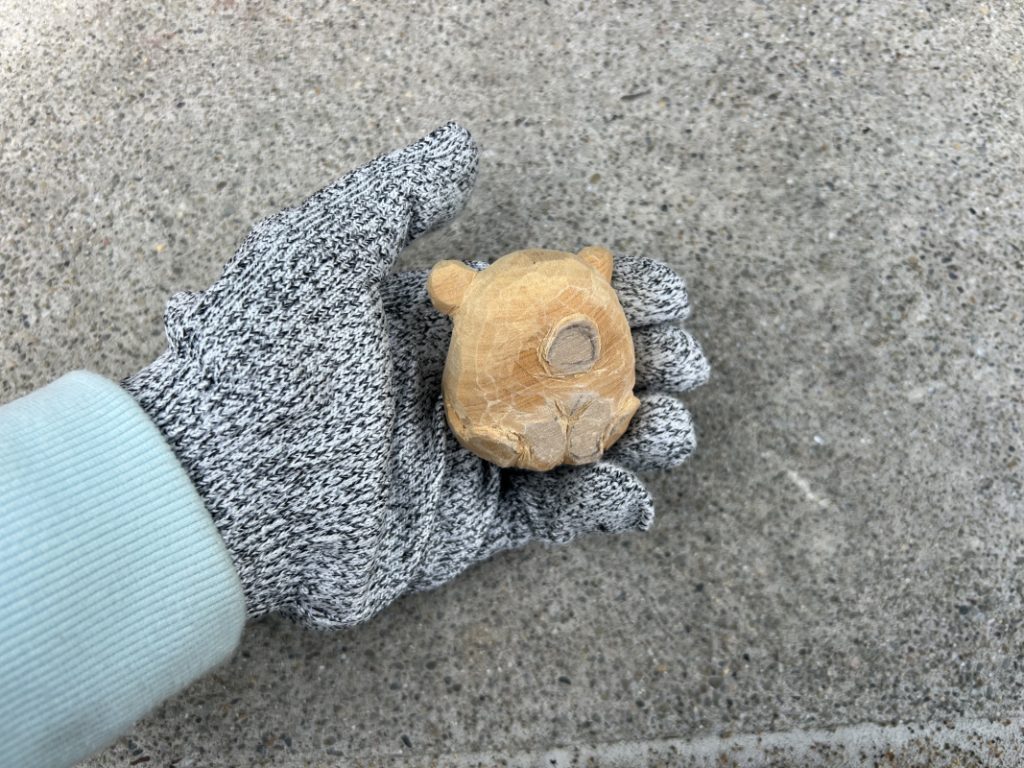
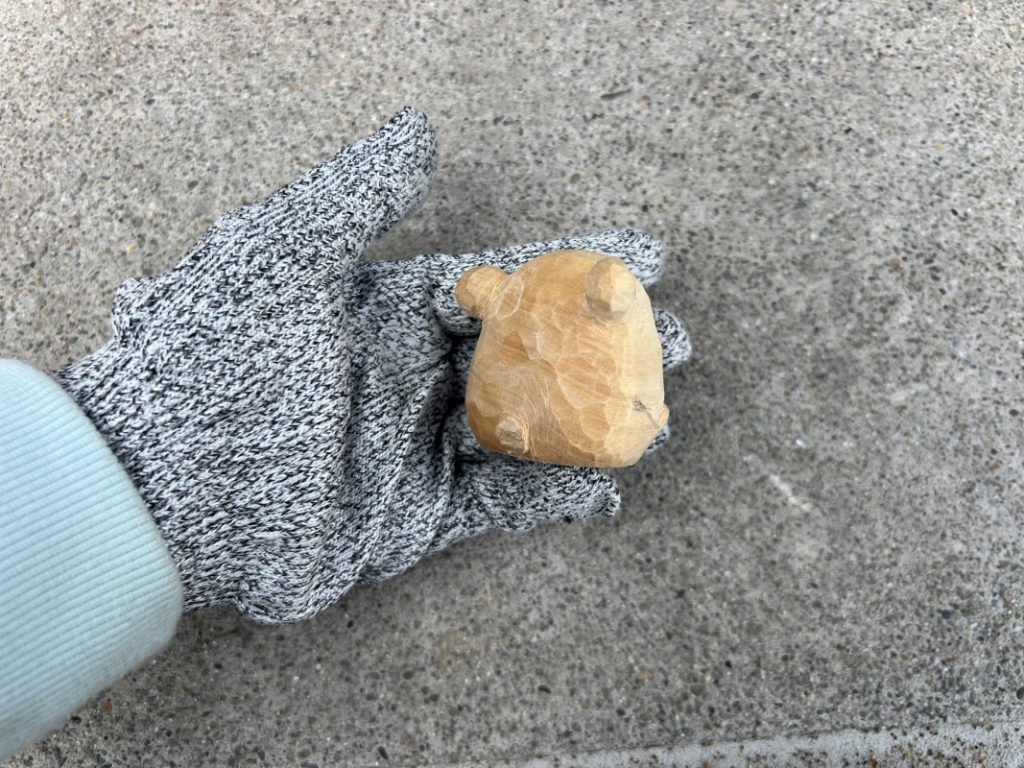
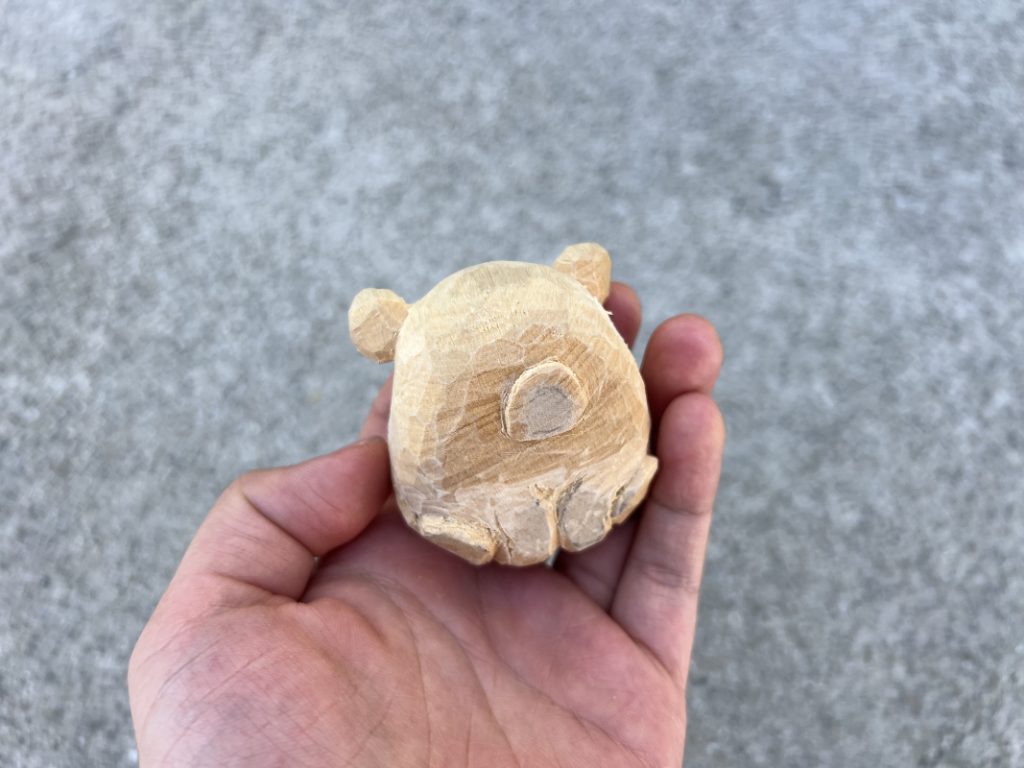
I continued to refine the shape of the ears, nose, and paws, and also started working on a little tail. It took a while to remove enough wood from the back to make the ears and tail pop out enough. Finally, I was satisfied with the shape of the bear, which can be seen on the right.
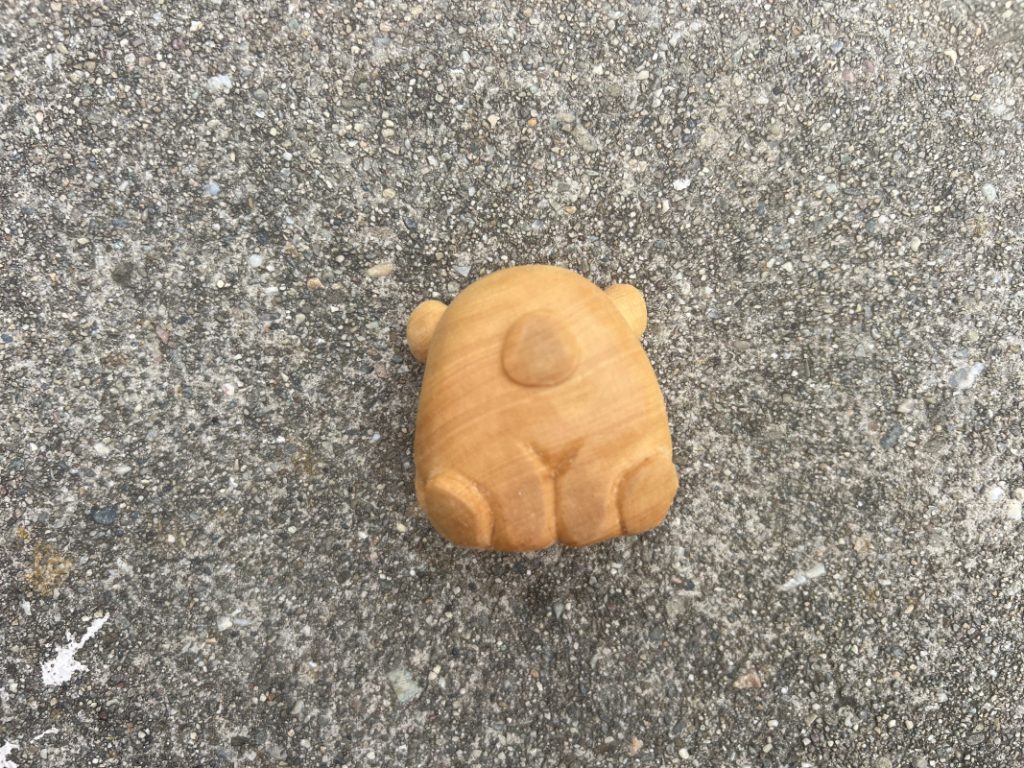
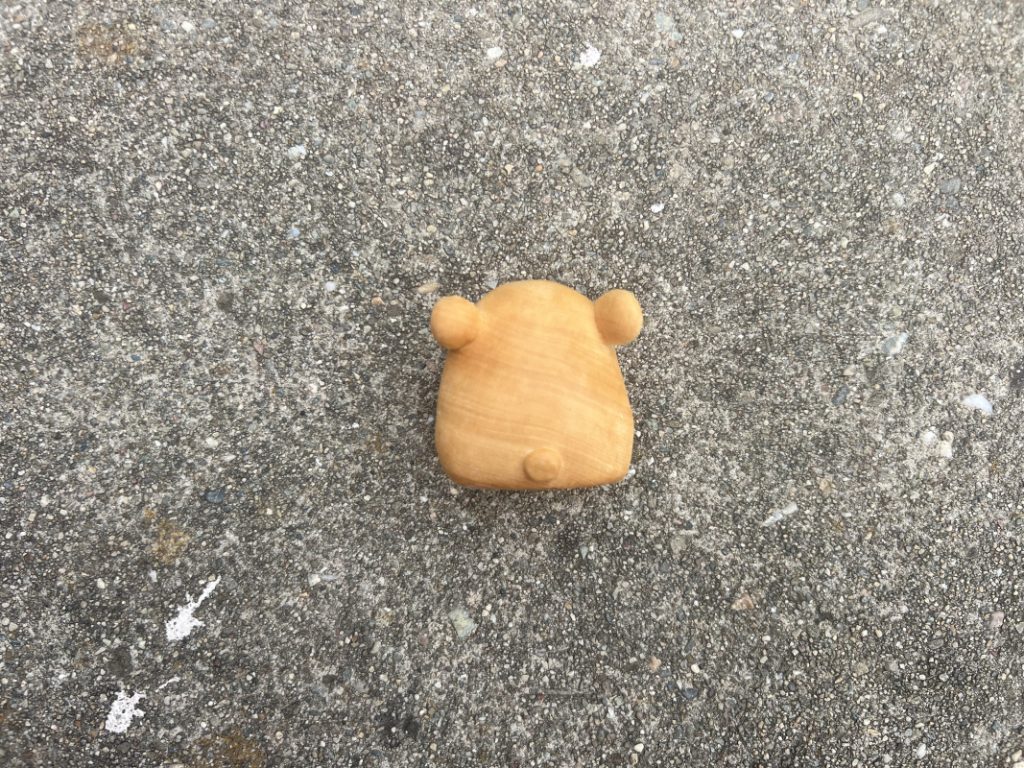
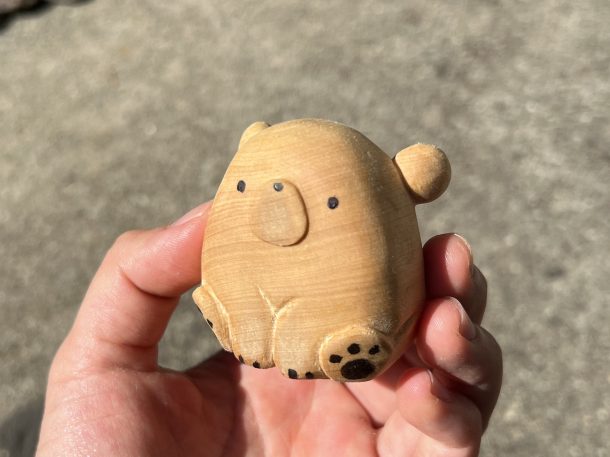
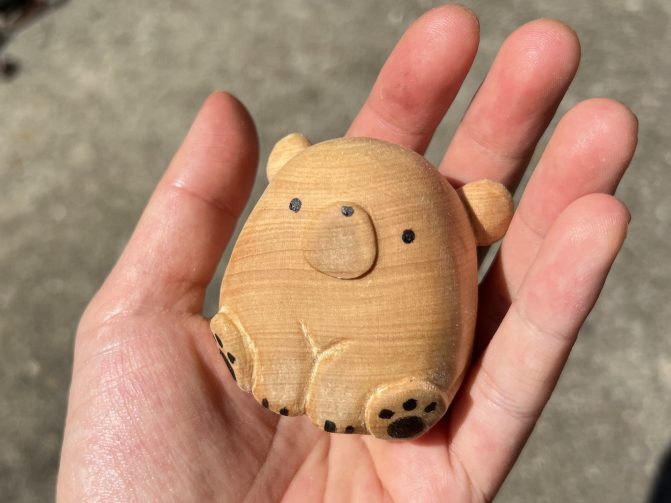
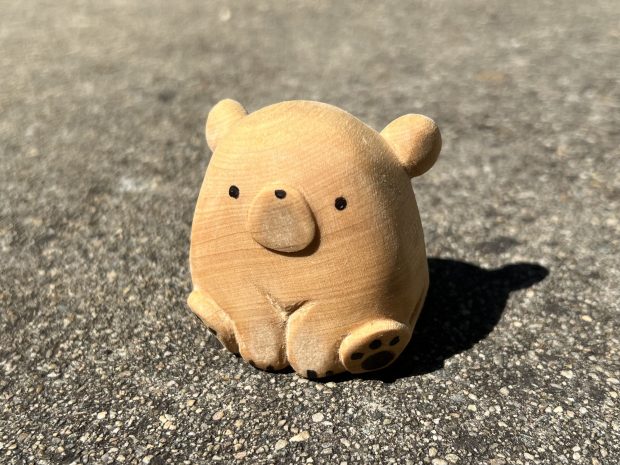
Before I could be done with the bear, I wanted to sand it to get rid of the rough parts and jagged edges. I started with a metal file to remove wood faster, then switched to sandpaper of finer grits to get it smoother. After I finished sanding, I applied a coat of mineral oil to bring out the grain of the wood.
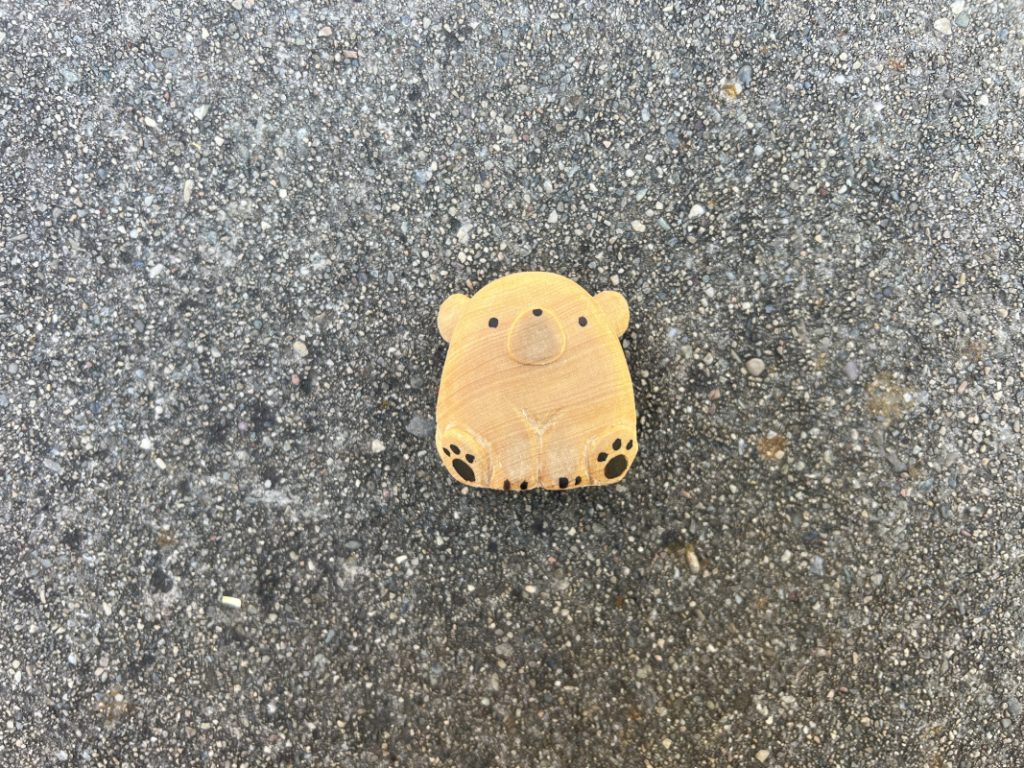
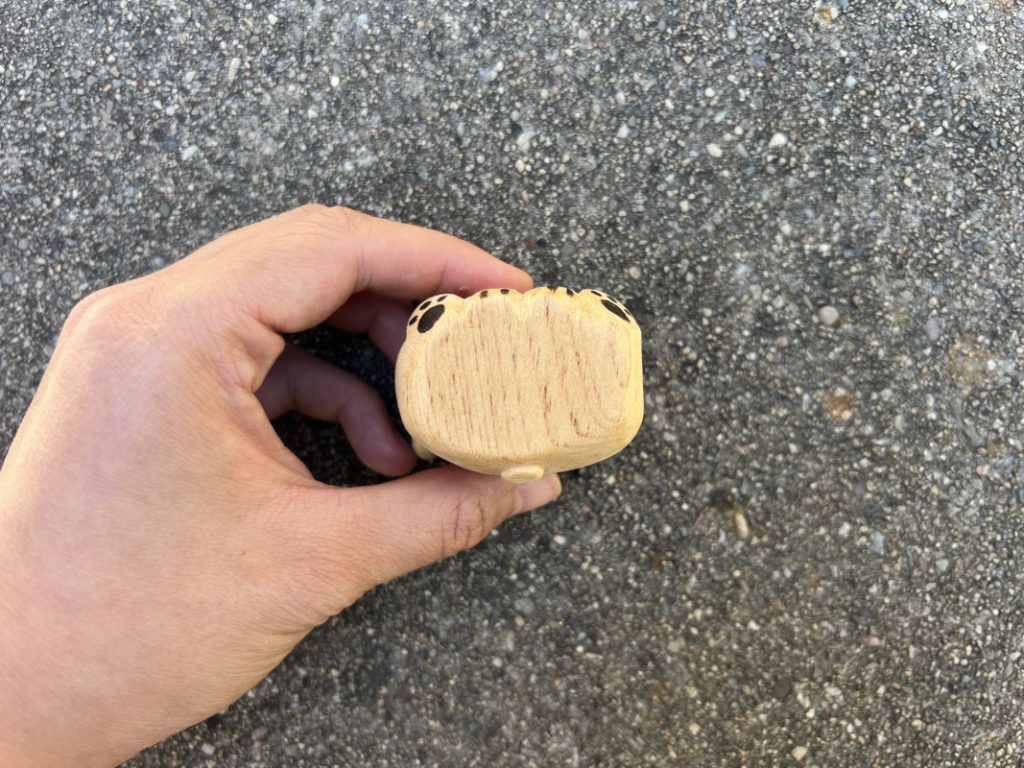
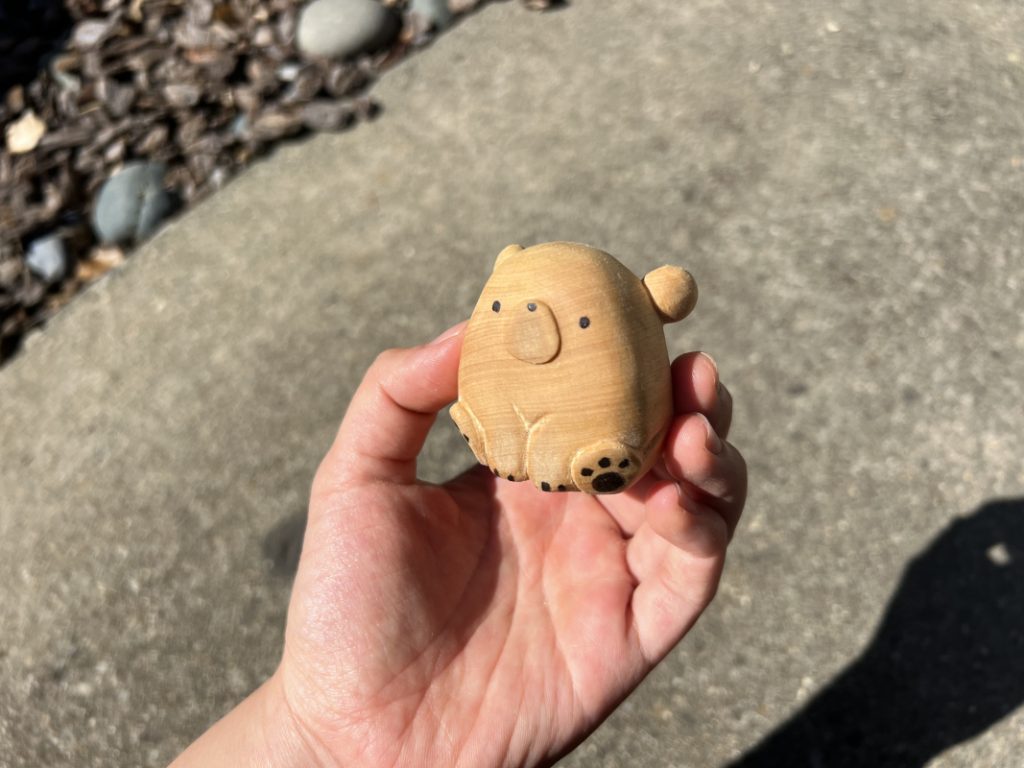
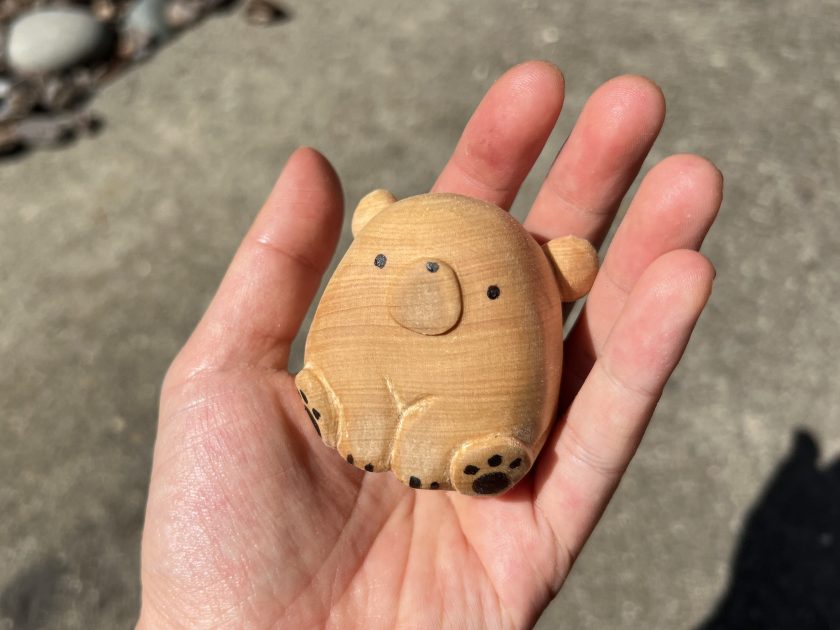
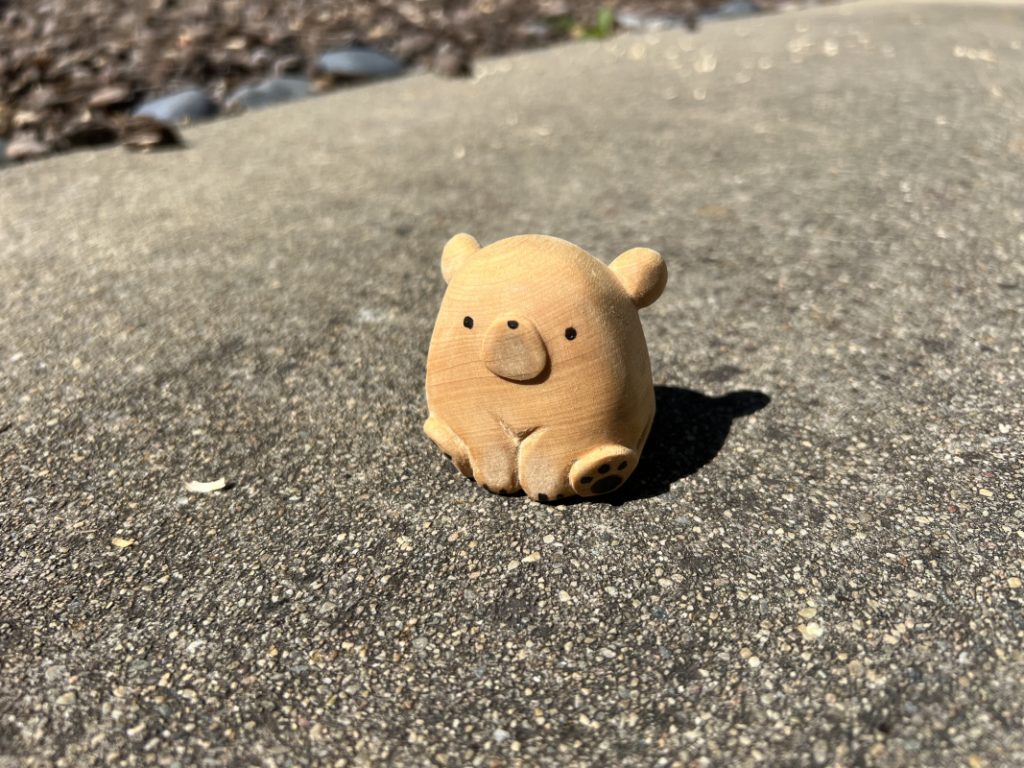
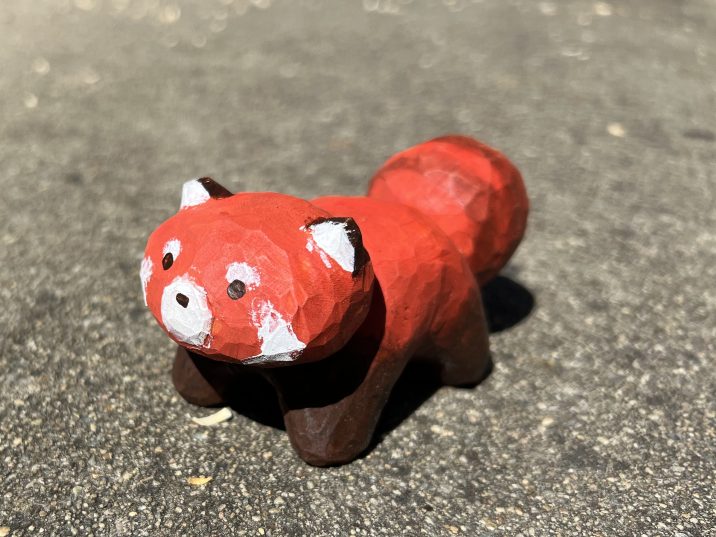
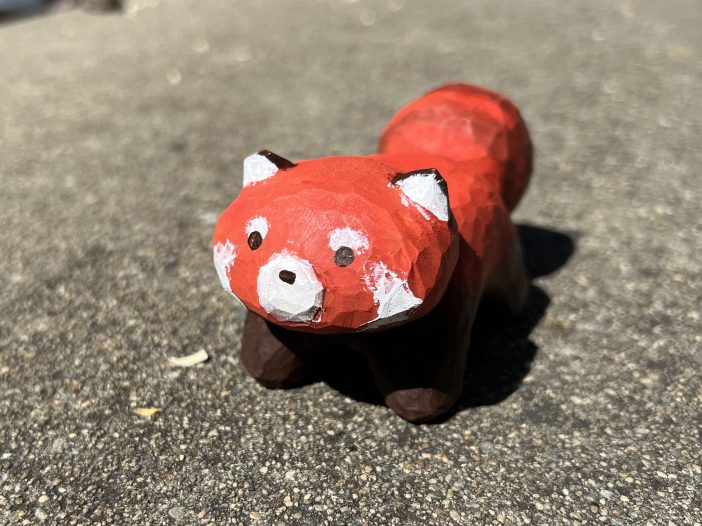
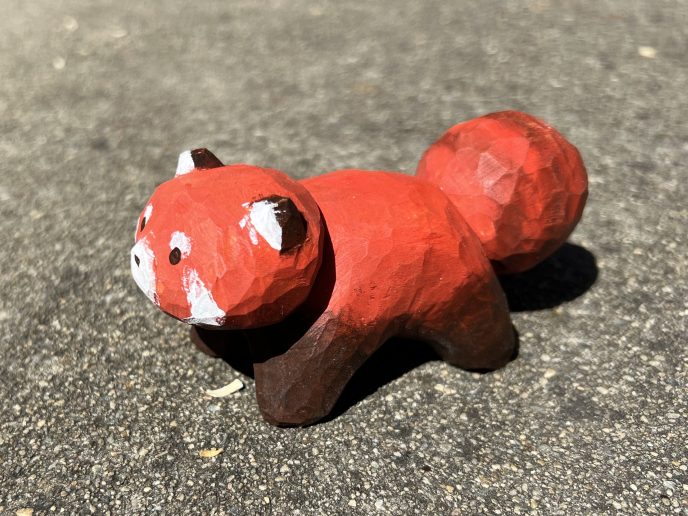
As the final step, I used acrylic paint to add details like eyes, a nose, and paws. In the end, I think it turned out really cute and I’m really happy with the end product.
FOX / RED PANDA
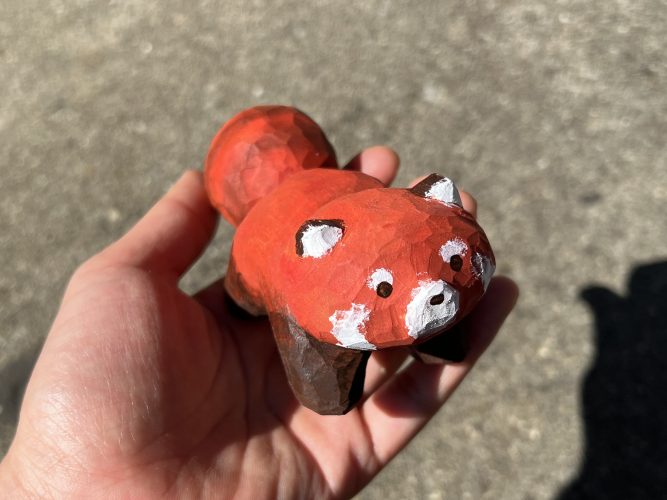
I initially intended this one to become a fox. However, as I was carving, it began to look like a red panda, so I decided to go with it.
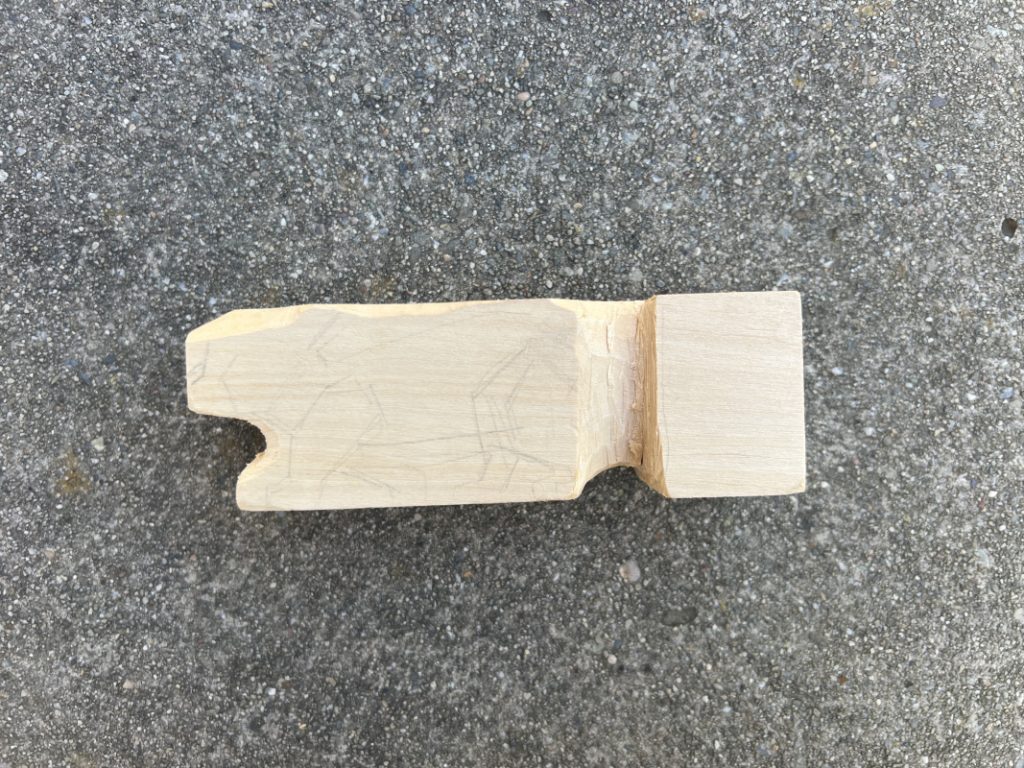
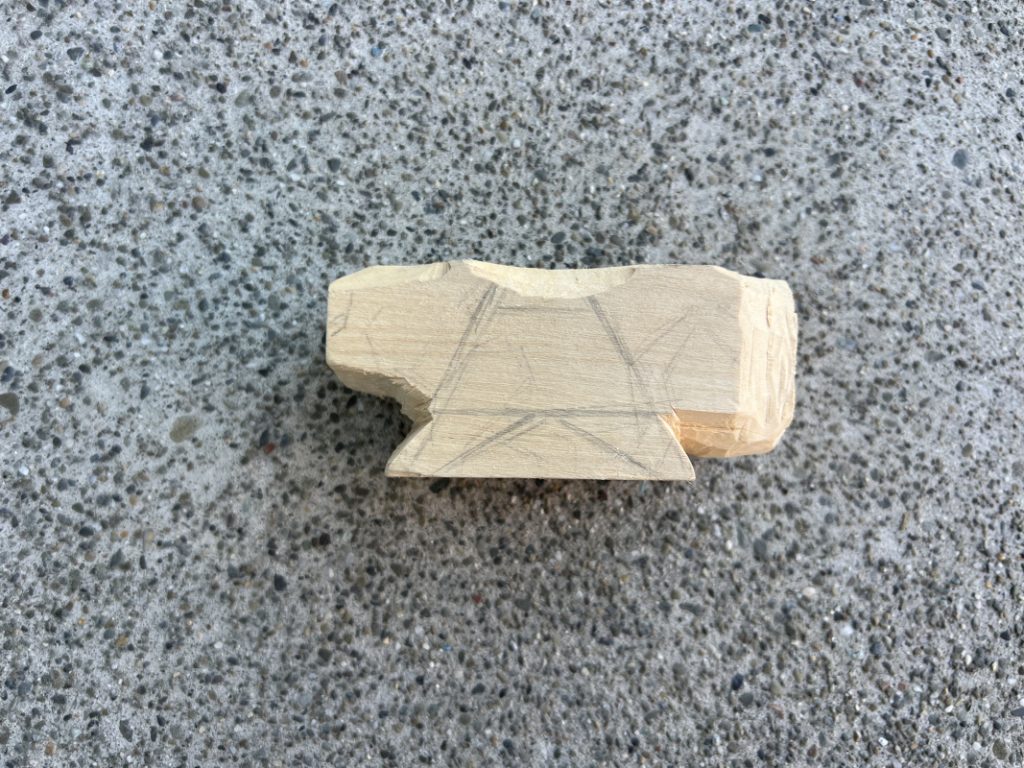
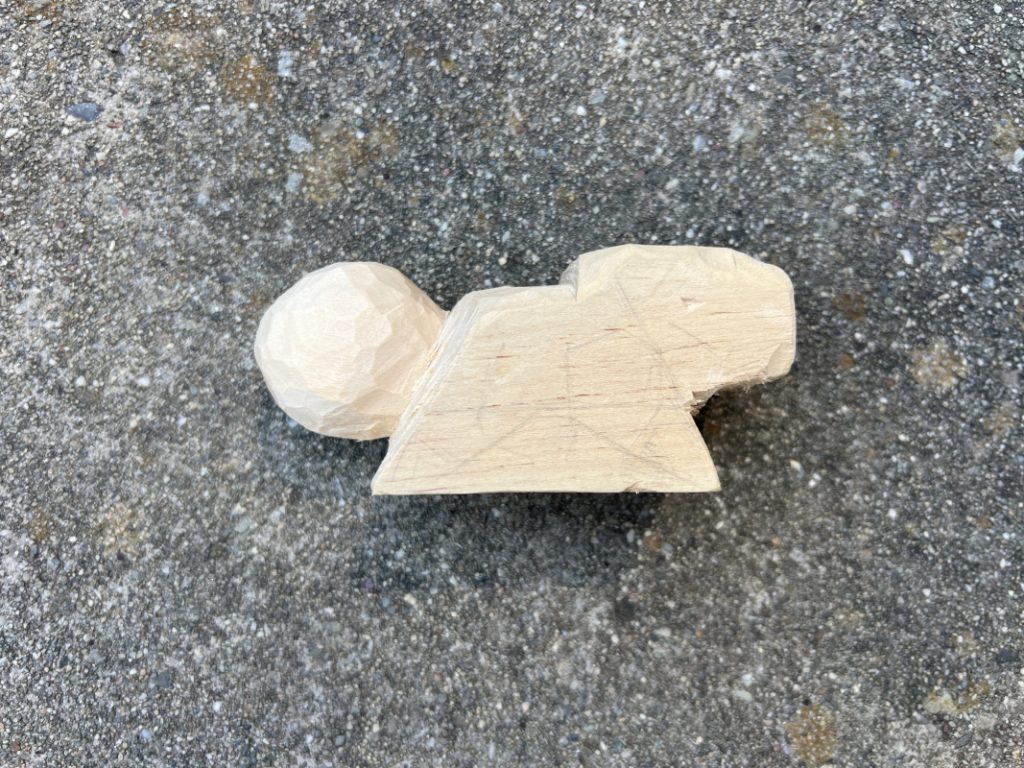
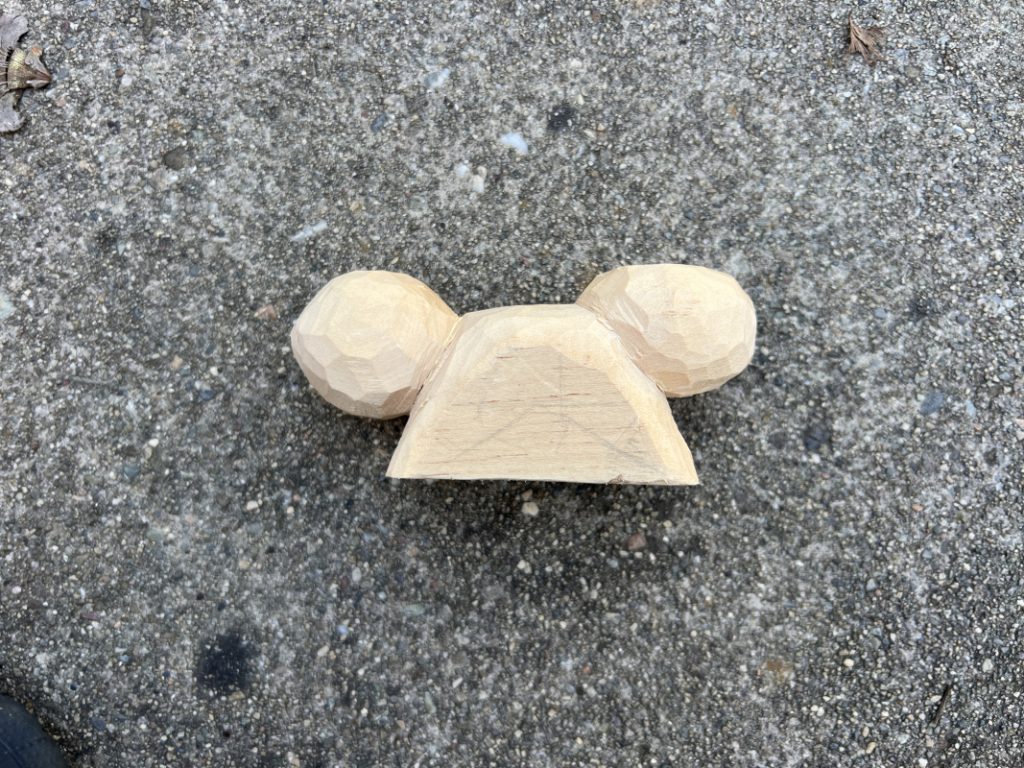
I actually began carving this a few years ago, but never finished it nor did I carve anything else. One of the reasons I chose to do wood carving was so that I could finish this.
To start, I sawed off the block of wood attached to the tail. This then became the bear above. Then, following a tutorial by Carving is Fun, I drew some guiding lines which can be seen in the top right. I cleaned up the outer edges of the legs and started shaping the tail, as seen in the bottom left. Afterwards, I started shaping the head, while continuing to shape the tail and round off the edges of the legs.
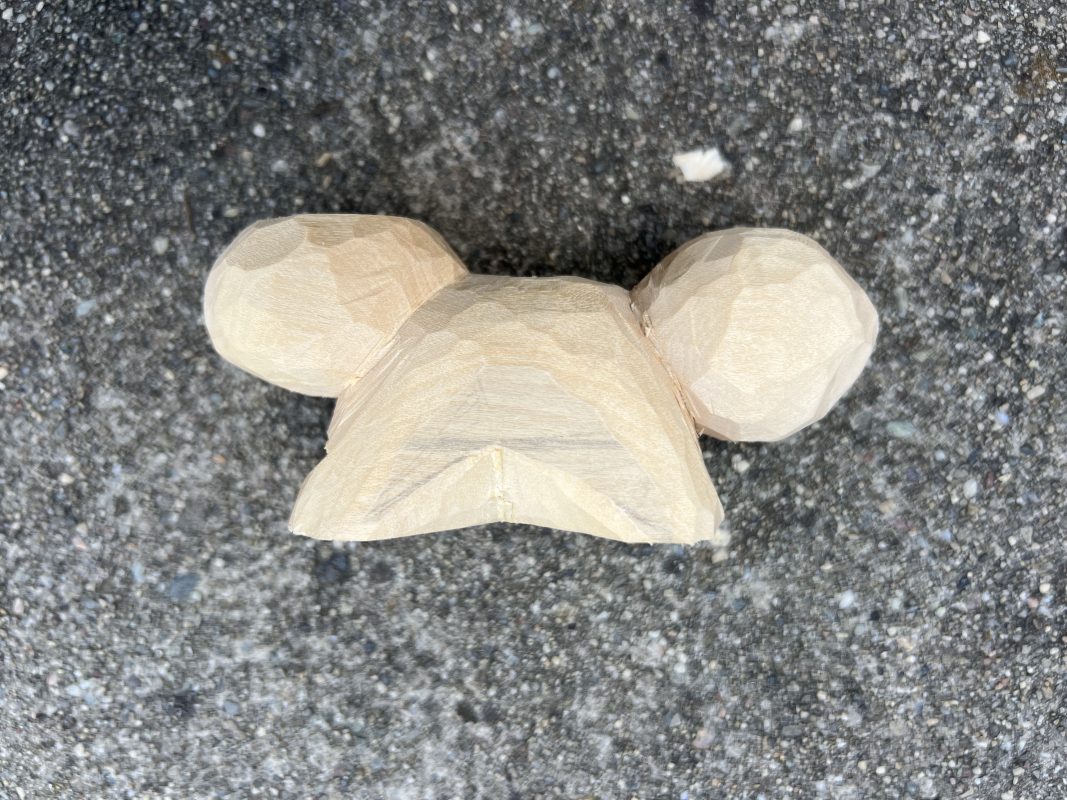
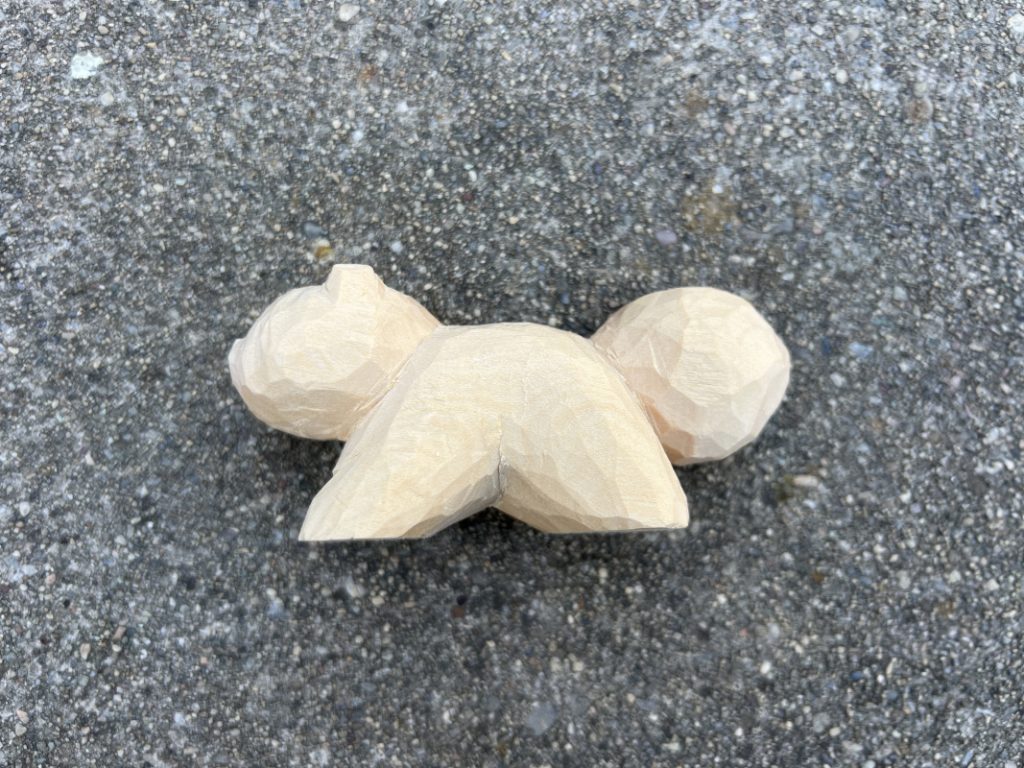
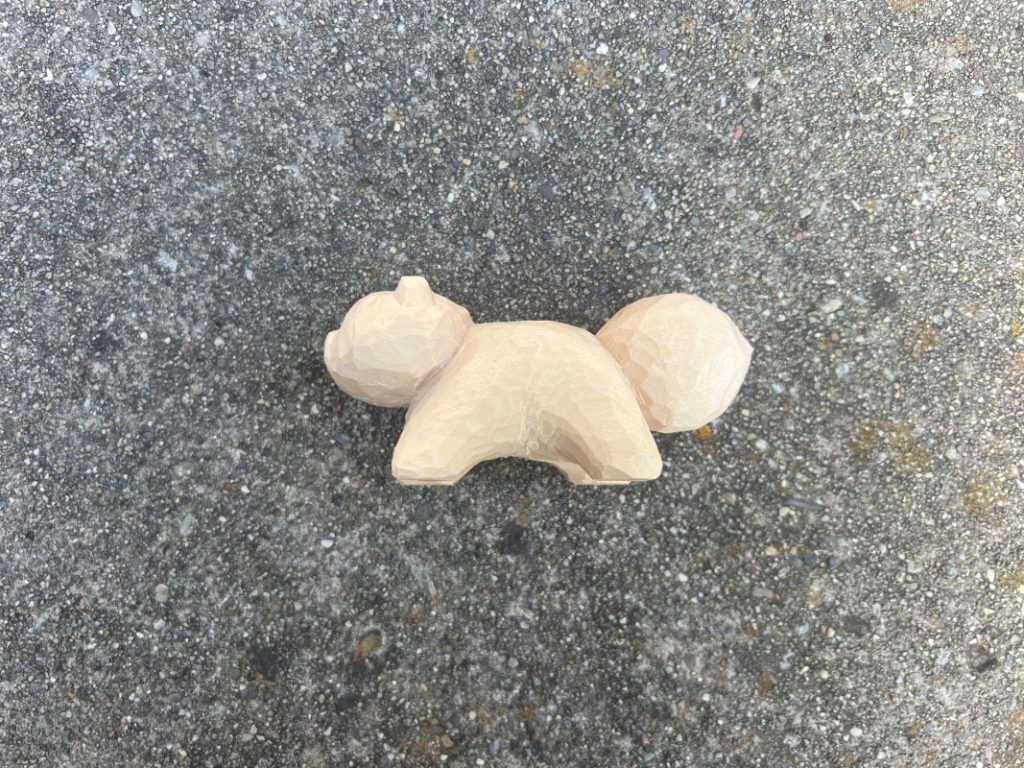
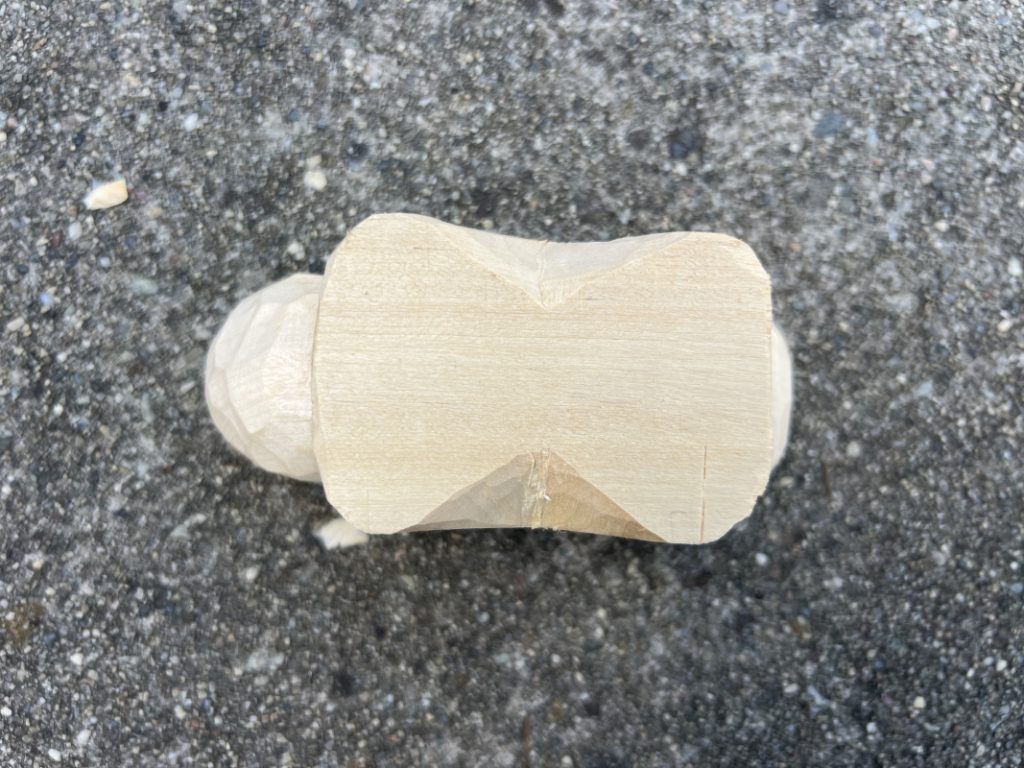
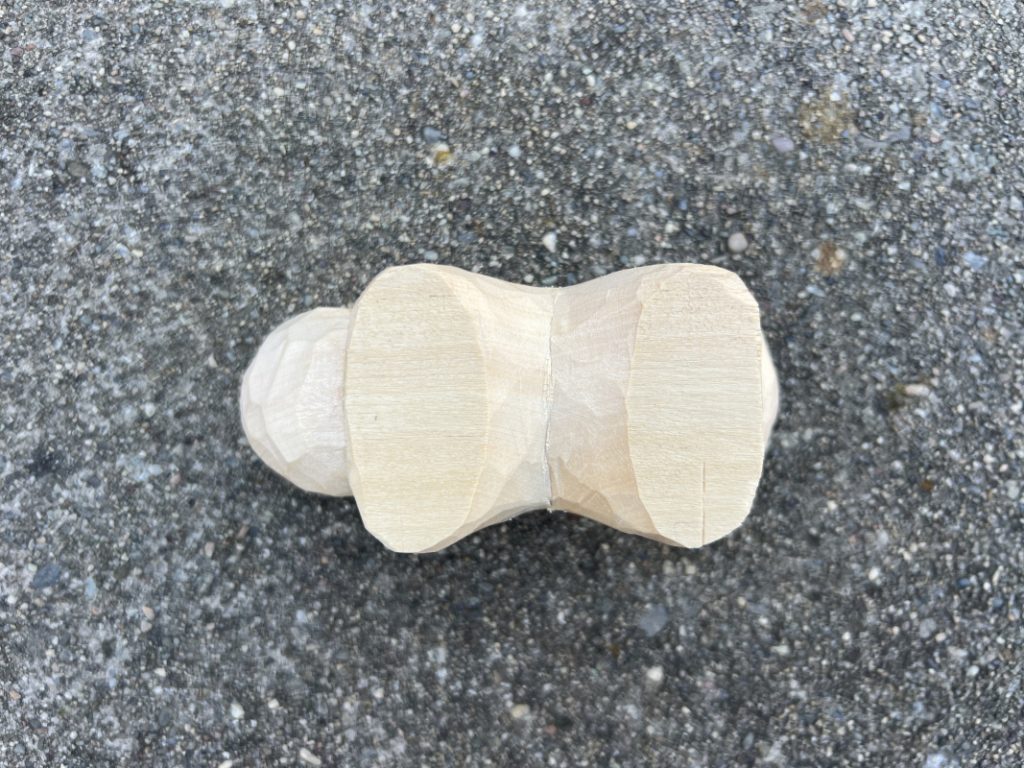
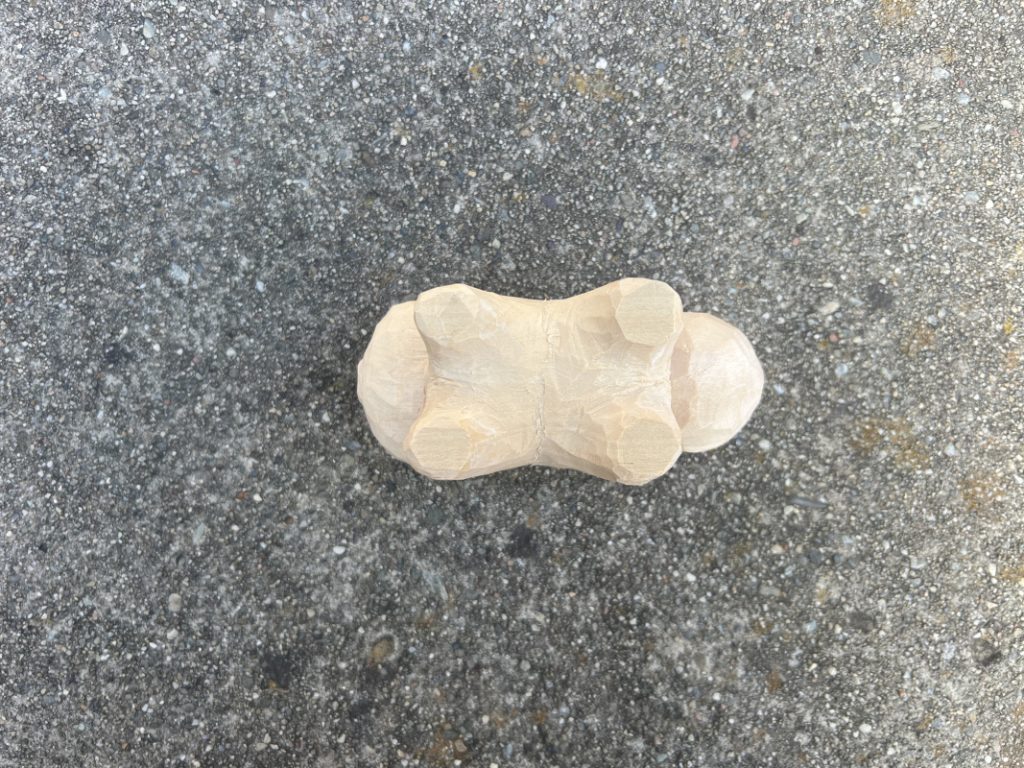
Next, I started working on the legs. I followed the guiding lines from earlier to remove the wood between the front and back legs. After that was fully carved through, I separated the left and right legs.
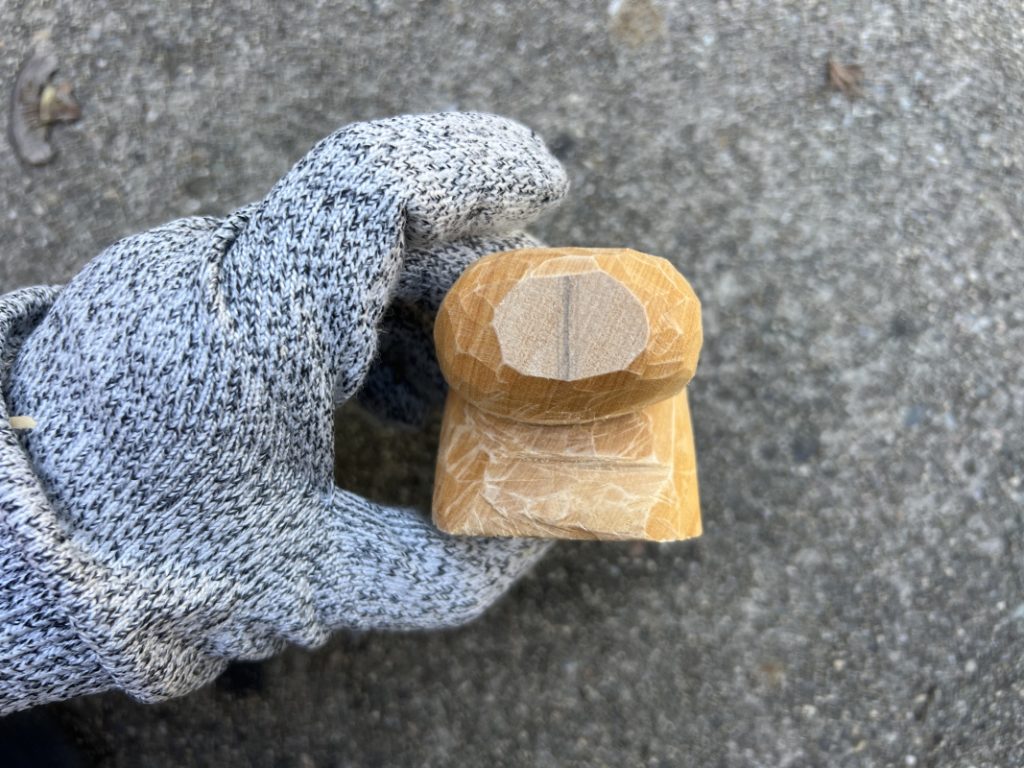
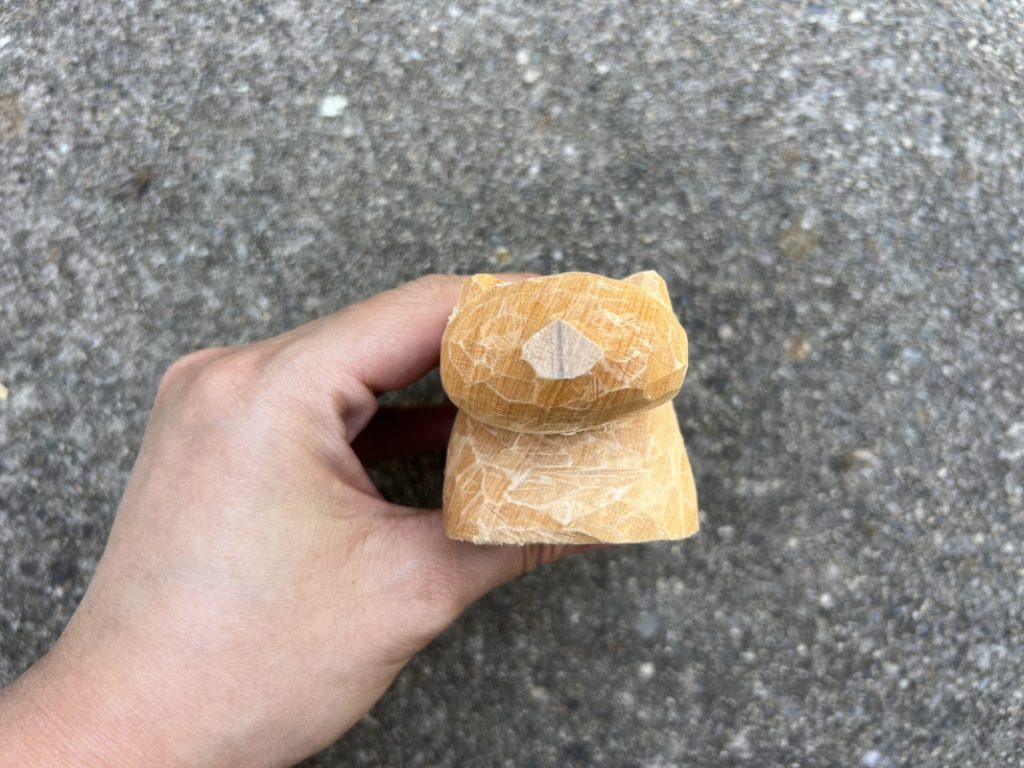
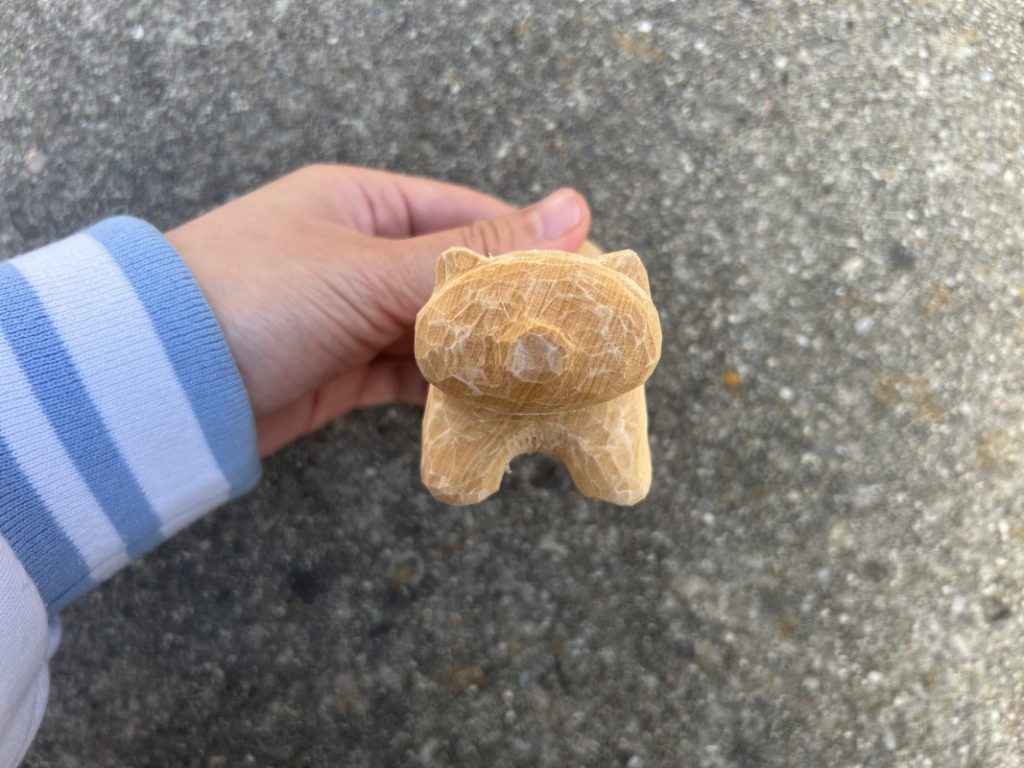
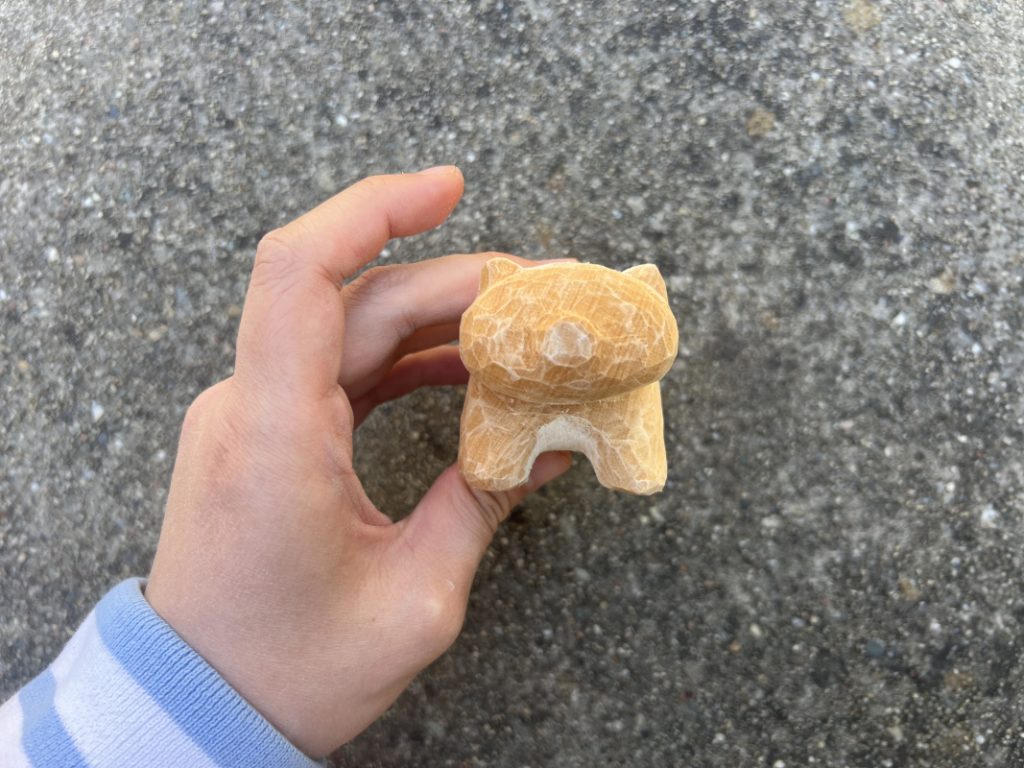
While working on the legs, I also started adding the ears and nose. It was around this point that it started to resemble a red panda. I also sanded the rough parts between the legs where it was difficult to get it smooth with the knife.
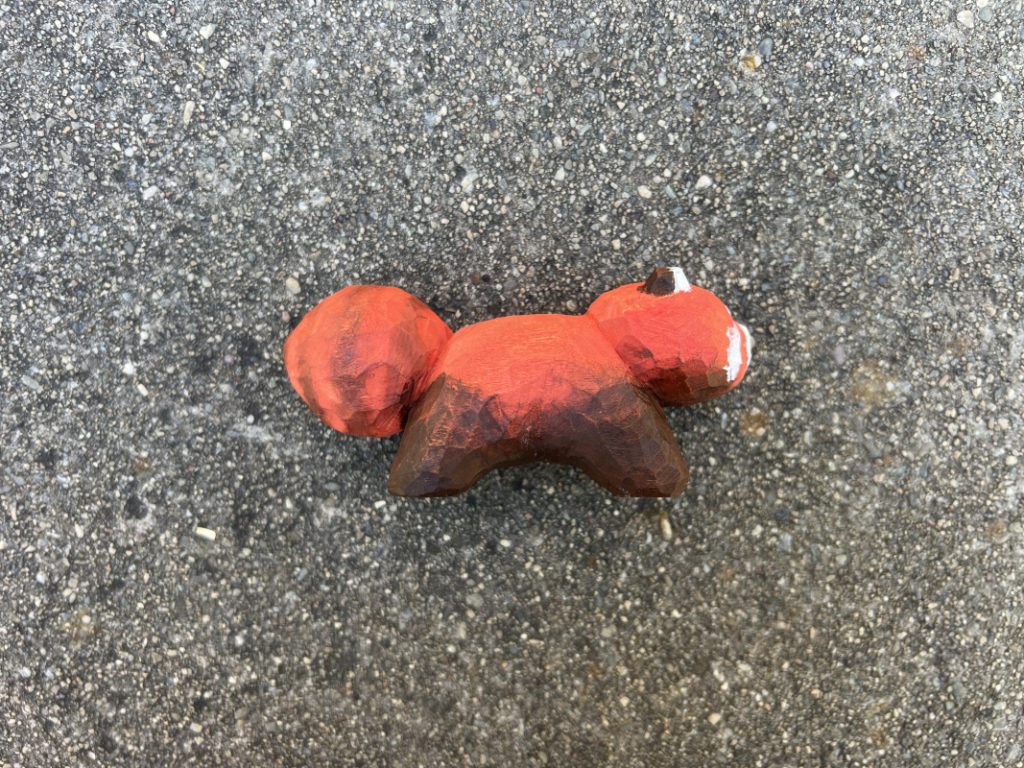
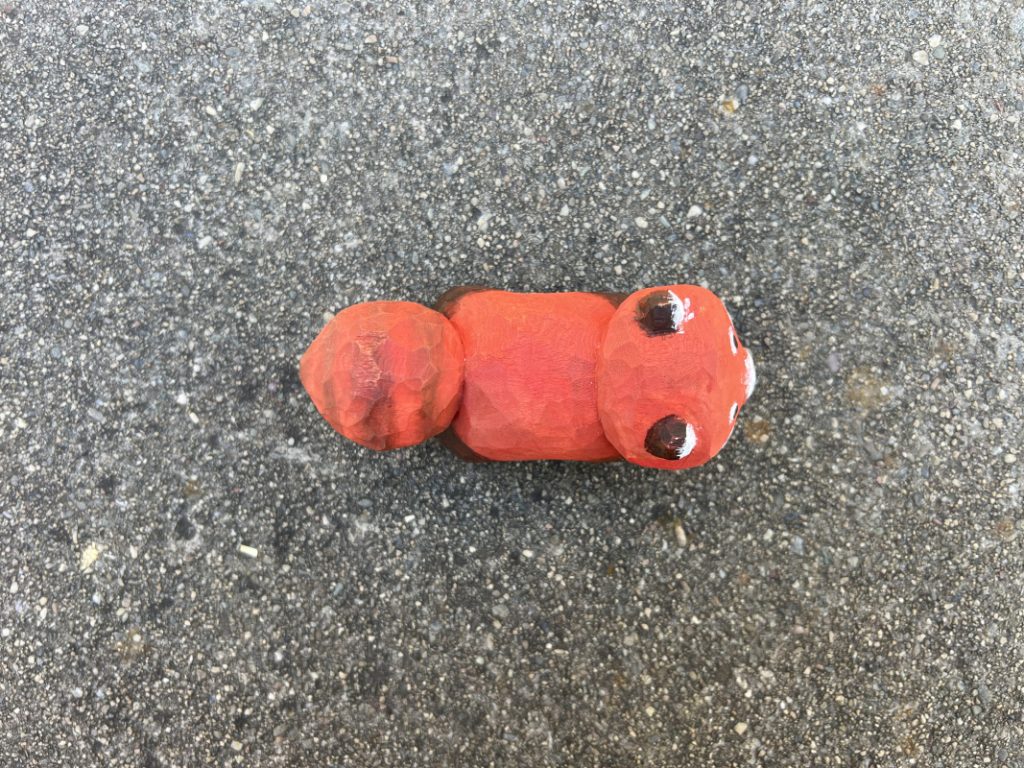
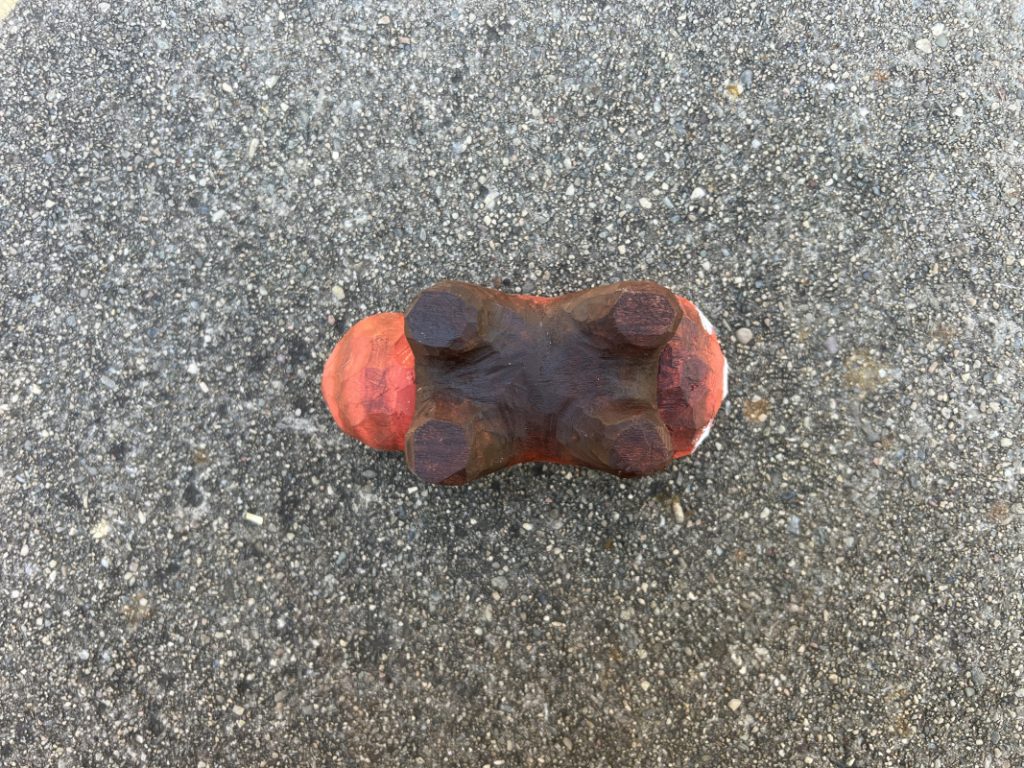
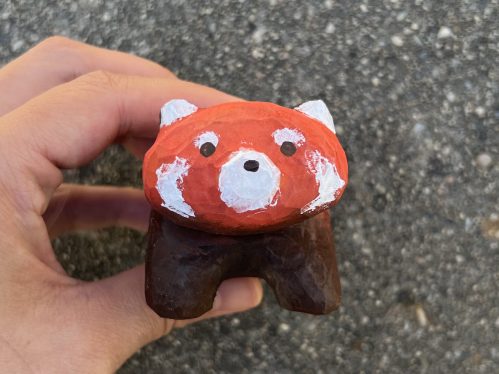
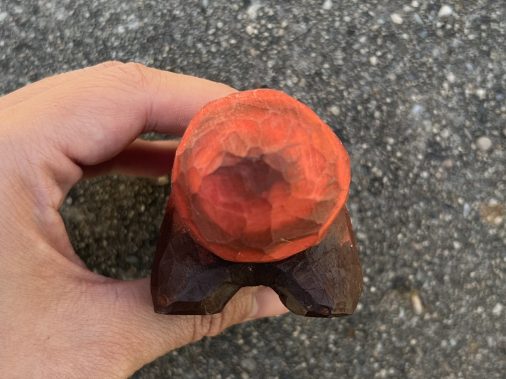
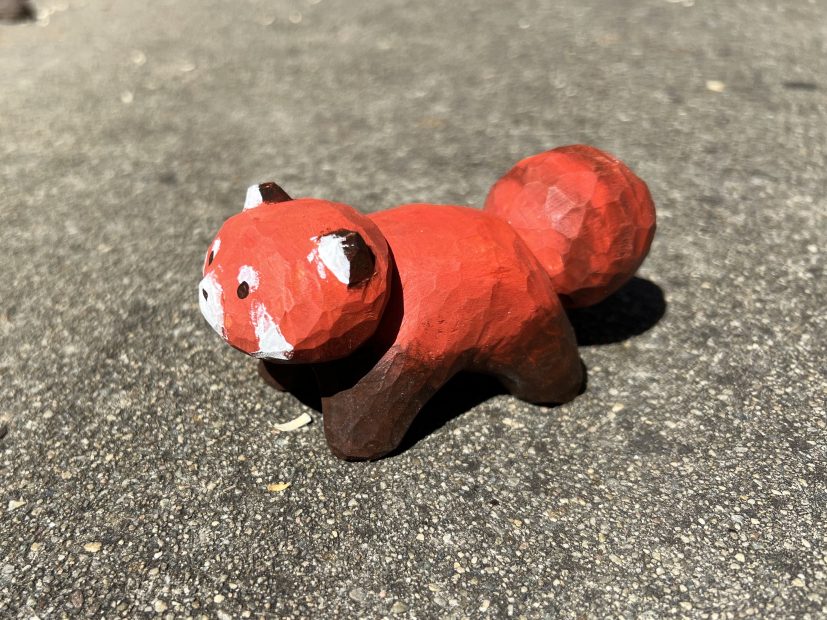
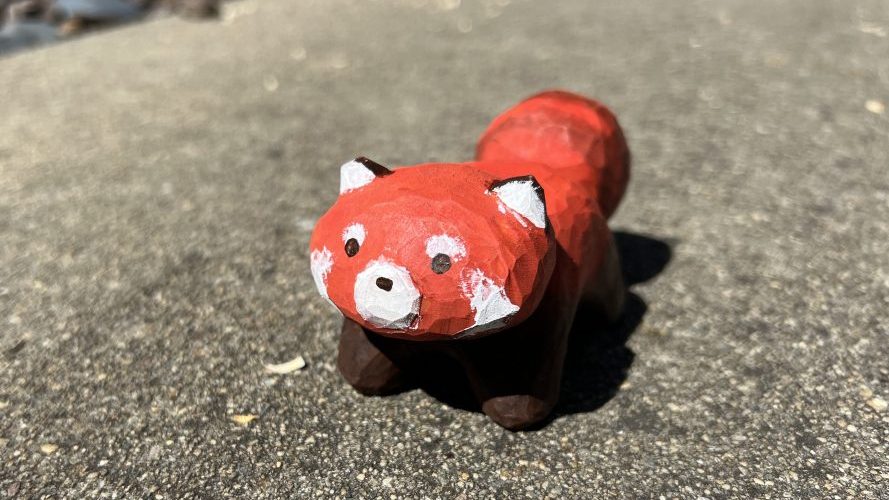
Finally, I painted it with acrylic paints to look like a red panda.
SPOON
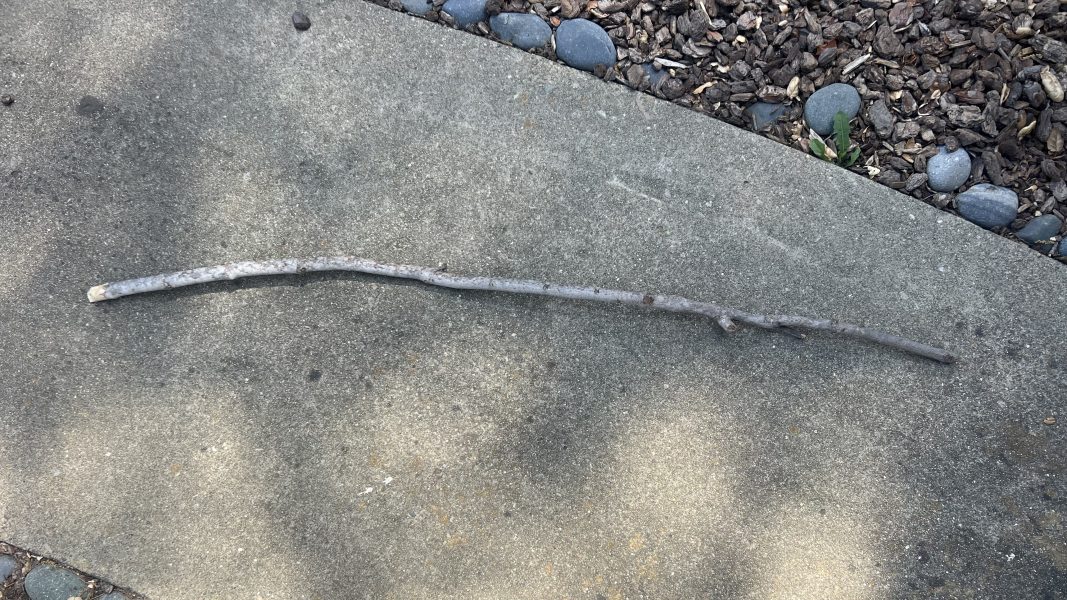
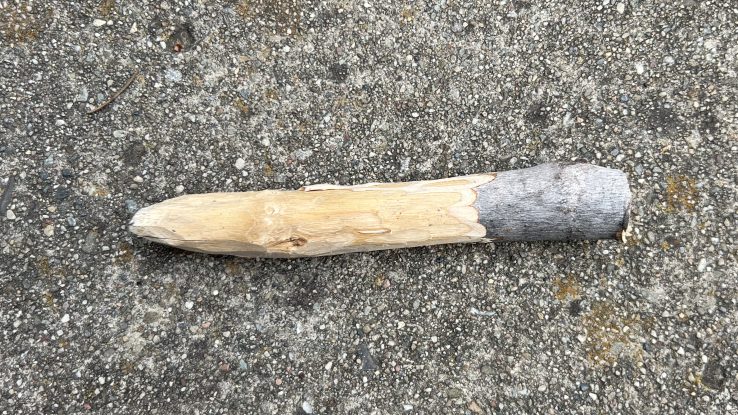
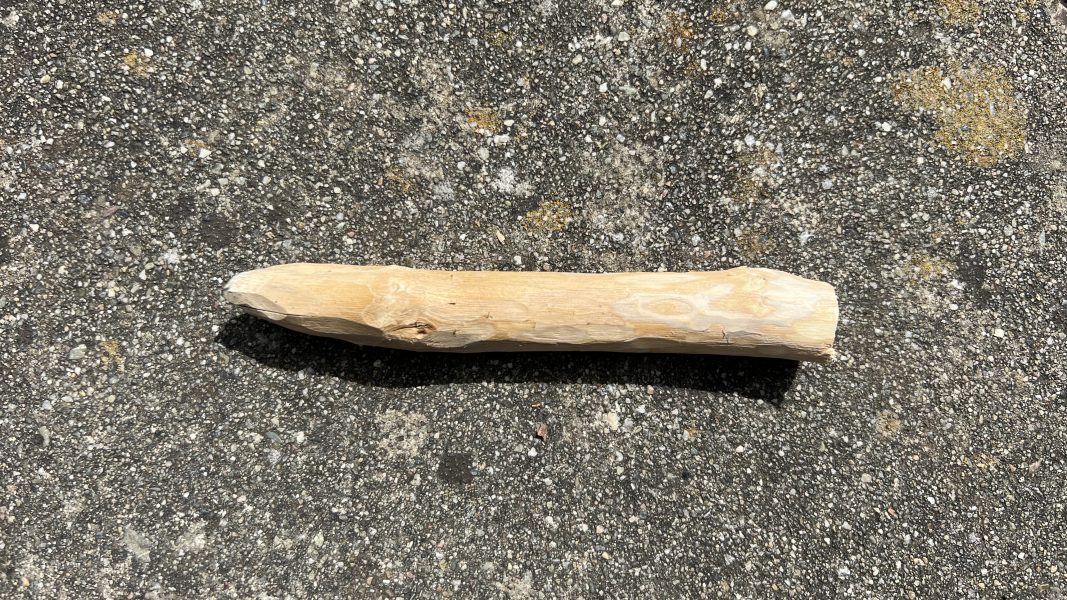
For the spoon, I started with a stick I found in my backyard, which I carved a little to test for carvability. I sawed off about five inches off of one end and carved the bark off of it.
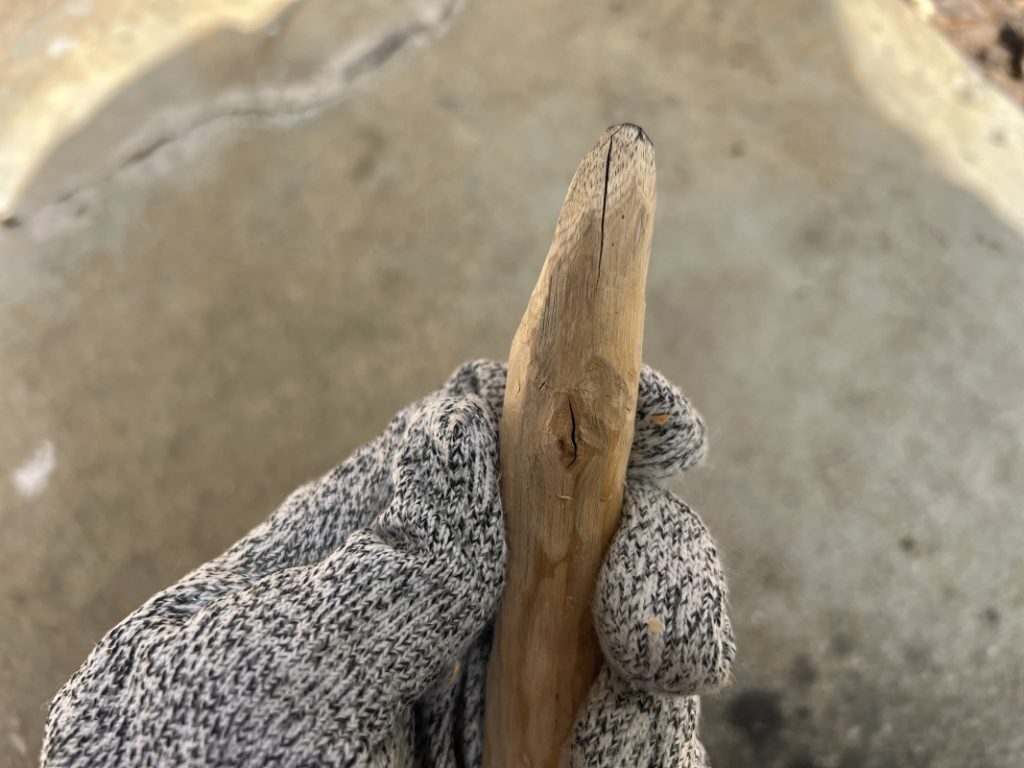
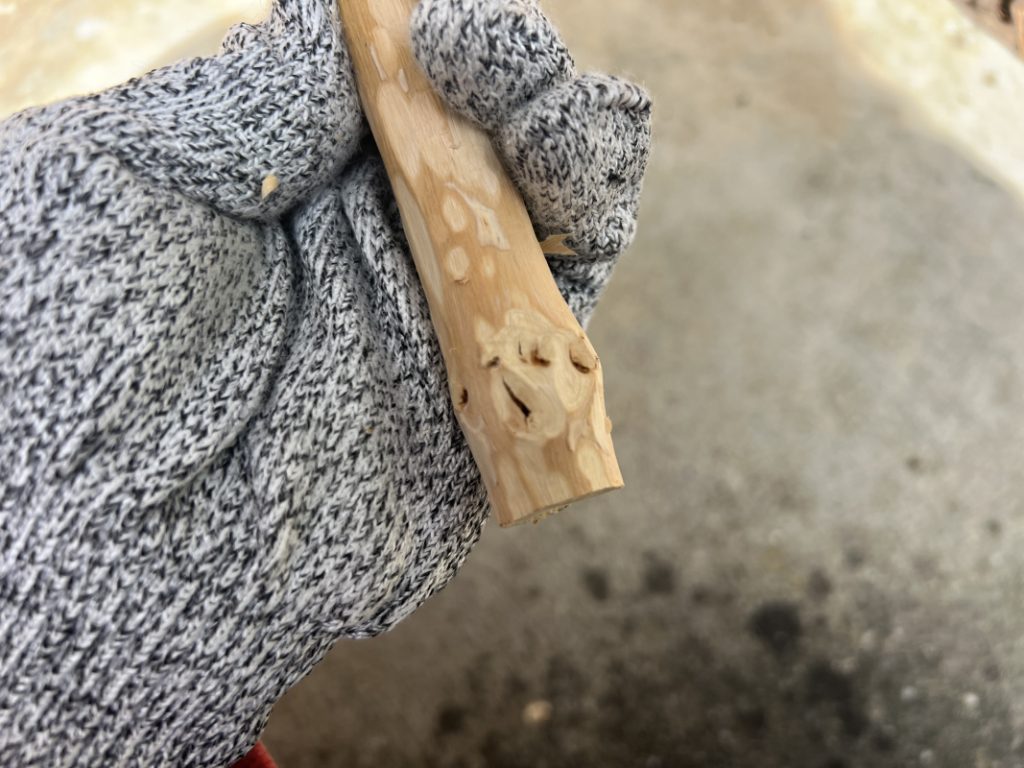
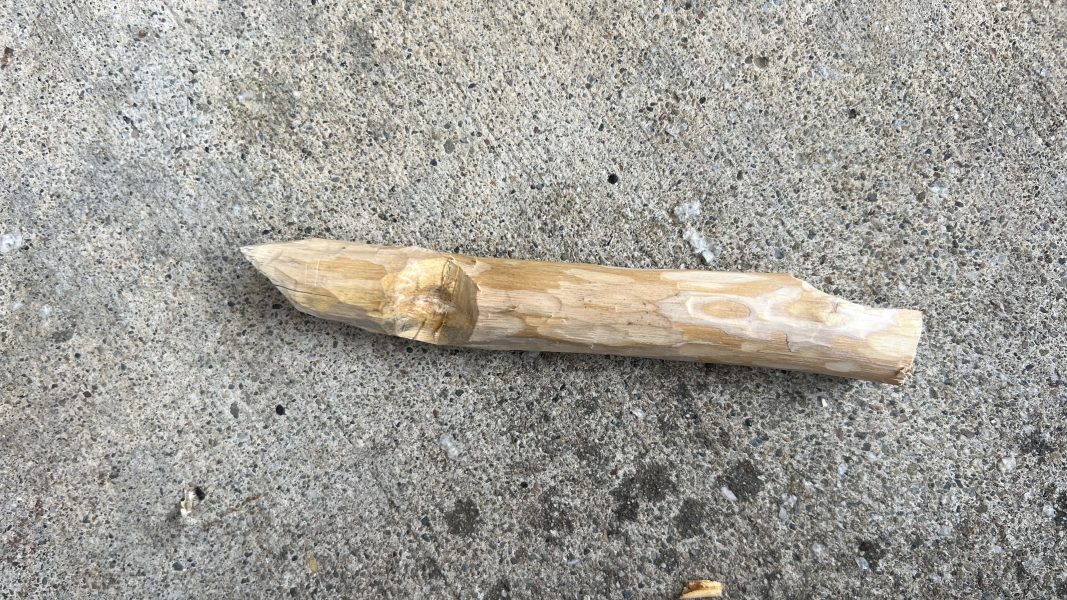
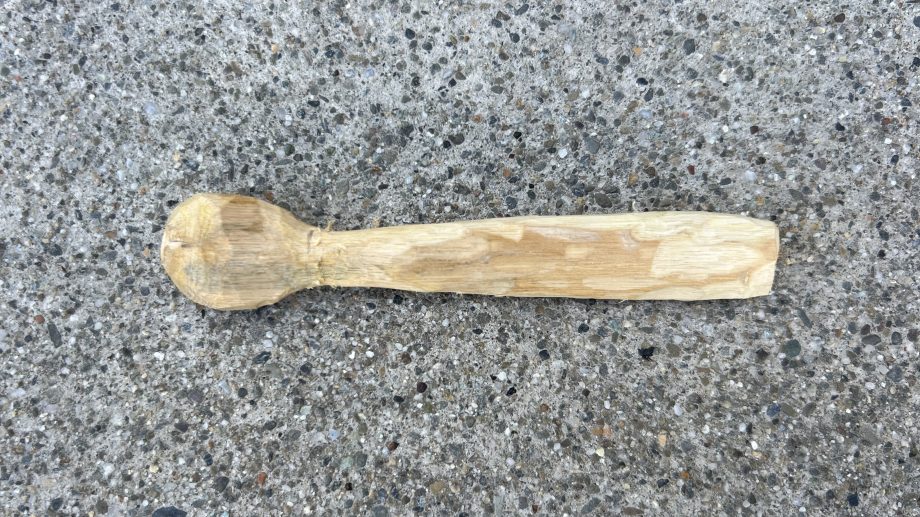
Before I could start shaping the spoon, I needed to remove some cracks and holes from the stick. After doing that, I was left with the image above. However, I now had a new problem to face.
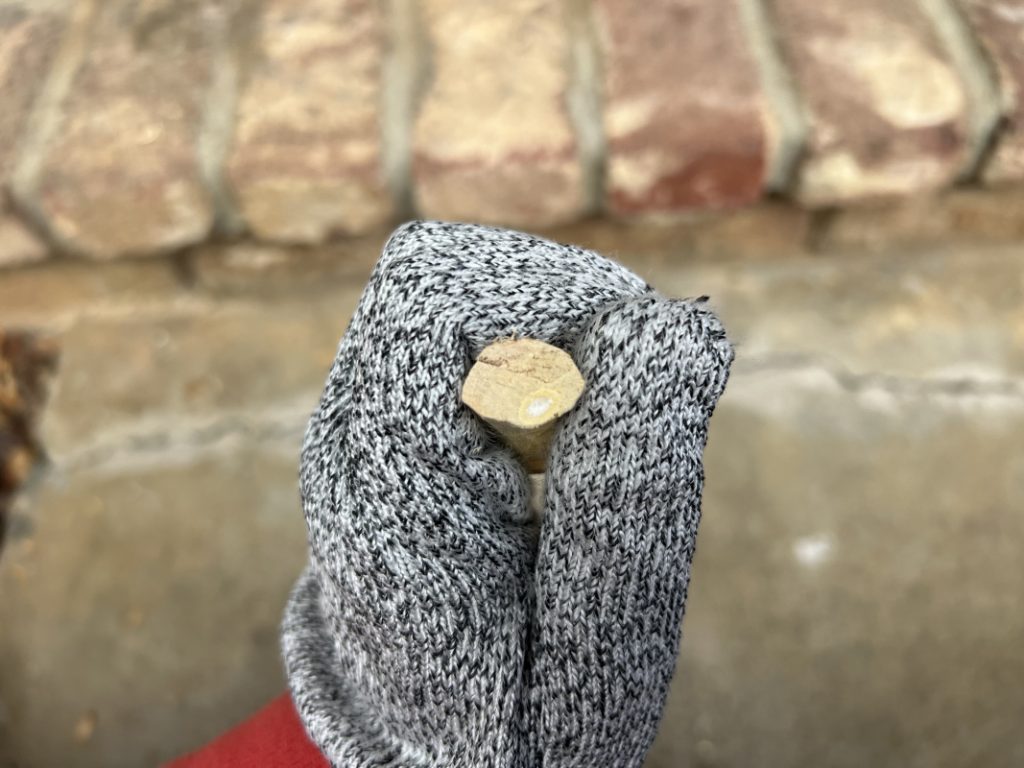
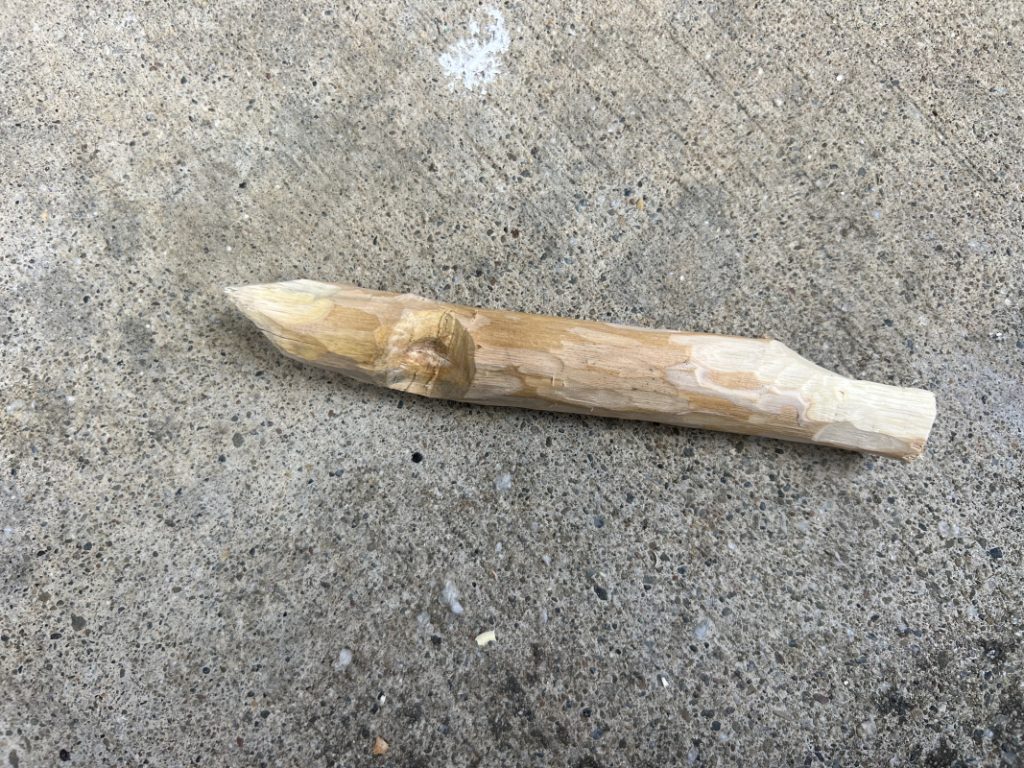
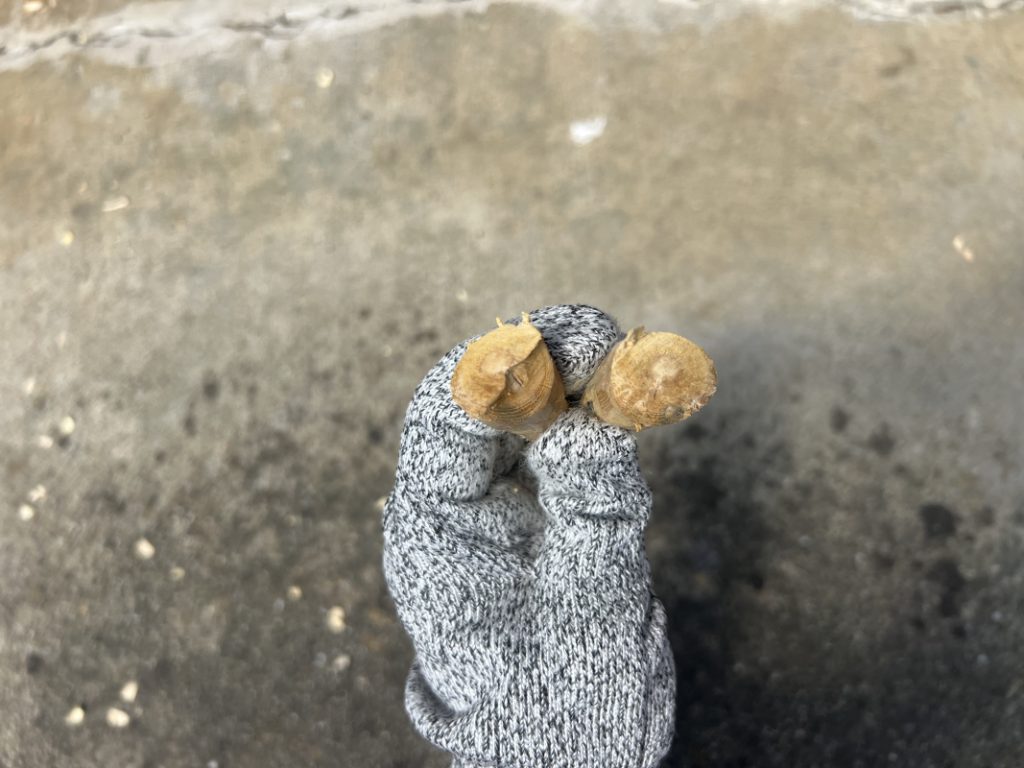
The white dot in the left image is the pith of the branch and isn’t solid wood. Unfortunately, it runs through the whole branch and went right through the middle of where I originally planned to have the scoop of the spoon. In the middle image, you can see a whitish area in the middle of the circular part. In an attempt to solve this, I cut through the stick right through the middle of the circular part.
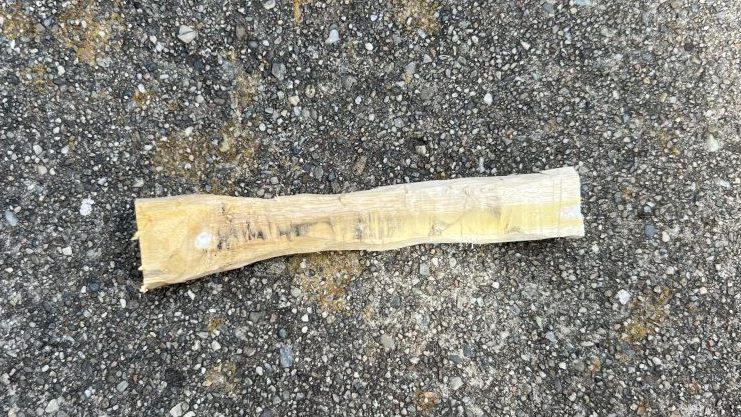
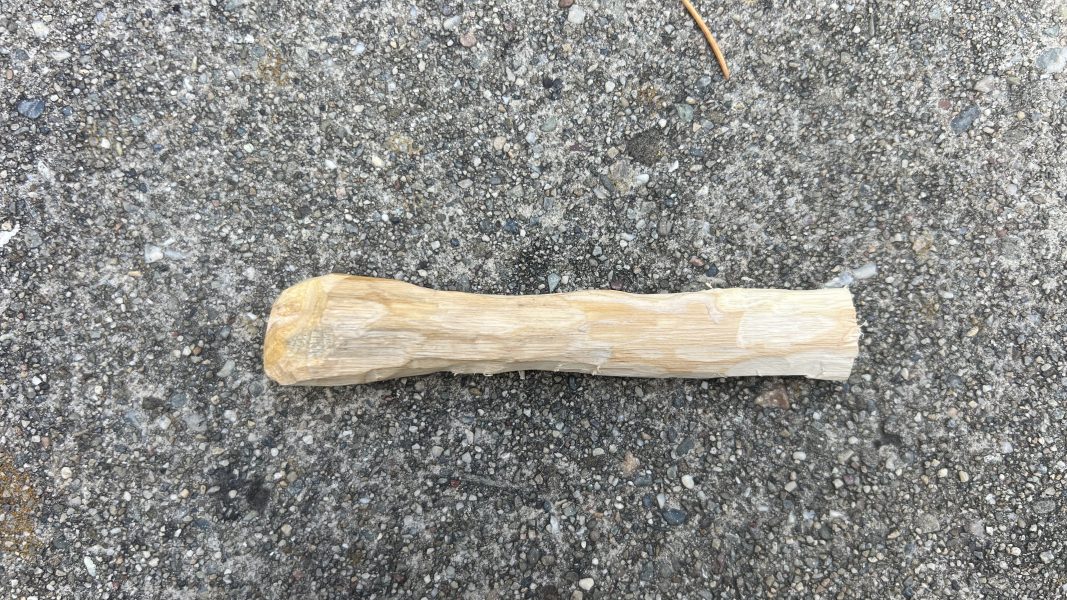
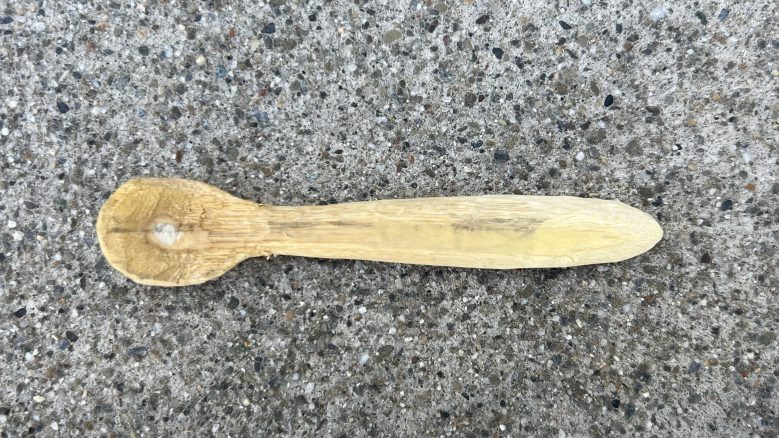
I removed the pith from the remaining wood and started to shape out a new, smaller spoon. At this point, there is still a little bit of the pith remaining, but it wasn’t visible from the other side, so I was hopeful that it could be removed completely when I carved out the scoop of the spoon.
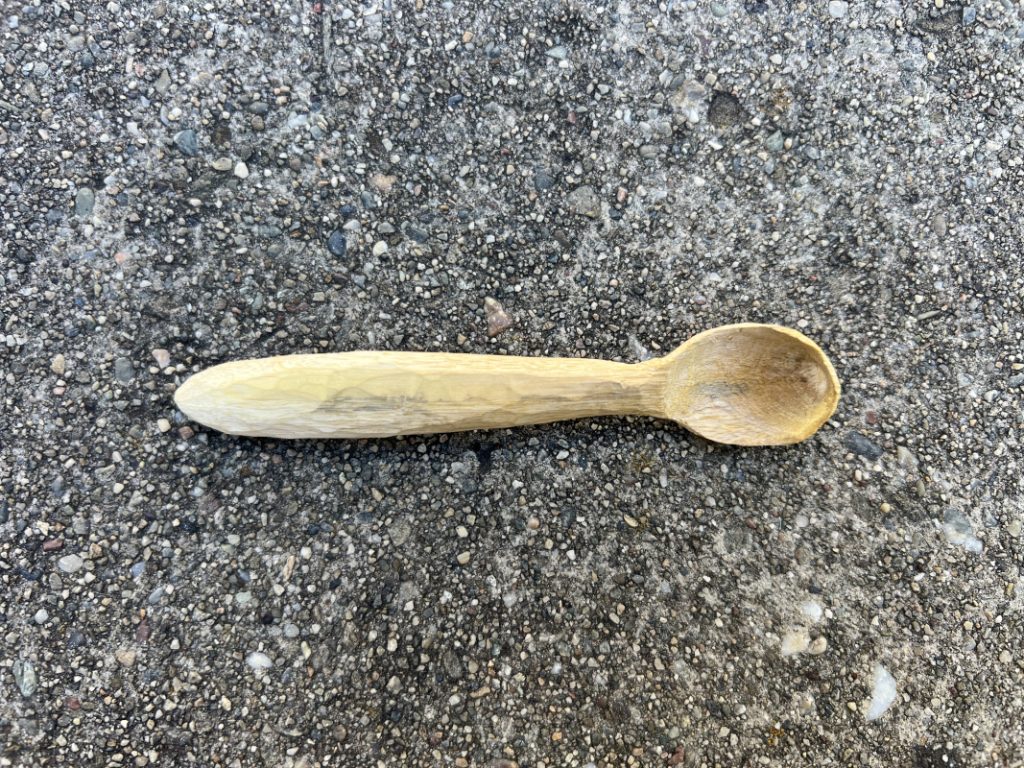
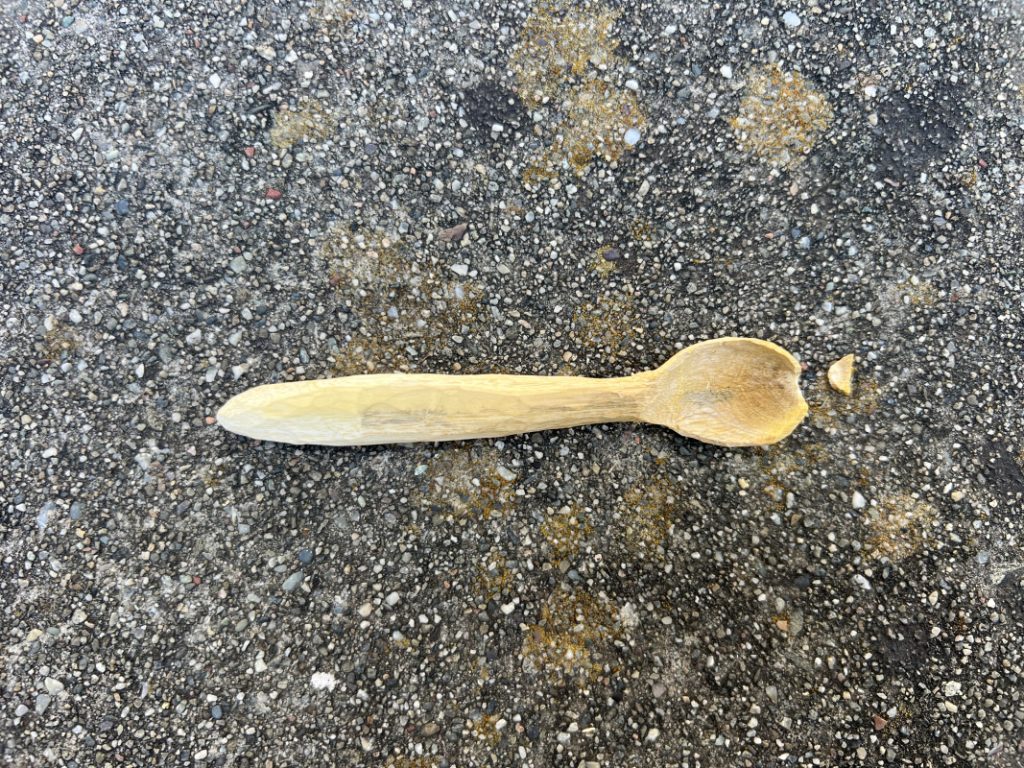
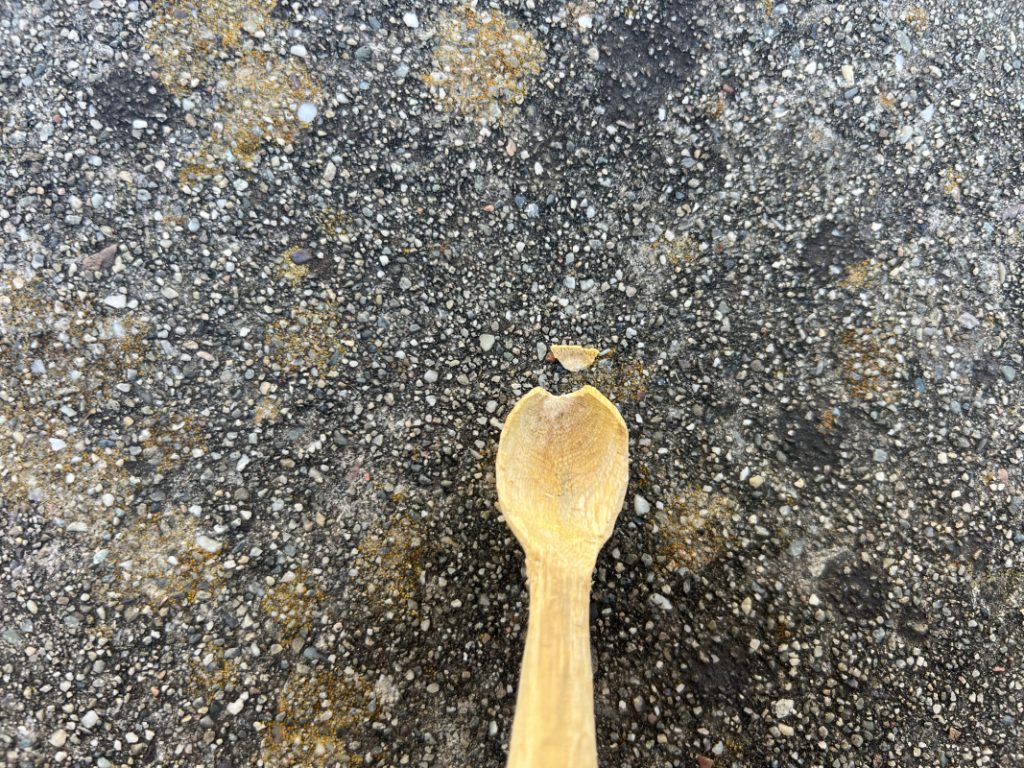
As I rounded the inside of the spoon, the pith still remained. Where the pith was began to get very thin as I attempted to remove it. While I was trying to even out the shape of the spoon, I accidentally chipped the wood where the pith was.
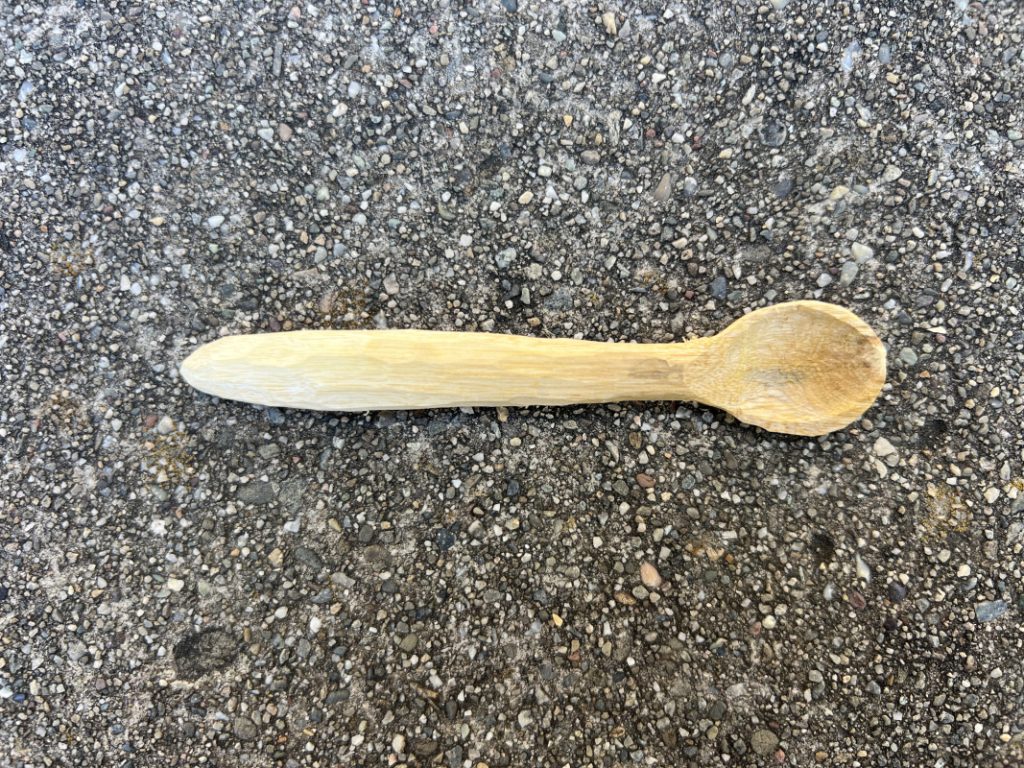
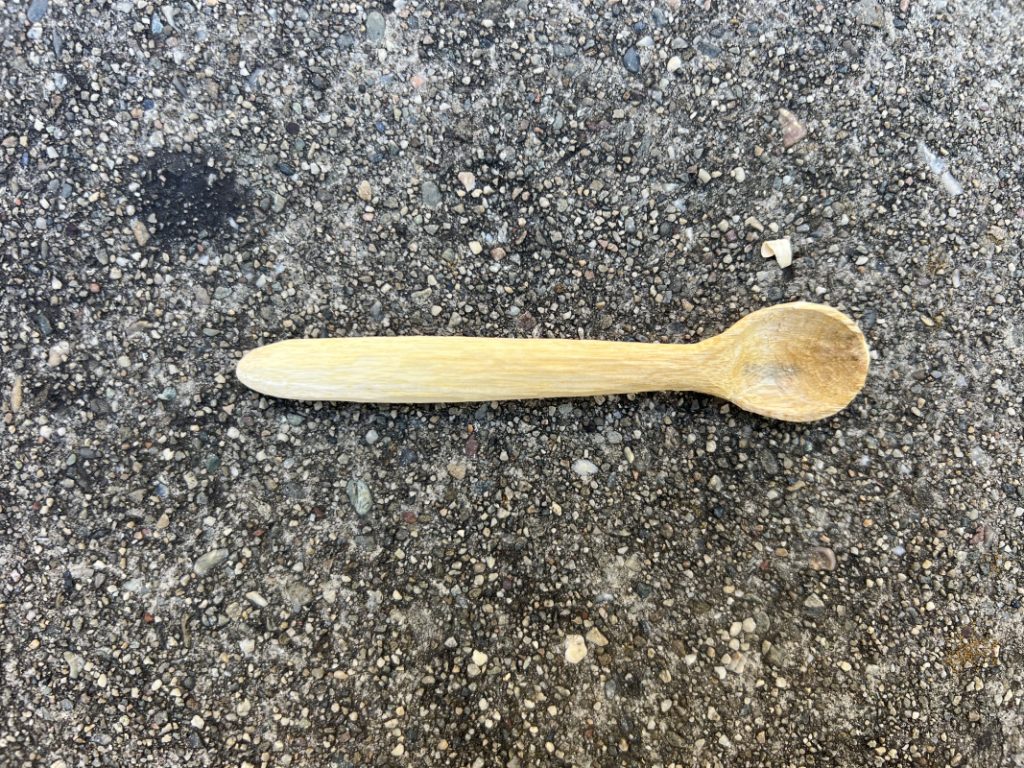
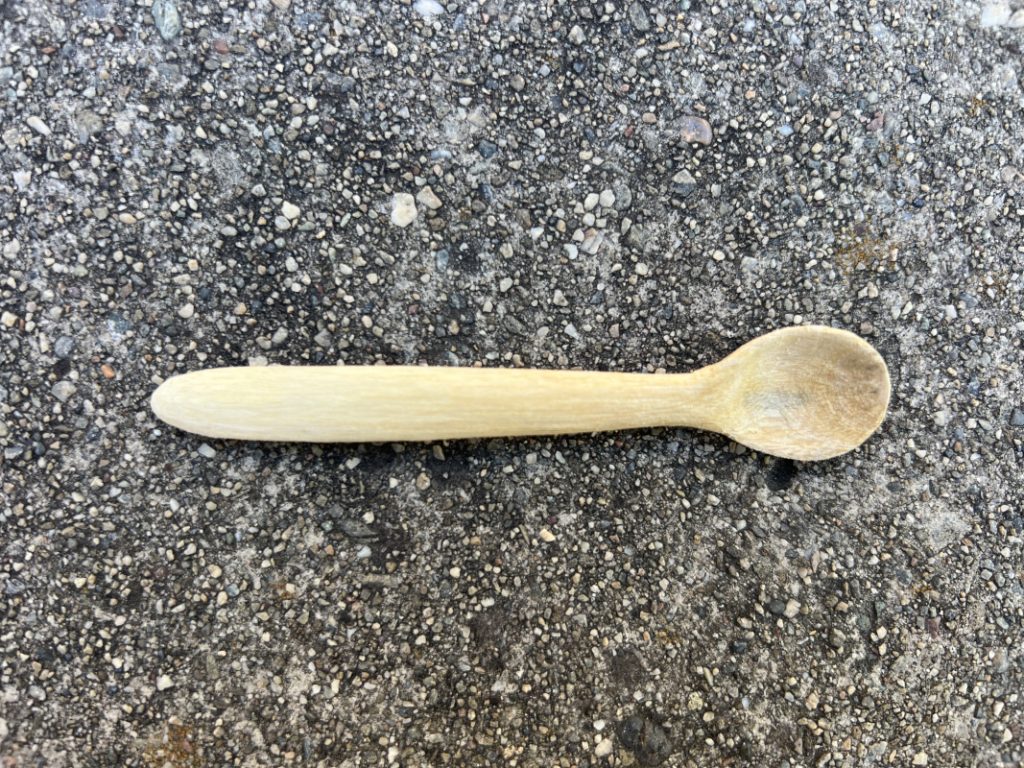
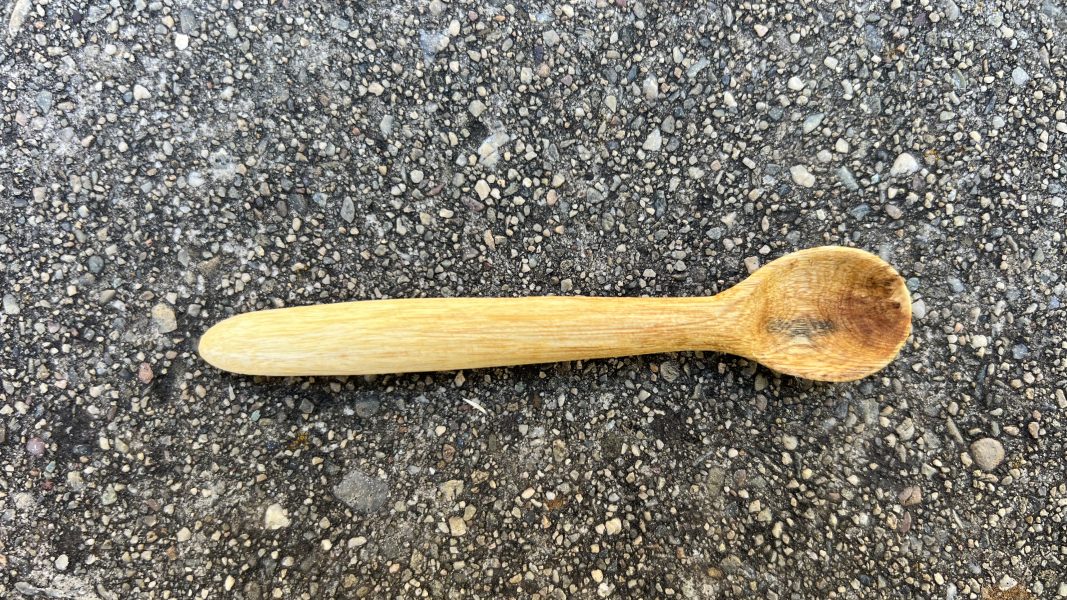
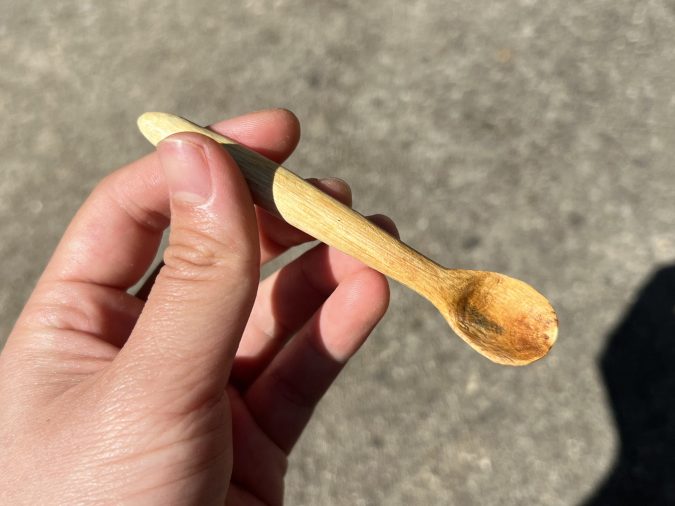
In the end, I think it was for the best that it chipped off. To fix the hole, I removed the wood around it until it was flush with the rest of the spoon and now you can’t even tell there was ever a problem. After fixing that, I made the handle thinner, sanded it, and oiled it.
Completed Project