What is Visual Narrative?
The idea behind Visual Narrative is learning the process of using visuals or other media to tell a story. Through my experience in Digital Media, Animation, and English classes, we learned different tools to help us craft this sort of experience.
Through Digital Media class, I have learned to use tools such as Adobe Illustrator, Adobe Audition, Pro Tools, WordPress, and more. These tools are useful to communicate a story without just using text. For example, Adobe Illustrator is a vector drawing application, which helps design visual elements of a story. Also, Pro Tools and Adobe Audition can be used to create an auditory experience by enhancing a story with sound effects and music. These skills are valuable for me, especially while I am learning how to write stories in English class. We write Flash Fiction novels, we write about our experiences as a writer, and more to hone our abilities in communication. When telling a story, one needs a good grasp of the English language. In addition to communicating in English, there are other tools to help tell a story. My Animation class taught me specifically how to tell stories through animation. The primary application used in Adobe After Effects, which allows us to create visual effects, advanced movement, and more to tell a story. The greatest example of this is my Visual Narrative Group Project, in which I teamed up with three other people to create a long story animation. Instead of just writing the story down, we could communicate the meaning without having any dialogue. Through these three classes and the various tools taught, I have grown as a storyteller and digital artist, and I expect that my newfound capabilities will assist me later in life when I go into videogame development or a similar field.

Flash Fiction Writing Process
My journey through storytelling in my English class wasn’t smooth sailing. At the start of Freestyle, I had an overall negative association with writing, which let to second guessing while crafting my Flash Fiction. Of course, as I became more invested in Freestyle’s English curriculum, the class managed to heal my, to put it bluntly, “trauma”. At the time, I wasn’t doing the best mentally, so I decided to vent out a dramatized version of my feelings onto the page. While in the end, it sounded alright, the overall message was incoherent. My main inspiration for my flash fiction was a videogame called “Omori“, which I related to at the time. The main character, similar to Omori, had an overall sense of hopelessness, to the point where he shuts off the world from everyone else and becomes devoid of any external emotion. For the plot of the story, I settled on a few themes, such as loss of parents and trauma about losing one’s identity. Unfortunately, I didn’t allude to the themes well enough, creating a story that sounds good on paper until the audience tries to decipher what it means. Therefore, an entire semester later, I decided to redo the entire story. I made the theme more apparent while still keeping the “dark” aspect to it to match the previous flash fiction. This time, the theme is about losing one’s parents due to a traumatic fight and the process of grieving and coming to terms with the loss. Afterward, I gave the story to my dad to revise, and he liked it. His main comment though is that the story kind of goes from depressing to horrifying to even more horrifying to somewhat of a conclusion. While that was the aim of the story in the first place, I do agree that it might be a bit too extreme for some audiences.
Flash Fiction Audio Production Process
I am quite proud of how the sound effects and music tie into creating an immersive experience. The main idea was for the audio to resemble horror, with a bunch of intense and disturbing music to emphasize the scary parts. I’ve had prior experience creating music in Ableton Live (another music-producing software), so I didn’t have much trouble using Pro Tools. Plus, Freestyle Academy offers so many royalty-free sound effects that it’s hard to even choose the perfect one for each occasion. One difficult problem I faced, however, was making sure the panning of the sounds were accurate to make a more immersive experience, such as making footsteps slowly increase in volume and pan to seem like someone is walking toward the listener. I also used the technique of stacking audio clips together with different panning to make them sound more “natural”.
I am most proud of how music is used in my project. I solely used the royalty-free songs by Purple Planet given by Freestyle Academy. The variety of music that Purple Planet made is astounding; I mainly used the music inside the Creepy tab to highlight the scary parts of the story. I also added a reverb to all the music tracks to make them more atmospheric.
This entire process has given me a new appreciation for audio-only stories. Since there are no visuals, the producer, who in my case is myself, has to make sure that the sound effects and music are as immersive as possible. There is closer attention to detail in elements such as panning and volume, unlike in stories with accompanying visuals, which also help create an atmosphere. In audio-only productions, one can’t fall back on the visuals to create a cohesive story, which I respect a lot.
Silent Cries by Darius Matulich
Content Warnings: alluded violence, death, and loss.
A quiet figure slowly opens the door and shakily treads into the room, carefully dodging messy debris and fallen books that surround me. The figure softly calls out my name, breathless. She flips a switch, a small buzz being audible for a few seconds before the lights turn on. I feel my body calm down when I feel the soft warmth of my sister’s hand on my shoulder. She slowly calms herself as a delicate smile spreads across her face.
We sit in silence. I’m not sure how to form my words.
My sister looks at the ground, and then the torn up room. She opens her mouth for a brief moment, then pauses. My eyes dart away from her. It’s hard to look at her. She looks in my direction, wiping the tears off my face. I didn’t realize I was crying. The warmth from her hand is comforting.
Looking at the ground again, my sister takes the shattered framed family photo of our parents off the floor. The parents in the photograph are X’ed out with a deep-red marker. My sister shakily brings herself to her feet and walks to a desk, and with a sigh, she gently places the photograph in its proper place.
She stares at it for a few moments in silence. Glistening water flows from her eyes.
A few minutes pass. My sister calls her friends over to help clean up the mess and walks into our backyard near the swimming pool. She sits at the edge of the pool and gestures to me to come over. I hesitantly follow, almost tripping over a broken glass bottle, one which it seems like was thrown so hard that the glass has embedded into the floorboards. My sister stares off into the water, sitting next to me. I pull my knees to my chest, avoiding eye-contact with my sister, looking at my reflection.
There is a knock on the door, and my sister’s friends enter. Promptly, my sister goes back inside to greet them. They speak in hushed tones about the upcoming funeral arrangements and the condition of the house. Glancing back, my sister notices me looking and gives me a small smile. I try to smile back.
I gaze deeper into the water. It’s all overwhelming. I imagine the feeling of my parents holding my hand again, walking me to elementary school. My parents drive me around on road trips as a family vacation and the joy of going to shopping malls and arcade centers. It’s all gone. I sit at the edge, the backyard fading away as my vision blurs with tears. I feel myself hyperventilating, the world spinning, and I feel as if I’m toppling over.
I hear screaming in the distance. I watch from across the hall, as dad lunges towards mom, carrying a glass bottle. I yell at them, beg them to stop. But they can’t hear me. There is a slam, things toppling over. I hear the sound of breaking glass as the family portrait falls and shatters on the ground. It’s as if someone lathered red paint on the furniture and walls, and tore up everything in sight. I watch as my happy memories turn to dust.
And then, it stopped. A few people in dark blue uniforms came and carried the two motionless bodies into a truck, not even noticing me. I stood there, helpless.
The world went silent, and everything went dark.
But in that silence, there was a glimmer of light. I couldn’t quite make it out, but it was there. Flickering, humming, persisting, and slowly growing brighter. There is a sharp ringing in my ears, as the world goes from black to blur. A bright hospital light glows overhead. A soft hand touches my face, wiping away the watery blur in my eyes. I slowly regain my senses, my sister holding me close.
She gives a relieved sigh, tears flowing out of her eyes. She’s here with me.
I’m here with her.
We are still here.
What are Illustrations?
Illustrations, specifically in Adobe Illustrator, are drawings using vector shapes and symbols. Unlike rasterized shapes, which use pixel calculations, vector images use math to calculate how things are displayed. This is especially useful when scaling images, which preserves information and detail, whereas raster images lose information and become blurry when scaling down, and become coarse and pixelated when scaling up. Throughout our process at Freestyle Academy, we have learned how to use programs such as Adobe Illustrator to create vector images, which are useful for the projects we did throughout the year.
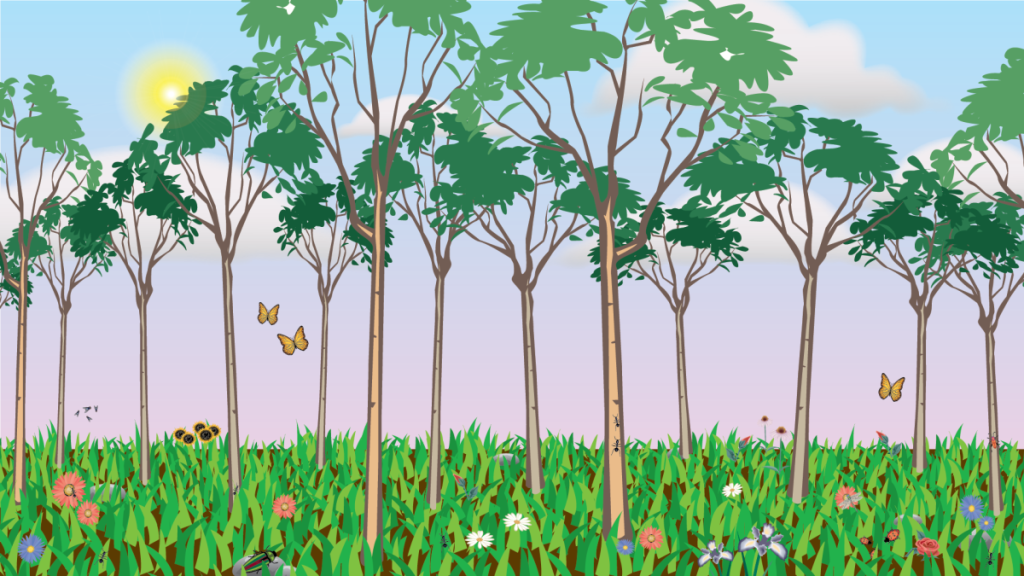
While practicing Adobe Illustrator, we created several experimental images for practice. This is my favorite one, using a feature in Illustrator known as vector symbols:
Exquisite Corpse Process
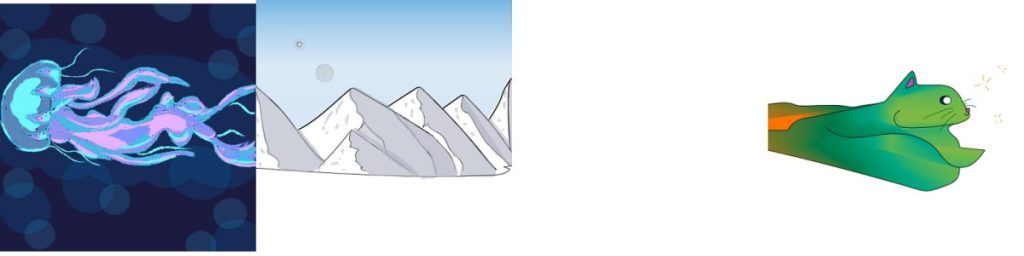
For context, an “exquisite corpse” is where a group of an artists create an art piece using predetermined start and end points without knowing what the other people are making. Afterward, the group puts the artworks together to create an image. Unfortunately, in the image above, a segment is missing from one group member, but ideally the entire art piece would be connected with no breaks.
I decided for my part, I would draw a cat. Using two lines and the blend tool, I created a seamless gradient of a variety of colors to create a abstract cat shape and some highlights. Afterward, I added the little details — the eyes, the whiskers, the nose, a little pink inside the ears, and so on. Even though the final images joined together have a missing part, the end result doesn’t look too too bad, and I’m quite proud of our work on this art piece.
Short Story Album Art
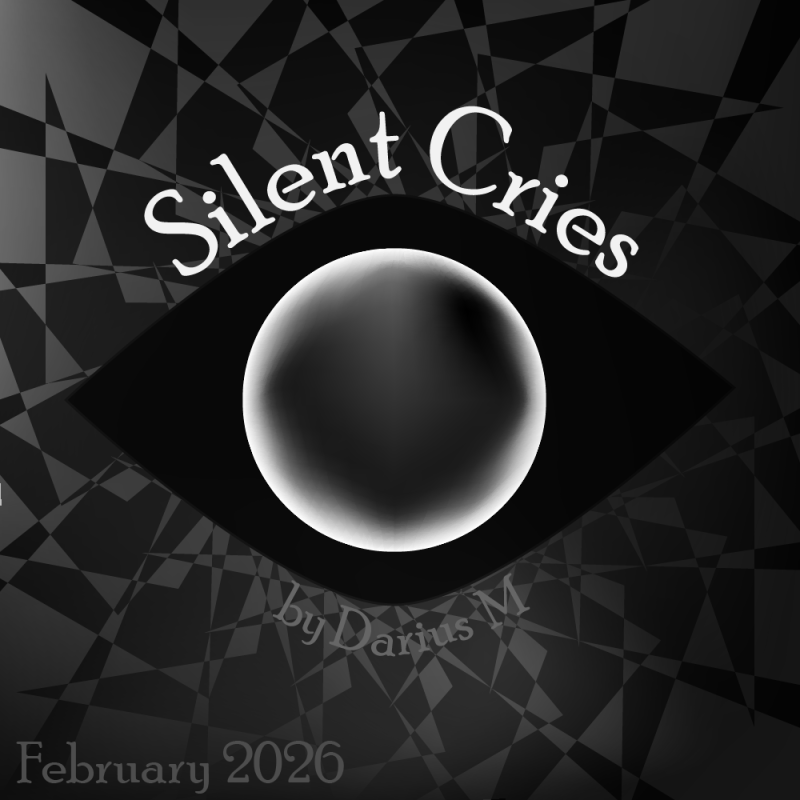
Initially, I did not know what to create for my Short Story Album Art. The general theme of the short story is loss, but I wasn’t sure how to “show” that through an image. Perhaps I could have done a gravestone, but in my opinion, that would be kind of a cheap move, and it would essentially spoil the reveal of what happened to the main character’s parents.
After some thinking, I opted for a “horror-esque” picture of an eye. It sort of fits the theme in the sense of watching a situation unfold and not being able to do anything about it, and the eye also fits into the main inspiration of this story, which is the video game Omori.
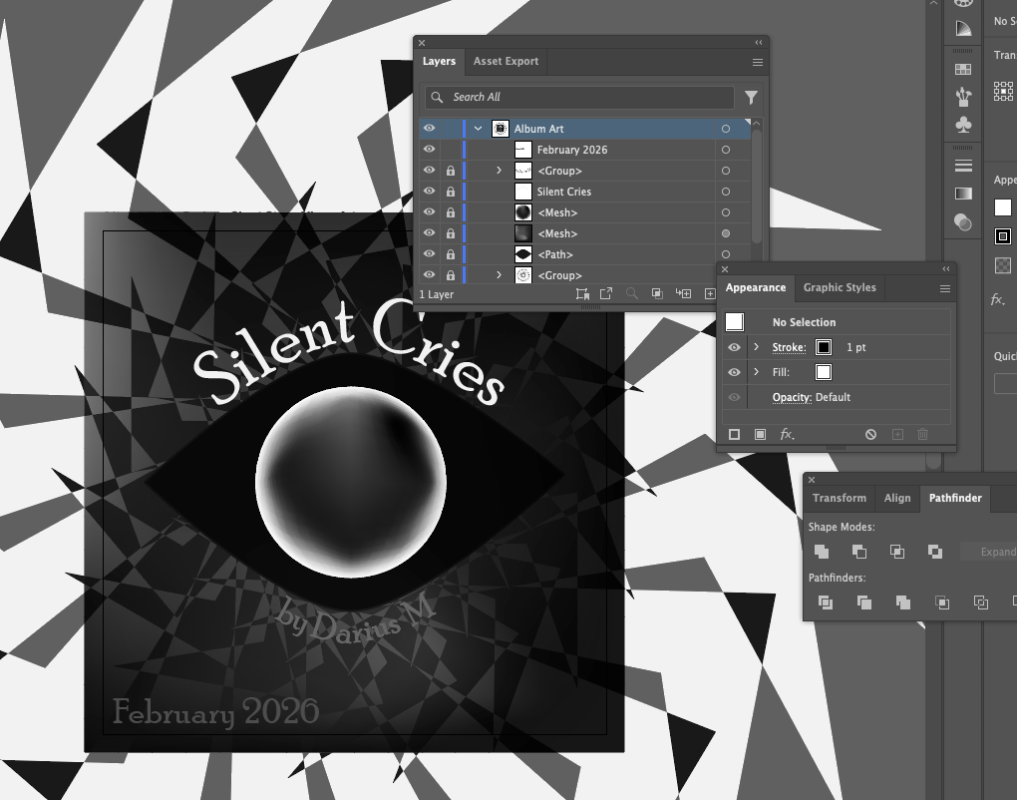
To create the eyeball, I used the “mesh” tool. I started out with a radial gradient going from white to black, and then I “smudged” everything around to create a sort of organic-looking sphere.
To create the background, I used the rotate tool to copy-paste a shape I made, and then I applied the “exclusive” blend mode to those shapes.
Overall, I’m pretty proud of the result for the album art. I think it sets the mood for the story well enough. If I had more time, I would try to make the eyeball look more realistic, since at the moment, it somewhat looks like one of those stereotypical black eyeballs you see in a lot of horror games.
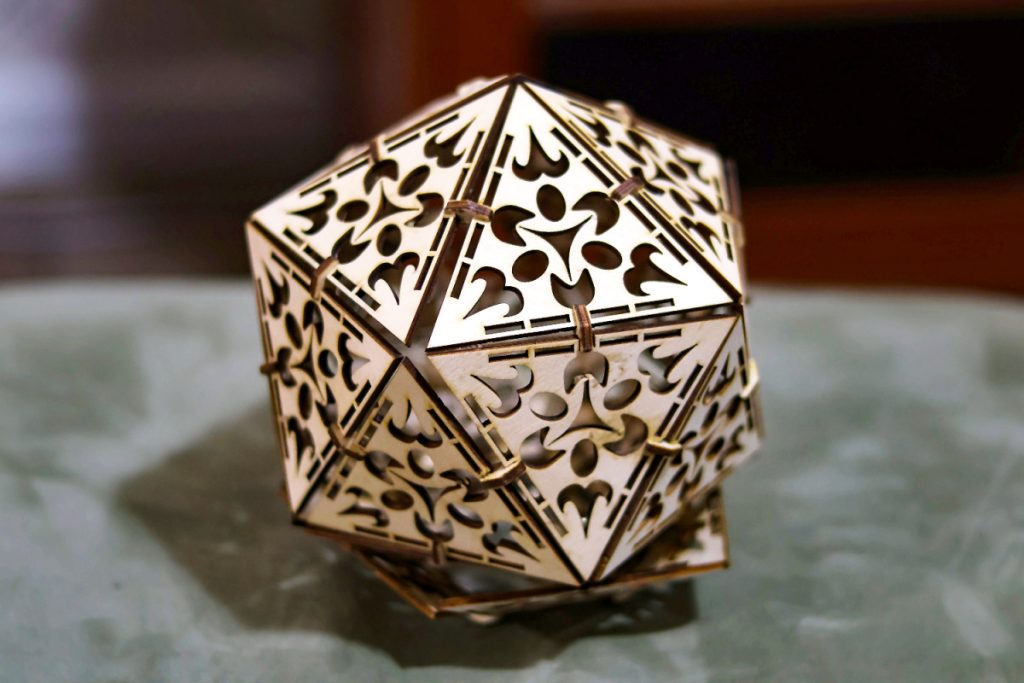
Wooden Icosahedron Flower Lamp Production
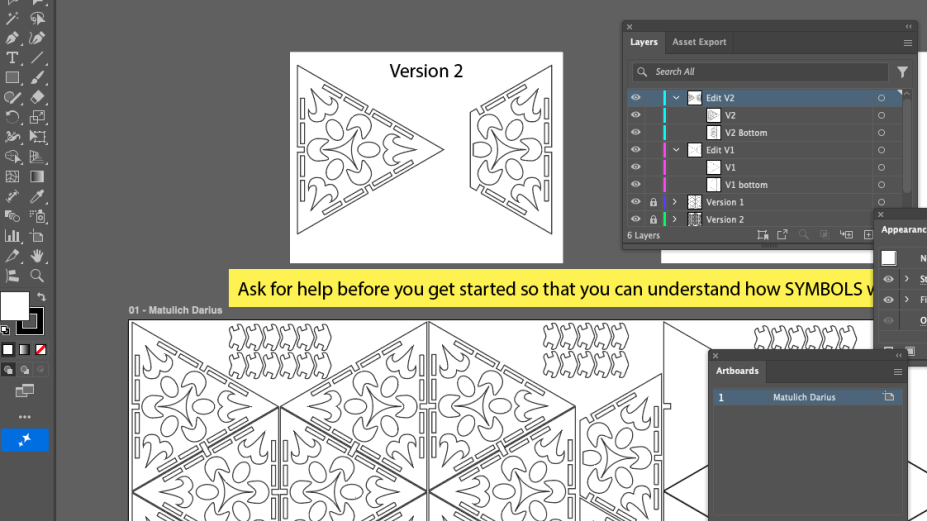
For the Illustrator Project, I decided to create a wooden 20-sided icosahedron lamp. The first step of the process was to use a template to create designs that would later be laser-cut into wood, as shown:

After the design, Mr. Florendo laser cut the wood so I can put the pieces together. A video of the laser cutting process is shown below:
Afterward, I assembled the pieces using wood glue and the wooden connectors given, creating my wooden lamp!
Using Adobe Illustrator for image creation instead of Photoshop was a bit of a learning curve. However, it was necessary due to the need for vector images, which is the whole reason to use Illustrator. Unlike raster images (for which Photoshop is best), vector images use math to calculate how things are displayed. This is especially useful when scaling images: vector drawings preserve information and detail, while raster images lose detail or become pixellated depending on which way it’s scaled. Using Illustrator, I could do scaling and other transformations without losing detail and the image remains sharp. Learning to use Illustrator to create vector images was essential for this project, and other projects we did throughout the year.
For my Illustrator project, I chose to create a wooden 20-sided icosahedron lamp, which is a polyhedron made up of 20 triangles. I wanted to create a decorative lamp that provides some illumination while being interesting to look at. I chose an icosahedron because I thought the extra sides to the lamp would make it more unique than just a regular lamp. On each triangle face of the icosahedron, I created a pattern of abstract shapes to evoke the sense of a flower. I used the rotate tool to make sure everything is perfectly rotationally symmetric. After creating the design, Mr. Florendo carved it out of thin plywood with a laser cutter. Then I assembled the triangles together to create the finalized shape. I expect the lamp to function primarily as decoration rather than illumination. To improve its illumination ability, I imagine the triangular facets would be made from a translucent material instead of wood.
Overall, I’m proud of the process and the work that went into this piece. I have done other artwork projects using Illustrator at Freestyle Academy, but this is the first one in which I used Illustrator to make a real-world object. If I were to give one piece of advice to someone who wants to create a lamp like this, it’s to make sure not to create super-thin features on your lamp design, especially near any stress-bearing areas, or areas that you might not handle gently. The thin features that remain after laser cutting are incredibly fragile, and a couple of pieces broke when I was attempting to assemble the shape.
Final Reflections
Reflecting back on my experience between Photoshop and Illustrator, it’s hard to pick a favorite. While Illustrator is better at creating high quality designs, that doesn’t mean it’s “better” than Photoshop. In my opinion, Illustrator is the better choice when one needs to create design elements, such as each of the title sections in this page, because those images are vector-based and can scale without losing quality. However, whenever I need to edit a photograph, add a bit of lighting, or anything like to that, Illustrator doesn’t really work. Digital photographs are raster images, not vector; there usually isn’t any reason to edit photos in Illustrator. Plus, Photoshop is technically faster to use for quick edits to anything, although that opinion may be due to my lack of experience in Illustrator. Overall, I love using both Illustrator and Photoshop, and I don’t find that one to be better than the other. The best one really depends on what one wants to do. Use the best tool for the job.
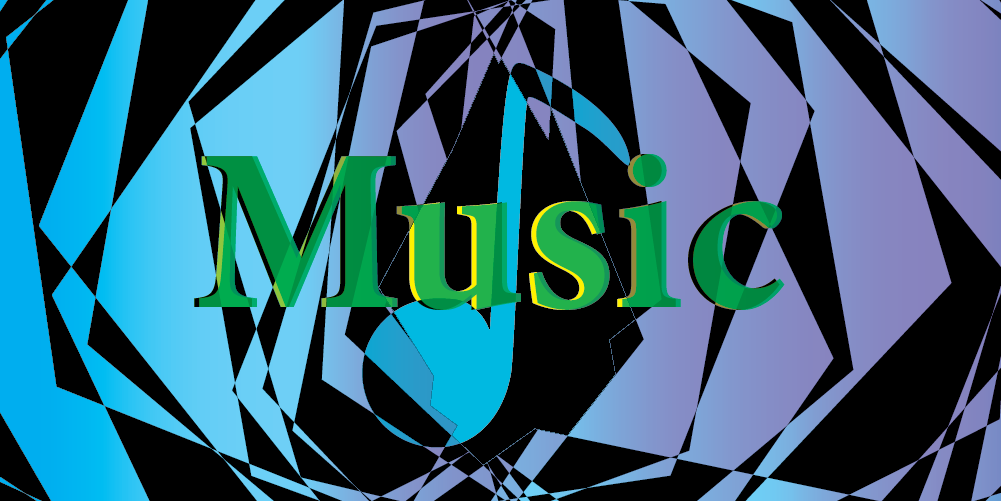
Music Recording Project
▶ Separate Ways
(Worlds Apart)
⏸ Separate Ways
(Worlds Apart)
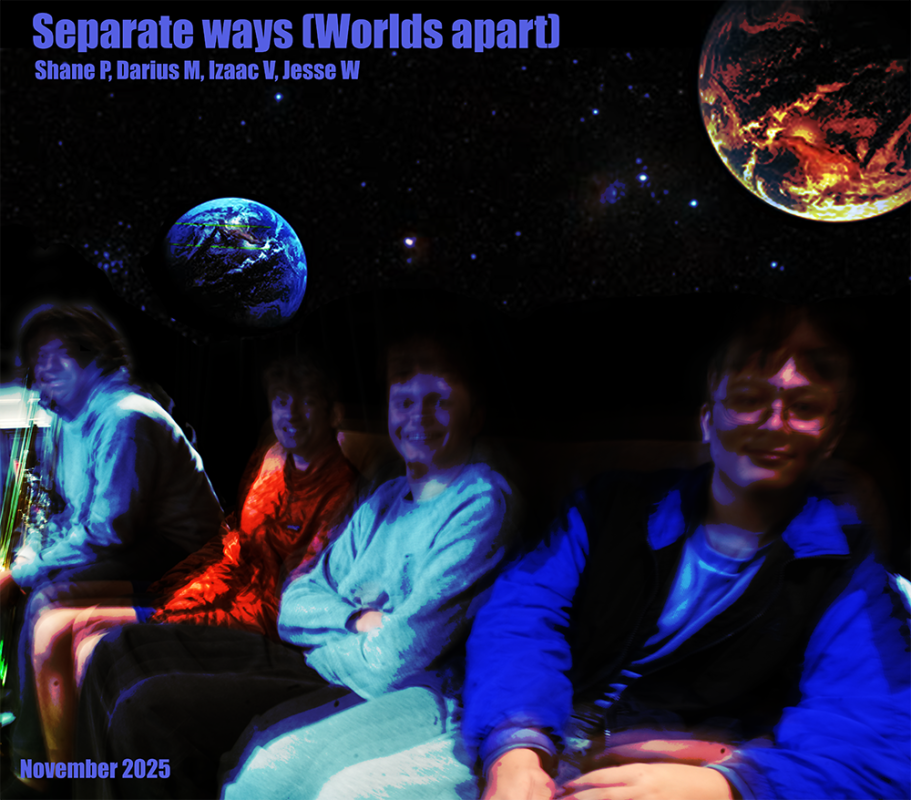
Shane, Izaac, Jesse, and I decided to team up to record the song “Separate Ways (Worlds Apart)” by Journey. I have actually played in a band before and recorded songs, but the process we used here at Freestyle Academy was a bit different.
For context, in the music studio building, there are two main rooms: the recording room and the control room. One at a time, each of us would go to the recording room and preform our bit. I was the drummer in this song. Right next to my drum set, there was a panel filled with a variety of knobs. Each knob controlled the volume coming into my headset. There was a master volume, a control room volume, an other-instruments volume, and various others.
After playing my set a few times, I went to the control room and watched the others perform. This entire experience was honestly pretty fun, since I could play music with my friends and laugh about how strange we sounded.
Experimental Music Production
▶ In The Static
⏸ In The Static
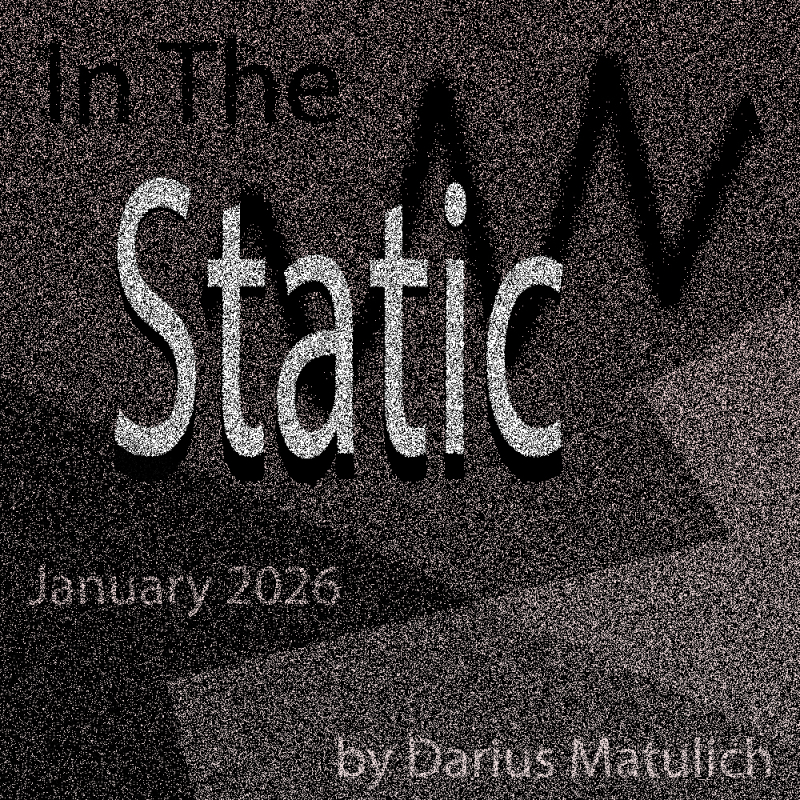
For my Experimental Music Production, I wanted to experiment with automation in Pro Tools. Using Signal Generator, I could create a bunch of noises, and control the frequencies with automation. This created a lot of staticky noises. They sounded strange, but since this was experimental, I decided to embrace it as the style for the music.
In the production, I also played around with panning. Panning in stereo audio determines which ear hears the audio. Using automations, I could make the sound travel from one ear to the other in rapid succession, creating an unsettling experience.
To make sure the entire song isn’t just a bunch of random noises, I also added piano notes. There were two types of piano: a dark, soft, and reverberated piano, as well as a distorted piano. I used the MIDI keyboard at my desk in Freestyle Academy to play a few melodies, and then I adjusted them slightly to fit the “timing” of the static as much as possible.
Overall, this song is definitely strange, and I’m not sure if I’m proud of it. But still, this project has taught me so much about the different effects one can do inside Pro Tools. As I go on to do more advanced creations in this application, the knowledge of automations and effects will be very helpful in creating a unique experience.
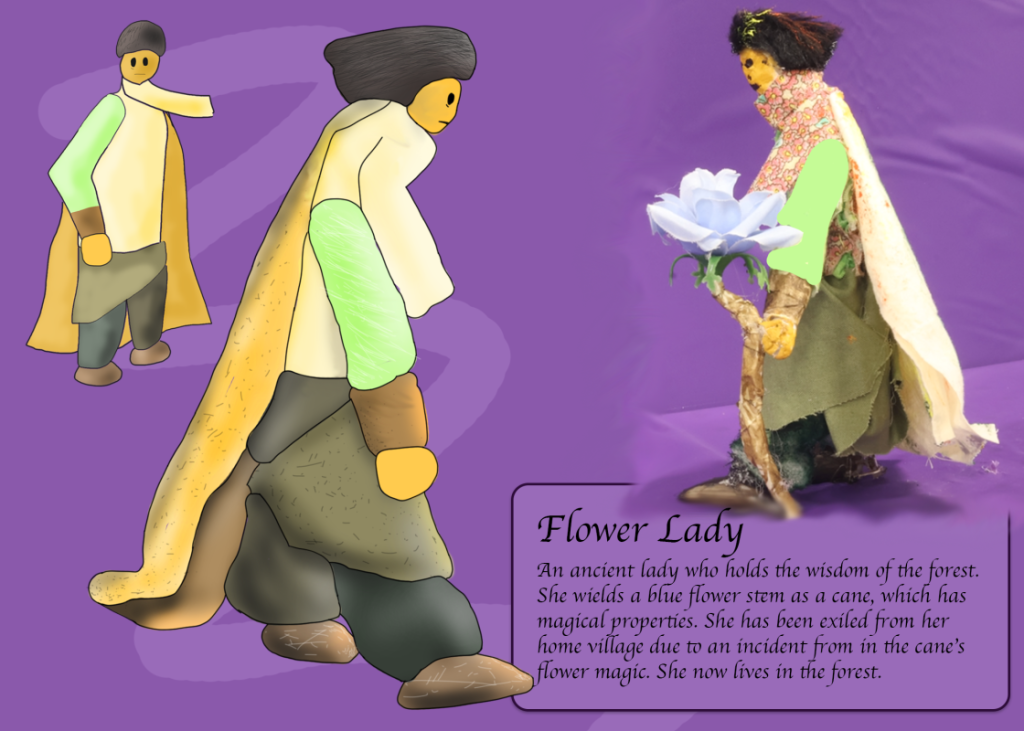
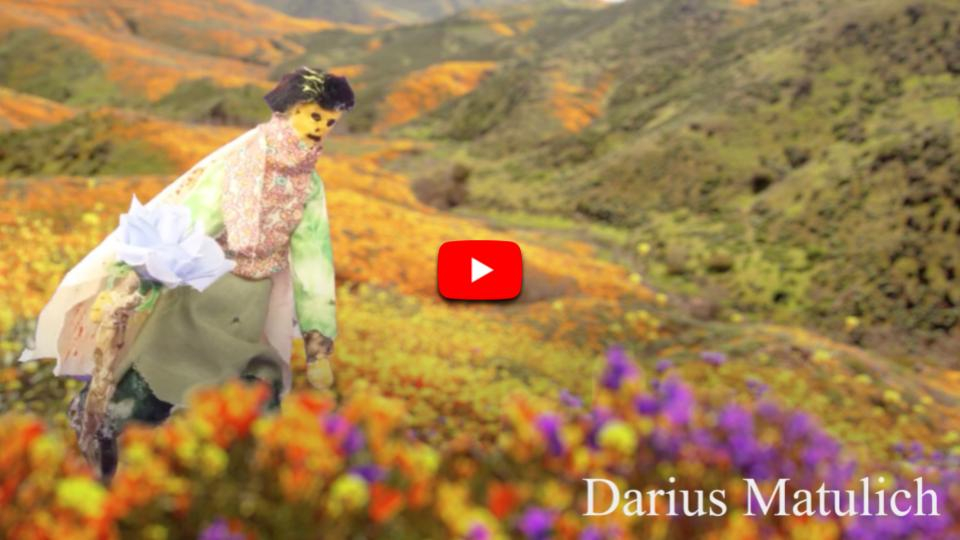
Character Bios
In animation class, we were tasked to create a puppet to later use for animating. Using the random assortment of felt and items given, along with our wire-frame base, we could create a physical original character. I created what I call the “Flower Lady”, which wasn’t based on an inspiration but was rather the product of combining random felts together to get something slightly coherent.
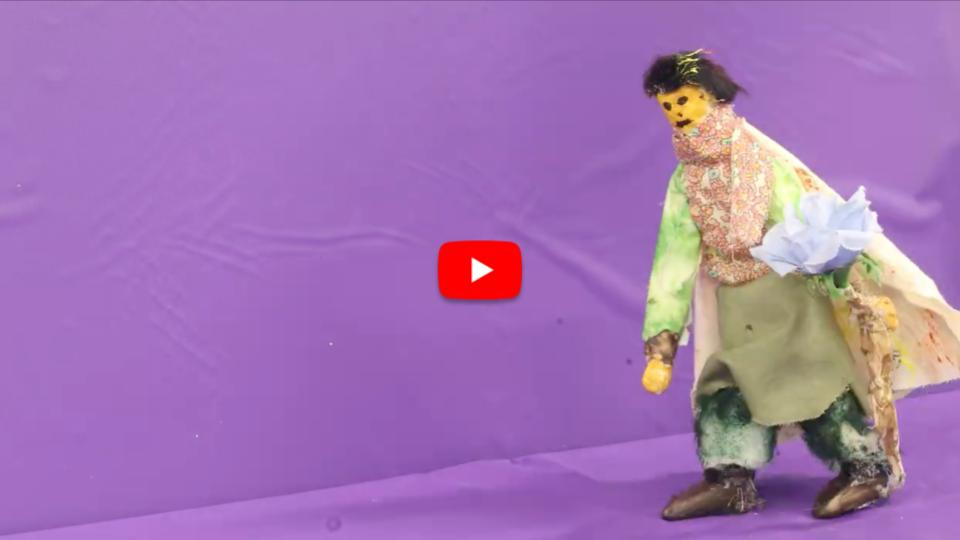
Puppet Walk Cycle
Using the puppet, we first created a stop-motion animation of it walking. Using little pegs on the feet and our DSLR camera, we could make the puppet stay in a pose. This process was honestly annoyingly difficult because the puppet would keep sliding, which created some inconsistencies within the animation. Afterward, we used Dragonframe to compile all of those images into a video file.
After filming, we went into Adobe After Effects to place the character in a scene and film them walking. We were also supposed to create a digitally drawn animated version of the character and show them walking, but unfortunately I missed the deadline to do so. Therefore, the final animation sadly has only the “live” puppet.
Reflecting back on my puppet experience, I realize I need to learn how to manage my time. I missed out on a big opportunity for the final puppet animation, and from this experience, I have grown to realize the importance of planning when working on a project.
Lip Sync Animation Process
In the Lip Sync project for Animation class, we were required to sync a mouth to lyrics that are being sung. We created different mouth shapes for different sounds, and in my case I created 11 different shapes including one default shape. The idea was for us students to play these images one after the other to create an animation of someone talking. After I created those mouth shapes, I decided I wanted my animation to be centered around a certain song I like called “One” by free99. The licensing terms indicated I was in the clear to use this song for my project. I used a blending mode style called “Dancing dissolve”, which causes an element to appear made up of jumping dots based on its transparency; this effect appears in the shape outlines and occasional overlays. I also created a few animations in Photoshop to serve as some subtle details, particularly the face, nose, white static overlay, and background. Using keyframing, I combined all of these elements together into a unique experience that matches the song well. I later experimented with other effects to match the song, such as a pixelated-disperse effect using “CC Ball Action” to emphasize some glitch moments of the song. Overall, the experience making this project has taught me much about After Effects and the useful tools that it provides.
Visual Narrative Animatic
Before we started working on the actual Visual Narrative, we first created an animatic: a rough storyboard of still images that are present in a deliberate sequential order for planning and pacing. With our animatic, we decided that our Visual Narrative project would be about a spirit cafe and a conflict between a barista and a rude customer we dubbed “Qarine” (similarly pronounced to Karen). The animatic contained an intro sequence that set up the scene, the initial encounter with Qarine, the fight with Qarine in a videogame-style format, and the manager bird eating Qarine. The animatic made it easy to break down the project into sections, where each person worked on one section. This process taught me the purpose of planning out a story before animating it, to avoid potential hassle of dealing with weird pacing or out-of-place scenes by the time the animation has reached late stages of production.
Visual Narrative Animation Process
For our group Visual Narrative Project, we decided each person would work on a specific element. I worked on the battle scene, the effects in the battle scene, and the second half of the end credits. Using the knowledge and experience of After Effects I gained from my Lip Sync animation, I was able to add numerous effects to the fight scene with relative ease. An effect I used often was the “Mosaic” effect, which makes something pixelated. Combining this effect with a feature called “expressions”, I could make the pixelated image or text shift wildly through the animation using the wiggle() function. I also tried as well as possible to make the fight sequence match up with the music I had playing in the background, using the “block dissolve” effect to make flashy tint overlays over the entire screen. Ace, our group leader, helped me create the sprites of the barista and Qarine. I used Photoshop to edit the base images to create different poses for each character. I am proud of my input in this animation, and I think everyone did a great job. Looking back through each part, I’m still amazed at how much effort went into each background, sprite, timing, and so on. I am so grateful to be placed with this wonderful team.
Animation Reflection
Over the course of the Narrative 1 unit, I learned so many new animation skills. I learned how to use After Effects, create a walk cycle, and create an effects-based scene. However, what was even more important is that Freestyle Academy Animation class taught me how to collaborate in a huge group project. We learned how to manage ourselves by splitting the animation into chunks; we learned how to organize tasks, such as creating backgrounds and character references, to each person.
Overall, I am thankful for the experience I had in this unit. I’ve learned so many skills that would help me in the units to come, and perhaps even after I graduate from Freestyle Academy.