Reflections Project Introduction
At the beginning of the year, we were asked to ask ourselves, “Who am I?”. This question shaped our projects as we learned Zbrush and Maya in animation, or deepened our skills in Illustrator and After Effects in Digital Media.
My Personal Mandalas (Digital Media)
One of these projects was the Mandala. We were specifically told to make something that we could connect with or that represented ourselves. Then, we would have those digital files ever so kindly printed for us on a real surface for us to keep.
If the images do not display below,
On a Mac, press Command + (plus) then press press Command – (minus)
On a PC, press the Ctrl + (plus) then press the Ctrl – (minus)
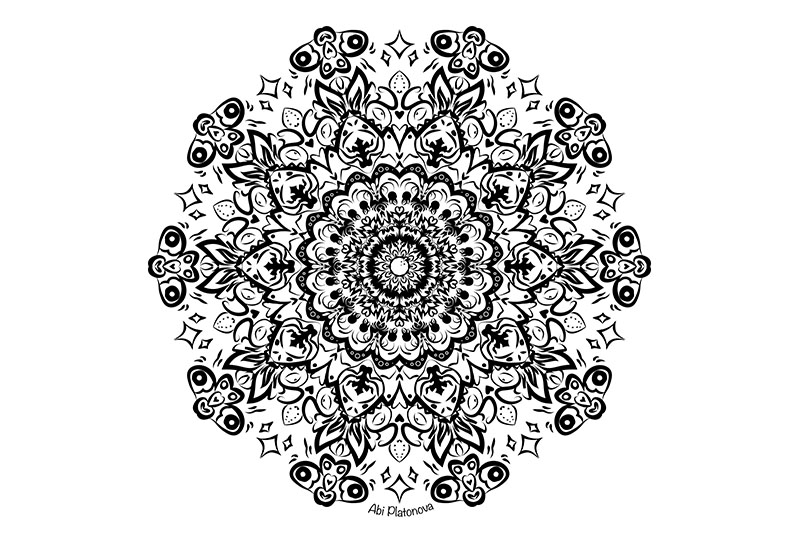

I made a mandala with Illustrator using different kinds of brush types and line weights. Each part of my mandala represents a different part of me. Specifically, I showcase elements of a moth, tiger, and a dragon. I also have some elements of fruit, specifically oranges, here and there. For my mandala, I wanted to make something that represents myself (hence the unit “Reflections”), and the animals I have listed are the animals I find myself “relating” to the most currently. I don’t really want to go into more detail about what my mandala represents within (up for interpretation after all), but the outer part of the mandala is how I present myself, and the inner is how I feel.
I wasn’t able to use my brush since it was, not working correctly, so I used a mouse instead. It pretty much gave me the same result I would have made anyways but without the brush complexities. To give my lines weight, I kept changing my brush shape and size. I learned how important line weight and different distinctions are in a mandala, otherwise your piece looks very flat and boring. You have to give your art some focus!
My favorite part of my BW mandala is probably the tiger and the moth. I think the lines flow really well together and the flames look like they are catapulting the moth, which isn’t what I was going for initially but it turned out to be accurate to myself!
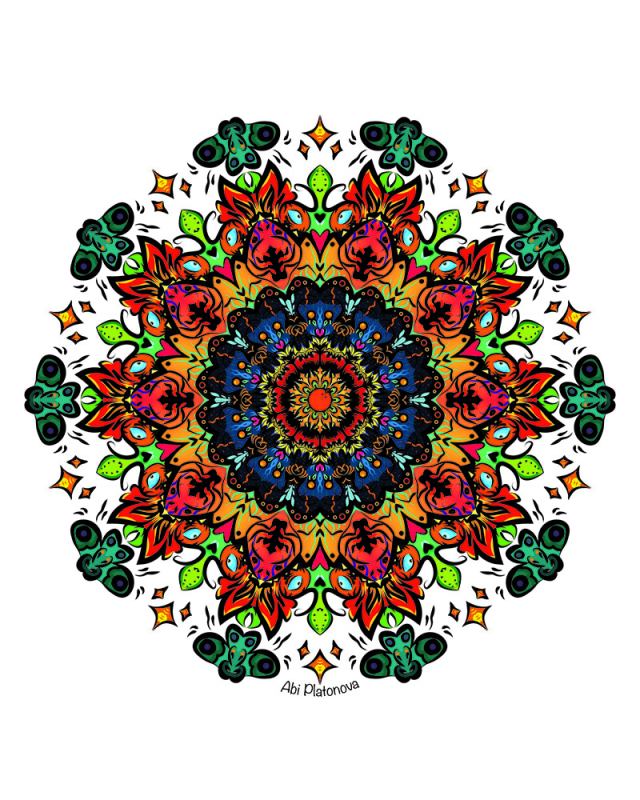
For my colored mandala, I decided to color in my BW mandala because I thought I could make a larger message with it if it was colorful! When I saw my colored mandala physically, I was very surprised to see how clearly and nicely printed it was!
My colored Mandala is predominantly orange and green and those two are my favorite colors. Another color I added is blue, mostly in reference to my character, Baby Earl, but also because it’s another color I enjoy. I really wanted to make this mandala very vibrant and pleasing to look at. Often times I had to go back and brighten my colors, as I made them pretty dull before hand. I also had to change some color schemes to look more interesting and unique rather than boring.
I enjoyed coloring my mandala, since there was no instructional videos to watch on how to do it, I felt like I was alone on my own for the first time. This was a very nice feeling, I felt like I was in control and I had to use unique methods (my OWN methods) to color and solve any issues I had.
The Mandala Build Video was a video we had to create in Adobe After Effects, as the first After Effects project of the year. For me, the video was a bit difficult to make as After Effects is not made to edit videos with, so my build video turned out to be just okay, but I tried to do something unique (Inspired by an Alumni though)!
“Why I” [Write] Essay (English)
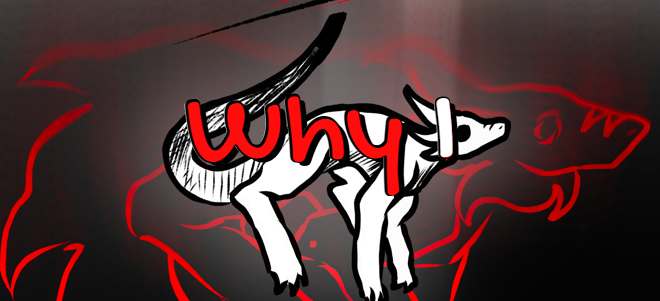
In English during our Reflections unit, we were assigned two readings: The “Positive Obsession” essay by Octavia Butler, and the “Why I Write” essay by George Orwell. We were tasked to take inspiration from both essays and in turn make our own essay, writing about why we do the passion(s) we do (hence the name).
This was tough. But not in the usual ways you’d expect from an average student- I LOVE writing and especially writing about myself, it comes so easily to me because I’m always thinking about my behavior and well as others (aspiring sociologist but like only as a hobby), as well as I often write short stories that take a lot of inspiration from my real life. Easy, right? One problem: We had a STRICT word limit of 1500 words, and second problem- I had TOO much I wanted to write about. I would often write about one thing and then another, and then at some point, I couldn’t answer the prompt at all.
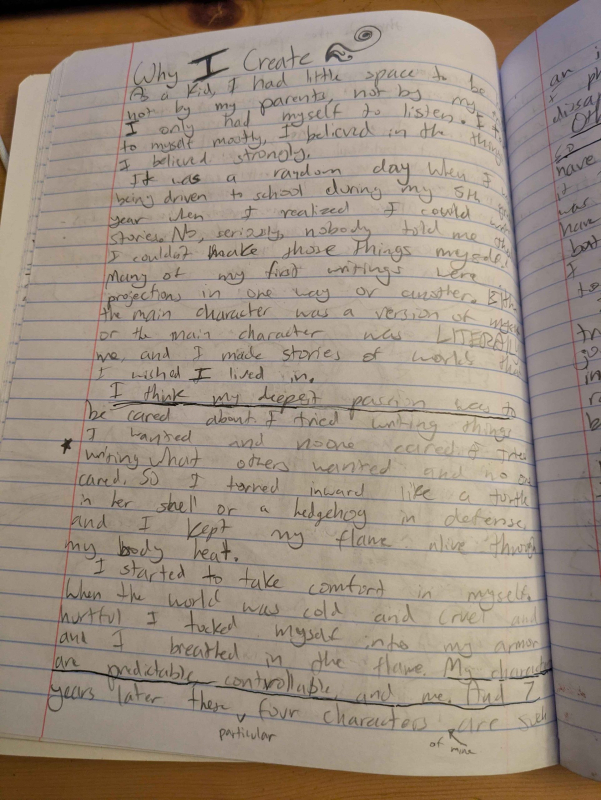
It was a random day when I was being driven to school during my 5th grade year when I realized I could write stories. No, seriously, nobody told me that I couldn’t make these things myself! Many of my first writings were projections in one way or another. Either the main character was a version of myself or the main character was LITERALLY me, and I made stories of worlds that I wished I lived in.
I think my deepest passion was to be cared about. I tried writing things I wanted and no one cared. I tried to write what others wanted and no one cared. So I turned inward like a turtle in her shell of a hedgehog in defense, and I kept my flame alive through my body heat.
I started to take comfort in myself. When the world was cold and cruel and hurtful I tucked myself into my armor and I Breathed in the flame. My characters are predictable, controllable, and me. And 7 years later these four particular characters of mine are such an important piece of my puzzle that I physically feel empty if they were to disappear.
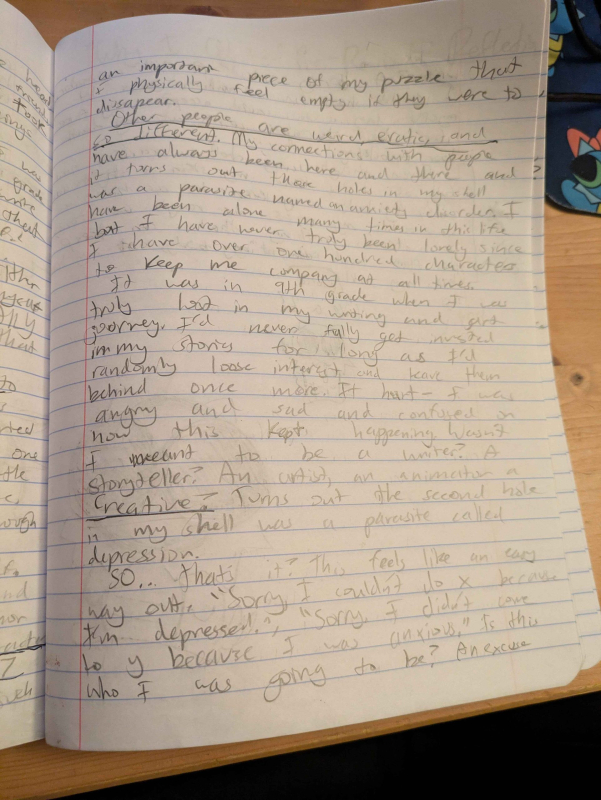
It was in 9th grade when I was truly lost in my writing and art journey, I’d never fully get invested in my stories for long as I’d randomly loose interest and leave them behind once more. It hurt– I was angry and sad and confused on how this kept happening. Wasn’t I meant to be a writer? A storyteller? An artist, an animator, a creative? Turns out the second hole in my shell was a parasite called depression.
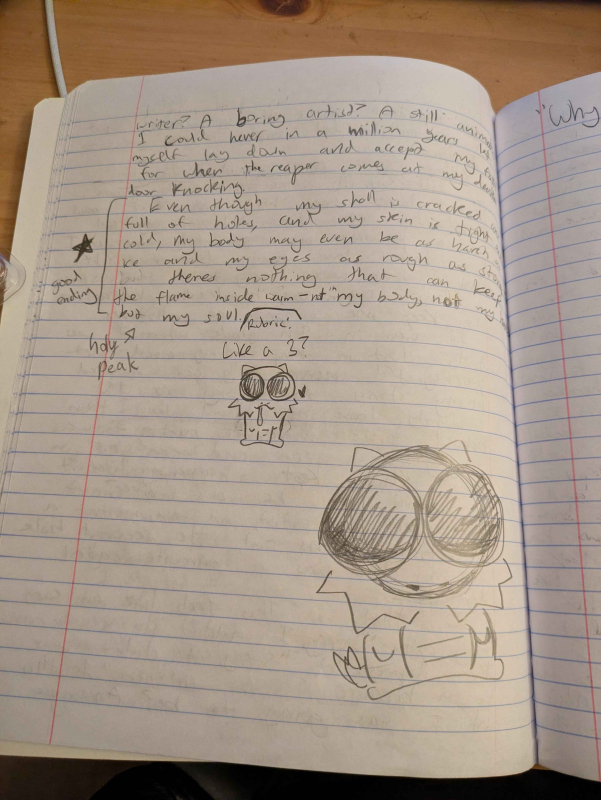
Even though my shell is cracked and full of holes, and my skin is tight and cold, my body may even be as harsh as ice and my eyes as rough as stone, theres nothing that can keep the glame inside warm– not in my body, not in my heart, but my soul.
Here are some of my original drafts (way back when I was going to call this essay “Why I Create”!) If you have a read, the essay itself isn’t bad, but it’s all over the place and unfocused, as well as not a true capture of what I want to say.
Why did I write? Well, for many reasons, one of being something normal as it’s a way of expression, or something extremely bizarre like it’s my fate. Writing about my experiences with writing, drawing, animation, music, ect, was getting faar too long and faar too complicated. So there was only one thing I could do now, something I’ve always done. And that was to make a complex metaphor in the format of a short story.
My essay was not made for the average viewer, it was not made for the rubric, and it certainly wasn’t made to please any grading overlords. It was made for me, and me only. The art of art is to go outside the box and imagine things that cannot be imagined. It is what makes us artists, and what makes me, me. “Why I” contains a lot of complex metaphors and another whole “third” language that I made up so I could properly explain what goes on in my brain, by the end of the essay, I actually WANT you to be confused or left unfulfilled. The essay isn’t supposed to pave a path for you to understand me, it’s supposed to pave a path of understanding itself. A path of connection for you, the viewer, if you allow yourself too. Whether you understand it or not, think my essay is good or bad, it’s not for me to fix, because I cannot force you to understand me. This essay is a pure expression of myself, it’s “Why I”.
When you read, I have provided a list of translations at the bottom of the document (not any in the recording, sorry!!). I urge you to NOT skip to them once you hit a place of a word(s) in a different language, the intended reading from me is for you to read it in full and THEN go back and translate for yourself :]. Enjoy, to some degree!
Learning to 3D Model (Animation)
This year in Animation, we are learning 3D animation. For this semester, we are learning to use Maya– an app for basic modeling and animation– and Zbrush– for further details for 3D models. We first started off using Maya and later on would move to Zbrush to further detail our model.
Maya
Firstly, we started off making a few simple shapes and got used to the software and how to move faces and vertex’s. After, we were tasked to make a table scene, to which I made a simple silly one with Baby Earl and a reaallly big orange. Then we also made a temple from a reference Mr. Cho provided, and practiced mirroring in Maya with the fire hydrants.
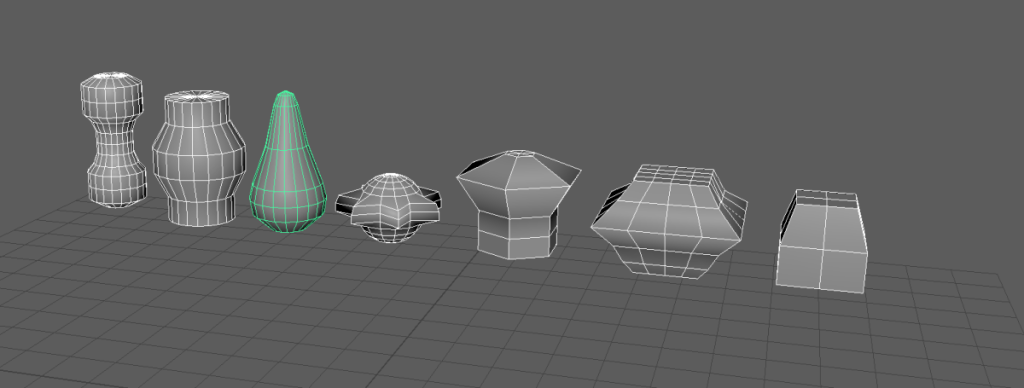
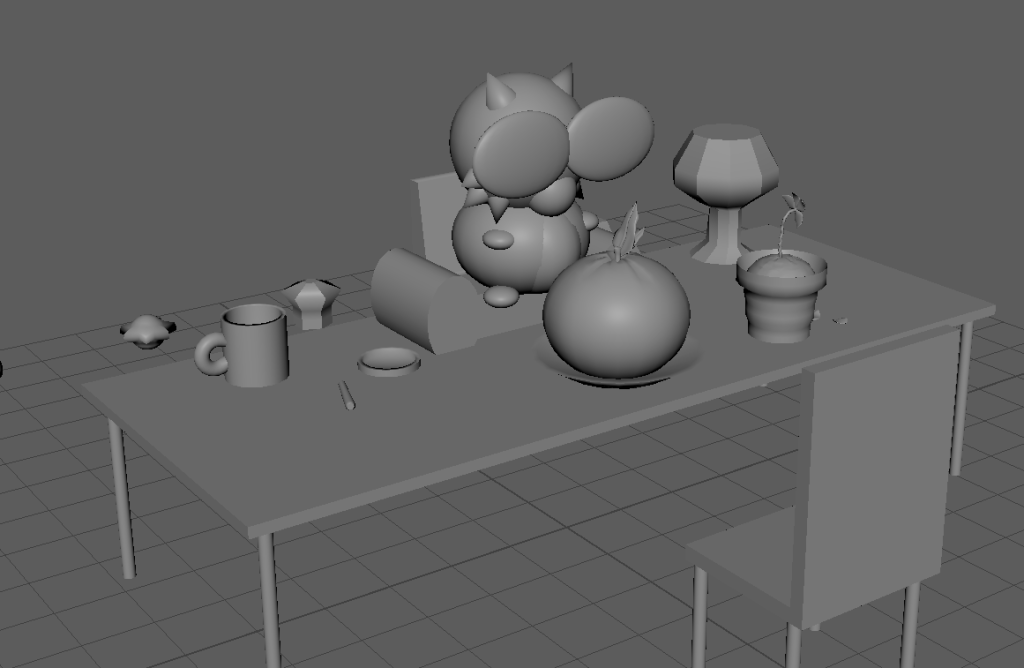
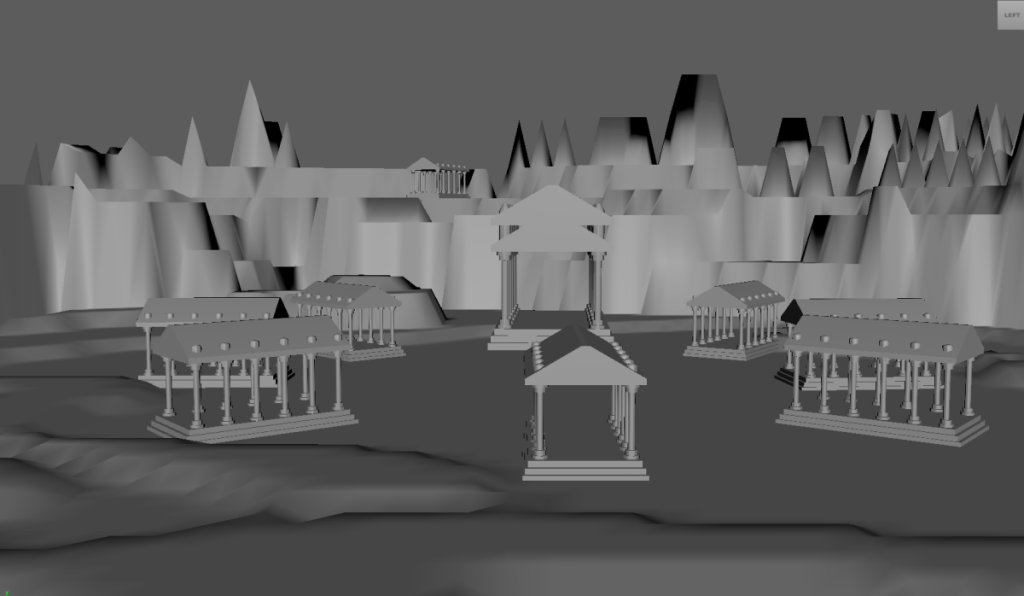
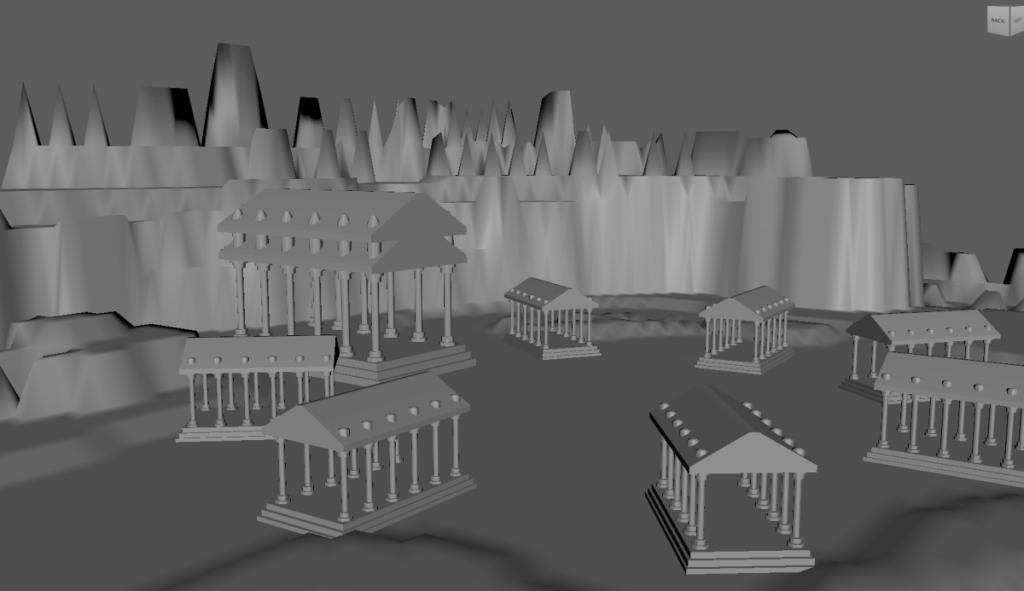
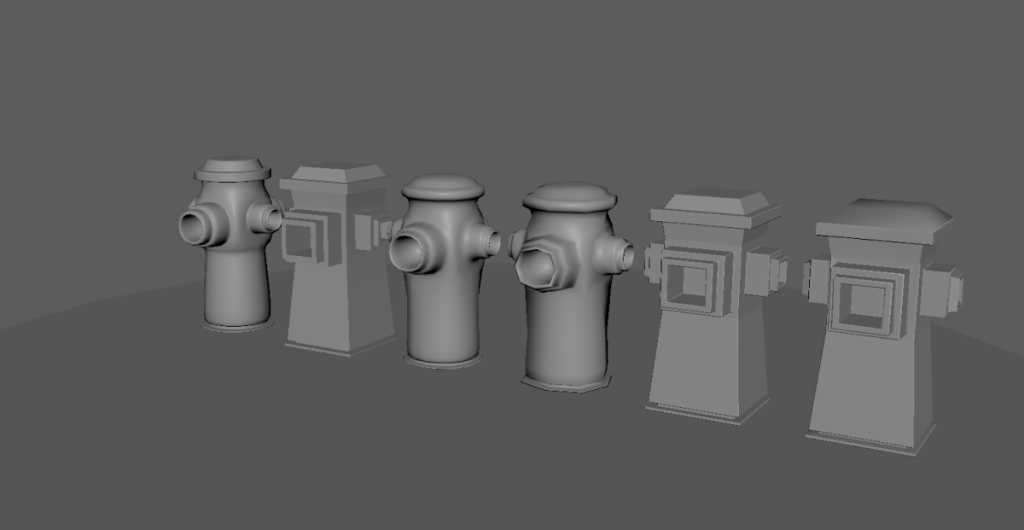
We then also learned how to render our models through Maya, and exported these crispy images.
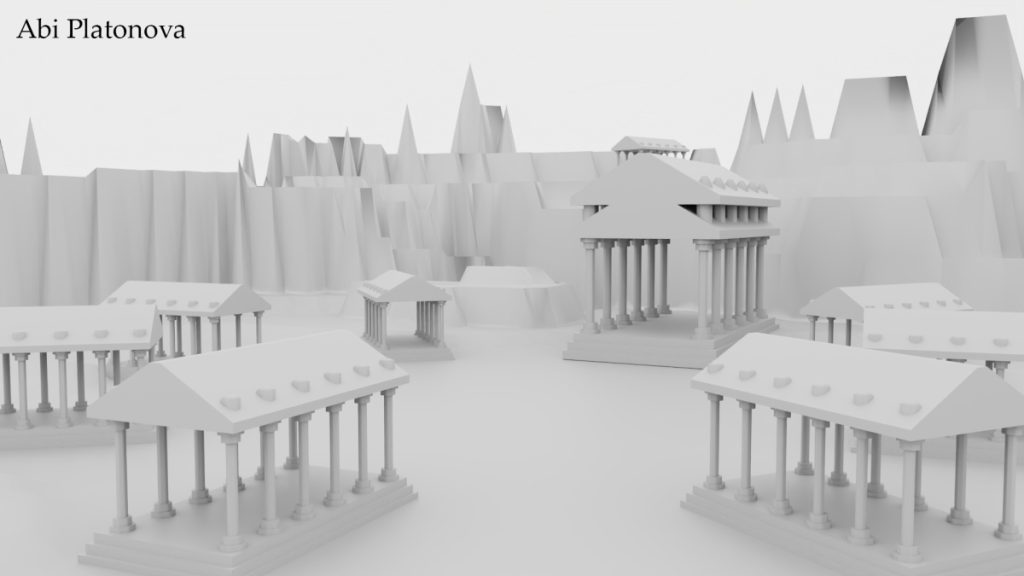
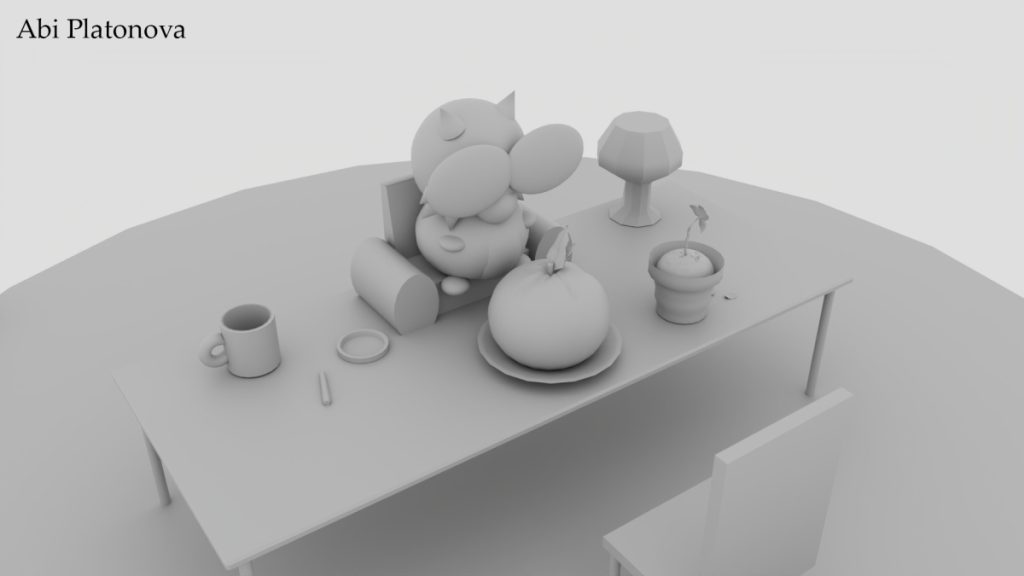
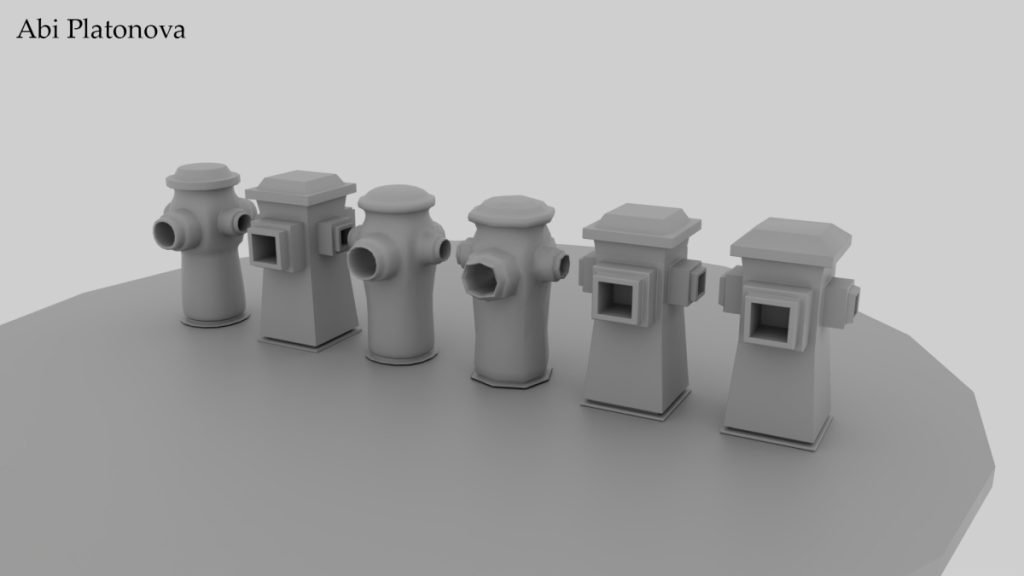
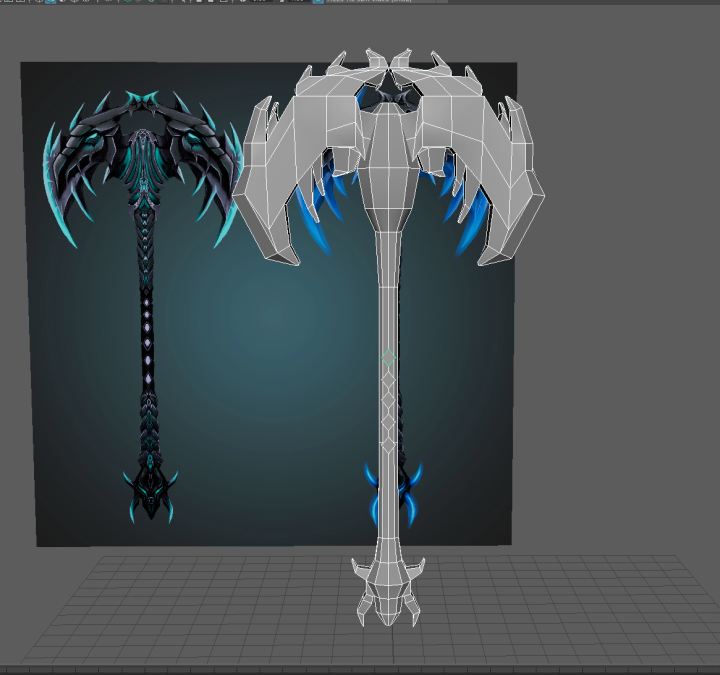
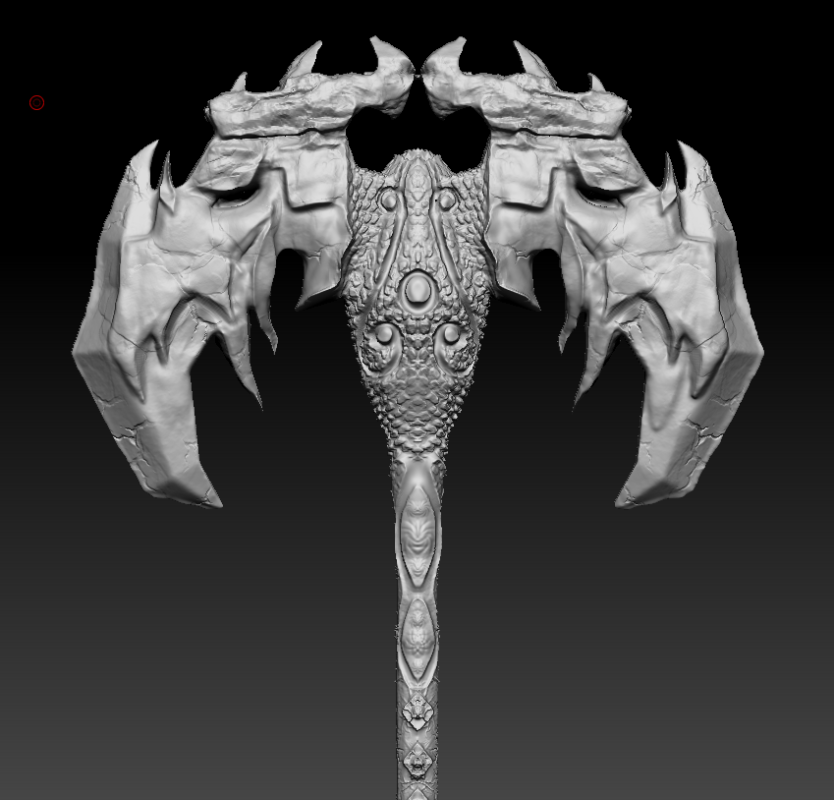
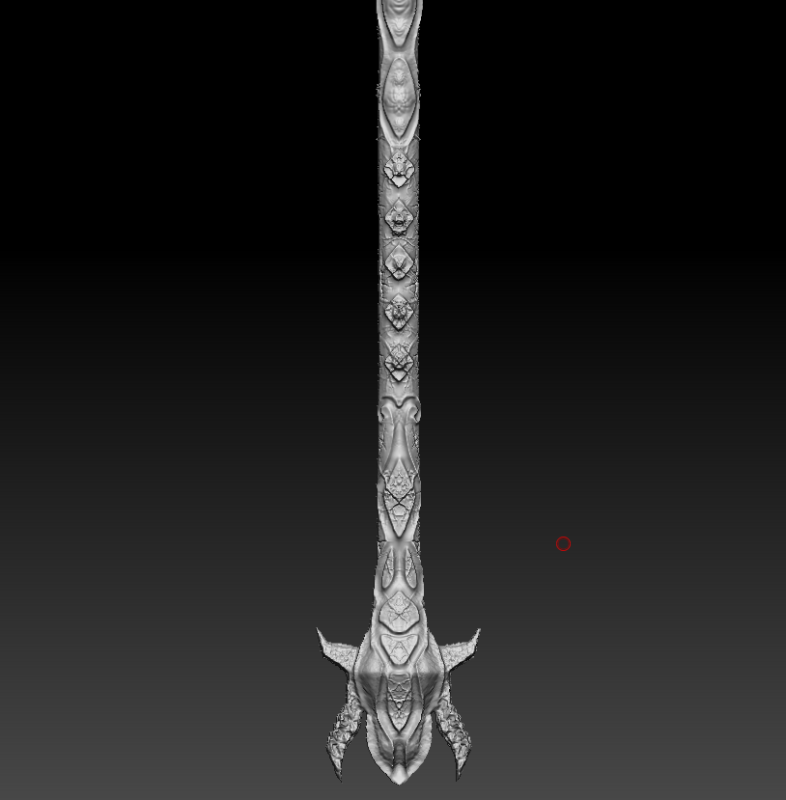
We then moved onto making a weapon model! I wanted to make something cool so I searched some dragon weapons and found this dragon axe concept art, which then I recreated as seen below.
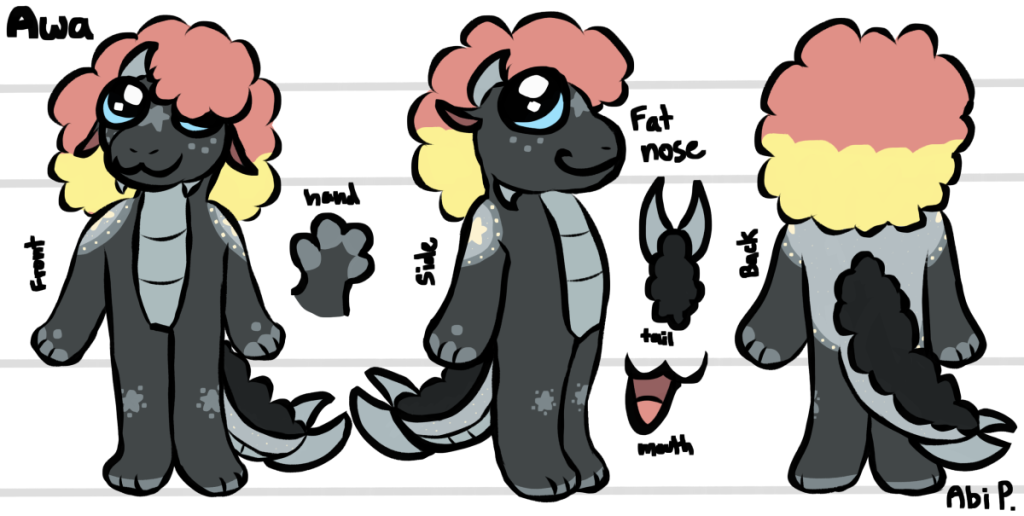
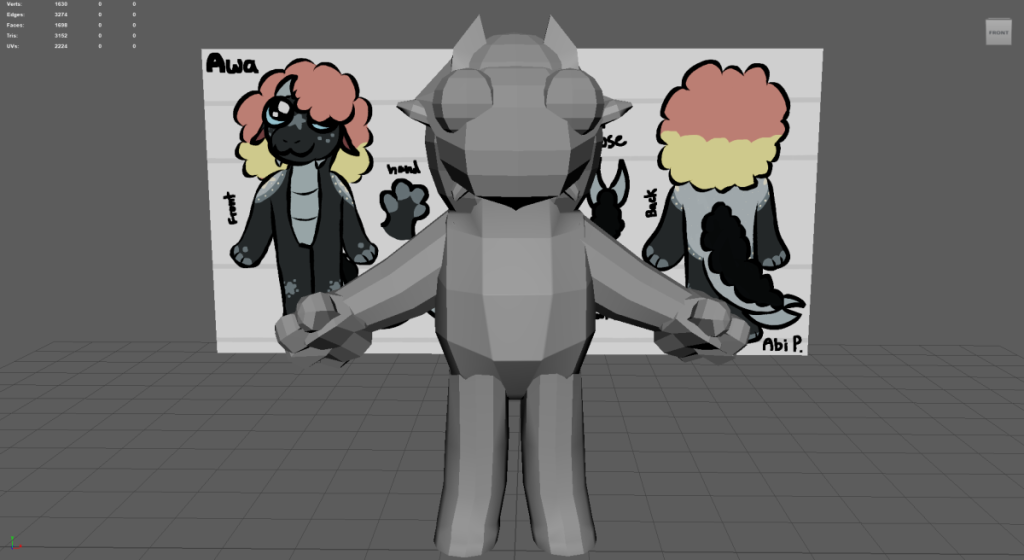
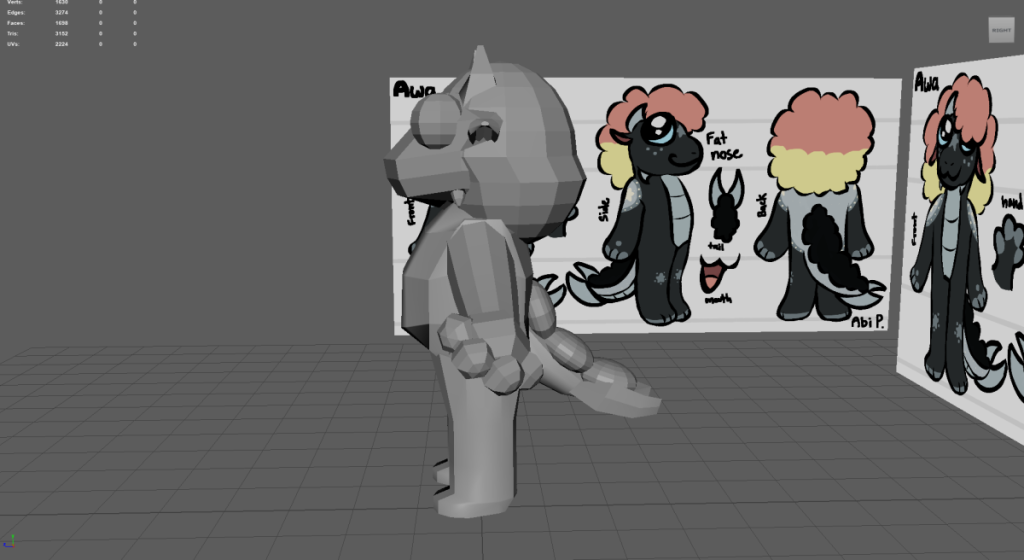
For our final Maya model, we were able to do any character we wanted. I decided to do one of my characters, Awa Lockheart, as I thought she would be fairly easy to model and also very fun to animate! Here’s the final product and also her concept art.
Zbrush
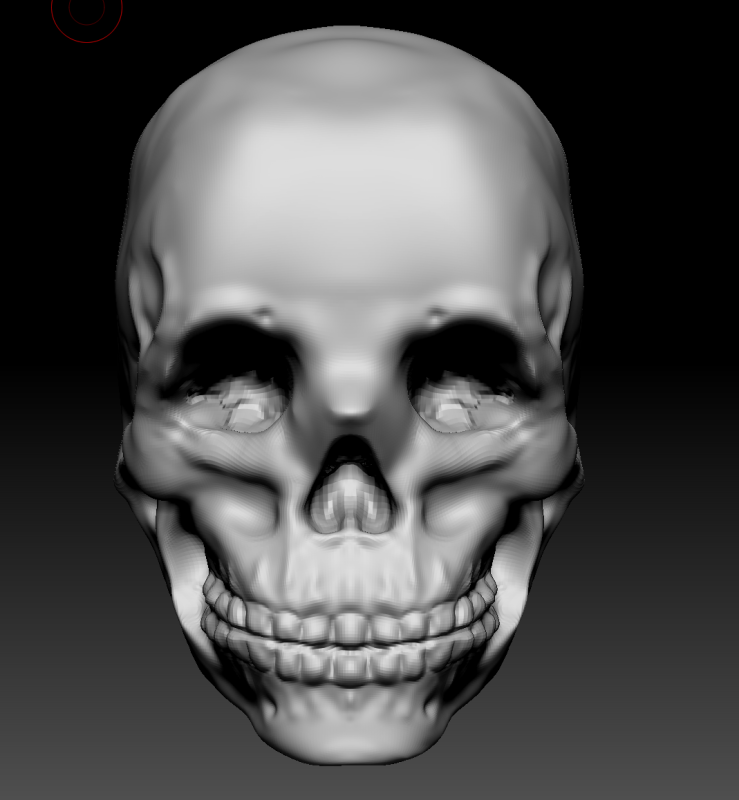
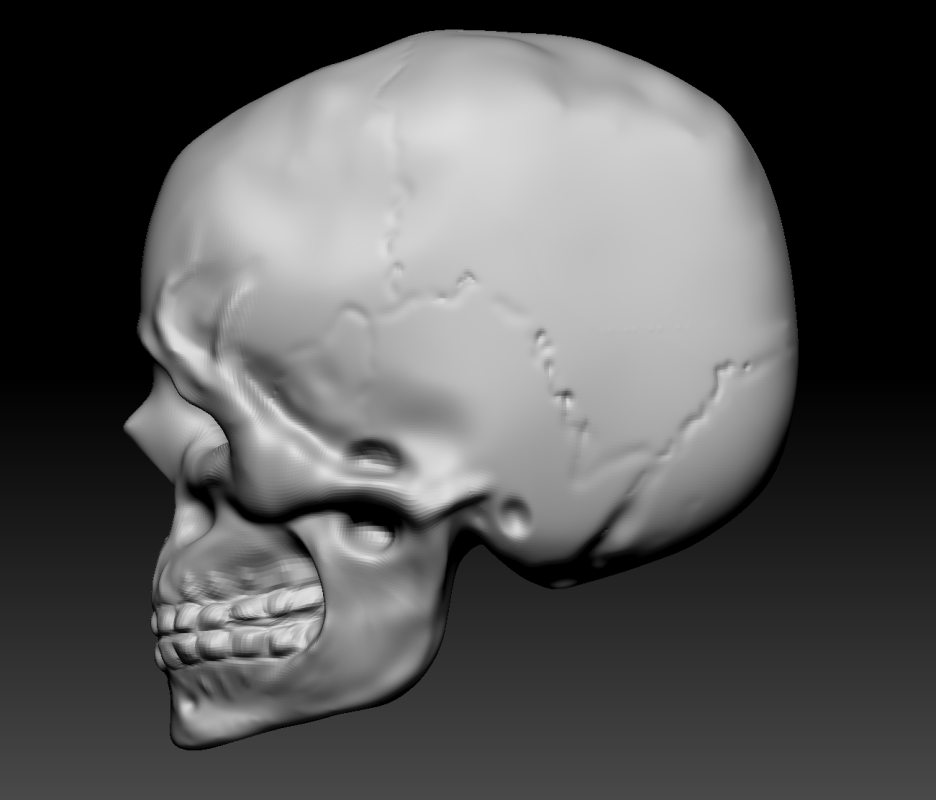
Zbrush was a looot different than Maya. Unlike Maya, which was a more technical program, Zbrush was more of an art program! Zbrush ended up being a lot of back and forth, making sure every side matches up and still looks good was fun but a struggle. Our first Zbrush model practice was making a skull, mine is below!
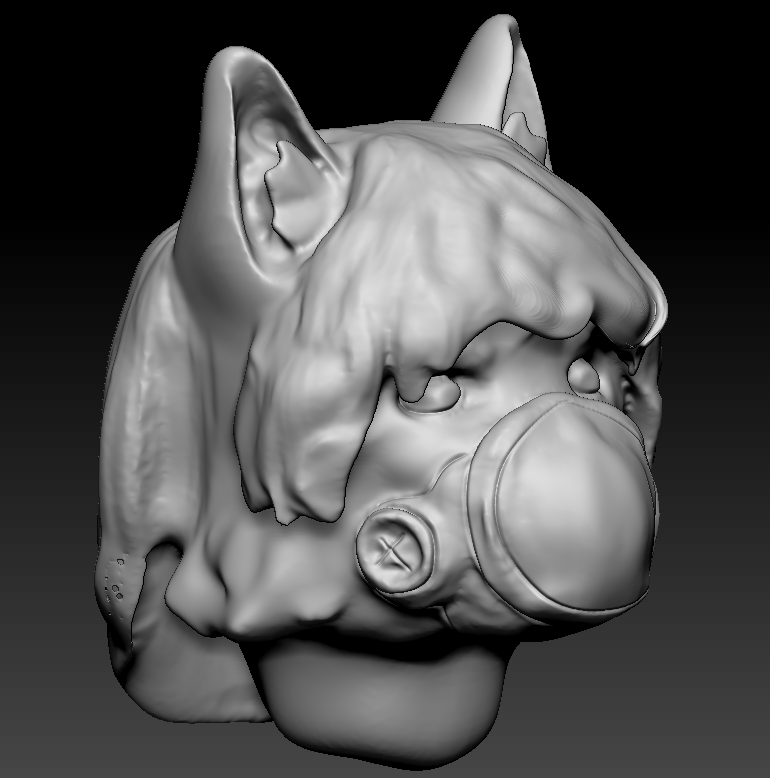
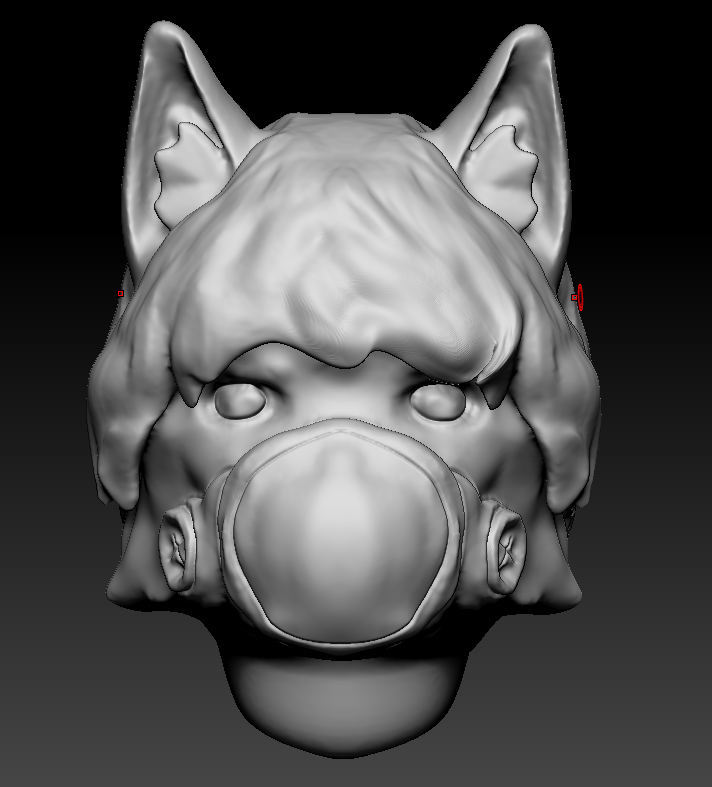
We then were also tasked to do a test head sculpture. I was sick a lot this week and unfortunately didn’t know many of the tools I do now, so it looks very wonky. The head is based off a character I have, his name is Dusty!
We also worked on our table scene! My scene was already pretty good so I only had to smooth it out and give it little bit of texture.
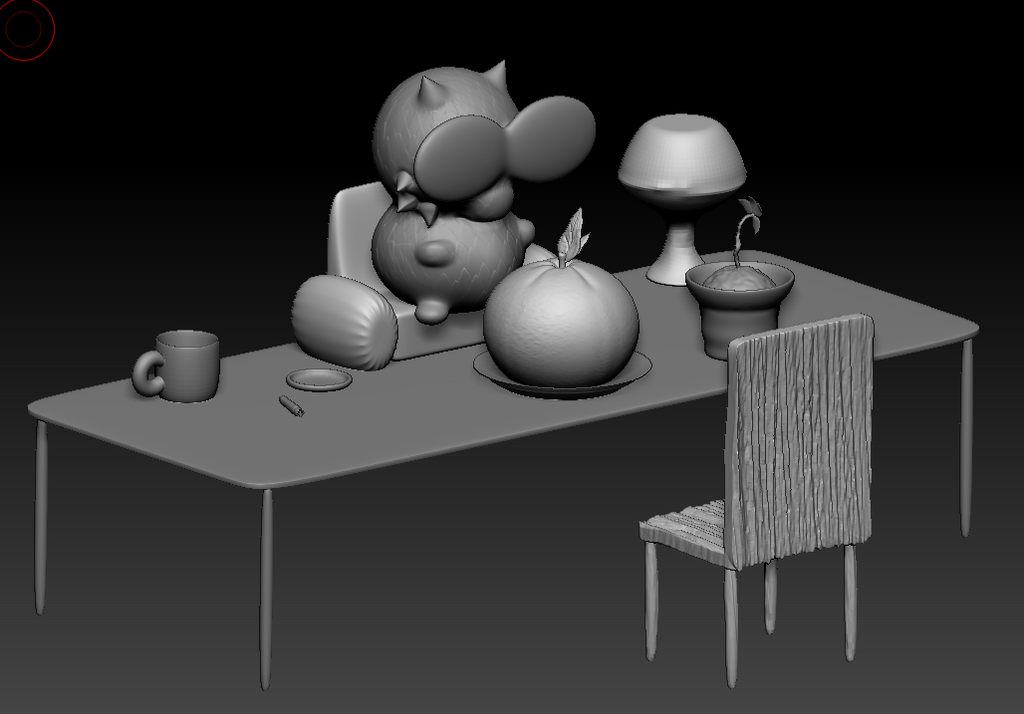
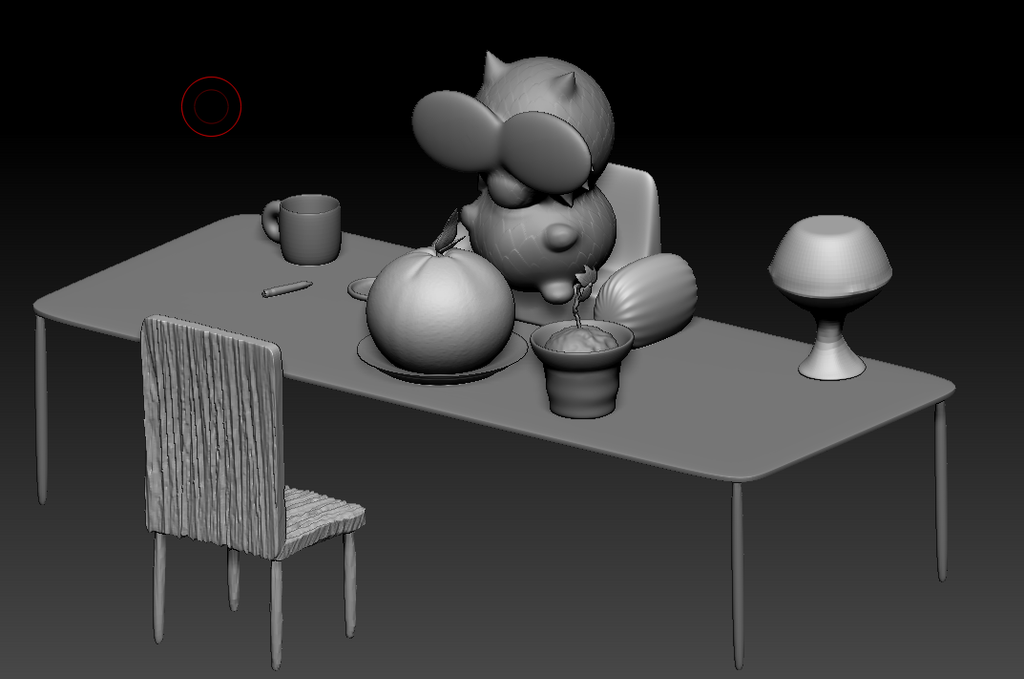
After that, I imported my Maya model to Zbrush and further sculpted my weapon to look more interesting and detailed. It was quite a struggle, I had my wacom tablet turn off at some point randomly and I thought I lost significant progress on my model. 2/10 expereience, don’t recommend.
What I valued most in this unit was learning all the softwares and finally getting my hands on 3D modeling. 3D modeling is something I want to utilize in the future so learning these two softwares is getting me there slowly!