The Reflections Project at Freestyle allows seniors to experiment with personal forms of expressions in order to translate those into various mediums such as mandalas, video essays, image production, and more. Through the project, students will learn how to use modern profession applications and equipment such as Adobe Illustrator, After Effects, Autodesk, Maya, Zbrush, and more. This allows students to strengthen their critical thinking skills they need before they begin college.
Throughout this project, I have learned that I am someone who manages to get my work done when I am in “the zone”. “The zone” for me is working in a quiet environment and being motivated to get my work done. This year, I feel like I am a bit more on top of my Digital Media work compared to last year where I let it pile up and overwhelm me. The Reflection Project really let me pause and think about who I truly am, and I think overall, it was very rewarding in the end.
My Personal Mandalas
For this project, we were tasked with creating personal mandalas in both color and black and white by using Adobe Illustrator. We used a Wacom tablet and pen to create unique brush strokes with pressure sensitivity. We were given the choice of creating an 8, 10, 12, or 16 slice mandala, or, we could combine multiple into one mandala. Through Illustrator, we were able to use reflections and repeating transformations to make the mandala process much easier for us, as we only needed to draw one stroke and it would repeat it all over. Our black and white mandala was going to be printed onto a material of our choice. I chose to print it onto a pizza board because I thought it looked fun with my design. Our colored mandalas were printed onto MDF wood using sublimation techniques. I really enjoyed how much the color popped on the final results.
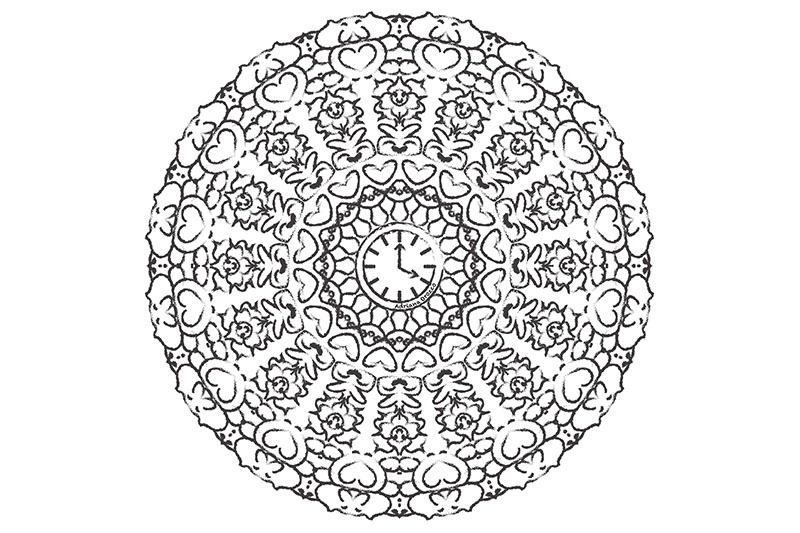
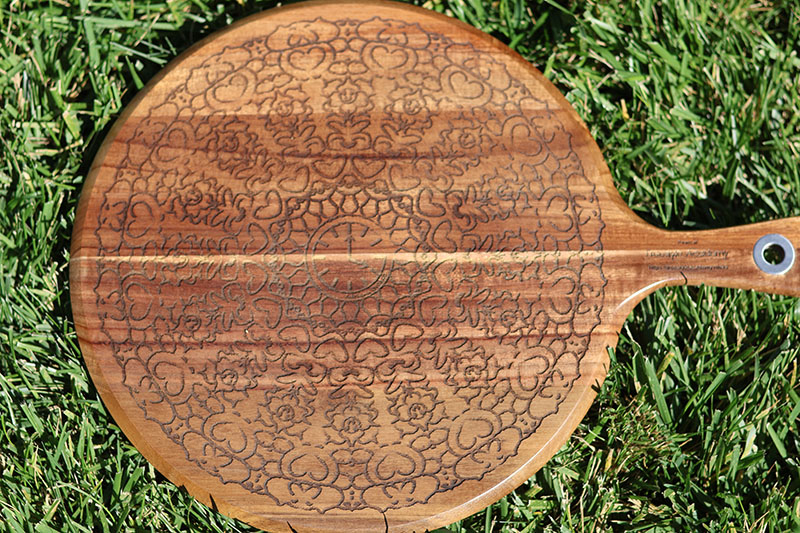
For this piece, I created a 16 and 12 slice mandala. I used Adobe Illustrator and learned how to use clipping masks in order to create my project. I also learned how to convert letter fonts into “strokes” so the project could be properly printed. For my theme of the mandala, I’d like to consider myself someone who has been able to have fun and be silly my whole life. As I get older, sometimes the idea of growing up can be a little scary, but just because I’m getting older, it doesn’t mean I don’t have to be myself anymore. I wanted my mandala to represent that no matter how old you get, it’s okay to be whimsical and have fun in life. I represented the age part with the clock in the center for time, and the rest of the mandala is filled with things such as cats, hearts, and flowers which are things I find to be really silly and fun!
I love working with drawing tablets because I believe it makes the entire process so much easier and more fun to work with. I enjoy that the pen’s we use are pressure sensitive because it allows us to create unique strokes and patterns that couldn’t be done without pressure sensitivity. I think the best and my favorite part of my mandala is the cats on the outer portion of it. I made them by complete accident as I had previously wanted to make the edges pointy, but I wasn’t happy with my previous results. Messing around with a few strokes, I accidentally made the head of the cat and thought it looked really cute like that! So, I gave them a body and added a heart on it’s belly. This happy mistake lead me to realize how much I could personalize my mandala and is when I started adding more cute things to it!
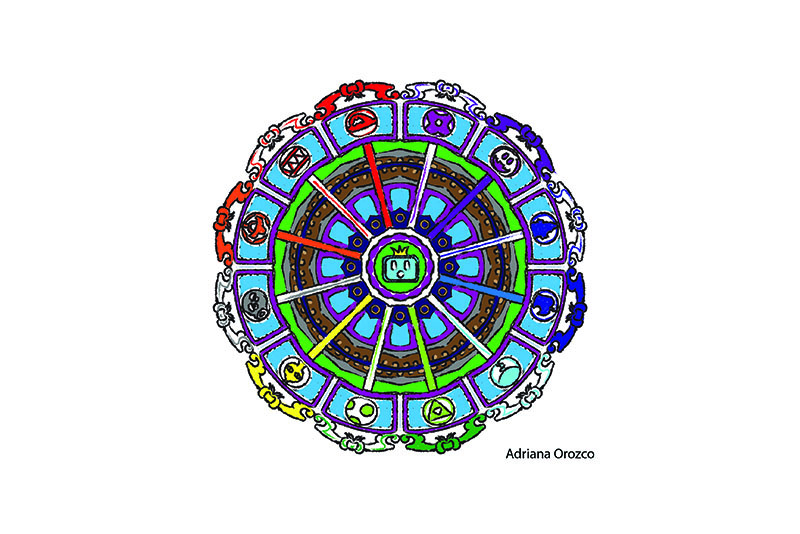
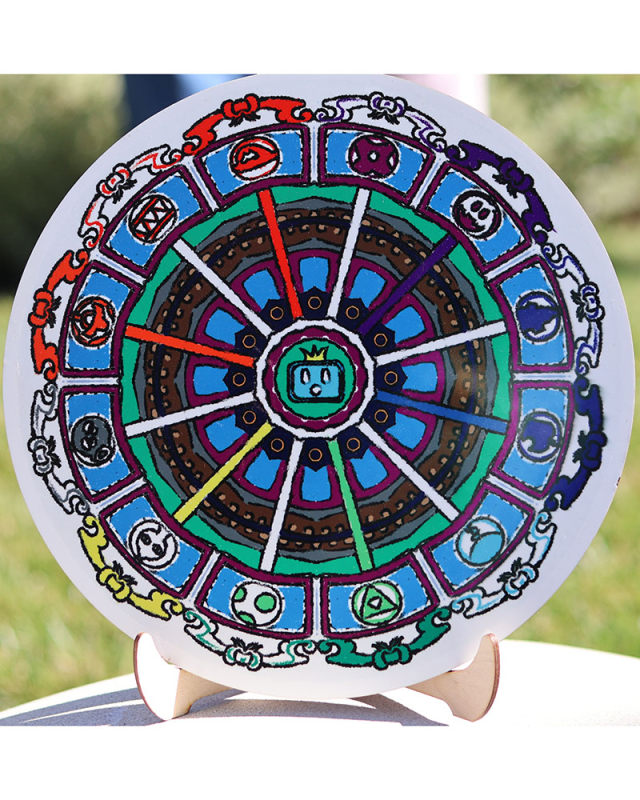
I produced a 12 slice colored mandala. This piece is different from my BW Mandala because of the introduction to color and the different representations and meanings that went into it. My intention was to recreate the map from one of my favorite childhood video games called Nintendo Land. Nintendo Land is a party game where each mini game is based off of a different Nintendo franchise. I incorporated the game’s symbols around the mandala, drawing things such as Mario’s cap, the Triforce, the leaf from Animal Crossing, and more! I also couldn’t forget to add Monita herself! She is the main guide of Nintendo Land, helps you with game tutorials, and is one of my personal favorite characters. I wanted the colors to be bright and playful just like the game was, so I tried to include every color I could.
Working with color made me change my workflow by trying to figure out how each stroke would stay in the place I wanted it to. It also made me need to think about color matching, but I think I need to work on this a little more as I believe some of the colors tend to stick out more than others. Overall, I think I’m happy with how it turned out as this game has always been one of the pieces of media that’s made me who I am today, and I love that I’m able to show that within this project.
For my mandala build video, I used Adobe After Effects to essentially record mini clips of myself turning on the layers of my mandala, and stitching it all together into one whole video. We also used custom fonts for our title scenes, and chose music that related to our mandalas.
Seeing the final piece in person was honestly really cool to me. I had the realization that I really made that. There’s something so unique about seeing your own design off of a computer screen and on a physical object you can hold really neat. I especially enjoyed seeing my laser engraved mandala in person, as the engravings feel so detailed on the pizza board it was printed on. I find it so cool that I could genuinely use the board and see my design sitting right on top of it. I think this one is my favorite compared to my colored mandala as the final result gave me more of that “awe” factor, and overall just made me really happy seeing it in person. Overall, I’m pretty happy with how the final product turned out, and I enjoyed how rewarding the mandala project truly is.
“Who am I” Reflection
For this project, we were given the task to reflect on our personal experiences and translating those ideas into various different projects using various different things such as Maya, ZBrush, Adobe Illustrator, After Effects, Javascript, and more. In our English class, we learned to classify our core values and express emotional vulnerability through writing. In Digital Media, we were then tasked to reflect on our core values and create videos of them being animated on screen with Adobe After Effects and Bridge. Finally, in Animation, we have been working with programs such as Maya and ZBrush to help us 3D model objects such as skulls, weapons, table scenes, and faces.
From these assignments, I have learned that I am someone who is able to freely express themselves through my projects more than I can with just speaking with words alone. I value that all of these projects have allowed me to reflect on my core values by ensuring that they are always the main inspiration source of my projects, and how they weave through each part of the assignments along with me.
Why I [Write] Essay
In English, we were then given the task to create a “Why I [Write]” essay where we could replace the word “write” with any topic of our choosing. I chose to write about “Why I Art” and took inspiration from Octavia Butler’s Positive Obsession, as I admired how her words so bluntly convey her emotions and makes the passages seem more real.
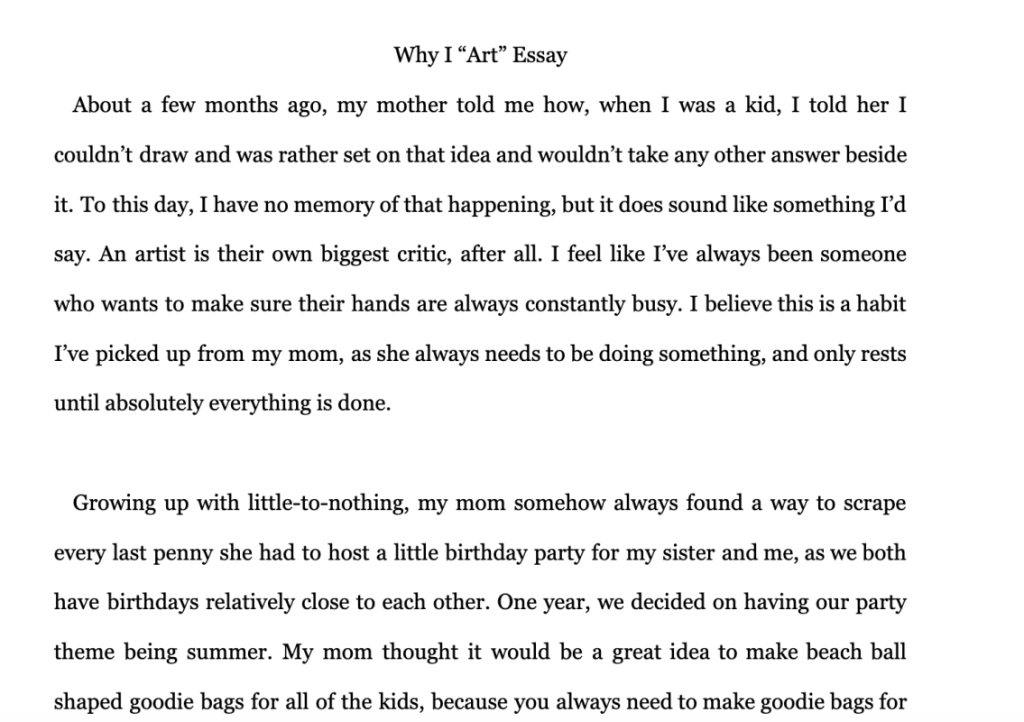
Throughout the essay, I wanted to include every art medium that has helped shaped me into who I am today, and why I’m still passionate about them. This helped me better understand myself as I was able to think back to so many different hobbies and old memories I have making art with both myself and the people I love. All of these old memories began helping me piece together how my personal journey has lead to who I am today.
Animation
In Animation, we have been starting to work with programs such as Maya and ZBrush to sculpt and produce 3D models which we will then animate. To start, we first sketched out what we wanted our characters to look like. I decided to go with one of my own original characters named Cherry. I sketched her design onto paper before using Photoshop to color her in. This will act as our main reference when modeling!
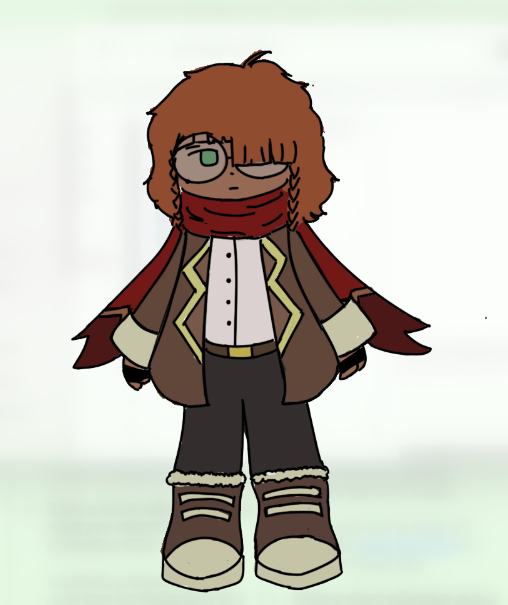
Putting Cherry aside for now, we first must practice using Maya before we go into modeling something like this! To start, we first began practicing working with polygons and the overall basics of Maya. We then started modeling some beginner things such as the “Table Scene”, landscapes, and fire hydrants. Out of the three, I think my favorite came out to be the Table Scene because we were able to add anything we wanted onto it, and I think it turned out the best compared to the rest of these models. After we finish modeling, we then get to render out the scene and move the camera to where we want the final product to be angled at. Finally, we began modeling our character! Click on the images below to see them better.
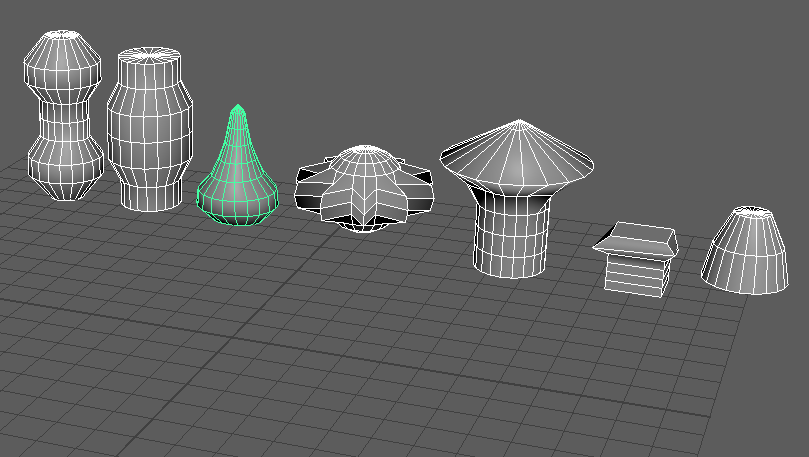

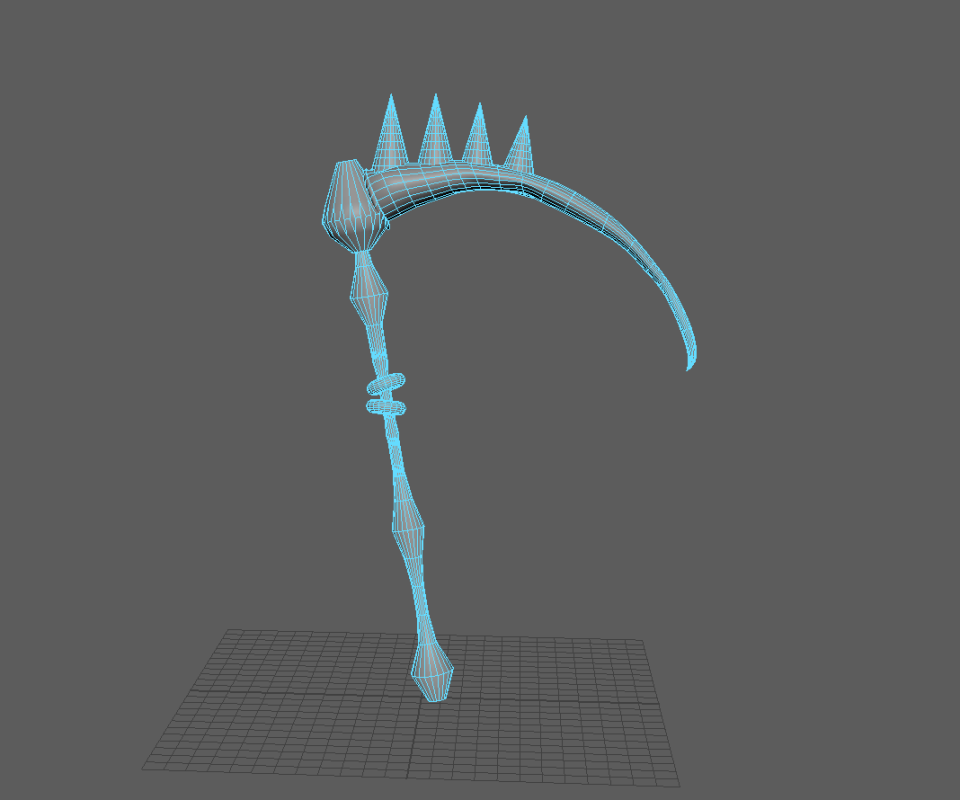

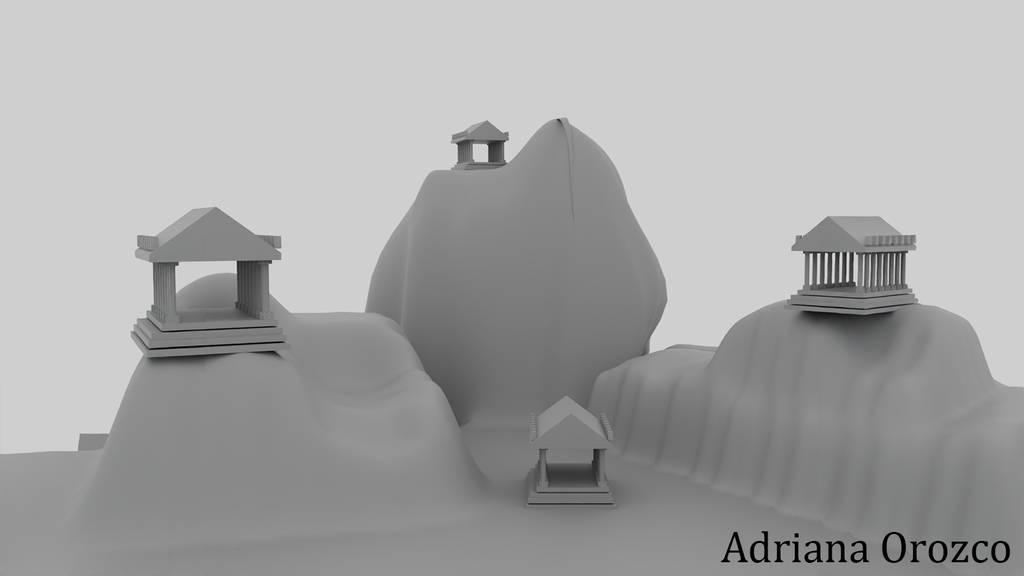
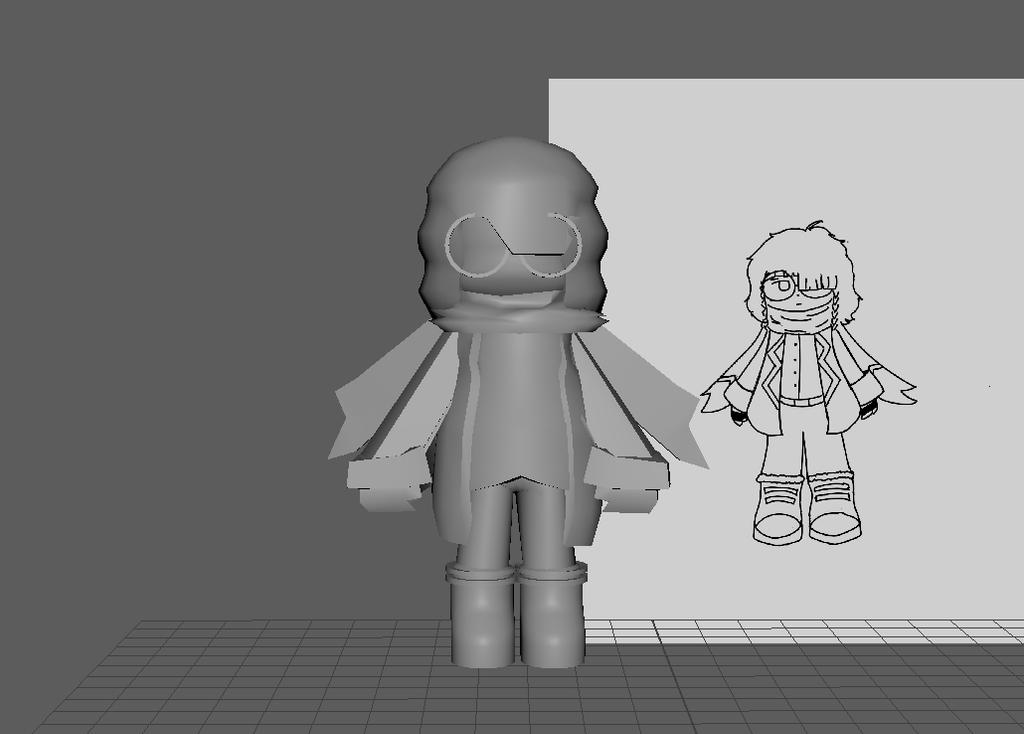
After, we were then tasked with creating a weapon in Maya then using ZBrush to add details to it. Before jumping into the weapon though, we had to learn how to use ZBrush! Our first project using ZBrush was creating a skull from a sphere. At first, I found the controls to be a bit wonky, but I managed to figure out what brushes work best for what and how everything works. We then moved onto modeling faces, and finally, our weapon. I’m really proud of how my weapon turned out, as in Maya I thought it looked bad, but with ZBrush, it turned our great!
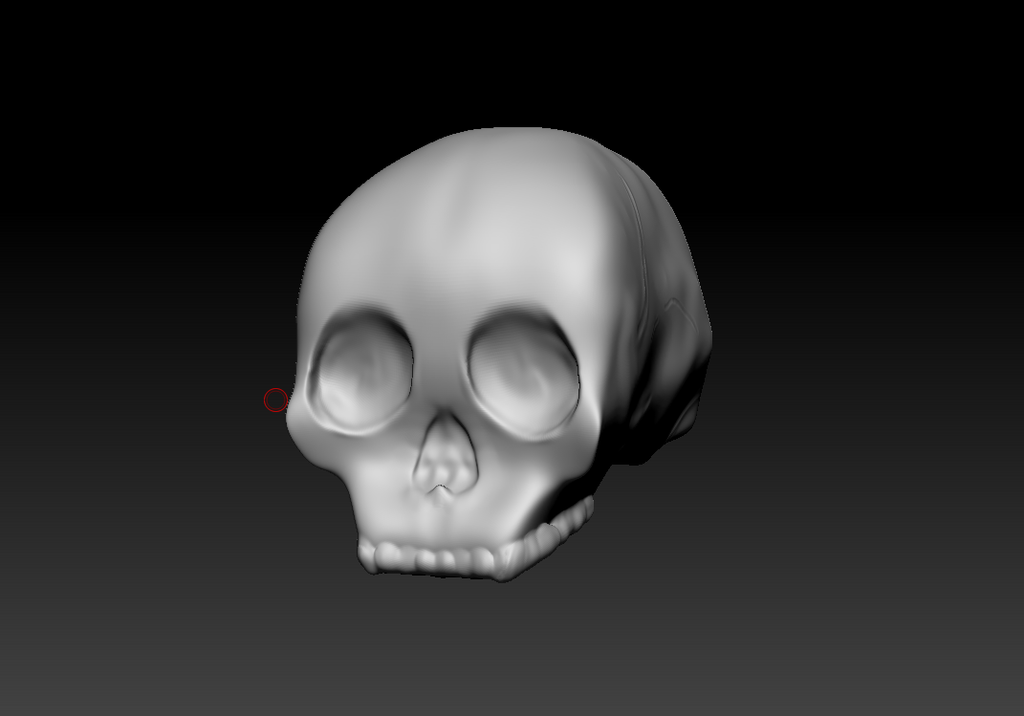
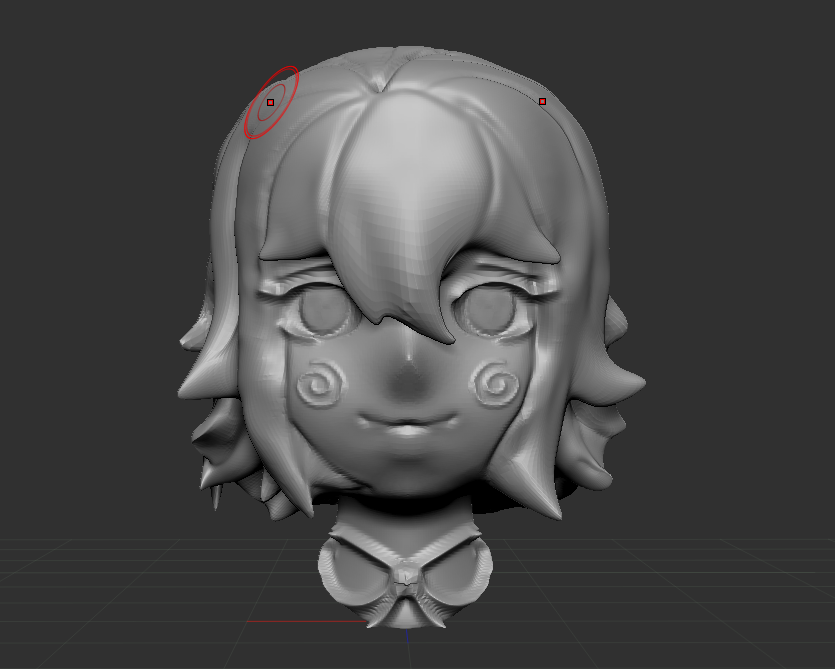
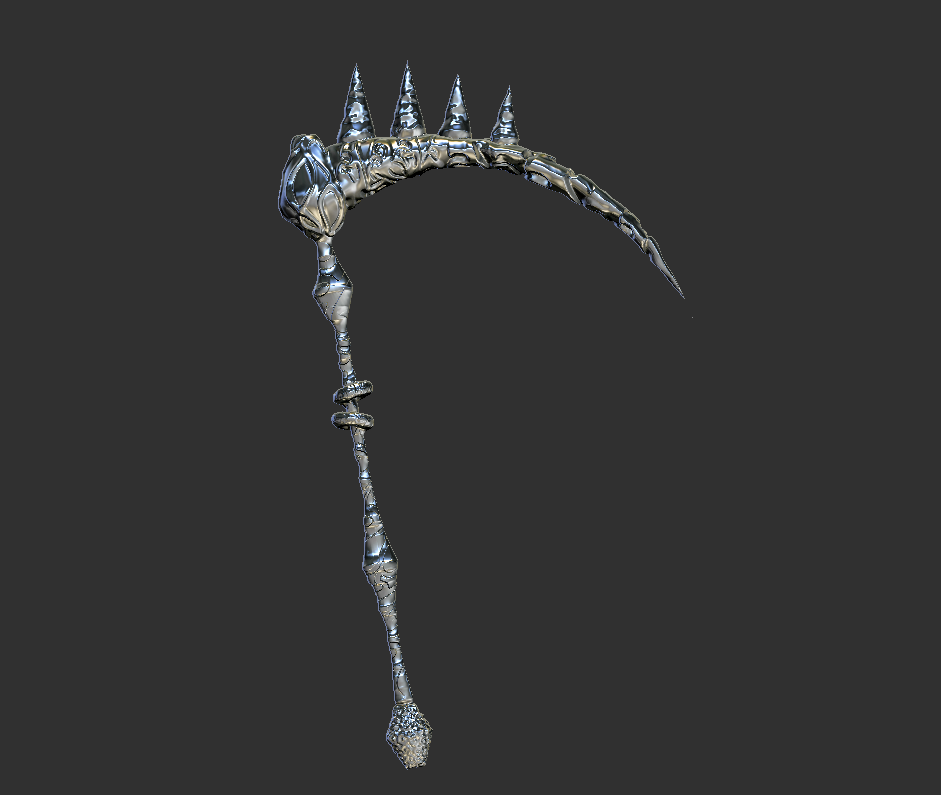
After getting the hang of this, we could finally go back to modeling our characters! I found that making the clothing’s wrinkles was a bit difficult, but using the “X, Y, Z” method really helped to make it look better. Seeing the model going from blank shapes to my character was really rewarding in this end. Plus, I think she turned out petty cute too!
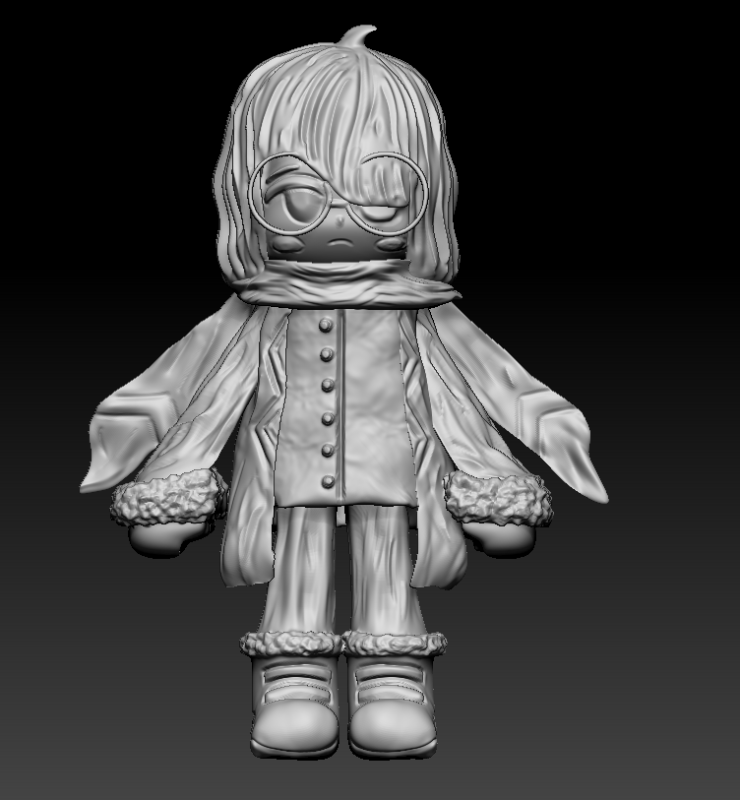
Overall, I value the ability to see the process of your work evolve in real time. Going from learning the basics of Maya in August to sculpting our models in ZBrush in November is so fun to reflect back on. All though the process was a bit lengthy, I’d say that overall, it’s worth it in the end seeing everything come together. After modeling our character and weapon, we’re going to learn how to use Adobe 3D Painter to color them both in, and I can’t wait to show you soon!