INTRODUCTION
“How can I use unconventional forms to express myself?”
For the Conceptual Project, Juniors must learn to think abstractly to answer the question above. This project emphasizes risk-taking and creative exploration through music, experimental film and web production, challenging Freestyle students to express themselves through their original personal aesthetic. Juniors begin developing their technical ability by exploring a variety of professional equipment such as DSLR Cameras, Tascam Audio Recorders, Adobe Photoshop, Adobe Animate, Adobe Premiere Pro, Adobe After Effects, Adobe Audition, Avid Pro Tools, WordPress, and other Google Apps.
REFLECTION
For my first Project at Freestyle Academy, I worked on a video discussing an art piece that inspired awe in me. After our school-wide trip to the San Francisco Museum of Modern Art, I chose the piece Crisco by Marilyn Minter to center my project around. After writing a reflection on what this piece meant to me, I then crafted a video using key framing to support my dialogue. This project was definitely a challenge, as I had very little prior experience using Adobe. However, I was able to learn so many new things using this technology, and gained valuable new skills by trying new things and not being afraid to make mistakes.
ART REFLECTION VIDEO
This year, Freestyle Academy had our annual field trip to the San Francisco Museum of Modern Art, where we viewed various exhibitions and reflected on their meaning. The goal of the trip was to choose a painting that evoked “awe” in us, and to decide why we felt that way. At first, I found this concept to be very abstract, and struggled to figure out which piece of art to dedicate my project to. As I saw exhibition after exhibition, I really tried to reflect internally about what which piece I might feel “awe.” That feeling came when I first laid my eyes on Crisco by Marilyn Minter, a beautiful oil-on-canvas painting of a women’s eye makeup. After seeing it, I immediately knew this was want I wanted to use for my project and set to work on writing what I felt. The hardest part of the project was figuring out how to do the key framing and more technical aspects of editing, but I ultimately learned a lot about how to use Premiere Pro and to manipulate different parts of videos to get the result I want.
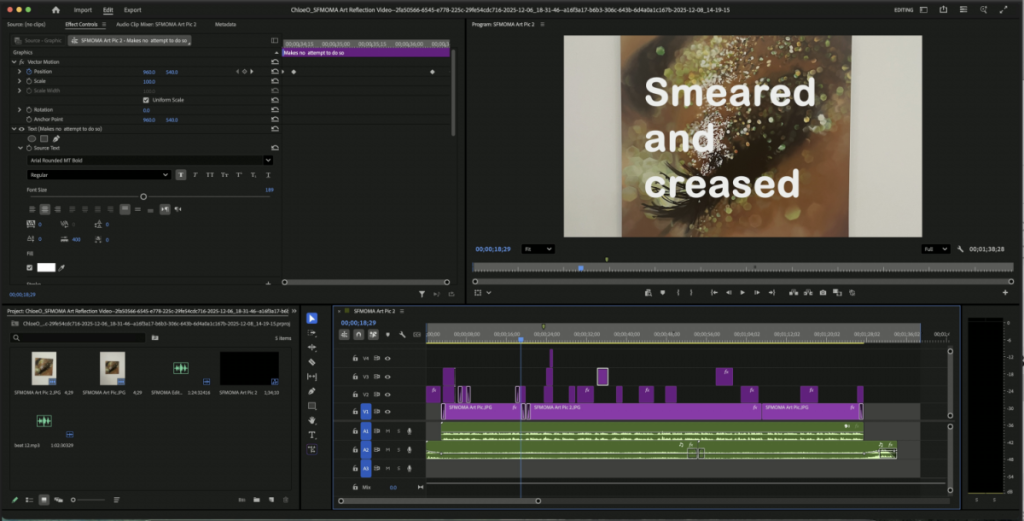
I valued the process of making this production a lot because I grew both in my writing and in my editing skills. Learning to articulate my emotional state and connect it to an art form was new to me, but extremely valuable as it allowed me to be better about reflecting how I feel and transferring that into a spoken-word dialogue. I also learned a lot about keyframing, and my skills in Premiere Pro became a lot smoother throughout the revision process. Overall, this was a very enlightening and fun assignment in both my English and Digital Media classes.
PARODY PRODUCTION
▶ Fake Fall
⏸ Fake Fall
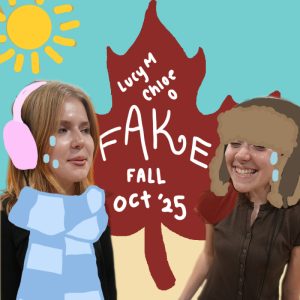
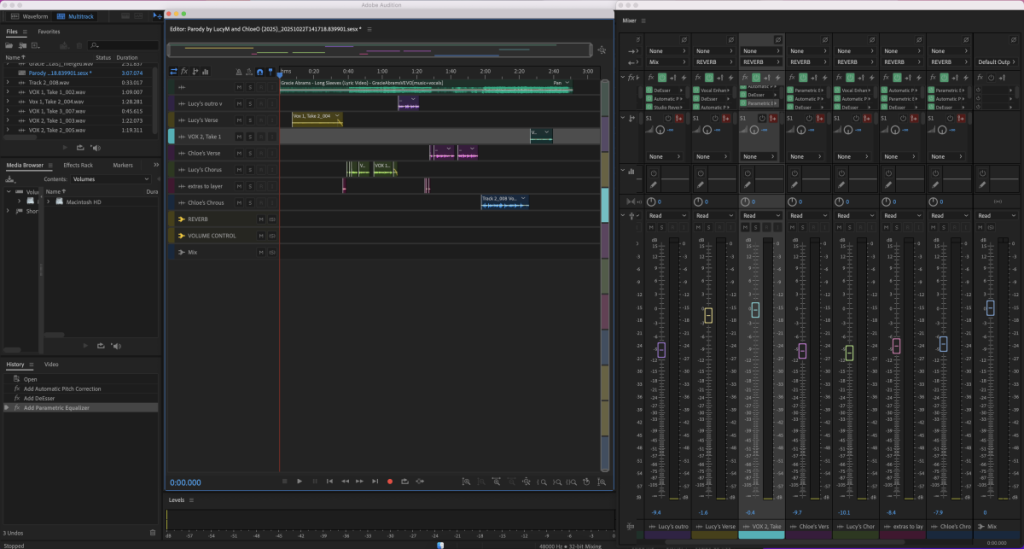
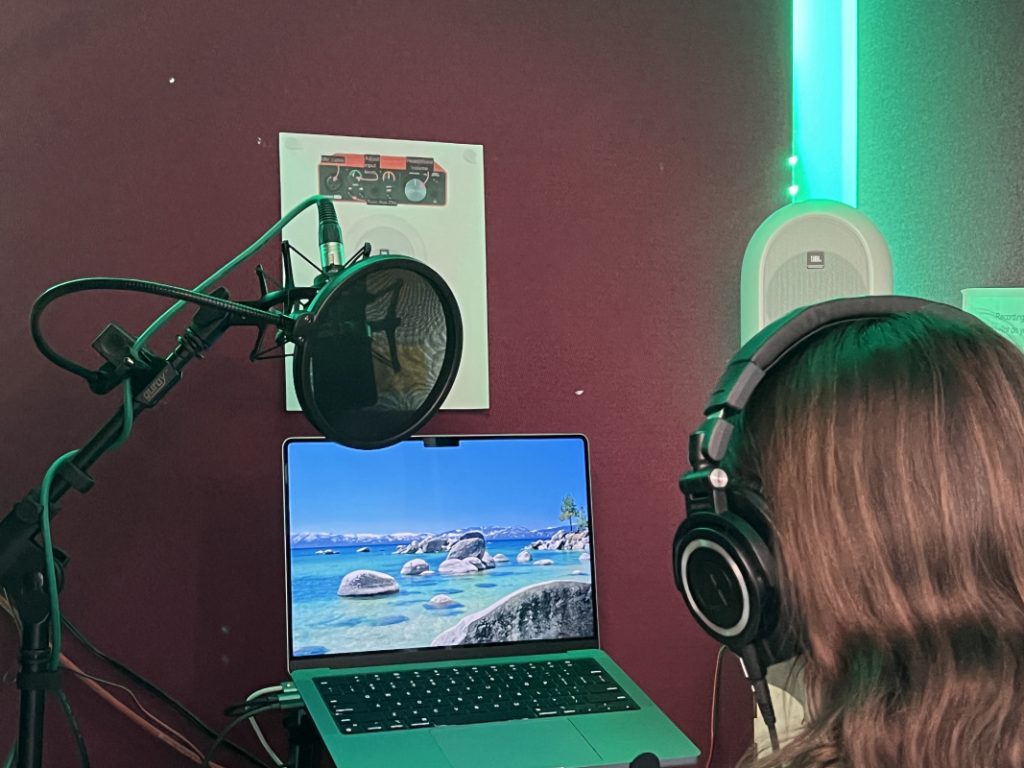
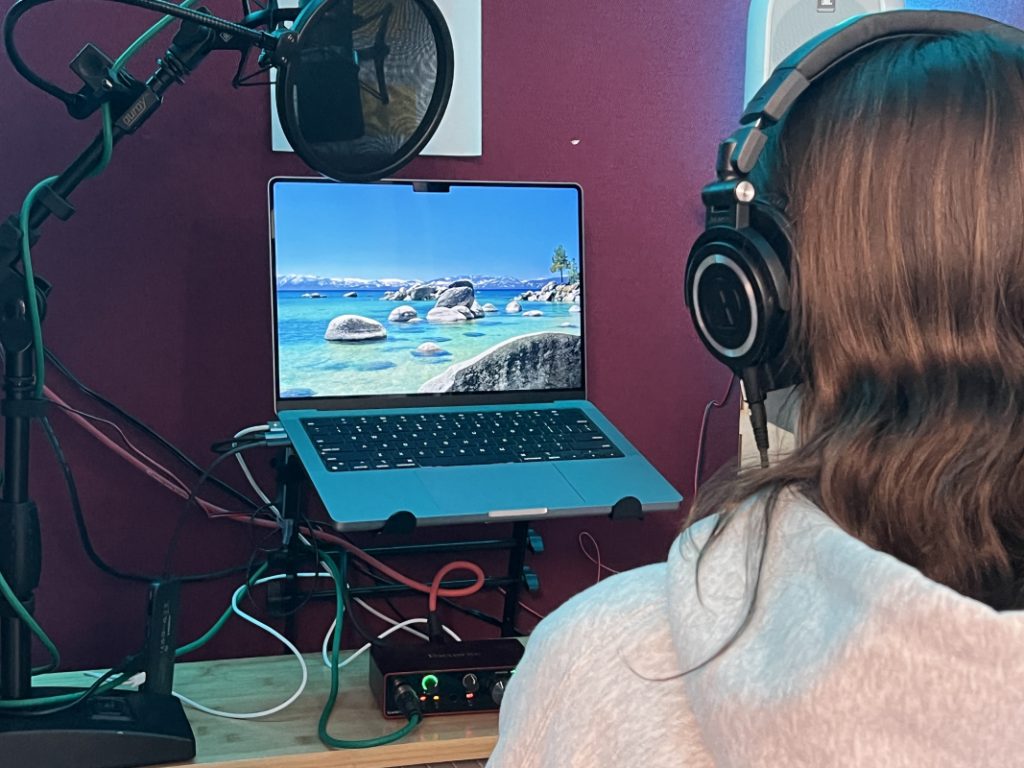
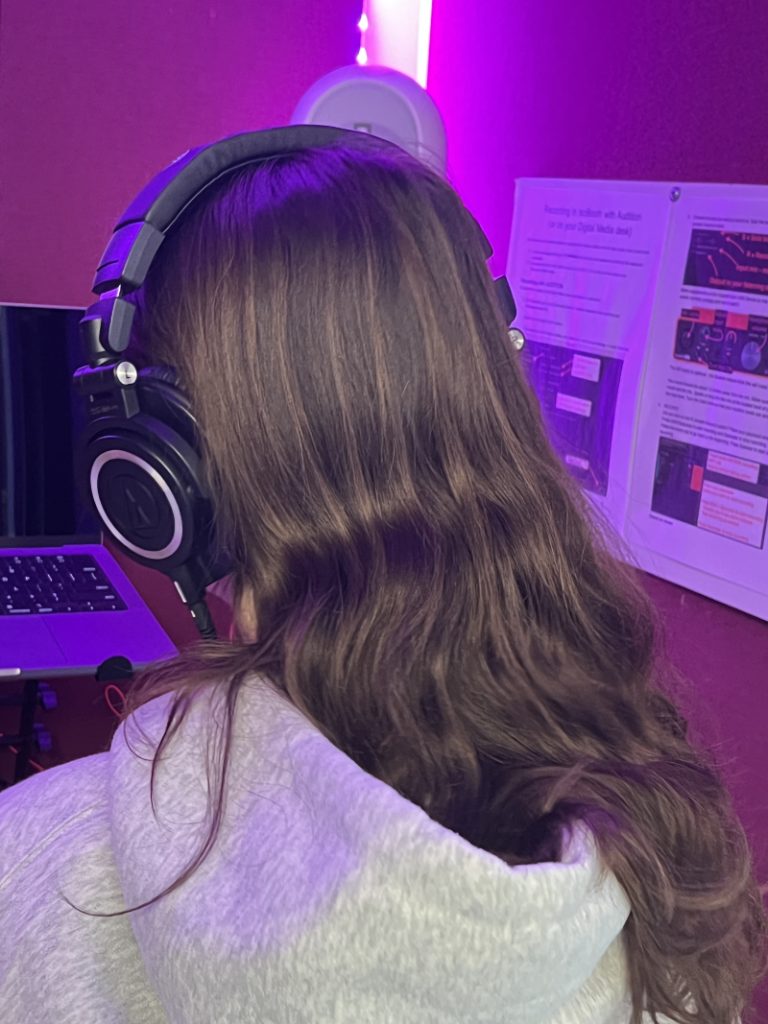
To produce the song, we first brainstormed the lyrics, then did a few takes in the recording booth. Finally, we got to work editing the audio so it sounded the way we wanted, adding reverb, compression, etc. Our parody is about how hot it is in California during the fall. We chose the song “Long Sleeves,” by Gracie Abrams because it had a relatively easy to follow melody and a good syllable structure for us to rewrite our lyrics. Once we drafted our lyrics, which we did by counting the number of syllables in each line and then rewriting the line accordingly, we went into one of the isolation booths and recorded our audio. After picking our favorite takes for the verse, chorus, and outro, we oriented them with the backing track and began to edit. In terms of editing, we mostly used the DeEsser and Reverb to emulate Gracie’s original song. The most interesting thing to us in the process of making this parody was learning all about how to use volume control and other effects to make two voices sound like they belong on the same song. Our lyrics took a lot of inspiration from the fact that it was 93 degrees and October the day we wrote the first draft of the lyrics. We wanted to play off of our frustration about not being able to wear scarves and Uggs during the fall like most people can. Our proudest moment during the Parody Production was when we listened to it after completing all of our desired edits. This was the first time it really sounded like a song (rather than a string of disjointed audio clips), and both of us were really happy with the final product. It was really cool to see how all of the skills we learned culminated into our parody song.
Parody Lyrics
Pumpkin’s on the shelf
Still I’m in tank tops, help
I don’t know what it is but fall feels fake
But fall feels fake
I wanna stay inside
Hate how I’m slowly fried
It’s 90 in the shade
Send rain, not flames
Send rain, not flames
And if you see me
Melting in a hoodie
Could you just pretend that
Fall exists at all?
Cause I can’t fake it
Even with my Uggs on
This scarf is just for fashion
And I’m sunburnt again
It’s been a long time sweating
It’s been a long time sweating
It’s been a long time sweating
It’s been a long time sweating
Sweatin’ through a wave of heat
Sun’s been a catalyst
It’s like an oven, yes
I don’t know what is but fall feels fake
But fall feels fake
Fought till the heat got me
Trapped in some denim jeans
Hallucinated rain
But it was sprinklers
It was sprinklers
And if you see me
Melting in a hoodie
Could you just pretend that
Fall exists at all?
Cause I can’t fake it
Even with my Uggs on
This scarf is just for fashion
And I’m sunburnt again
It’s been a long time melting
It’s been a long time melting
It’s been a long time melting
It’s been a long time melting
Photoshop Blend Mode Editing
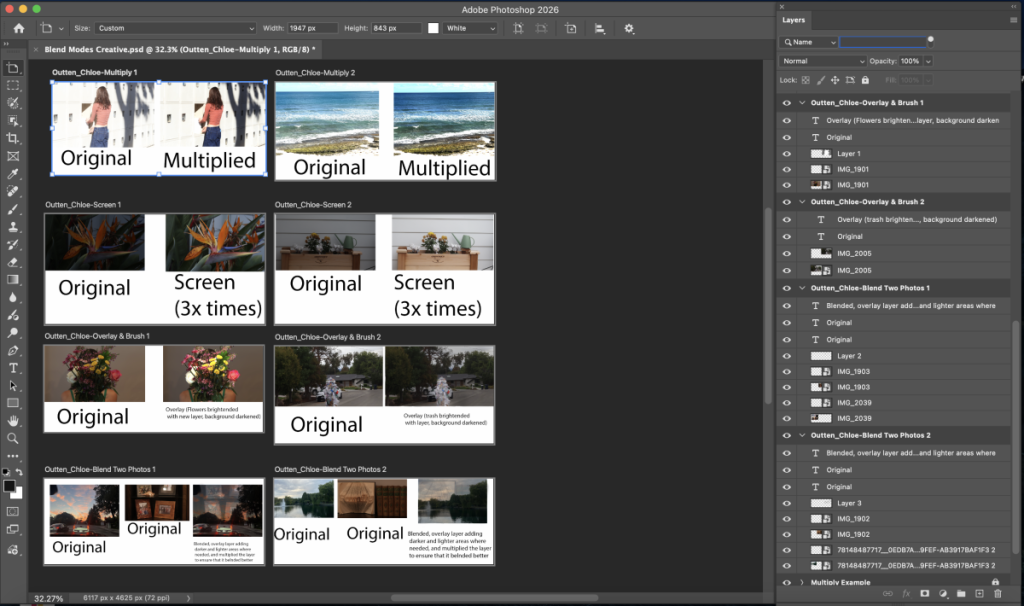
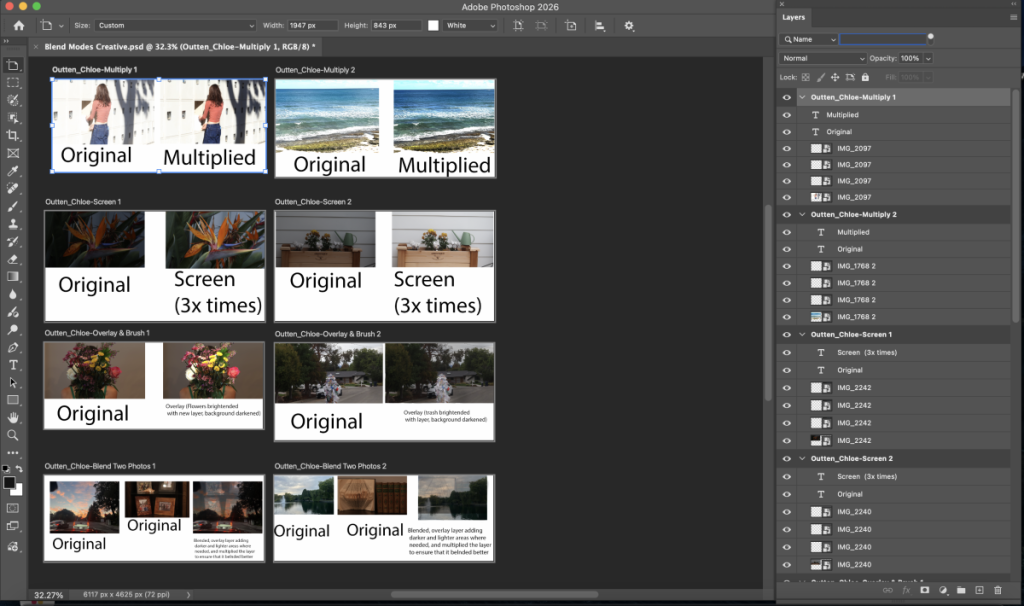
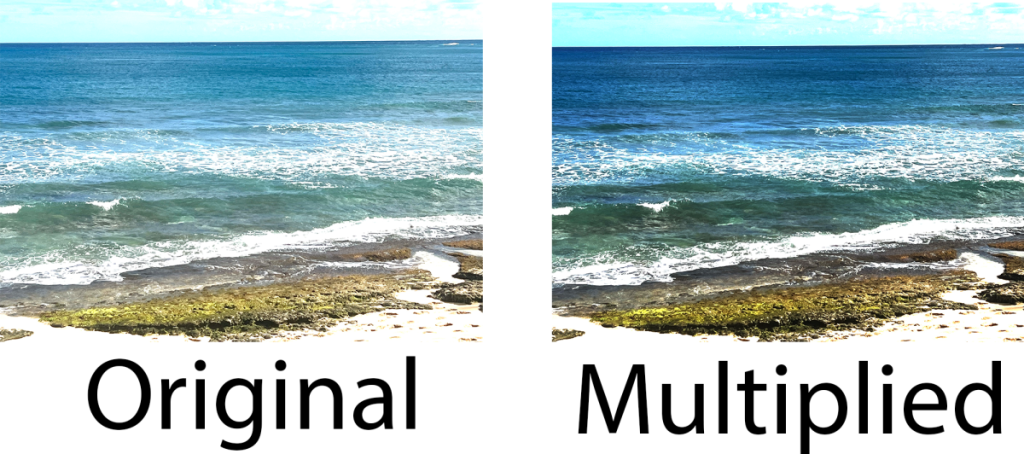
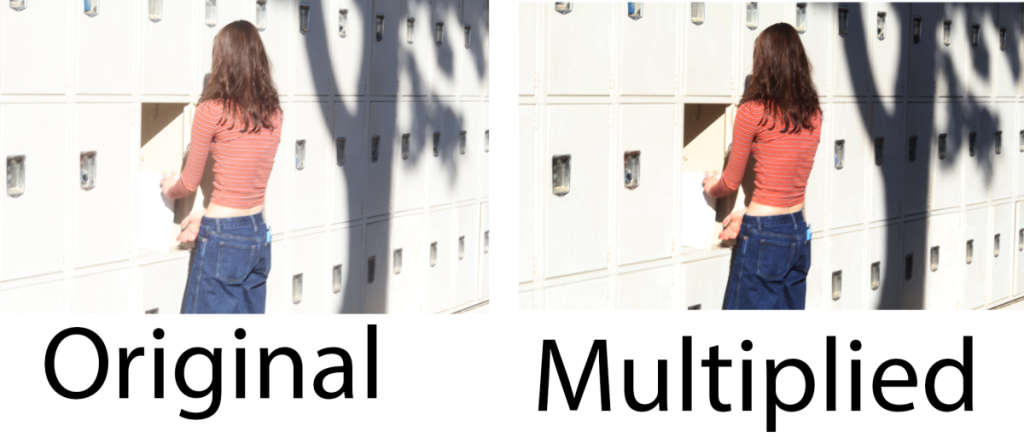
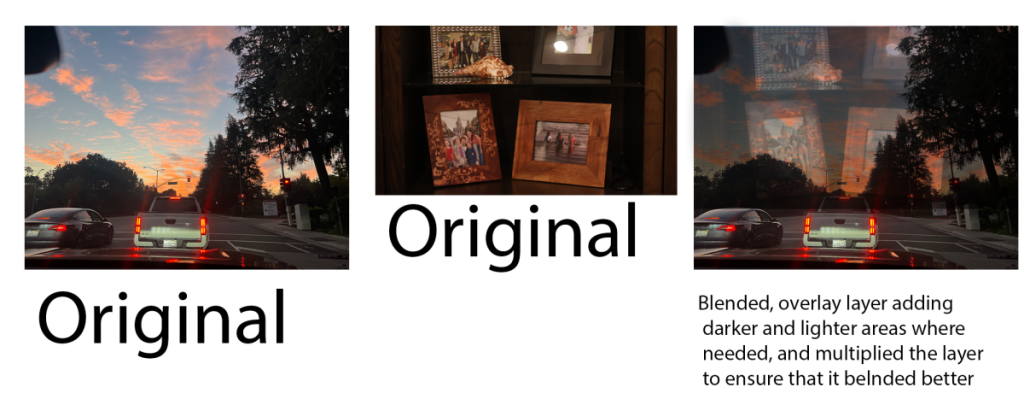
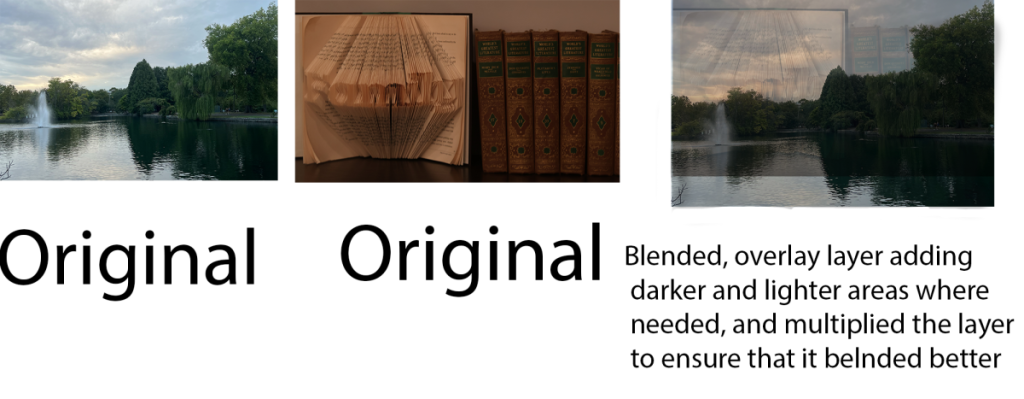
In Photoshop Blend Modes, we learned the basics of Photoshop editing and how to change pictures to have certain effects. We were taught to brighten, darken, layer, and more in various ways to make our pictures look better and more aligned with what we want to express to our audience. We explored many different editing techniques, and I learned a lot of new things about aditing and Photoshop that I am really excited to implement in the future.
I value learning about how to make pictures look better and stand out more to the viewer, so that in the future I can create and edit photographs that highlight what I am trying to express to an audience. Using Photoshop Blend modes allows me to express myself creatively and make my photographs look the way I want them to. I think that I could use my new Photoshop skills to grow as a photographer and explore new ways of creating unique images. I also think that many of these skills could translate into filmmaking, as both are visual arts, and editing is very important.
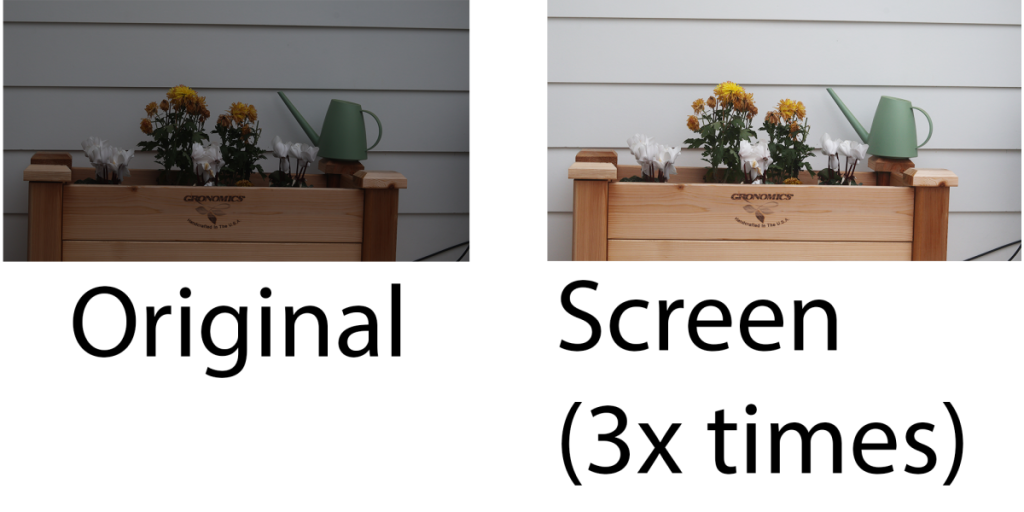
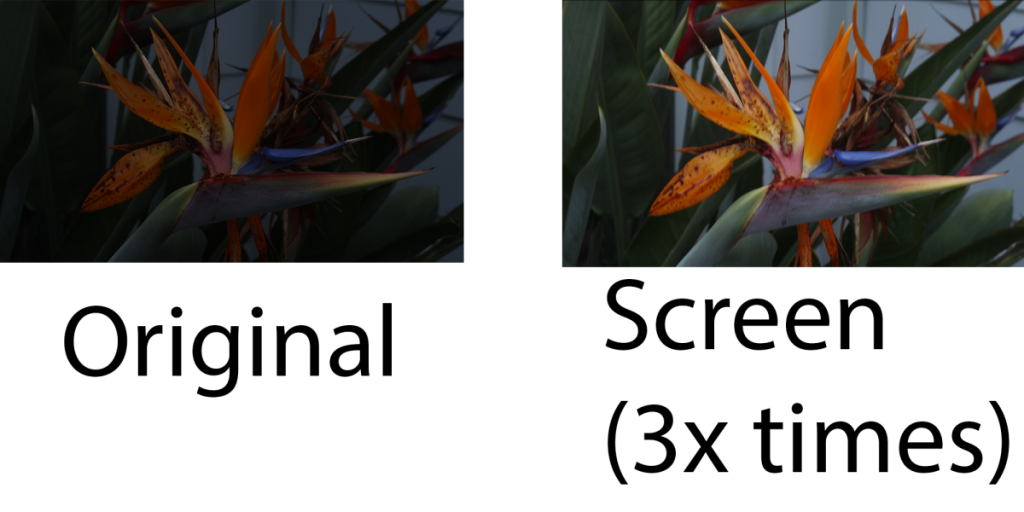
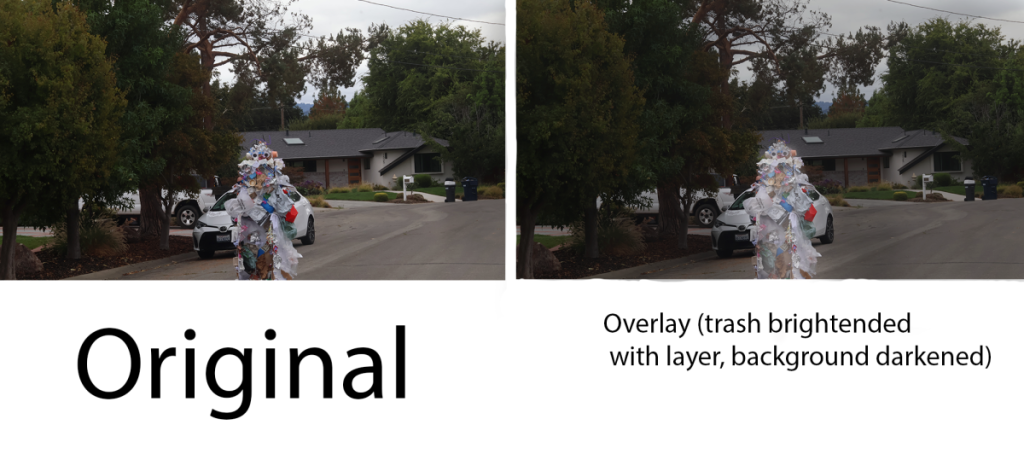
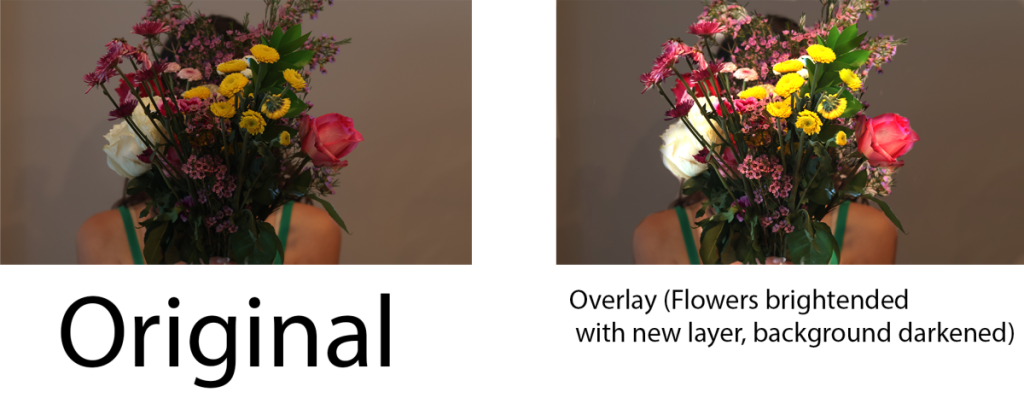
DSLR Photos
For our DSLR Practice session, we explored various different settings on our cameras in order to explore photography as an art form, including Av Mode with shallow and deep depth of field, Tv mode with long exposure night photography, flash practice with portraits in front of backdrops, P-mode with ISO changes, and altering White Balance.
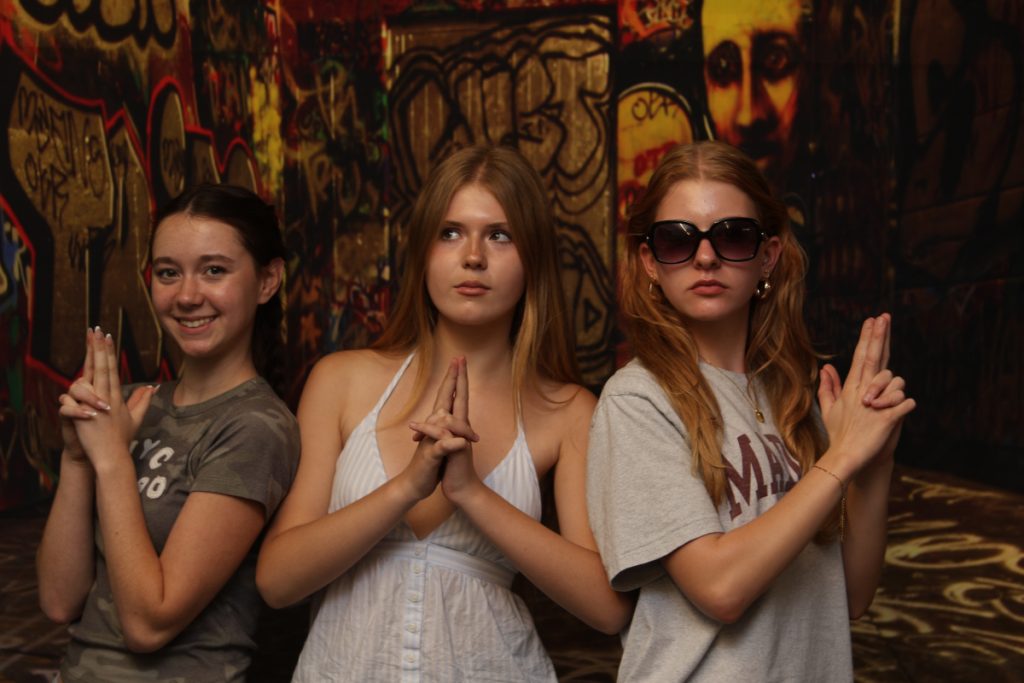
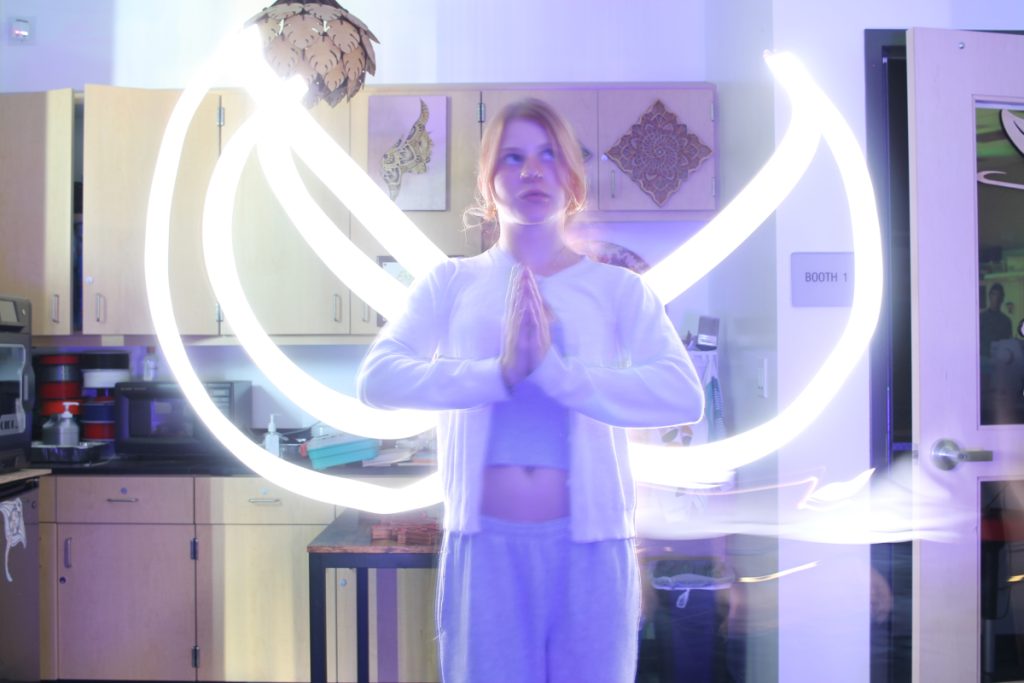
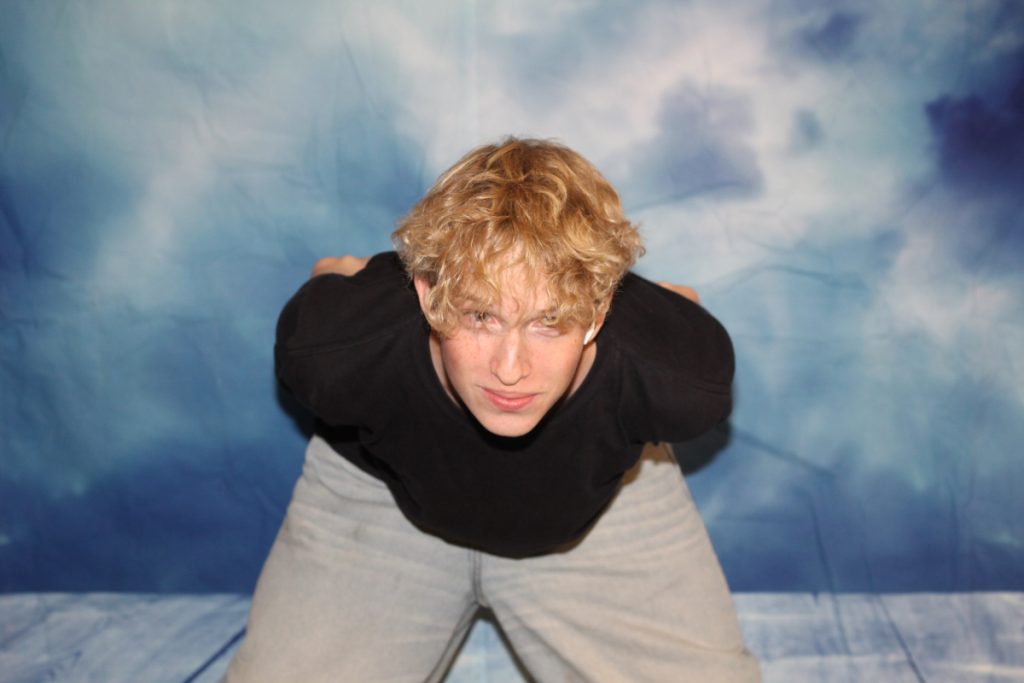
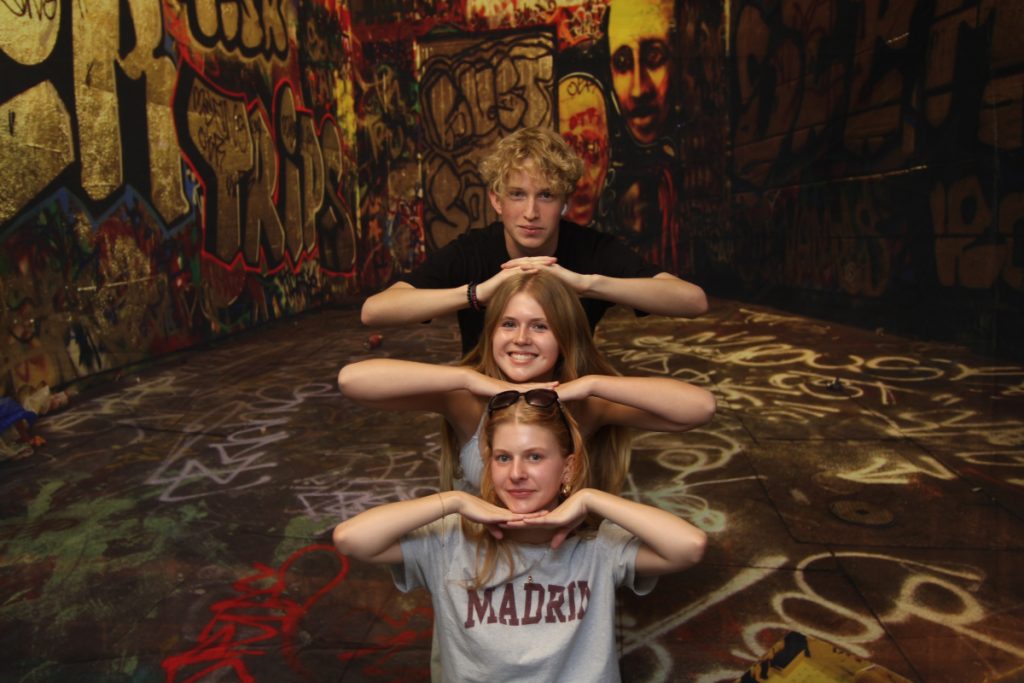
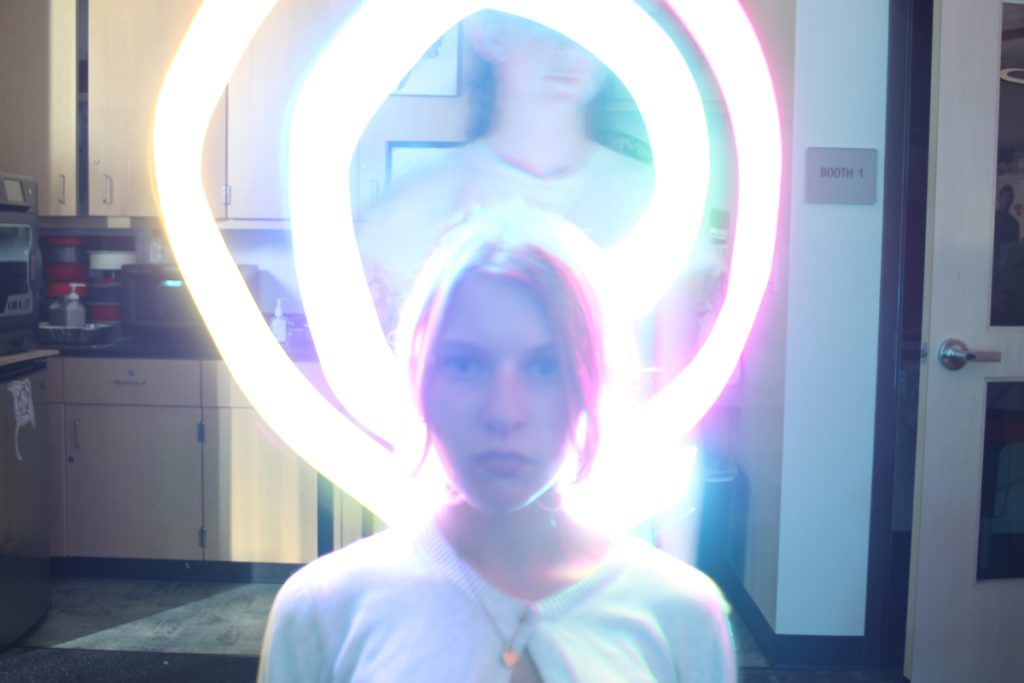
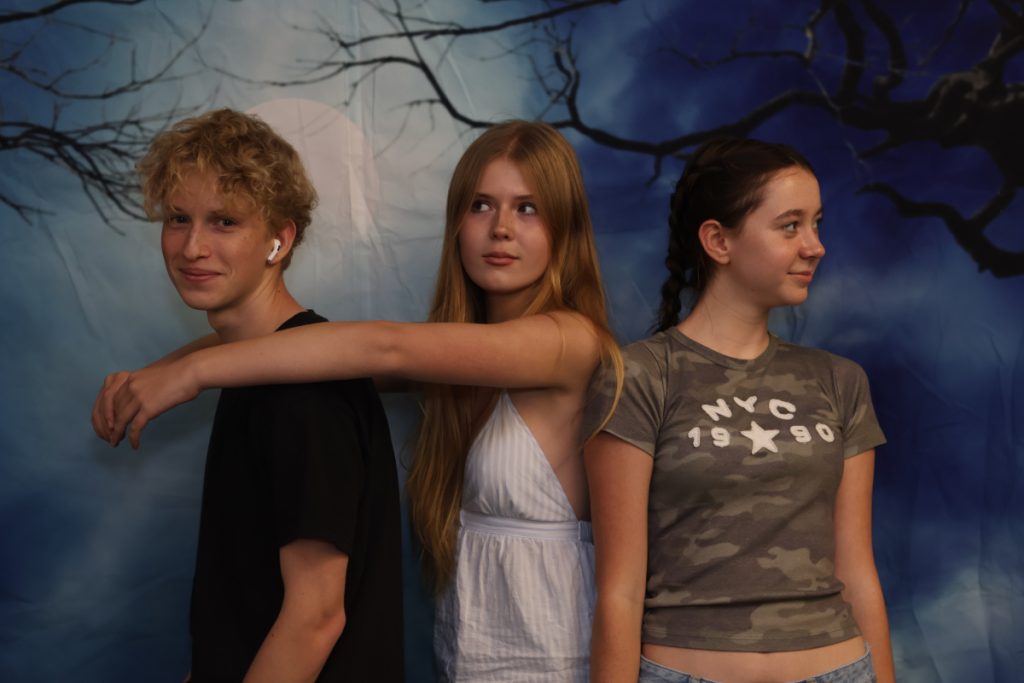
In taking many of these pictures, I found new concepts of photography very difficult to grasp. Especially with things like P-mode with ISO changes, Av Mode with shallow and deep depth of field, and altering white balance, I found it a bit challenging to navigate all of the camera settings. Though I definitely has to overcome some challenges, I think that I improved a lot with using the camera and understanding what everything does. My favorite things we learned were Tv mode with long exposure night photography and flash practice with portraits in front of backdrops, my favorites of which I included above. It was a lot of fun to explore different photographs with my friends and come up with fun and creative ways to capture different shots.
Film
The conceptual assignments in film taught me a lot about creativity, film techniques, and it was overall a great introduction into the film world. Whether we were working on the experimental film, using the green screen, and how to incorporate different skills into our short films. We learned all about Griffith’s pattern, and how to create shots that are visually appealing to our audience. When I first started film this semester, I was unsure on what it would be like; what projects we would do, and what skills we would learn. After my first semester, I feel that I have learned a lot about film, and I know there is still so much for me to learn and experience. Our first projects were both exciting and difficult, but I thoroughly enjoyed each one.
Overall, my experience has been very positive in film. There are many things that I value in the class, including our class bond. It has been a great experiencing getting to know each individual in my class, as we are a very small cohort of students. Film is not easy; I value that all film students have to work diligently in order to get our assignments done. We have to be creative; the process of thinking of a film idea is not easy. It takes many trial and errors, and talking with multiple people to gain different perspectives. I overall value how everyone help’s one another, and we all work together to create really cool films. I worked on my films in and outside of class, and whether I was working on my experimental film or short in-class assignments, I gained valuable experience I will put towards future films.
Experimental Synopsis
Below is my Experimental Synopsis. My statement I received for the project is, “Exploring Courage Through Reuniting With an Old Friend.” My first idea, was to have various items (including a piece of trash) come together and create something larger. Although my film does still sort of incorporate this idea, after I started filming I decided to put a twist on my idea. It took a lot of trial and error to finally decide what I wanted to create, but I am overall very happy with it my outcome.
Experimental Film
I really enjoyed the process of creating this film, and it took a lot of film days and practice shooting. I put a twist on the ending (that I didn’t previously think of), and I am very excited for people to watch my final cut shown below.
Behind the Scenes
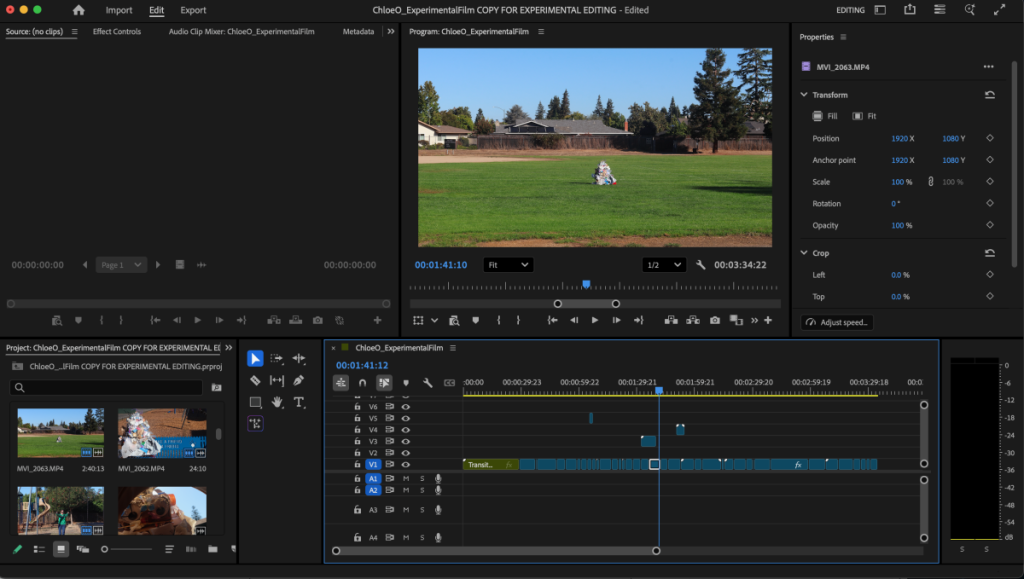
The screenshot above shows the behind the scenes editing of my Premiere Pro file for my experimental Film. In this file, I cut my clips and edited them to ensure they were cut to the precise amount of time. I also added in music, text, key frames, and color grading into my project. This was my first larger film project I made in Premiere Pro, so I feel like it was a very valuable experience for me to learn. I used the effect controls panel to edit, alongside other keyboard shortcuts to make the process easier.
Film Exercises
The Scavenger Hunt exercise was one of the first assignments we had in film class. It was fun to be paired up with a partner, and have a competition with the class of who could get the most shots. The goal was to get the most shots, but also try and maintain good quality in our footage when possible. Although we did not win, we still were able to capture a substantial amount of shots, and I was overall very happy with the quality of each one. I think this was a crucial project because it helped introduce me to the different shot types I will need for future films, as well as different techniques. It helped me get comfortable with the camera and its various settings.
I enjoyed the Green Screen project, because this is the first time that I have used a green screen. It was cool to see how the process works, and I decided to edit one of my classmates with a football field in the background. The goal was to greens screen one of our classmates onto a background of our choice, and have them act out a short scene. It was fun to see what everyone created, and I will definitely use green screening in my future films. Although it was difficult to master, now that I know how to use it I will continue to incorporate this skill when needed.
I really enjoyed the Double Mint video project a lot! This technique was something I have seen before in television, but I never quite knew how editors made this happen. The goal was to have one of our classmates act out a specific scene twice, and then use a split screen technique to make it look like there were two identical people in the same room (even though it is the same person). I valued learning how to make this happen, and I can’t wait to see if I can use this skill in my future films.