The Zenith project is the final Project for all students that attend the Freestyle Academy for Communications and Arts, which shows off what students have learned during their time at Freestyle Academy.
Mind’s Eye Introduction
For my final “Zenith” project at Freestyle Academy, I decided to try something radically different from the fight scenes and action movies I’ve been making for basically my entire Freestyle career. After looking for inspiration, I settled on creating and shooting my very own miniatures from scratch! (inspired by the amazing Blade Runner films).
Pre-Production
I conducted extensive research on the “behind the scenes” of many famous movies that used miniatures, such as Star Wars, Blade Runner, and Lord of the Rings. I learned many tricks they used, the most important of which was compositing miniatures onto different shots to blend things together.
Here is a summary of the other things I learned based off my research on how to shoot miniatures:
- Wide Angle lenses
- Helps accentuate size of objects (in other words helps makes small things look big)
- Shoot at eye level or below
- Makes things look larger and more lifelike is miniatures are seen from a lifelike angle
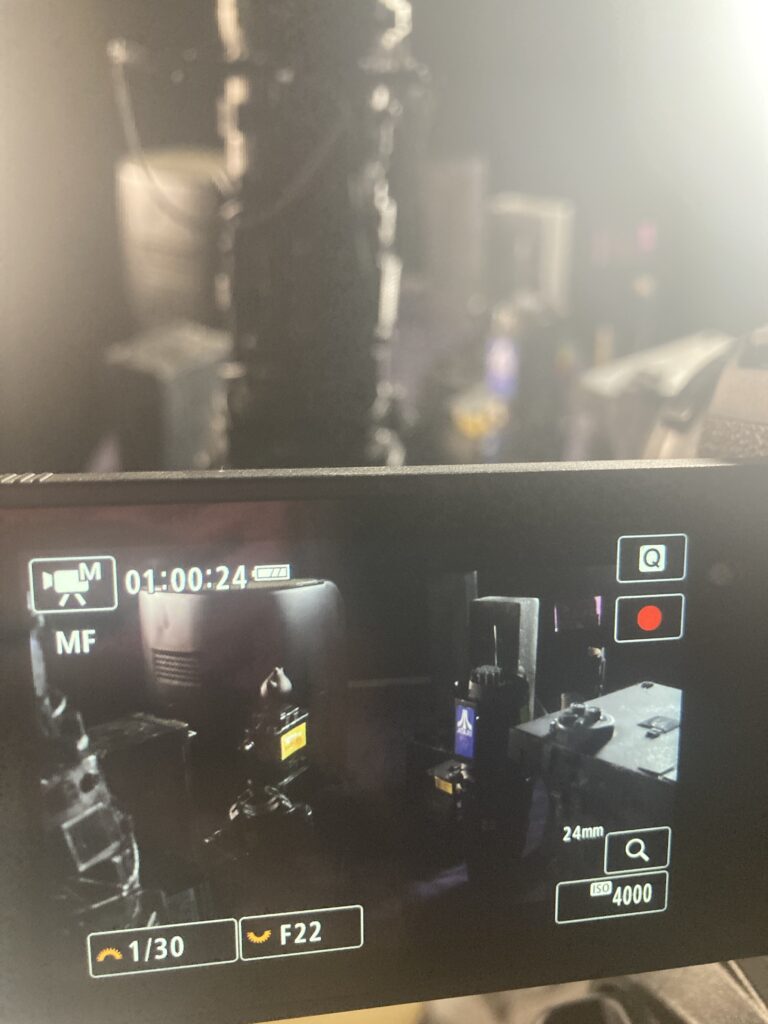
- High Aperture
- Brings everything into focus, replicating the look as though the camera is further away
- High Frame Rate
- The frame rate can later be lowered in editing to make the miniatures feel slower and have more weight
- Low shutter speed
- Low shutter speed creates motion blur, which makes the miniatures have more perceived movement, and to make it not look like stopmotion
- Camera Slider
- Using a camera slider, you can create movement of a miniature against a blue/green screen that can be later composited onto different shots
- Make Large Miniatures
- Making miniatures as large as possible makes it so that there are more small details that makes the miniature feel more life-size.
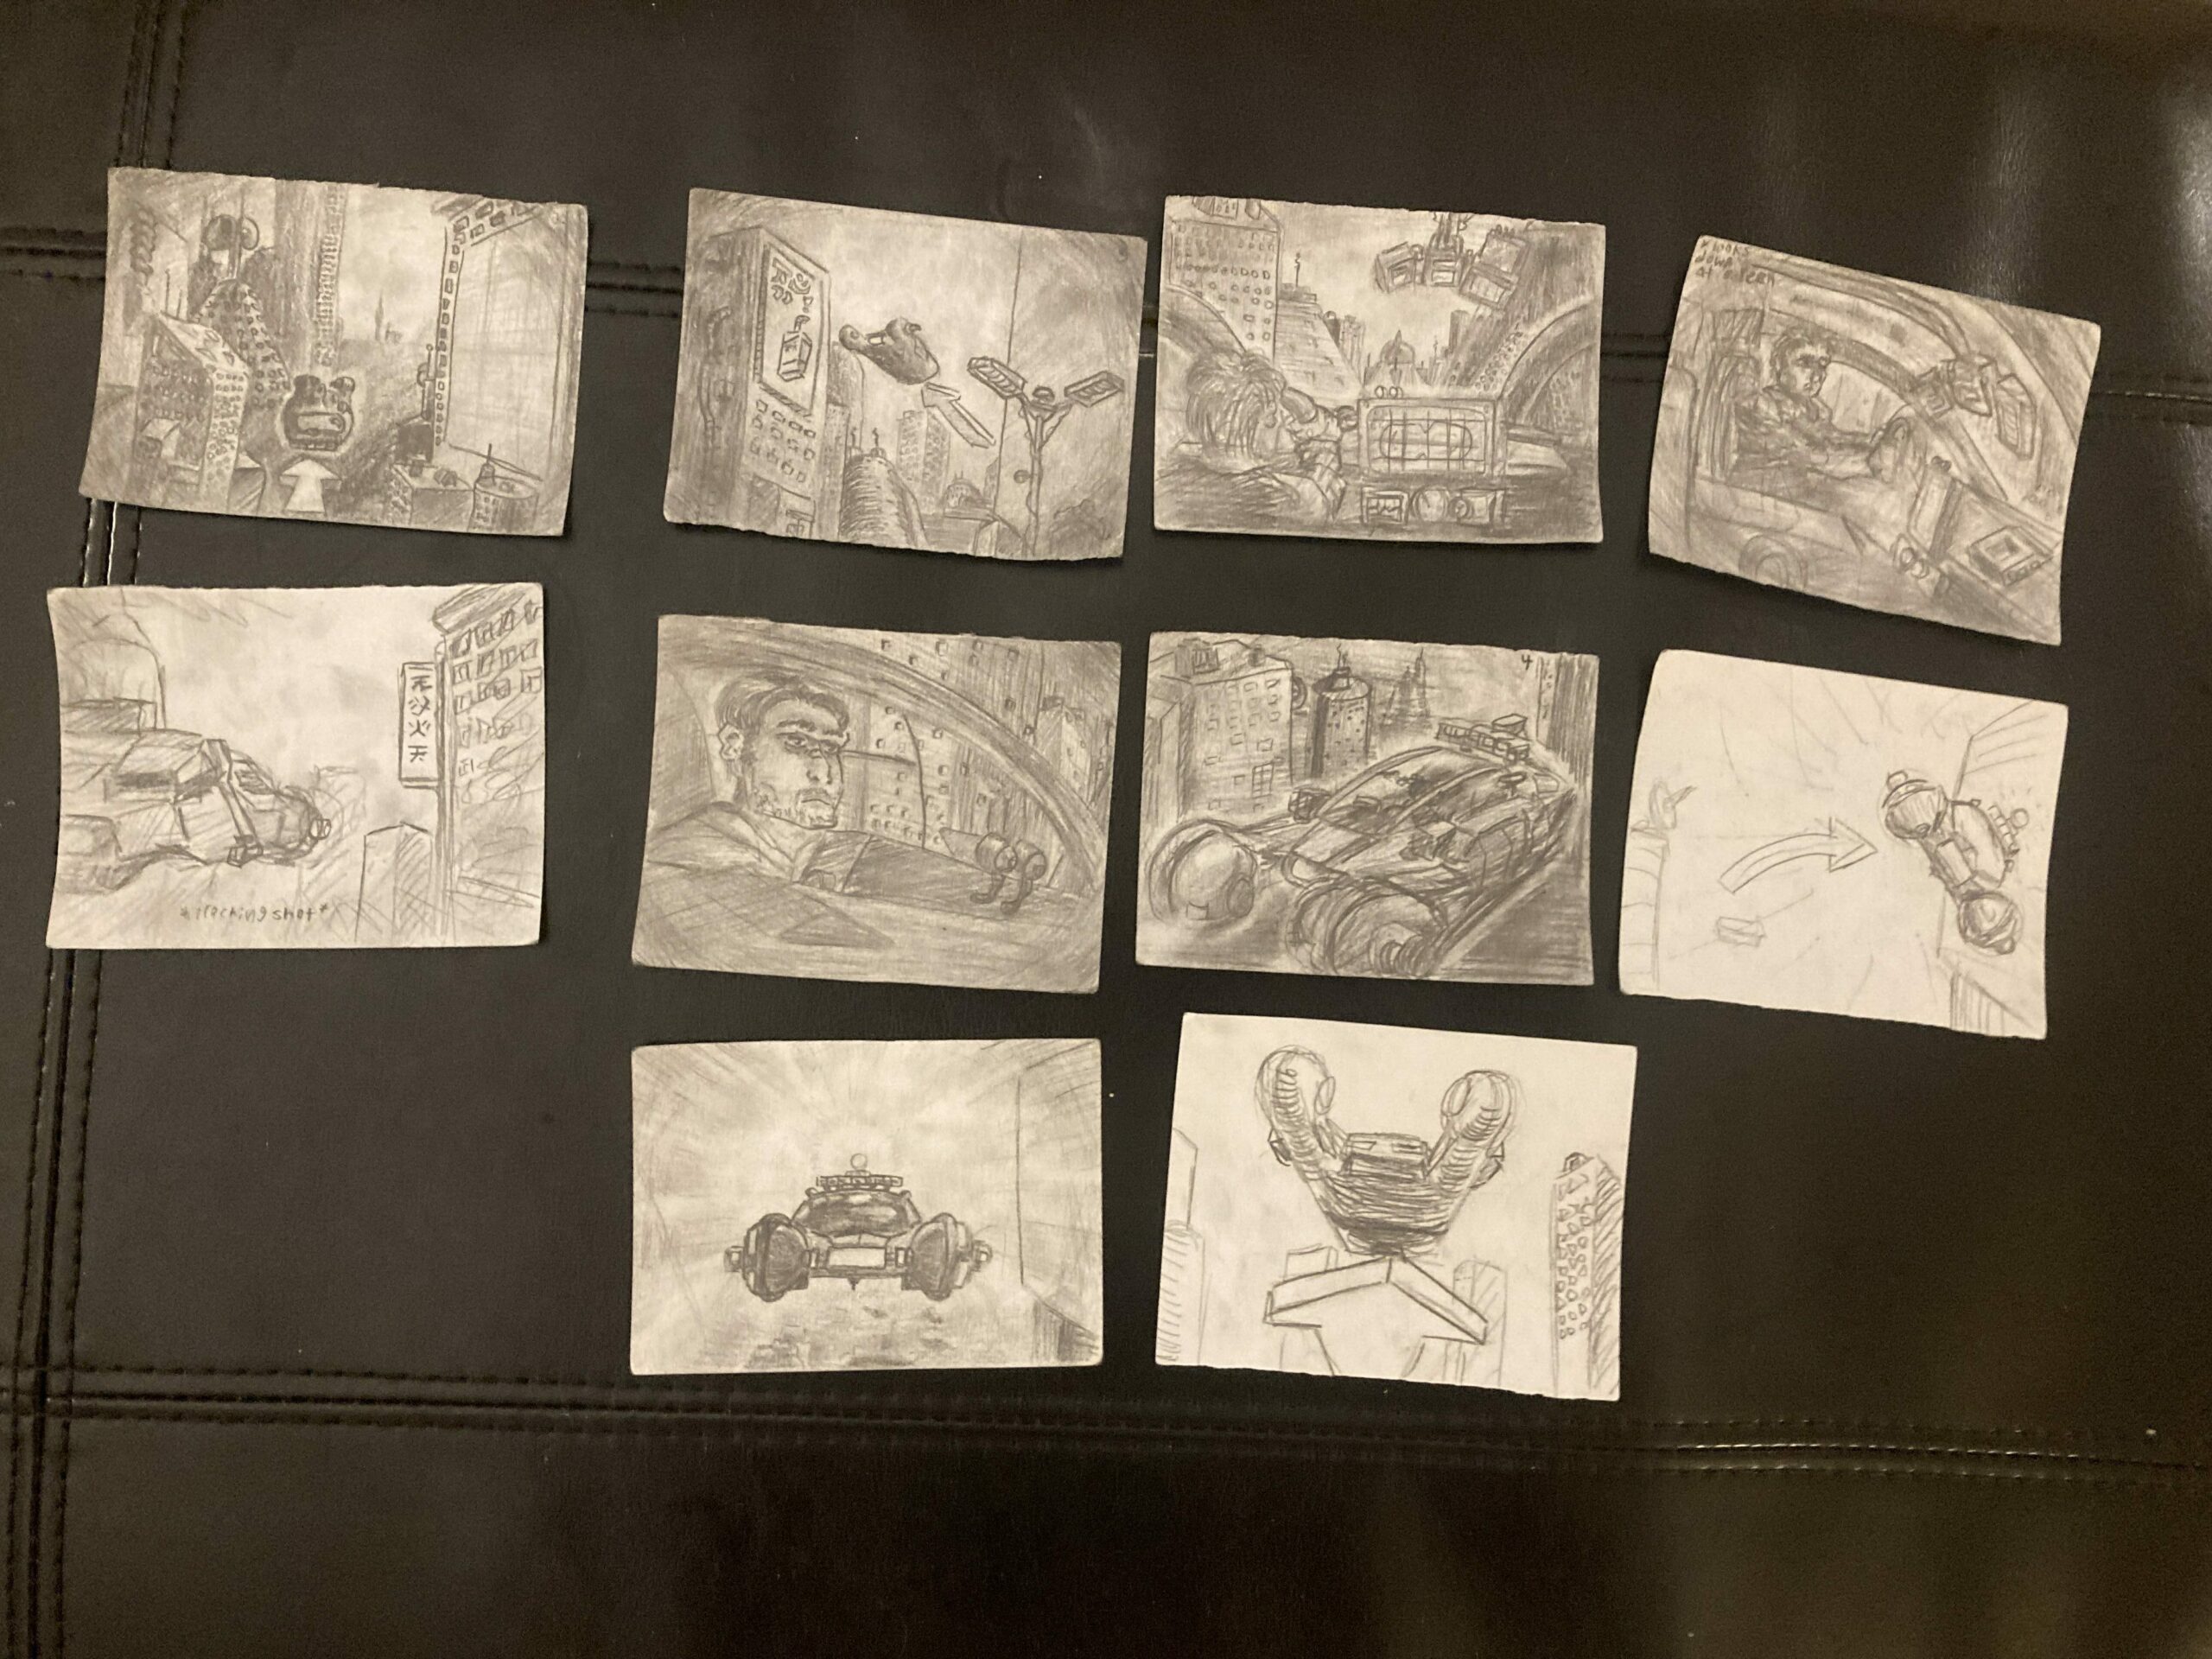
I also created a bunch of detailed storyboards to visually plan out my shots. These helped me out a lot, and set me on a clear path to work towards.
Creating the Flying Car

Making the flying car was a long process that took many complicated steps.
Step 1: I found 3D model online and then edited it to make it suitable for 3D printing. I then 3D printed the car in 4 large parts to reduce the amount of structural supports needed.
Step 2: I carefully glued together the 4 pieces of the car using super glue
Step 3: I covered the car in Bondo glazing putty on the areas that had obvious printing lines, which I then sanded over till a smooth texture. I repeated this process 3 times to make it as smooth as possible.
Step 4: I applied a base neutral gray primer coat, then an overcoat of white and undercoat of black to create artificial shadows on the model.
Step 5: Next I painted the base color of royal blue on the majority of the model
Step 6: I added the final touches by painting the windows matte black, added metallic scratches, added oil splotches and dirtied the chassis of the flying car to make it feel more realistic and old.
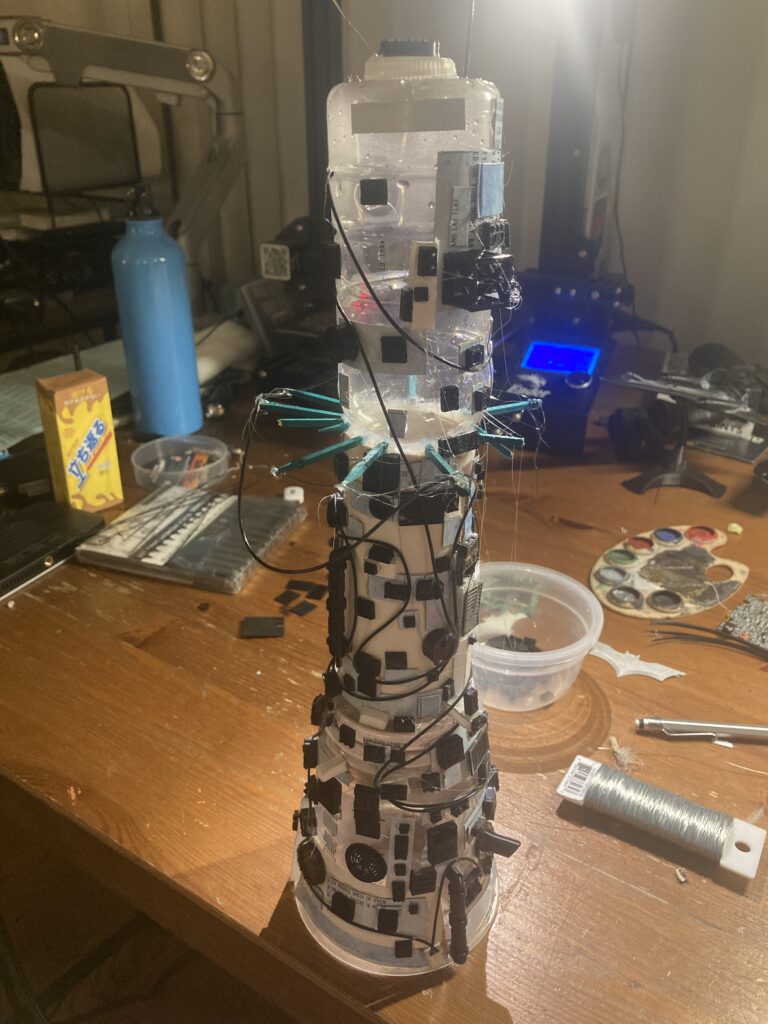
Creating the City Buildings
When creating the miniature buildings, I used a combination of custom made buildings out of foam board, and building made out of literal trash. If you look closely, you can see I have used water bottles, starbucks cups, toothpicks, macaroni boxes, broken audio recorders, spam containers, tissue boxes, and a whole lot more random things. I also 3d printed hundreds of small greebling details that I would glue onto the sides of the buildings to give them some texture. I also 2d printed out small banners I put as ads on the sides of the buildings. It took a lot of work to make all the buildings, but luckily my good friend Kyle was there to help me out with a couple of the buildings!
After hot gluing all the pieces together, I gave them a matte black primer coat, which I later dry brushed in chrome to give them a metallic feeling. Making the buildings was probably the most time consuming process out of all that I did, but I believe it was well worth it! In the end, I made 8 individual buildings with differing sizes and amounts of detail.
Live Action Shots
For the live action shots, I shot inside my friends tesla, using the tesla monitor to play a custom video of the same spinner UI used in the original blade runner film. For the windows, I covered them in a green screen that I would later key and rotoscope out.
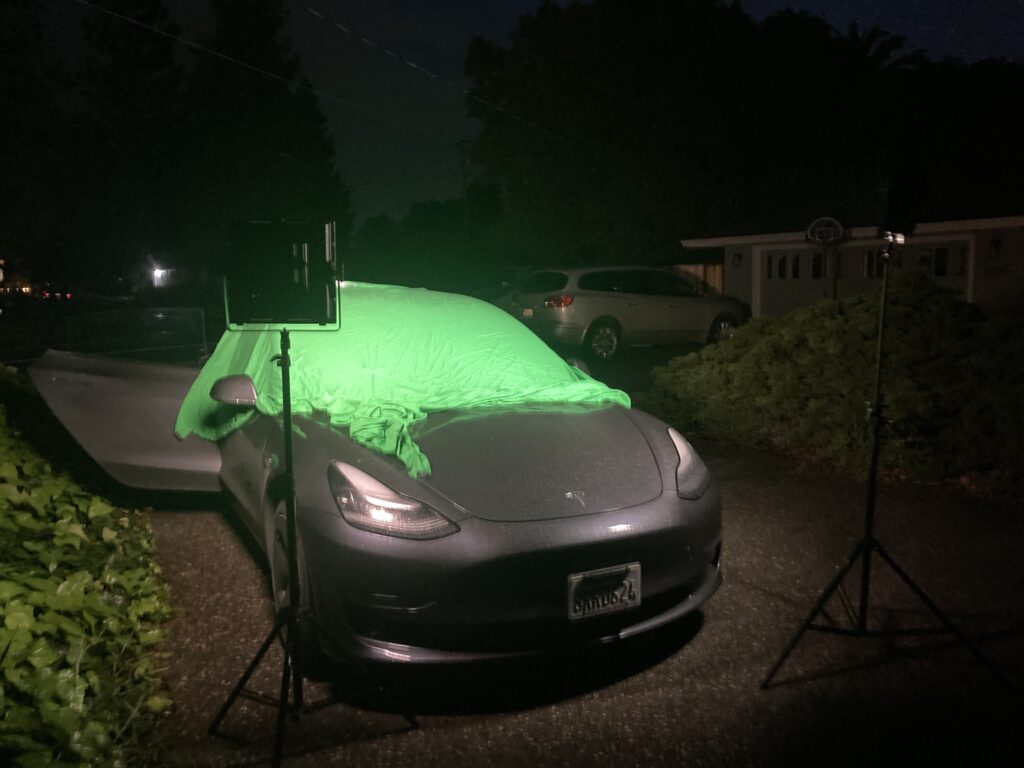
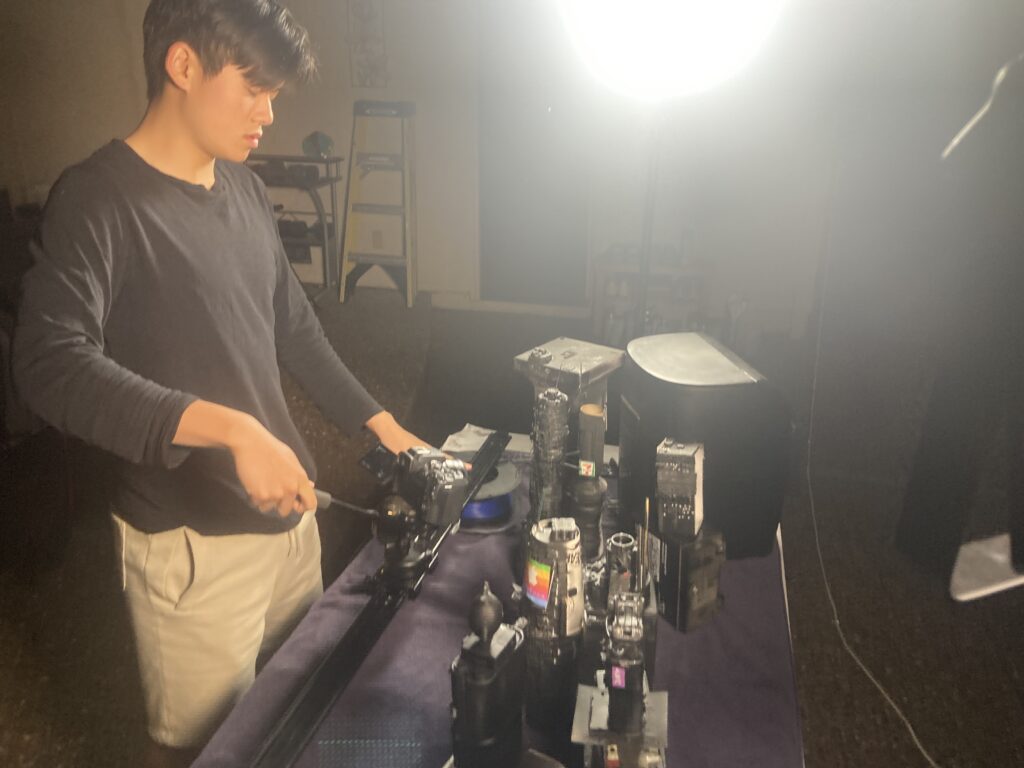
Shooting Spinner on Green Screen
I used my camera tripod on the still shots of the car and the camera slider on the shots where the car moves. For the main light sources, I use the LED lights and then used Iphone lights for the passing city lights.
Editing
Although I am not very good at After Effects, I powered through using the power of Mr Flo’s video tutorials, Jean Marc, and a whole bunch of time. I used both rotoscoping and keylight to separate the flying car from the background, which I then composited onto the shots of the flying city. For the live action shots, I did the same by editing out the windows to look like he is flying through a city.
I then exported all the individual shots from After effects and put them into premiere, where I added music and sound effects.
Completed Project
I hope you enjoyed my Zenith project!