My Overall Best Work!
Stop-Motion Exploration Project
This was the vert last project we were asked to do at the end of the year for Junior year. This was my favorite project to do last year and I regret nothing while making it.
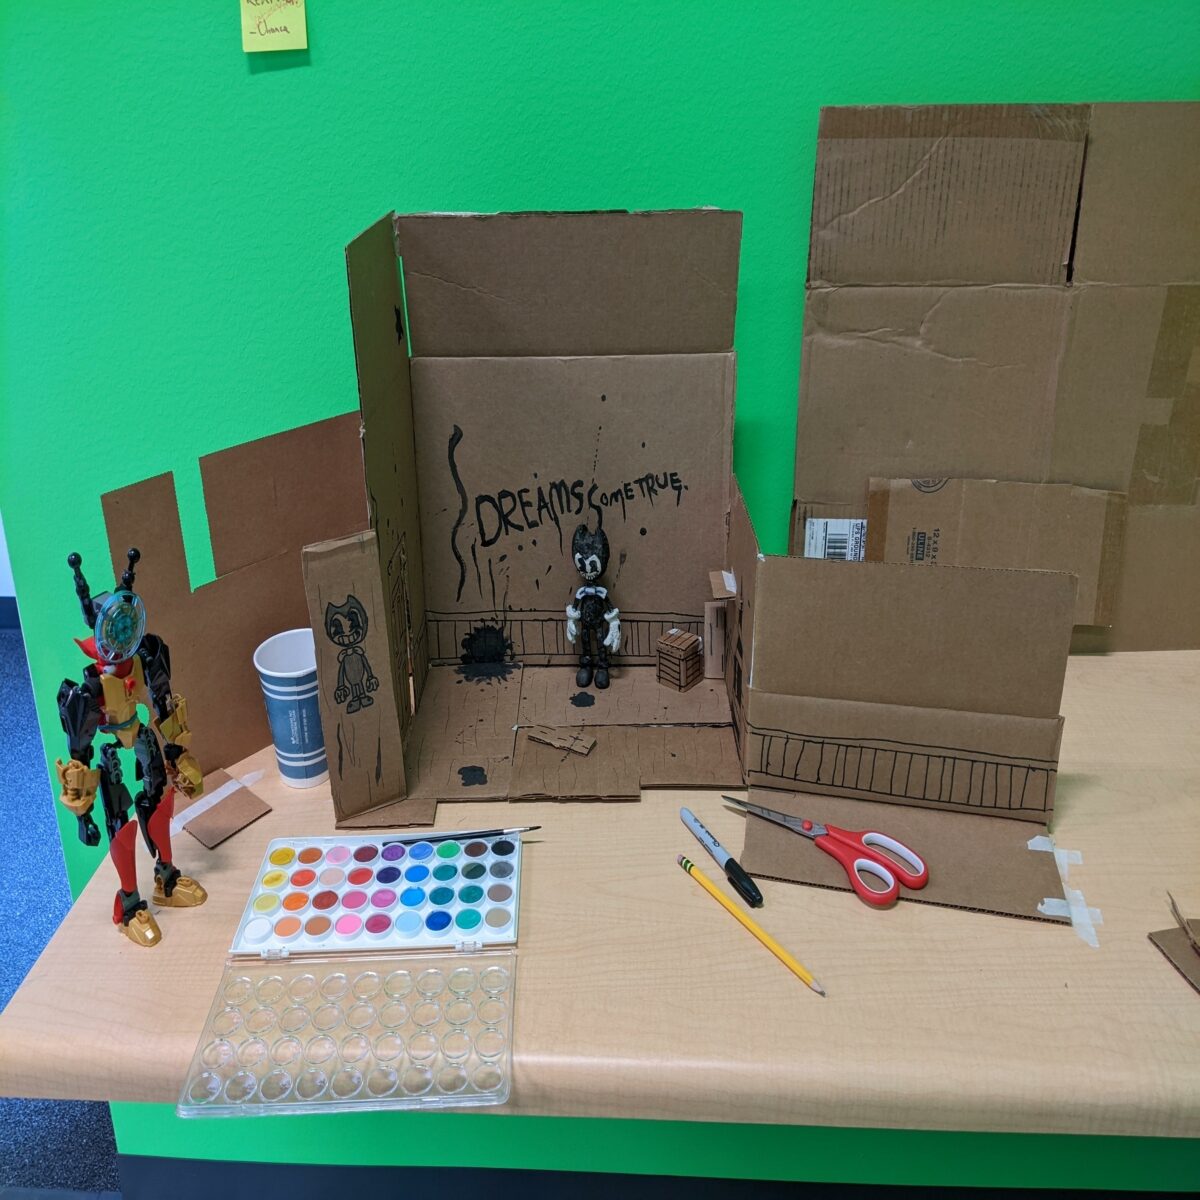
We were tasked to make whatever we wanted while applying 1 new skill we haven’t learned at freestyle. I went through a lot of ideas in my head but I eventually came up with the idea to make a short music video featuring a character I made out of Lego Bionicle and Bendy from the game “Bendy and the Ink Machine”. The idea is simple, my character walks into this world and it exploring his surroundings, when he bumps into Bendy, and shows him around while my character Gyro is skeptical, but slowly starts to get into the music.
I went through a HUGE struggle with this project near the end; I was about 5-8 frames away from finishing, when my phone with the stop-motion app I was using for the project died, and when I tried to re-open the project, it wasn’t there. I had to re-make the whole project in less than 3 days since that was our presenting day. I eventually got it done on time and it still came out really well, even better actually.
If I wanted to take a crack at re-doing this project, I would most likely use an industry standard stop-motion application on a computer with a proper camera, instead of using my phone.

3D Walk, Run, and Jump Cycle
Now this was a fun one. We were tasked to create a 3D model of a character, and then animate with them. This was most likely the project I was most excited for during Junior year, it is something that I was itching to start doing, and I couldn’t be more proud of the final result. I’ll walk you through the process of how I brought my character to life.
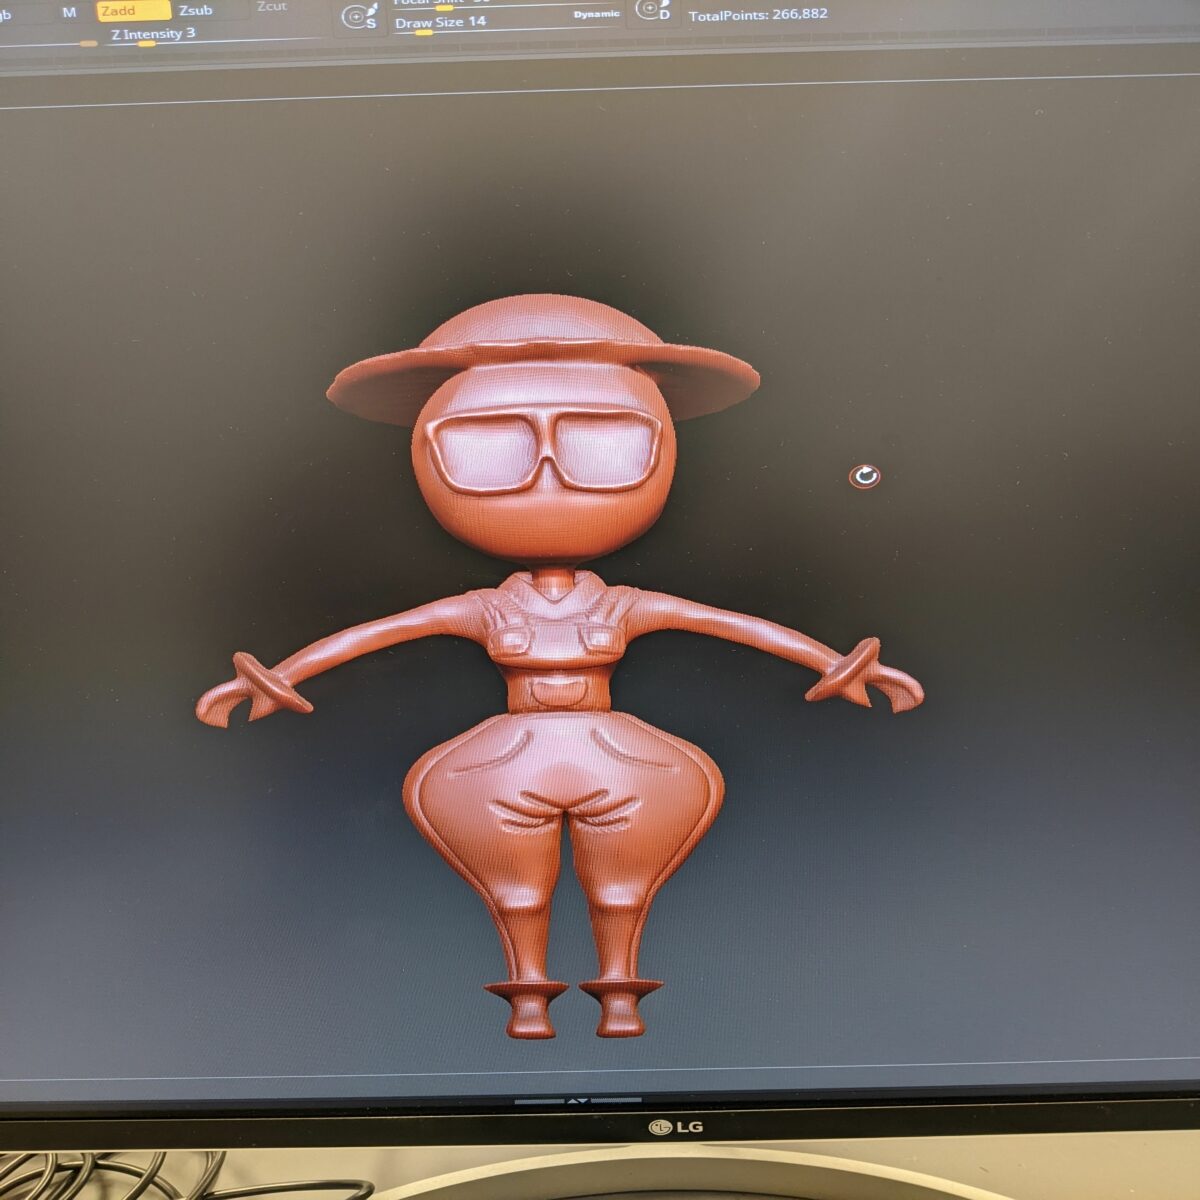
The task at the start was simple, get a piece of paper and sketch out a design for any character you wanted to turn into a 3D model. So I took a good ol’ piece of paper and made a farm girl character that I came up with a while ago; I was called her Chancellor since she was my avatar in a game called RecRoom, but for this project I decided to name her Carley.

The next step was to block it out in Maya, what that means is to set up an image plane inside the 3D space of Maya, then take a simple cube, resize it, then start building up the character using the front and side view image you created. This was pretty simple for me to get the hang of, except I did mess up and forget to mirror it so the other side of the model looked the exact same. I eventually fixed it and it looked good.

After that we had to bring it into Zbrush to detail it. We basically had to export this as an OBJ file and just import it into Zbrush. This definitely took the longest amount of time for me, since I struggled to get the detailed just right and to fix the proportions to make it less blocky. I also struggled with the hat and glasses since it got joined to the head, which is not what i wanted, so the final product looks a little interesting for the eye wear, but you can still tell it’s glasses so it’s not too much of a big deal.

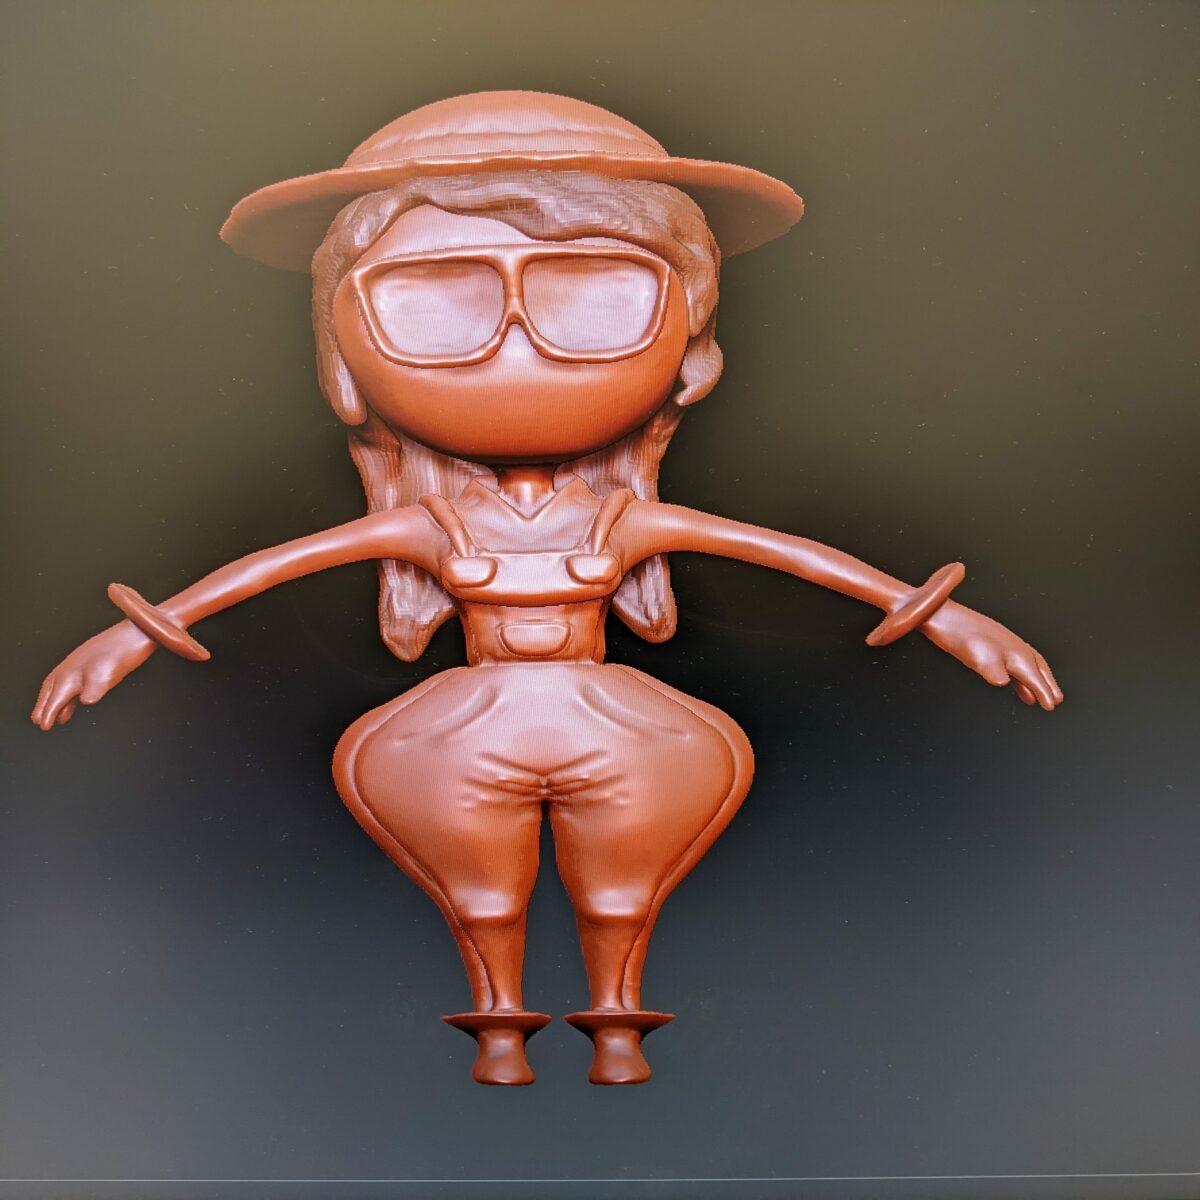
After that, it was finally time to color; I enjoyed this part a lot, to me, this is a big part of seeing her come to life, and I couldn’t be happier with the colors I chose. The process was simple, we just dragged a texture onto the model, added a black mask, then painted in the sections I wanted her colors. I couldn’t be more proud of how she looks, but if I were to re-make her, I wouldn’t have added the glasses in Maya, nor the hat, and I would have modeled and added them later.

Lastly we brought the finished model back into Maya to give it bones in order to move it, did weight painting to keep the model from warping if I moved it, and made the animations 24 frames per second, animated, and rendered. Without further ado, let me show you the final Animation!!!
I couldn’t be more proud of how this animation turned out, it looks very smooth and fluid with her cartoony figure and movements. This project inspired me to want to do this as a career and make models for games and potential Indie show’s in the future! However, this isn’t my favorite Freestyle project, I have been showing you the order from least to most! With the first one you saw being 3rd placed, this one which is 2nd place, and the next one you are about to read, is my favorite project I made throughout my entire Freestyle journey.
3D Zenith Project
This is the one, this is my favorite project this year. The Zenith is our final project for our elective course, and we were simply tasked with this. “Create anything you want with all of the skills you posses from Freestyle”. Throughout the 2 years I have been here I already have been thinking about this. My original plan was to use my farm girl character and animate her in a 2D space, and to make her go through a portal which leads her to a stop-motion world, and then to a 3D world, then back to the 2D world. However this seemed very ambitious and I had no idea how to sync everything up with each other.
The other idea was to make a Pilot episode using my farm girl character, giving her a back story and showing the main plot of the potential series, except I only knew how to animate with Photoshop, and I did not enjoy doing that, so that idea was quickly scrapped. Then it hit me, I would re-create a scene from my favorite video game except I would use my own character that I created, inspired by the game.
The idea was simple, I would repeat the process I learned with the Walk, Run, and Jump cycle project, except I would create another character, and re-make the scene from the part of the game. I got the Front and Side view drawing and put it into Maya. Then I repeated the process I explained in the previous thing you read; the only difference is that I had to re-create the model once because I didn’t like how it looked.

The coolest part of this project was getting models from SketchFab, a 3D model site, where I can download models from the game, and import them into my project. Then make the lighting look eerie and creepy. After that I rendered it all and put the rendered sequence into After Effects, where I would start the magical process of editing. What I did is I went into a recording booth and recorded my audio, repeating the monologue the character from the game says.
Then I went into Premiere Pro and edited to voice clips to sound a little higher to get that feminine voice, then I made some of the audio sound like it was coming from a speaker. Then gave it an echo effect so match the atmosphere. I really enjoyed doing that, and putting the audio with the animated film, it just made come to life even more, and I loved every part of it. Then I added sound effects and creepy music. Of course I added a Title introducing the project. But no end credits, and there’s a reason for that, you’ll see why.
I hope you watched until the end, you could say it’s a quite shocking! Anyways, that took the 1st place spot for me, I heavily enjoyed making this project. There were headaches along the way, but seeing my work come to life made the whole thing worth it Especially if it’s exactly what you envisioned for the project.
Reflection
Overall, all 3 of these projects hold a special place in my heart, if I were to re-make all of these, I know I could make them a lot better and more powerful, but for what I did this year, I am very proud of myself for creating something I never thought I could. I thank Freestyle for everything, the teachers, the friends, and the vibe, all of it helped shape who I am today. If you read to the end, that means you enjoyed seeing my work, and to that, I say thank you, from the bottom of my heart, may your dreams come true!