
Narrative 1
Introduction

What I was able to take from all of my classes during this unit was learning the tools I need to create more detailed and difficult art than I could’ve before. For example with digital media learning Illustrator which in return allowed me to create stickers that I could give to my friends and family to have. Visual narrative has allowed me as a freestyle student to grow in my skill in different applications as well as being able to use those valuable tools outside of the classroom to make my own art/projects.
Story

In English for the Narrative unit we focused on creating short stories using tools such as plot maps as well as having detailed questionnaire with the own characters of our making. This allowed not only us as writers to know our own characters interests and personality traits, but the readers as well. For my personal narrative story I wrote a story called Rose Sterling. This story tells of a little girl who dreamed of leaving her home and feeling free to be who she was. However during her journey in her town she has to fight through doubt to keep her dreams alive. In the end, she gives up on her own dreams because she listened to the doubt and negativity of others, and it cost her a great deal. I took inspiration from times in my life where my peers or adults had low expectations of me and I had to choose whether to fight through what people were telling me to do, or give up and listen. A lot of times I pushed through, but there were also many times when I didn’t. I still think back to those times and wonder what would be different now if I had held on to my own hope for longer.
After this was written, we later in Digital Media made our stories into audio recordings, added sound effects and made it an entertaining experience for audiences to not only read but listen to our short story narratives. When creating the audio for these stories, as well as writing them, I took great appreciation into the little intricate details that make the stories come alive to the readers. With writing having the details helps the reader imagine the picture being written. With the audio, little sounds effects which go along with the reading allow sensory details to come alive.
Illustrations
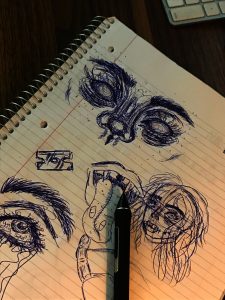

The project we did for Digital Media in our Visual Narrative Unit was to learn how to create artwork using an application called Illustrator. With this we learned how to use photos in art we were creating as well as how to draw digitally using Wacom tablets. After we learned how to work Illustrator, we were able to further our mastery by creating our own project using the application. Some of the options were clothing design, laser engraving onto an item of our choice, a personal illustration and more. I chose to create stickers using designs I came up with in a rough sketch, and then drawing virtually.
Music Production
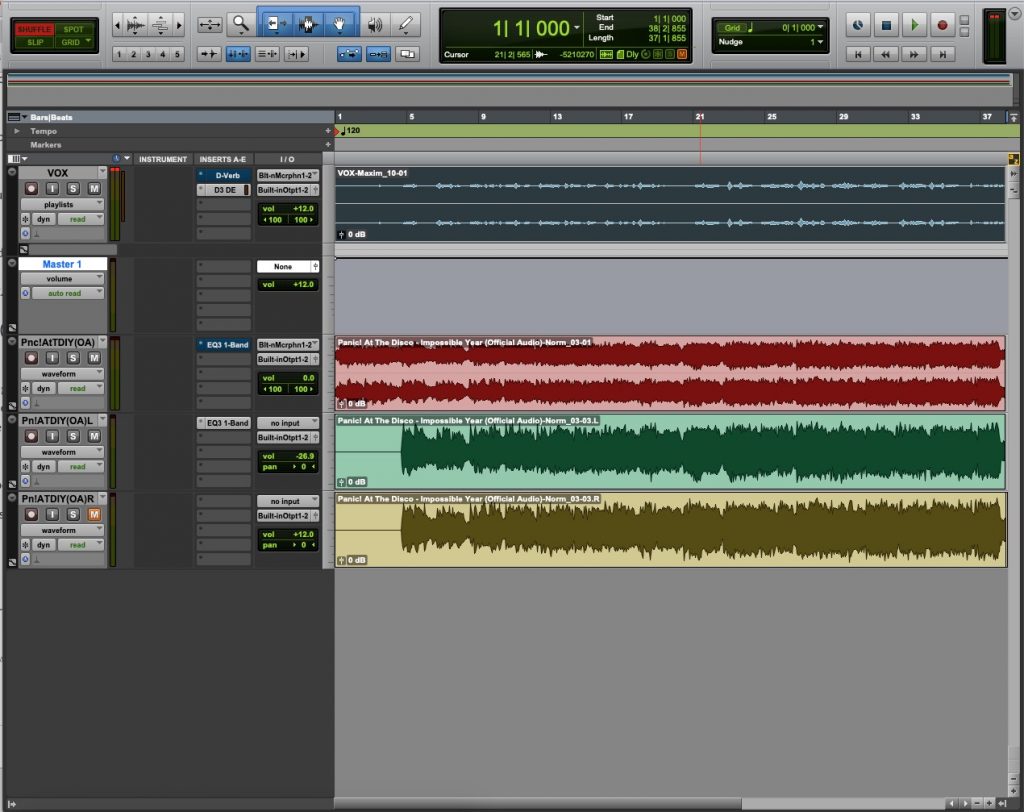
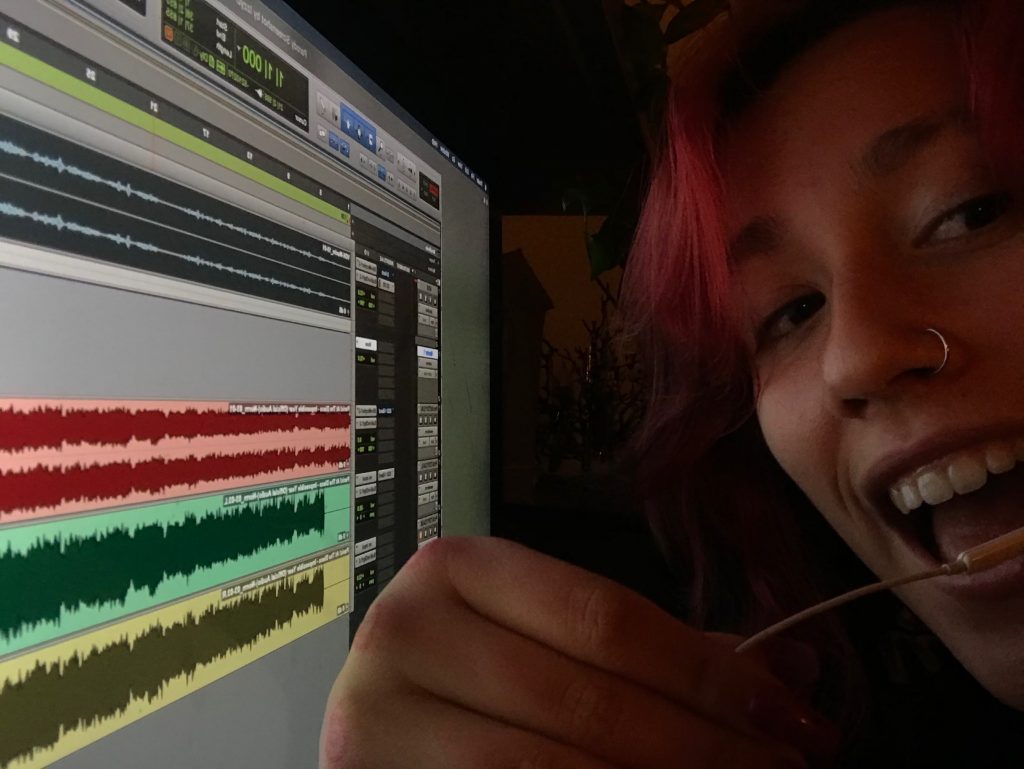
Another project during the Visual Narrative Unit that we did was creating a parody song using ProTools. With ProTools we were able to take songs which already exist, take out the original singers lyrics/singing, and add our own which we recorded over the audio. For me personally I decided to use a song I loved in middle school by Panic! At the Disco, “Impossible Year”. I chose to do this song since I thought that I could use the chorus (“this impossible yearrrrrrr”) in relation to being stuck inside during covid. I thought this song could be something a lot of people could relate to, as well as maybe bring light to the tiring but necessary time being inside.
There’s no outside
This impossible year
Only masked face and great space
And coughs creating fear
And schools empty of kids
That won’t come outside
Just home zooms and drive through
This impossible year
There’s no air to breathe
This impossible year
There’s no movies in theaters
This social distance
never less than six feet
The masks, souvenir
Hand soaps, your go to
This impossible year
Film
In film our main project was with a group to create a narrative film using specific film techniques to administer certain emotions from the audience while watching our films, as well as establish the story in a way that has an easy flow to understand. However to get to the narrative film we practiced some specific techniques and types of scenes. These included Griffiths Pattern, suspense, and a chase scene. In all of these scenes as well as for the Narrative film, we worked with other people in our class to practice corroboration which is a must in the film industry.
The first thing we practiced was Griffiths Pattern. This pattern is used in filming for editing as well as when shooating your film to help the audience follow the story and characters with more ease. With Griffiths Pattern you use certain angles and distance in shots establish the scene (long shot) as well as show the characters emotions (close up of characters face) which helps the audience better connect with the story.
Click here for Griffiths Pattern
After Griffiths Pattern we started learning about how to create suspense during our films. With suspense scenes it more focuses on the editing aspect of filming. With suspense the idea is faster shots create more tension between the two characters. Slower clips (for example between two people on a date) makes it more uncomfortable or awkward. With suspense in filming editing shots together changes the feel of the scenes.
Finally we worked on Chase scenes, with this project we needed to put Griffiths pattern and our practice using editing for suspense in our scenes to create a thrilling chase.
Last but not least came our Narrative film. To begin this project we needed to brainstorm with our partners what story we wanted to create using the skills we had previously learned. After we knew what we were planning to create we each wrote a Narrative Synopsis to help each partner see what the other person had different in the different scenes planning to be created. If there were many differences between what the partners had written, further brainstorming was needed.
Click here for Narrative Synopsis
Click here for Narrative Shot List
After the Synopsis came storyboarding. With storyboarding, the purpose is to draw out each of the actions which will be happening in the film to see how they flow together as well as check to see how long each of the films acts are. When the Storyboarding was finished, each group/pair presented their storyboard and got feedback from the class. If adjustments were needed, the story was changed (such as with our groups), after that filming began. This was our final project: Friendship Bound