Introduction
The conceptual project allowed me to express myself with unconventional forms by teaching me the skills and providing the resources for me to experiment and practice using new technology. I learned many new skills in Digital Media, using a DSLR camera, a Tascam Audio Recorder, Adobe Premiere Pro, Adobe After Effects, and WordPress. This plethora of applications helped me expand my tools and allow me to create and explore these programs. This allowed me to make many projects, using all of these programs to express my ideas.
In my English class I was able to express myself through my Flash Fiction, and all the poems that we created. This let me experiment with language and were the basis for some of my Digital Media projects. In my Design class, I focused on Adobe Photoshop, and Adobe Illustrator, which were great tools that helped me develop my photos and my drawings. I was able to merge my knowledge from outside with my new skills with this software to create a new style and way to express myself. I greatly value all of these skills and with these new tools, I am much better equipped to create anything I want in the future. I learned a ton from freestyle this semester, and I had a ton of fun exploring everything and in the future I hope to build more on all of these skills.
Photo Haiku Video
In my English class, we spent a lot of time creating poems and one of these was haiku. We studied famous poets and studied their literary techniques to improve our poems. We had randomly generated concept statement that we had to work into out poem. It was a struggle to come up with something not too literal, and not too discreet to where you couldn’t figure out the concepts. I spent time editing and revising my own Haiku, and eventually ended up with the poem, and an image that I took to represent and go with the poem. We then combined our skills of photography in Digital Media class. We learned how to use Adobe Premier Pro and edit vides that combined all of the above. We also recorded with the Tascam Audio Recorders and added that on top of a song to fit the mood of the video. In the end, I ended up with this as my final video.
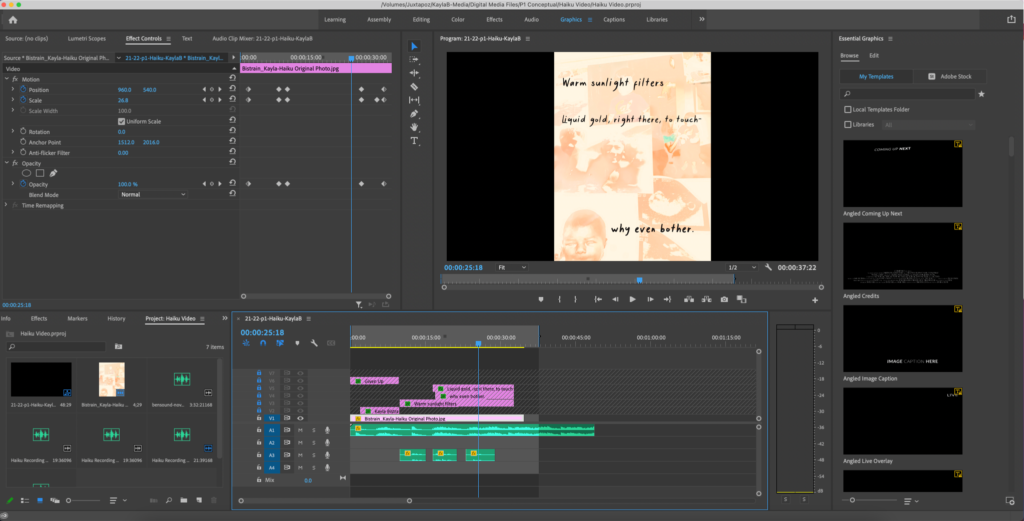
I valued this project because it not only taught me a lot about Premier Pro, it taught me perseverance as I put a lot of effort into trying and redoing things. This was a difficult project for me, so it allowed me to learn a lot and it was fun to watch the process happen and celebrate minor victories in the creating process.
Poetry
For my Free Verse Poem project, I created this poem in my english class one day when we were allowed to go outside and have a chunk of time to write it. I created this idea and then further developed it. After I was done, I then took it to my Digital Media class, and followed a similar process to my Haiku. I added an image and then using Adobe Photoshop, I added in the words to my poem on a meaningful image for the poem.
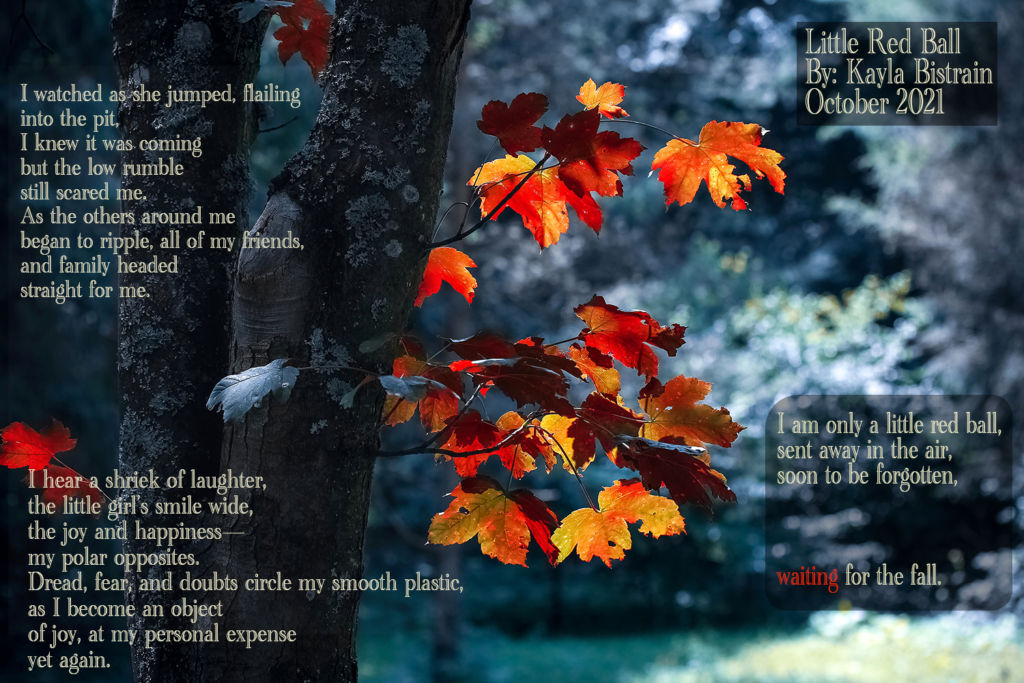
Little Red Ball is a free verse poem about the fear and anxiety that one gets when they lose hope, and how the presence of hope can bring joy and happiness. The speaker in the poem is a plastic ball that is inside of a massive ball pit. A girl jumps into the ball pit, and the little red ball is sent into the air. In the second stanza, the girl’s feelings are compared to those of the ball. The speaker mentions joy and how the speaker experiences negative feelings, juxtaposed to the girl feeling joy. Personifying the ball shows this newer perspective, and adds a twist. In the third stanza, the ball gets launched into the air and out of the ball pit. The ball is the objective correlative for hope and how there is a lot of negativity and uncertainty as the ball (hope) is being lost in the air. This poem ends with the ball still in the air, a cliffhanger, whose purpose is to to leave the listener unresolved and with doubt. Leaving this poem open ended makes the listener have to figure out whether or not they have hope for the ball. In my poem, I included many poetic techniques, mostly deciding to include personification, an objective correlative, and a loose end rhyme to add a sense of closure at the end. I used “ball” and “fall” as rhyming words in the last stanza to reflect that. The tone goes from ecstatic and joyful, to anxious, and this shift is reflected with an end-stopped line to add a pause and juxtaposition at the end of the 7th line. I also chose to add a larger break between the poem and the final line to add in a bit of time and silence, as if one was waiting for the ball to fall, which enriches the sound quality. This poem also uses lots of consonance with the s noises to sound like a ball flying through the air. My peers suggested that I should clarify that the happiness and joy in the second stanza is that of the little girls, and not the speaker. In order to fix this, I end-stopped the line to show the shift in tone, and to contrast it with the direct opposites. My classmates also brought up a very interesting point that I don’t need every single line to be capitalized, for example when the start of a new line was in the middle of a sentence. I also added in the last line of the second stanza, “yet again.” because one of my classmates said that it would show how the speaker is being used, and how it could show a repeated event. My poetic influence for this poem was Ada Limón’s poem, “I Remember the Carrots” because her poetry includes a lot of tone shifts and surprises, and I wanted to take that and add it to my poem.
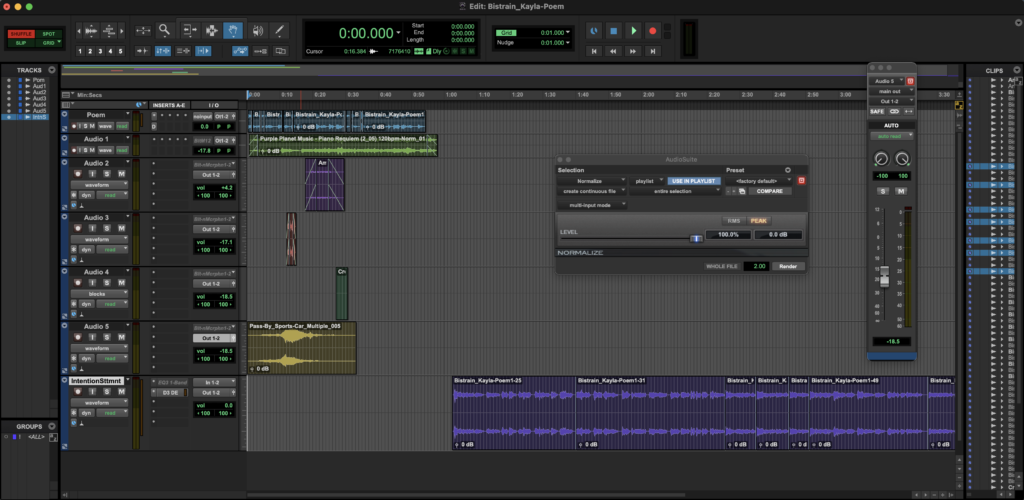
From working on this project, I valued learning about editing with Pro Tools, as it made it possible to edit the sound in my intention statement of my poem. The process editing was definitely a learning process, but I am now much more confident and proficient in editing in Pro Tools. It is a very specific skill set, but I know it will be very helpful later on for any projects that I want to create.
Photoshop Blend Mode Editing
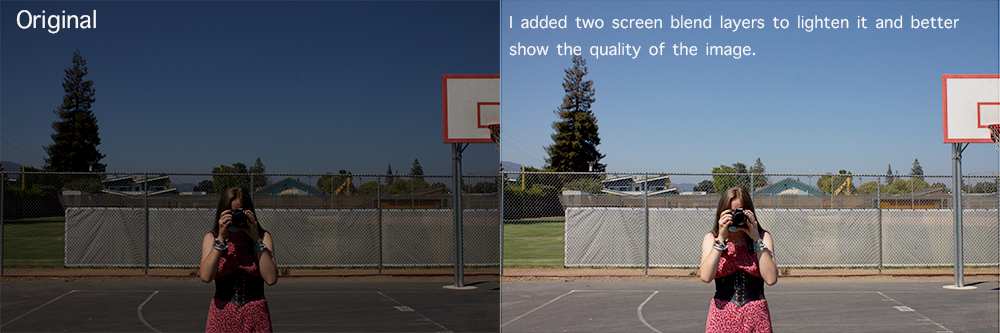
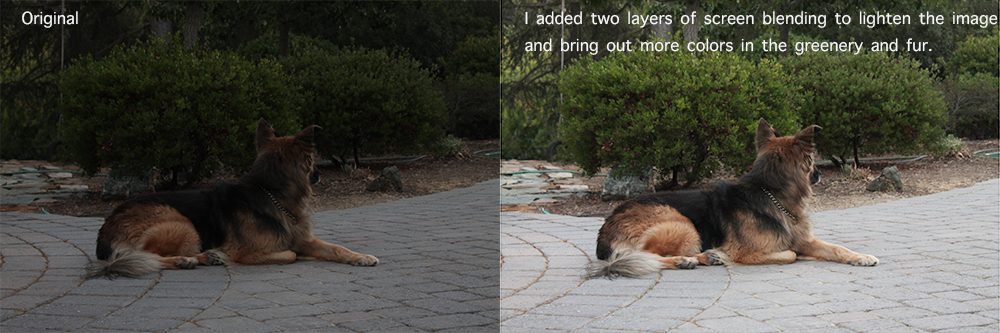
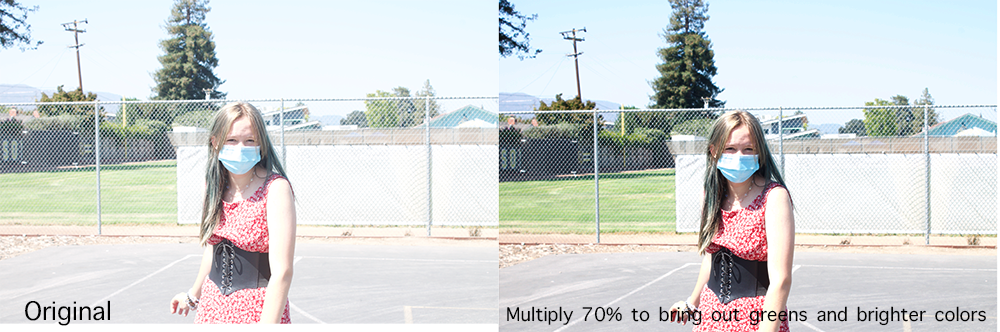
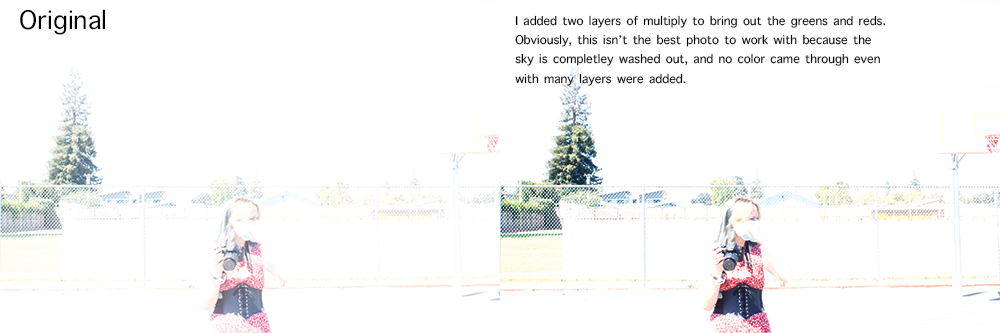
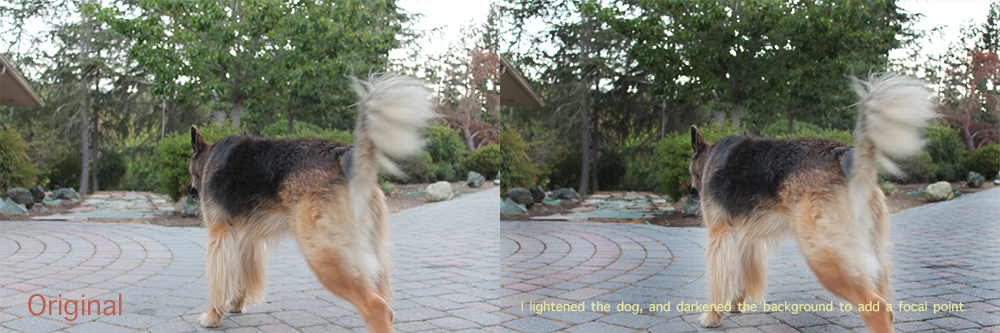
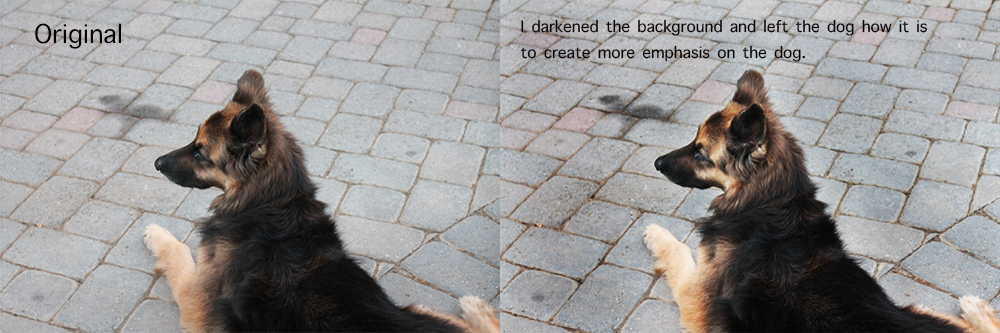
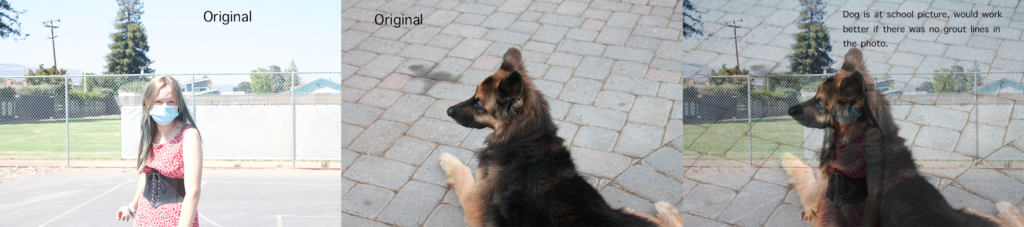
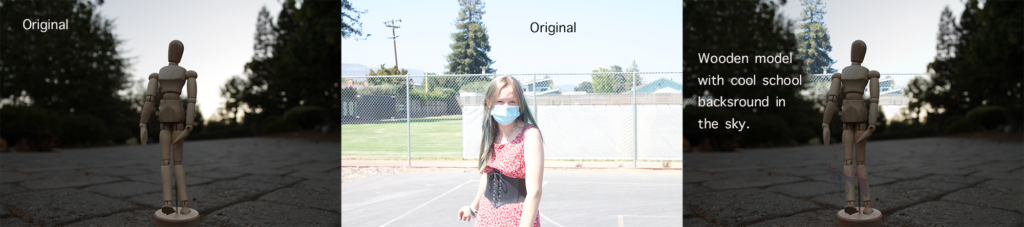
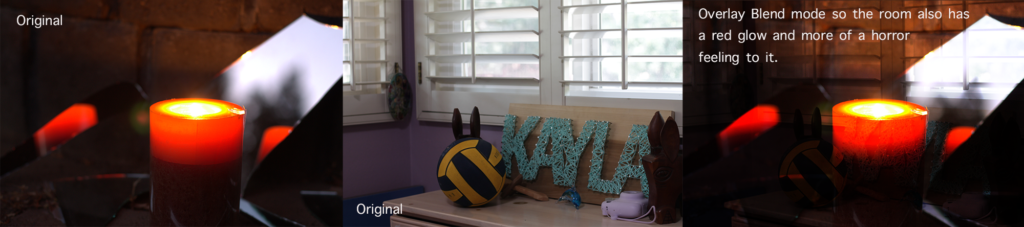
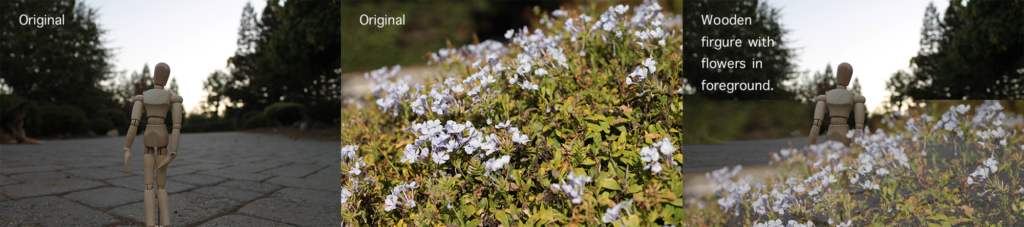
To practice my photoshop skills and to learn about Blend Modes, I combined a bunch of images together to show my new skills of blend modes. Blend modes are different ways to combine different photos in one image. It was difficult to learn, and in this section I will show you a bunch of the images that I put together. I learned a lot from this, and by the end of it I was much quicker than I was in the beginning.
I think that using Photoshop Blend Modes is cool, but I also feel like it is very hard to do well. I think that it is very important that I work on this more and practice more to achieve better results. I think I still need more practice, and I also didn’t have too many pictures to work with, however I do think I would be able to achieve better results if I did use other pictures. I valued learning about Photoshop Blend modes because they can be used for many things and they are very versatile. I also valued learning about them and specifically how to adjust the levels and the opacity in it so that you can adapt and image better.
Design
Design is a class where you learn to creatively express yourself in many different forms. I have learned a ton about DSLR Cameras, Adobe Photoshop, and many other forms. I have used my skills from my Digital Media class and combined those skills with more in depth projects to expand my workspace. I used these tools to create my Alpha Name Photography, Conceptual Photo, Negative and Positive Space, and Color Theory projects.
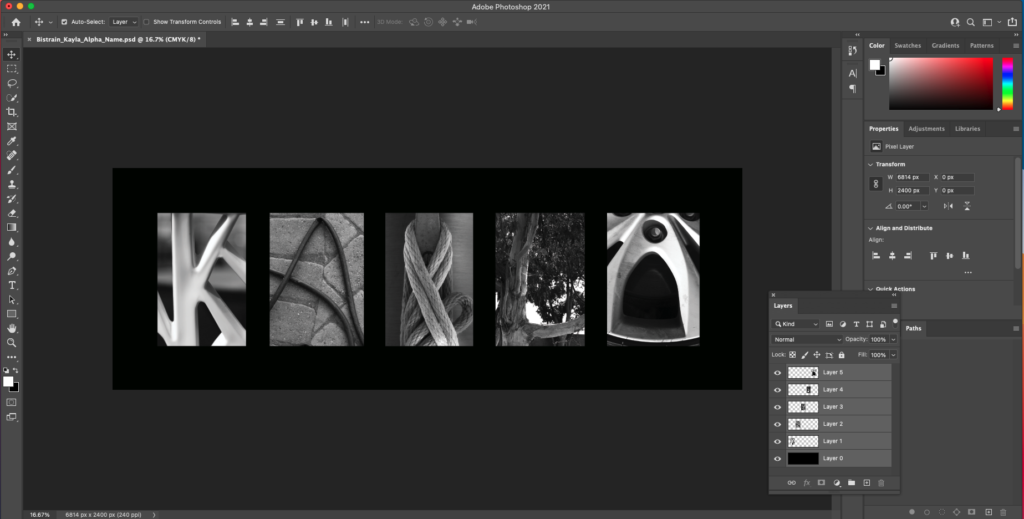
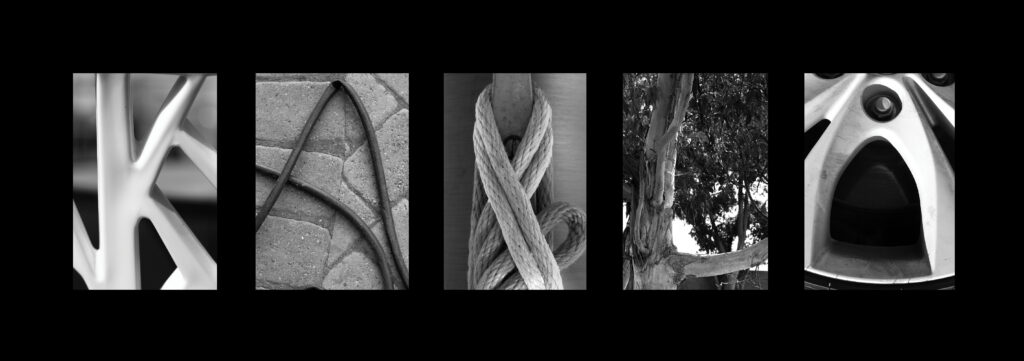
The alpha name photography project was a project where we went and tried to find creative locations for the letters of your name. We were instructed to not move anything for the image, instead really think outside of the box to find the best representations of each letter. This was a super cool project to be creative and see the world differently. I was able to find good representations all over, from the wheels on a car, to a hose on the ground. I then edited all of these photos together, to create my final image.
For the conceptual project, we used the same concept statement for the Haiku poem, except this time I incorporated my skills with photography to represent that concept statement. For this project, I took many pictures and each item in the photo represents a piece of my concept statement. Then, I edited my favorite photo, to make it stand out and be the best version of the photo.
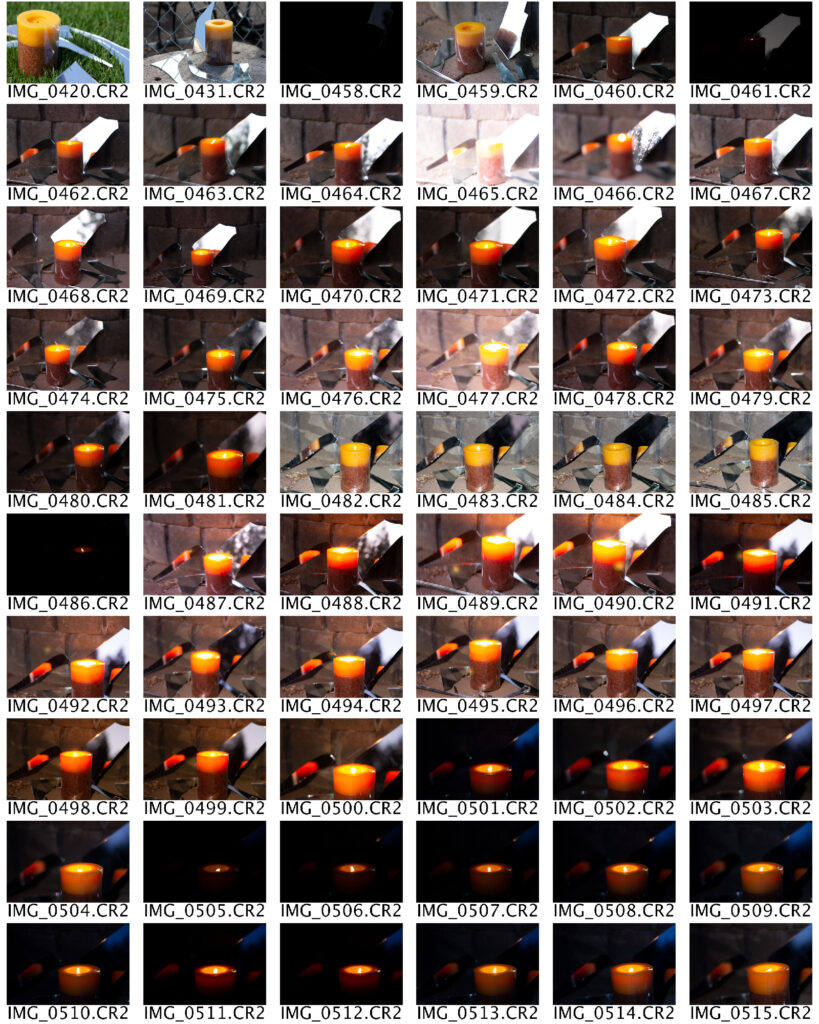
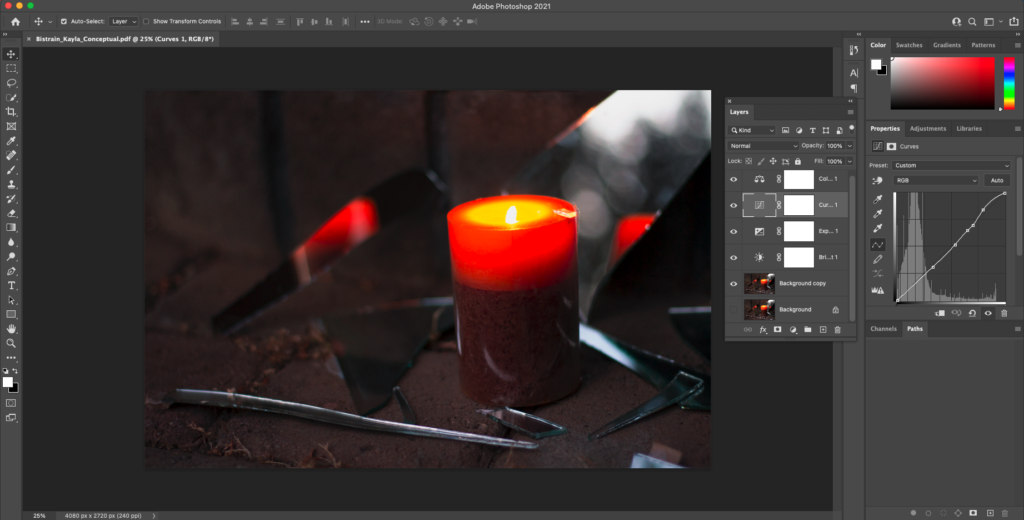
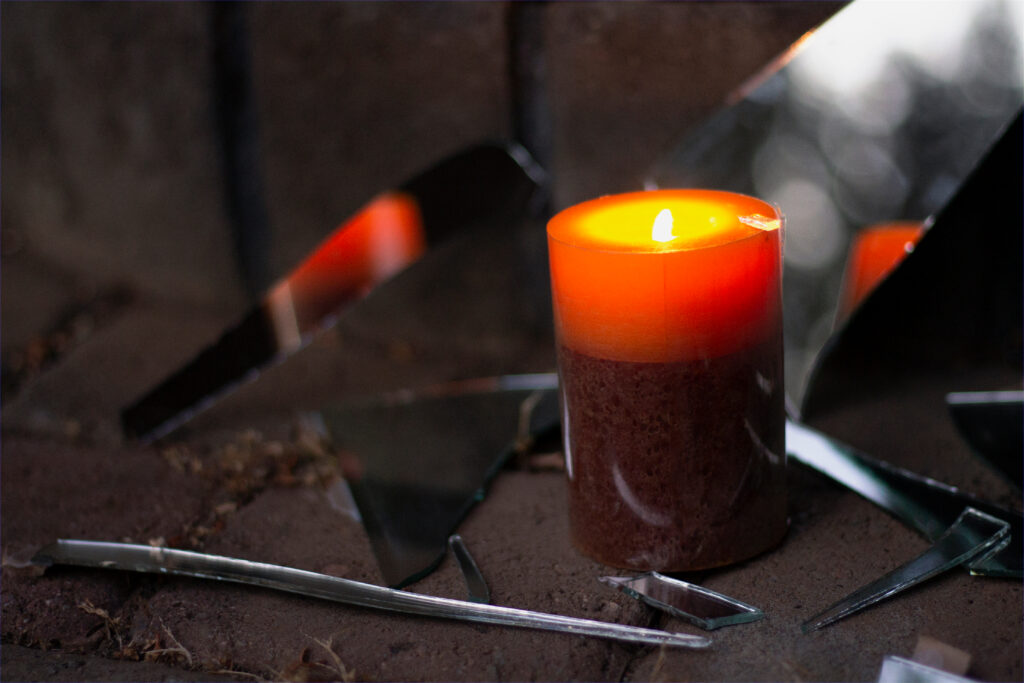
The objects in my photo are a candle and a broken mirror. I am using the candle to represent transcendence, and the broken mirror to represent the idea of self hatred and thus, self directed scorn. The broken mirror shows the strong emotions and the self reflection and regret. I used the candle to represent transcendence because transcendence is all about experiences beyond real life, and candles are often used to represent the line between the dead and living, and they are used very frequently in religious and spiritual celebrations. I chose to have this image be darker and with more contrast, to show the contrast between these ideas, and to add drama to the photo. These pieces of broken mirrors that are pictured are important to this image because it adds other focal points as well as creating leading lines to the candle. I chose to have it be low light in order to highlight and add a focal point on the leading lines, and to create more interesting lighting in the reflections too. In Adobe Photoshop, I added a slight curve in the lighting, and I also edited the contrast, lighting, and saturation in the photo. By doing this, I added more emphasis on the candle, and I made the image slightly darker and less saturated, to direct the viewer to the candle, as it is a much brighter color than everything else. I also cropped the image so that the candle was following the rule of thirds, and is at an intersection point. Learning about photoshop helped me understand more and although I did not mask anything, I know that in the future I will be able to edit the size, color, saturation, contrast, and other functions much more effectively.
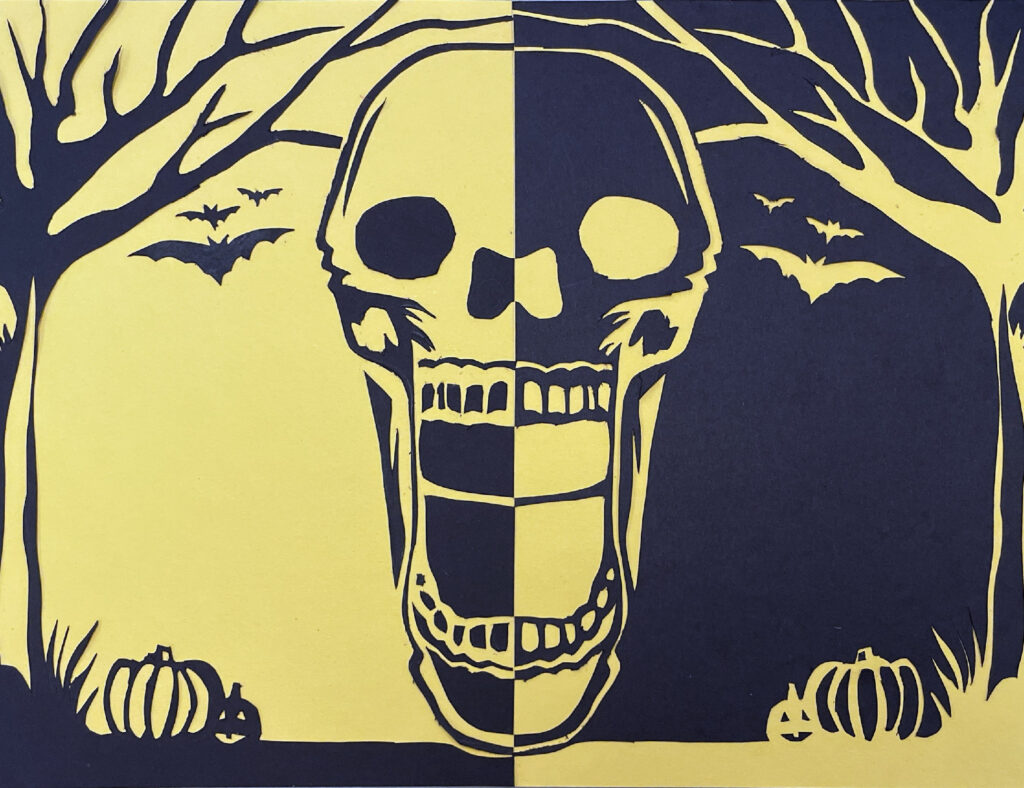
The negative positive space halloween project was something that we did in a few days with paper, and exacto knives. I took one full sheet of colored paper and a half sheet of black paper. Then, I sketched a design into the black paper, that was eventually going to be mirrored. I then cut it out, and flipped parts of the image onto the other side. This create the negative positive space, and it created a really cool effect. This was a challenging project due to the details I put in the skull, but it was very fun.
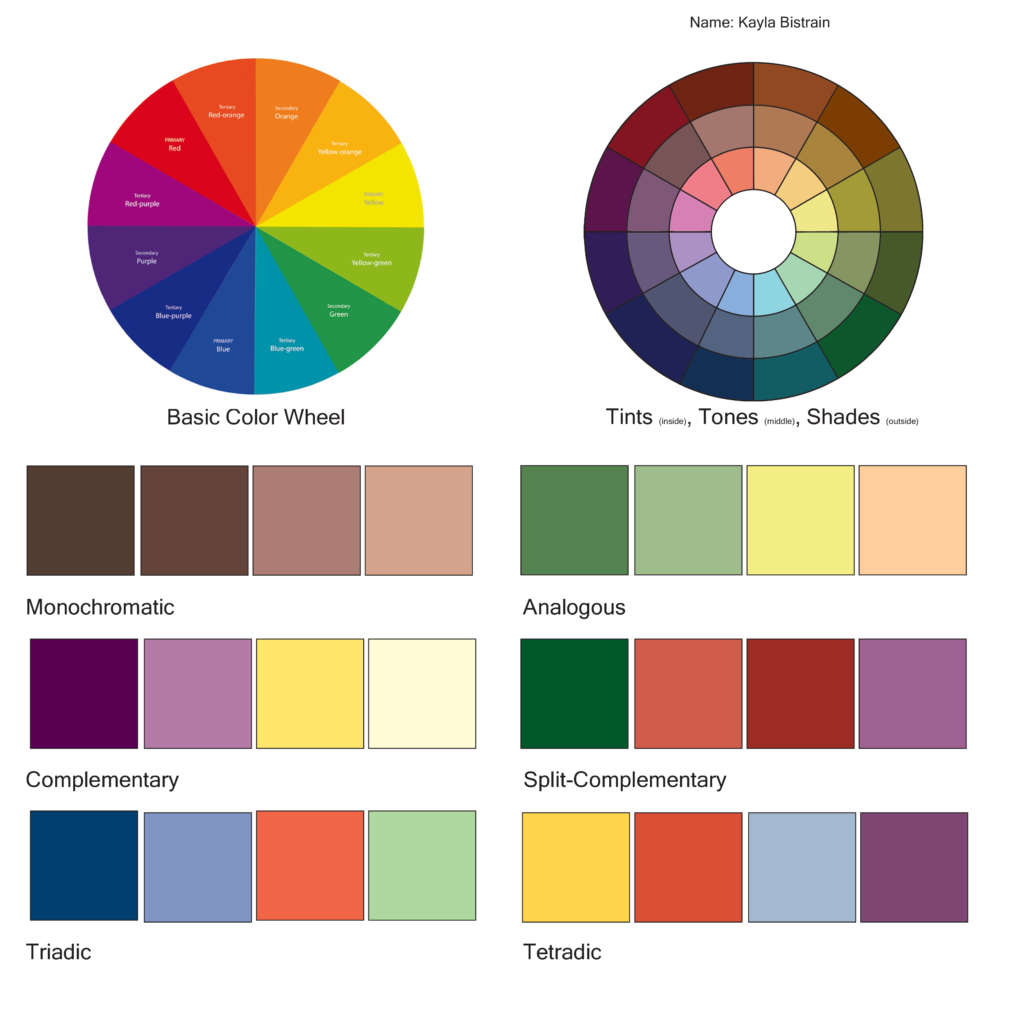
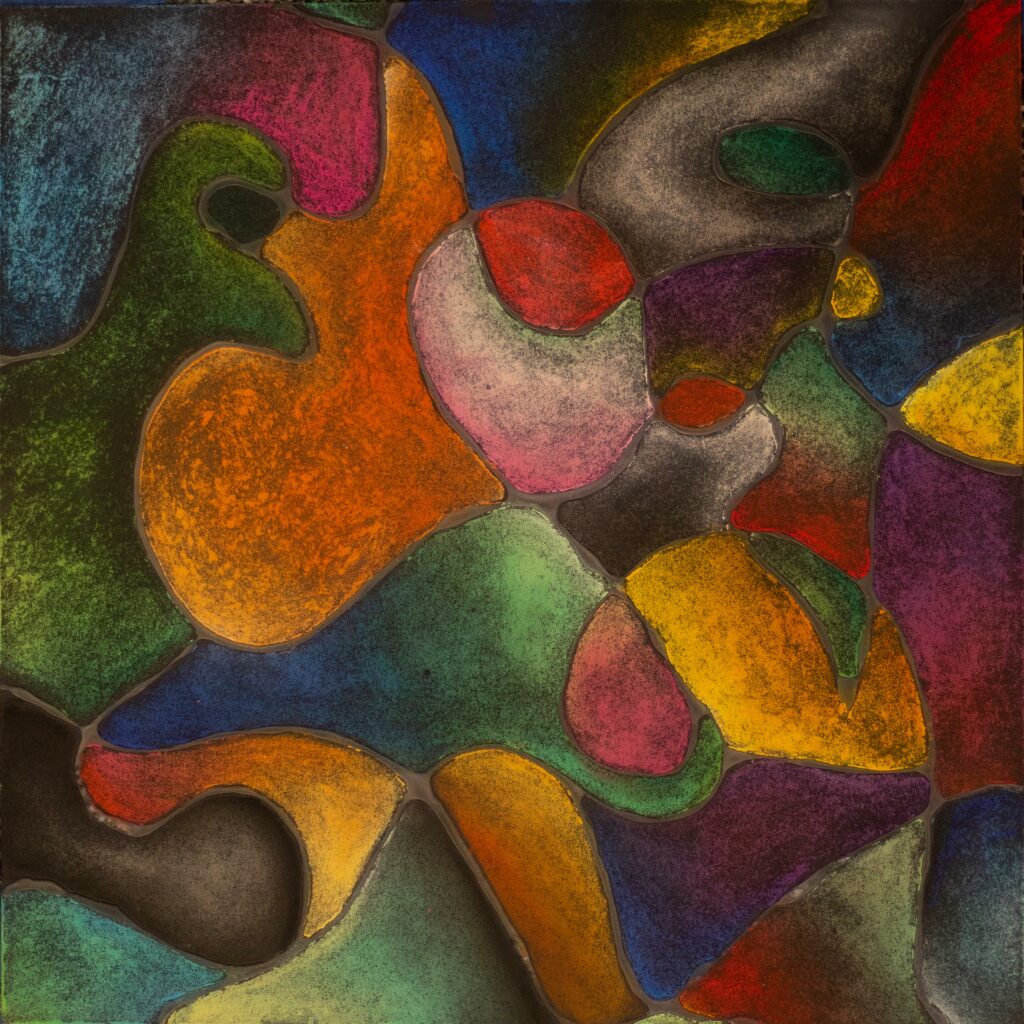
The color theory pastel project was where we combined our skills with pastels with our new knowledge on color theory. First we learned about color theory, and on adobe illustrator we modeled those skills. Then, we took those skills to the final project, where we used glue on black paper to map out sections. Then, we colored in the rest with pastels, using our color theory skills to make a cohesive image. When I sealed the pastel with the spray, it ended up creating an interesting effect and the pastels left this cool texture, rather than being completely smooth and blended. This was a very fun project and it was very fun to learn about color theory and the different combinations of color. There are some examples on the left of the different types of color groupings that I learned about.