Animation
We’ve been learning how to keyframe and render out 3D animations using our finished character models in Maya.

Before the animating can begin, we needed to rig our characters so that we could control their movements. We did this using the Quick rig tool in Maya. Once we were done with that step, we were able to get started.
The first animations we worked on were walk, run, and jump cycles. The animation process for these were similar to 2D, in that you needed to position the model at certain points in time to have keyframe movements, but the difference was that all in between movements were automated by the computer, making the process faster.
Our next assignment was to animate an action reaction sequence using motion capture. We acted out some motion capture sequences in class, and I got a friend to act out stirring a pot of soup for me. I then imported the motion capture into Maya, and applied it to my character model. I had to tweak a few frames to make the movements smoother, but overall it turned out quite well. I also experimented with different camera angles and added some magic lighting in After Effects, which may or may not look a bit sloppy, but it’s fine.
Then we started working on lip sync animations. To do this, first we had to edit our character model’s face to have them be able to make different expressions and mouth shapes. Here are a couple examples.
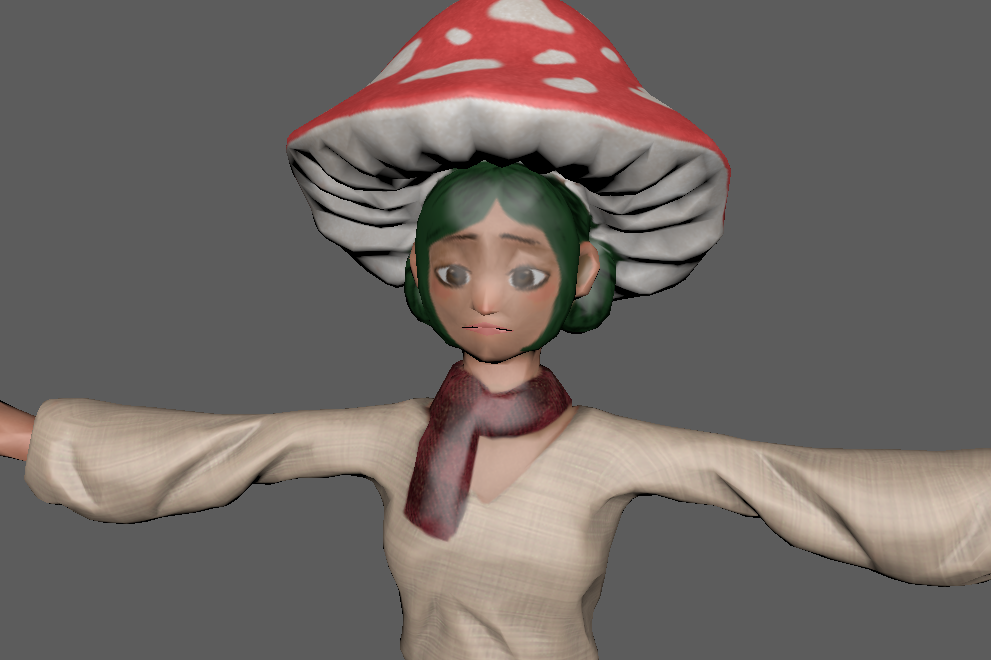

And so we animated our characters lipsyncing to an audio of our choice.