3D Modeling in Animation
In this semester of animation, we got the opportunity to start learning the mechanics and process of 3D animation. We started with the basics of modeling, sculpting, and texturing 3D objects.
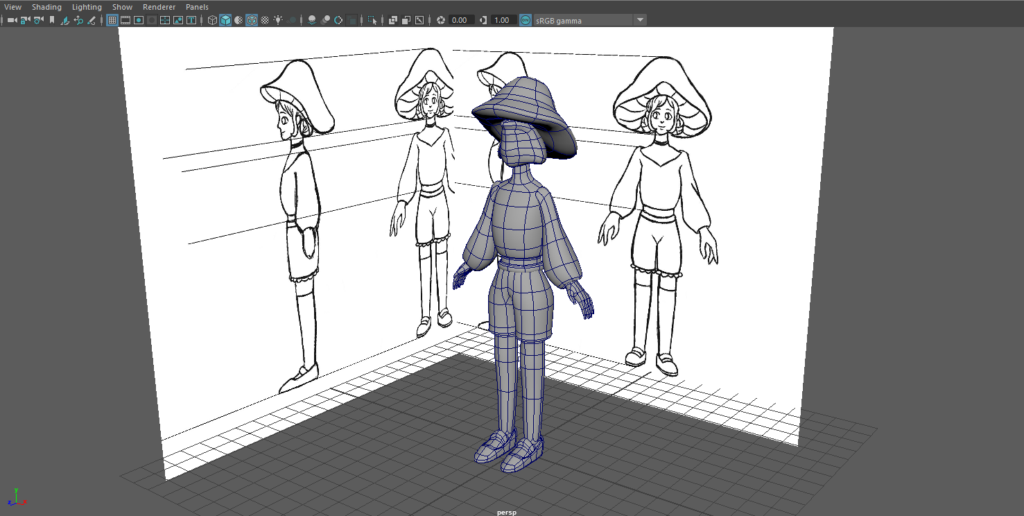
Learning How to Model in Maya
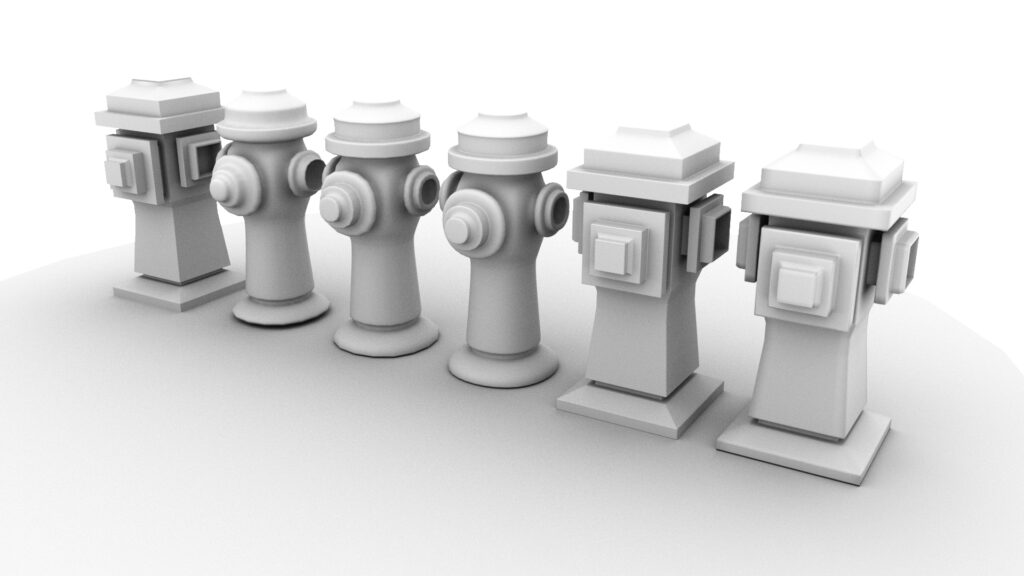
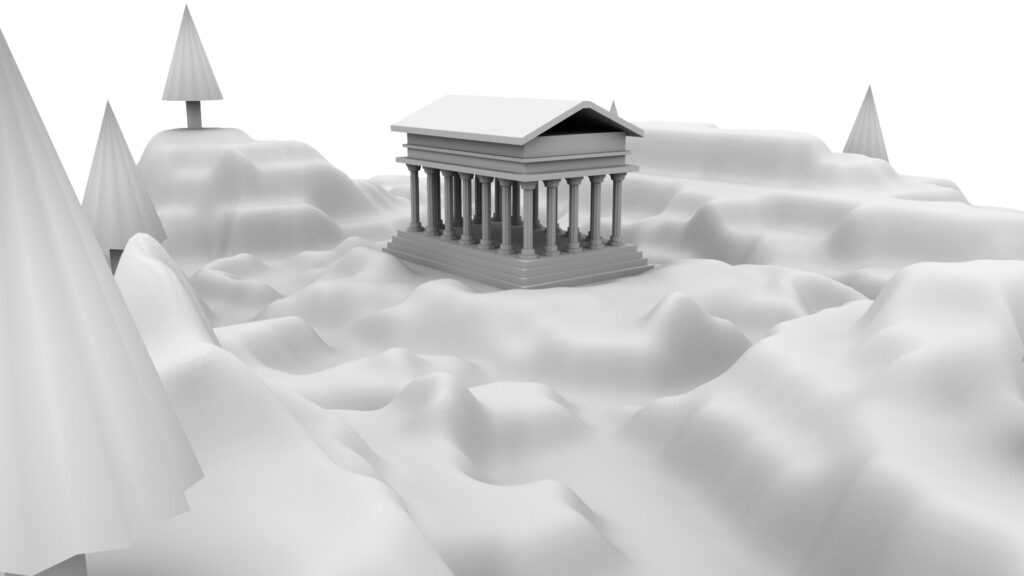
The first thing we had to learn was how to create basic polygonal models in Autodesk Maya. We learned all the controls of the program through different assignments. For example, the fire hydrant assignment involved learning how to use the different cut, extrude, and smooth tools to create a variety of looks in varying levels of detail for a simple fire hydrant. We used these same tools, as well as learning how to create landscapes in the Greek temple assignment.
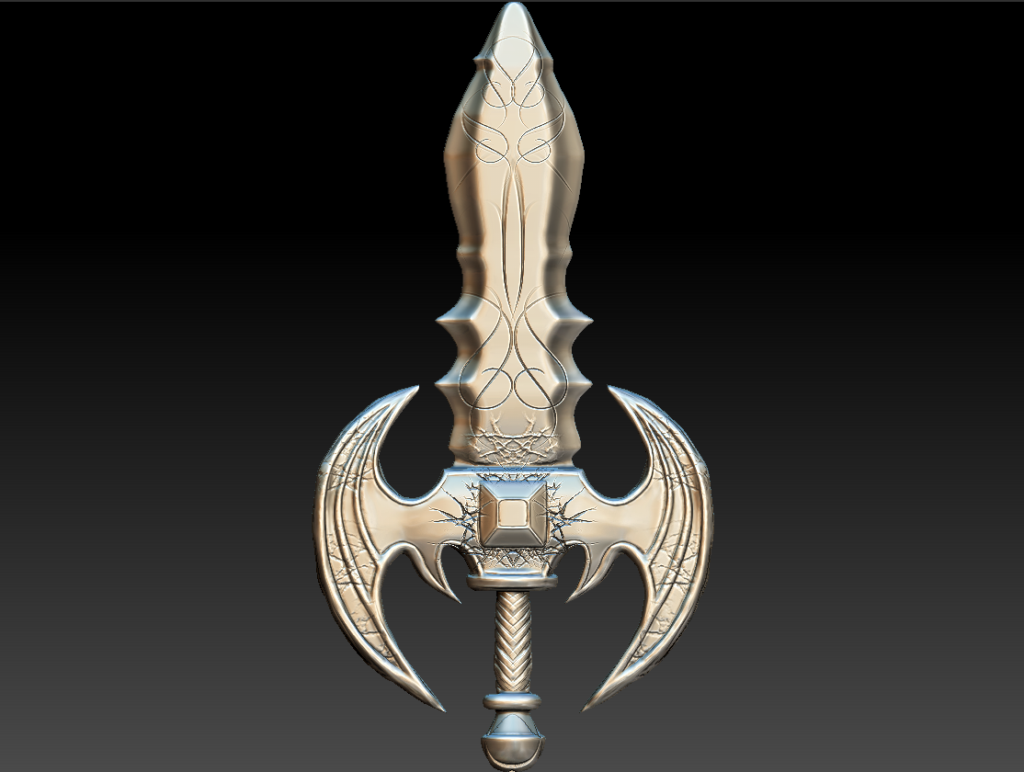
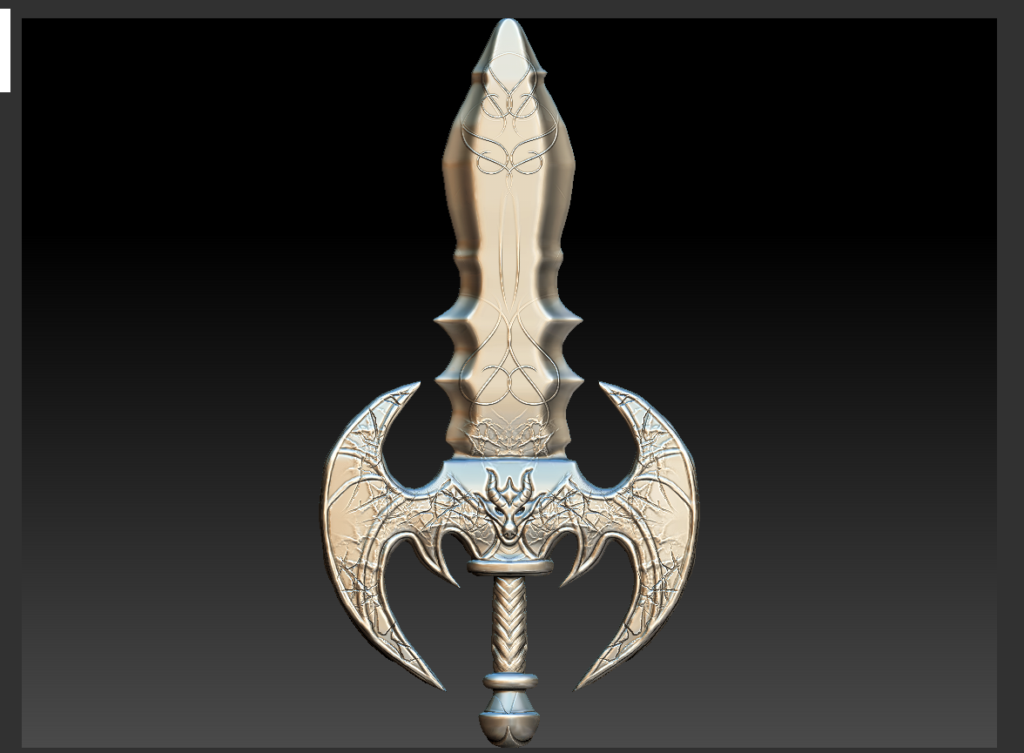
Learning Sculpting in Z-Brush
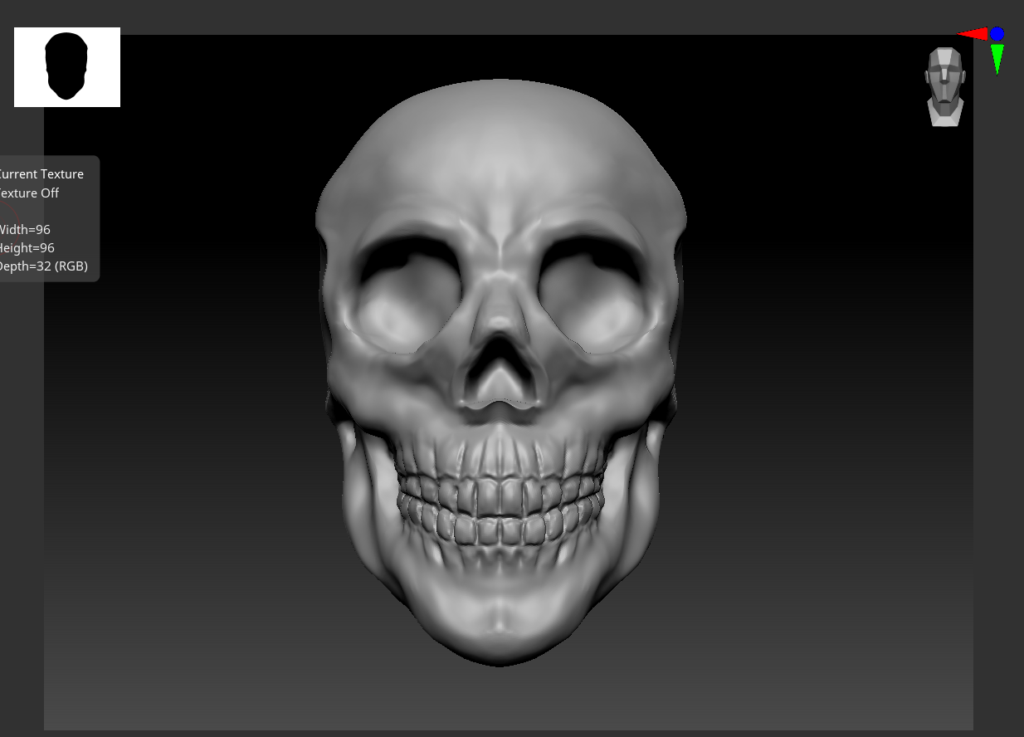
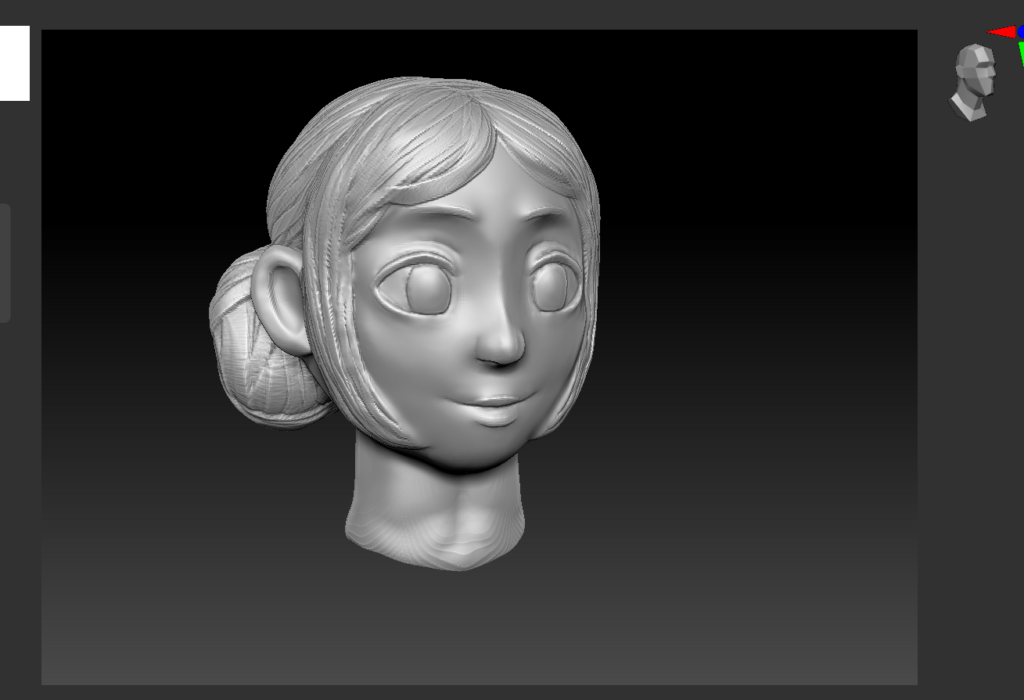
We then moved onto a new program, ZBrush, where we made existing models more detailed using the different brush tools and a tablet. For the skull and head bust assignments, we started with a basic sphere and learned how to mold it into a humanoid shape, while also looking at reference photos. For the weapon assignment, we imported the models we had already made in Maya into the program and added details. I was able to add cracks and a dragon onto my sword.
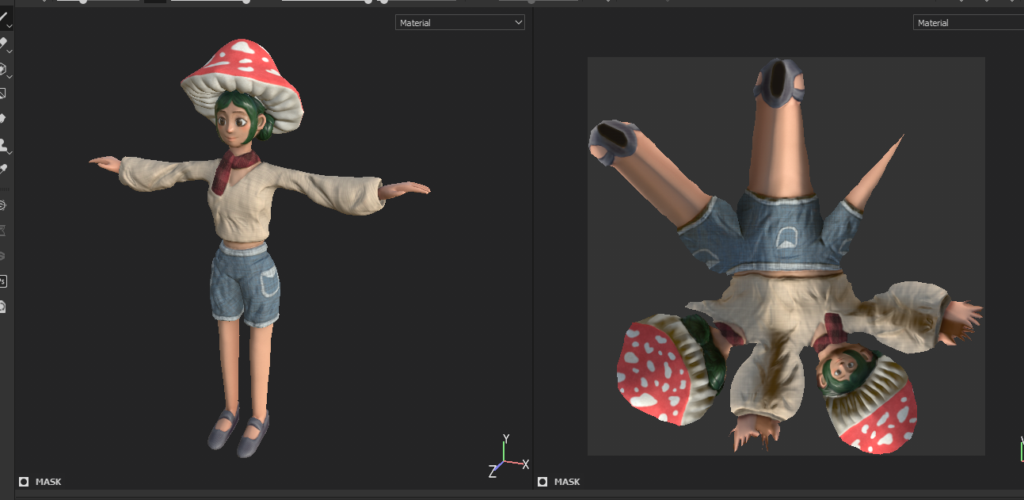
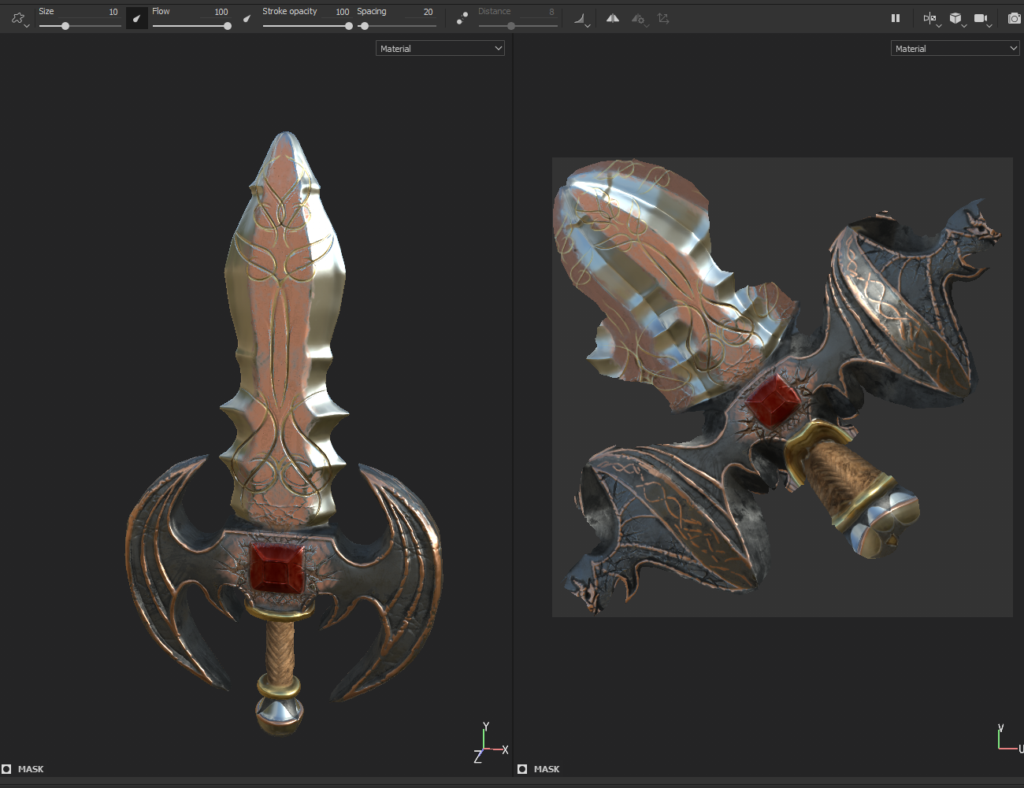
Texturing in Substance Painter
Finally, we moved onto texturing our sculpted models in Adobe Substance Painter. We learned how to use the materials in the substance painter library to add color and texture to objects. I was able to add a metallic shine and some copper rusting onto my dragon sword, which I then also rendered in the same program.

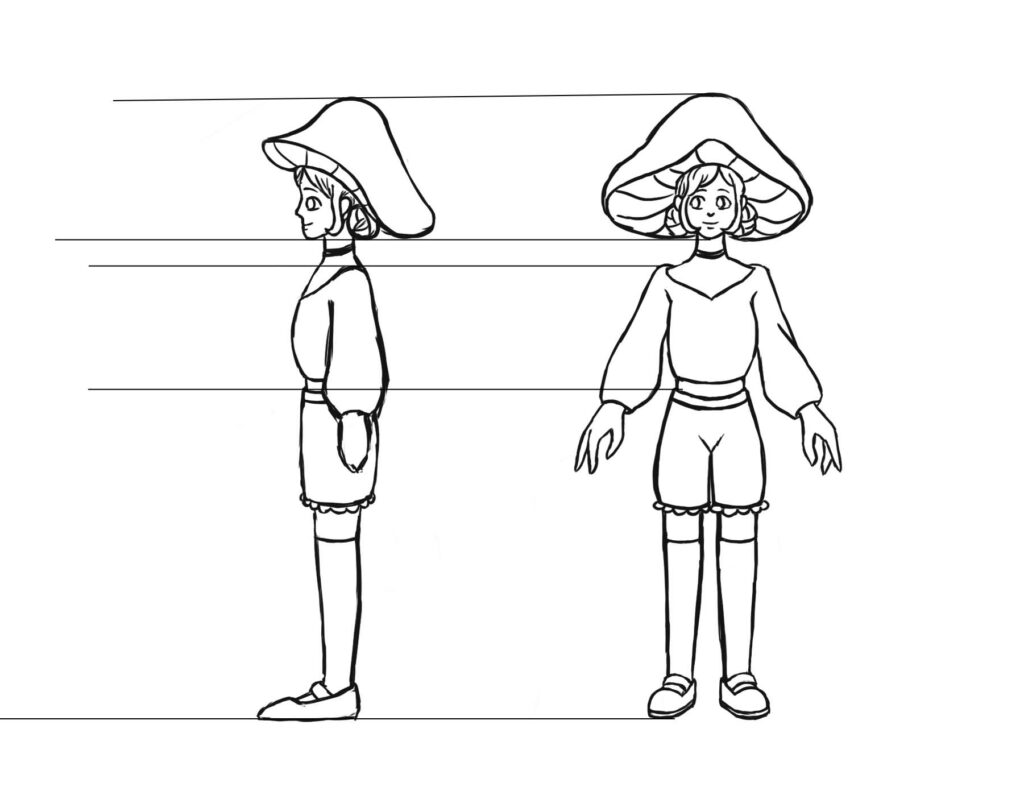
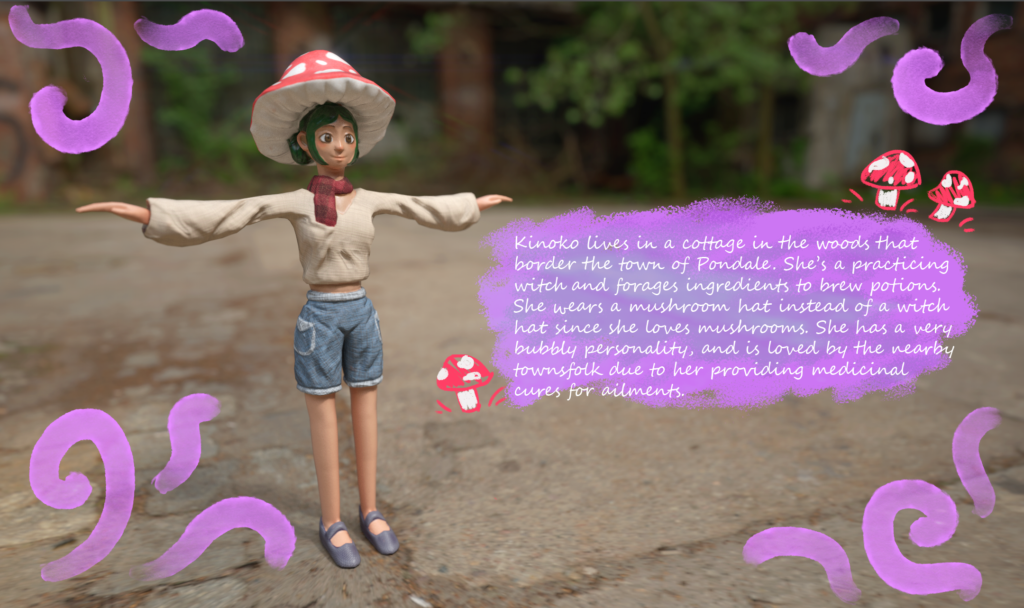
Creating a Character
The overarching project of our unit was designing and creating an original character using this exact process of modeling, sculpting, and painting. We started by coming up with a concept for a character design, and then using the skills we were taught we brought our designs to life. This was my process for creating my mushroom witch character, Kinoko.