Introduction
In this unit we were meant to make projects reflecting on who we are and what we have to say. In our English class, we wrote our college application personal statements, honing in on essence objects and infusing our writing with memorable details. In Digital Media, we created a wide range of projects, from mandalas to PhotoShop paintings. Animation was less closely tied to this, as we mainly spent our time learning the entire 3D modeling, sculpting, texturing, and animating process from start to finish.
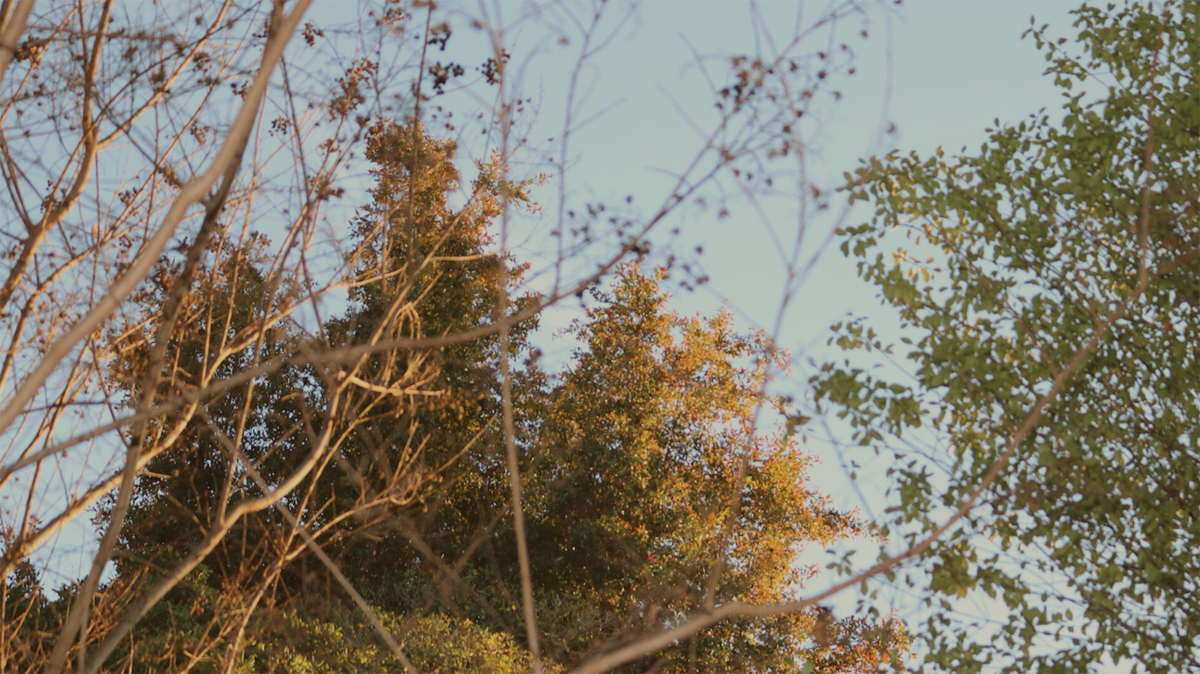
These projects taught me about how I value flow in creativity. With every project we completed in Digital Media, I stopped overthinking what I was creating and let my energy flow, drawing inspiration from what was lingering in my mind in the moment. In English, my essence objects were primarily ones of nostalgia that connected me back to my childhood, like my first grade pencil pouch which I still carry on me today. These essence objects were not represented in my other work. For example, when I created my mandala in Digital Media my intention was to create something more unsettling rather than whimsical.
Mandala
For this project we were meant to create a mandala using Adobe Illustrator. We used a technique to mirror one slice of drawing back and forth in a circle, making it easy to create the beautiful symmetrical patterns one sees with mandalas.
If the images do not display below, On a Mac, press Command + (plus) then press press Command – (minus). On a PC, press the Ctrl + (plus) then press the Ctrl – (minus).
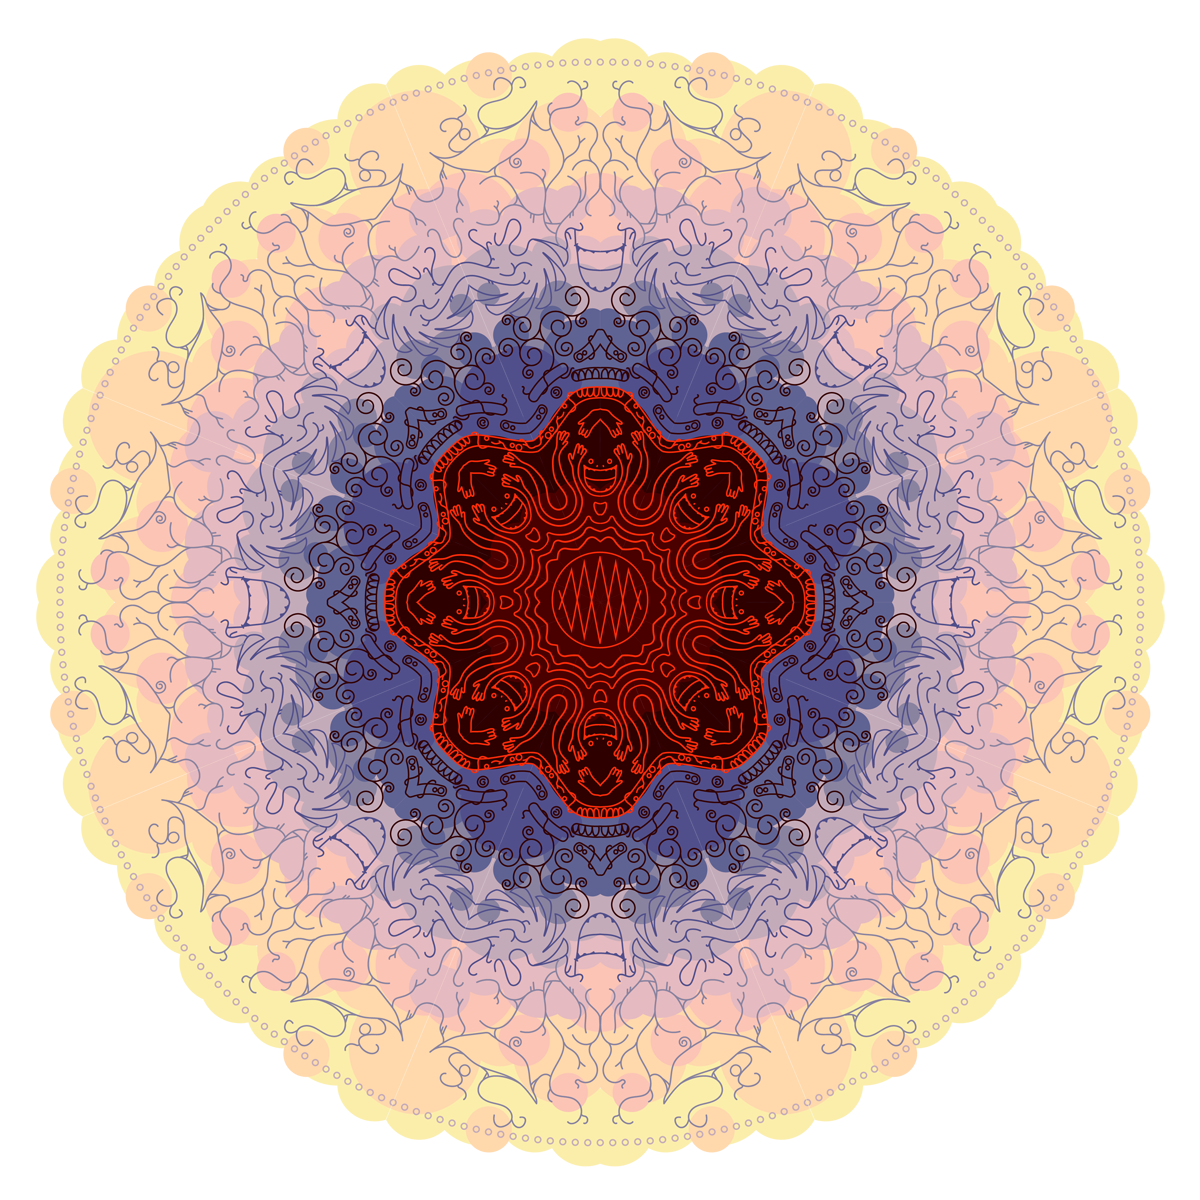
Drag the arrow below to see a side-by-side comparison of my black and white and colored mandalas:
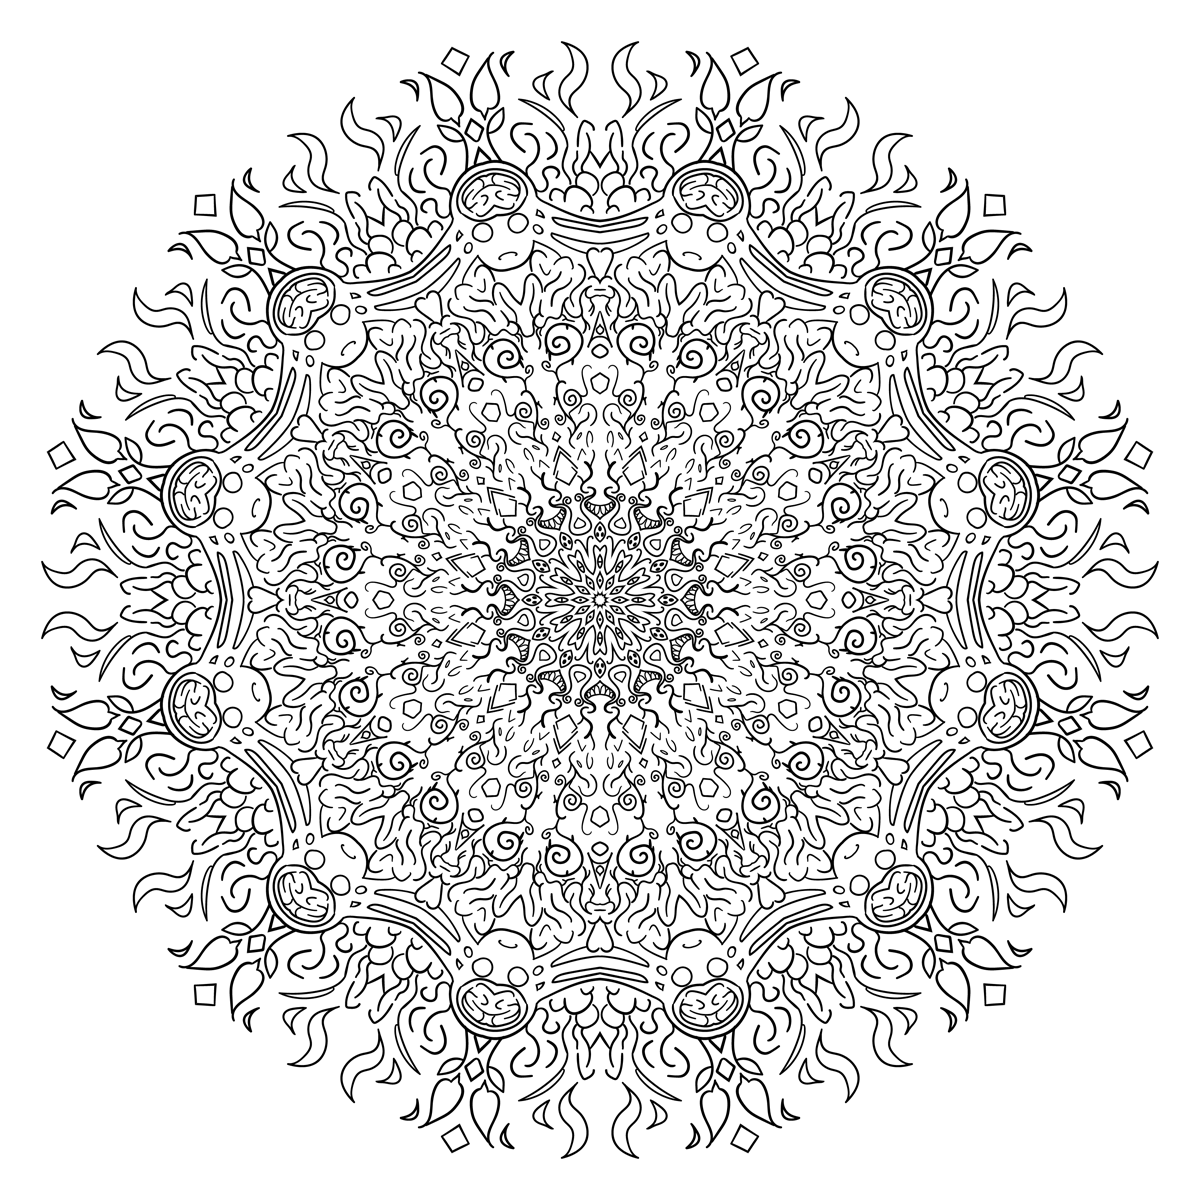
“Bloated” – Black and White Mandala Artist Statement
I recently watched a YouTube video essay by Jacob Geller titled “Gross Games about Flesh and Stuff” analyzing the messages behind the games. This video led me to Cao Hui, an artist who paints objects like couches with human entrails spilling out of them (it is as disgusting as it sounds). Looking at the innards made me realize just how fragile my body is and how lucky I am to be healthy every day I live. Cao Hui’s art disturbed me and lingered in the back of my mind while I was drawing this mandala. I thought it was an interesting juxtaposition to create a mandala that represents morbid curiosity, as at least to my knowledge, mandalas are generally associated with meditation and mindfulness.
“For Real” – Colored Mandala Artist Statement
“For Real” is something I say when I drop my guard down, to let people know that I am being more genuine. But what is the genuine me? Sometimes after playing different roles and code-switching in social situations all day I have no idea if I am being “real” or not. After falling into a pit of this way of thinking during the summer, I felt an emptiness that stuck with me all day. I tried to represent the idea of different layers of “the real me” through the layers of color in this mandala. I did not put much intentional thought into this mandala, I just tried to latch on to that feeling and drew without thought.
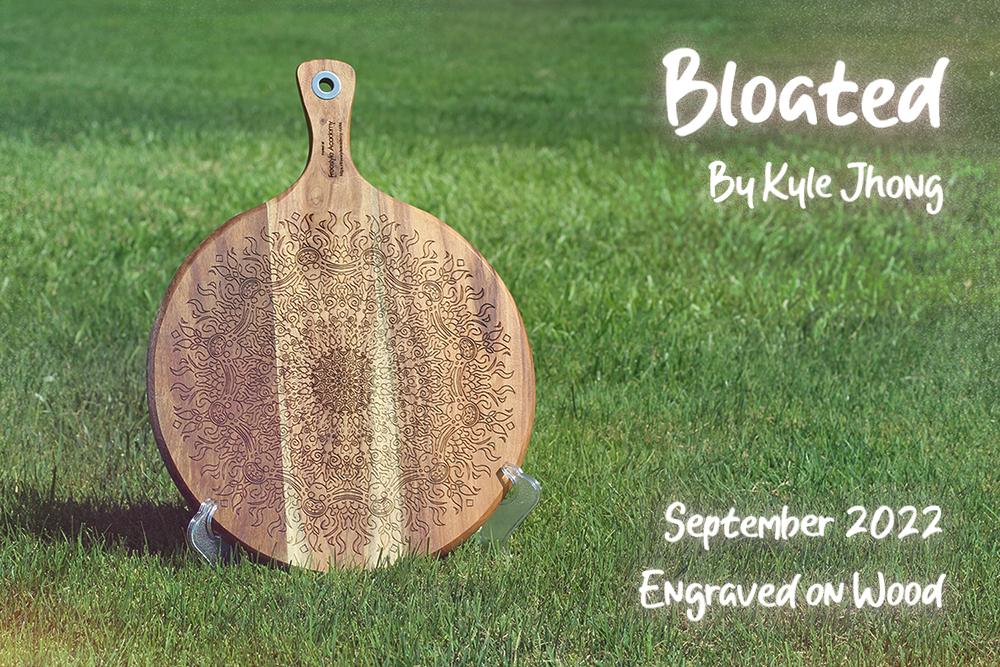
Laser Engraved Mandala
We took our black and white mandalas and laser engraved them onto different materials. Here’s my piece engraved onto a pizza board.
Mandala Build Reveal Video
PhotoShop Art
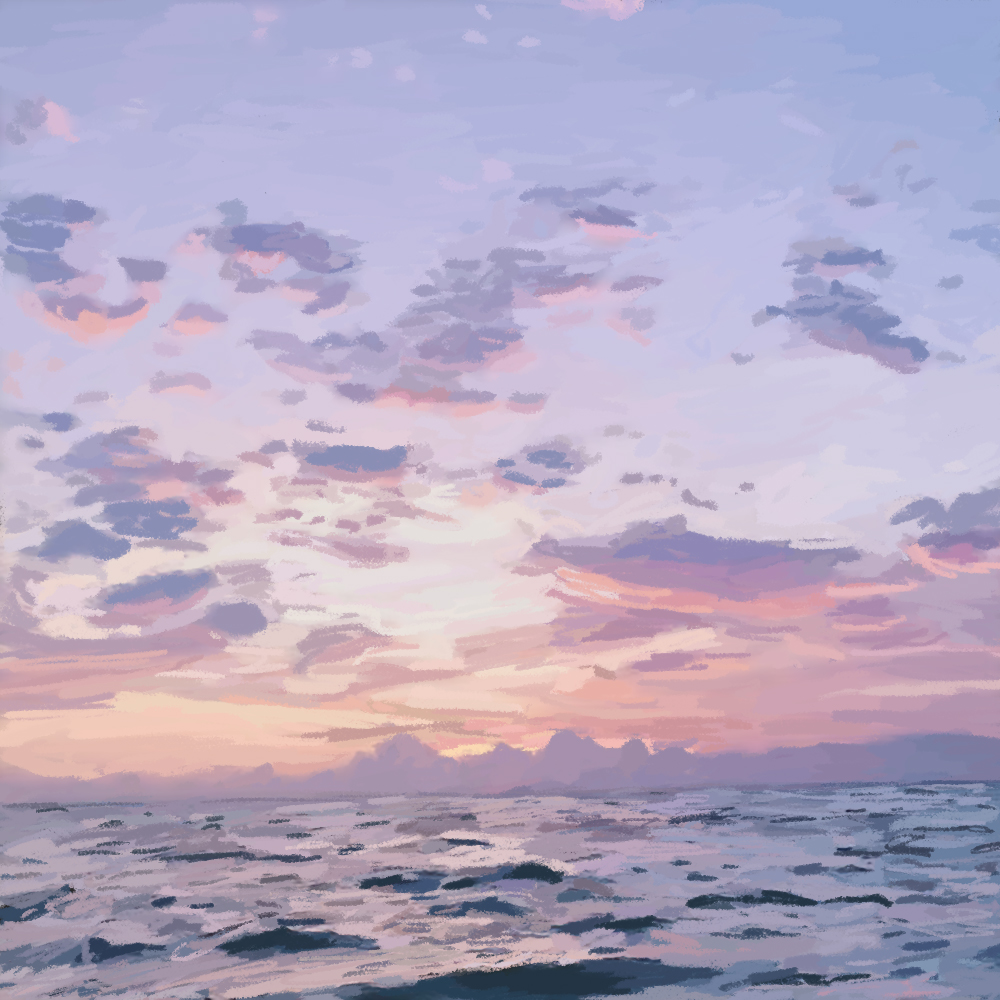
“Iridescent Tide” Pastel Painting
Artist Statement – For this piece we were instructed to paint a pre-existing image by brushing over it in PhotoShop. I chose a beautiful picture of a sunset over the ocean for this. The pastel colors in this image make me feel calm: I wish I could go visit this place in real life. Altogether, I’m really happy with how stylized the waves turned out.

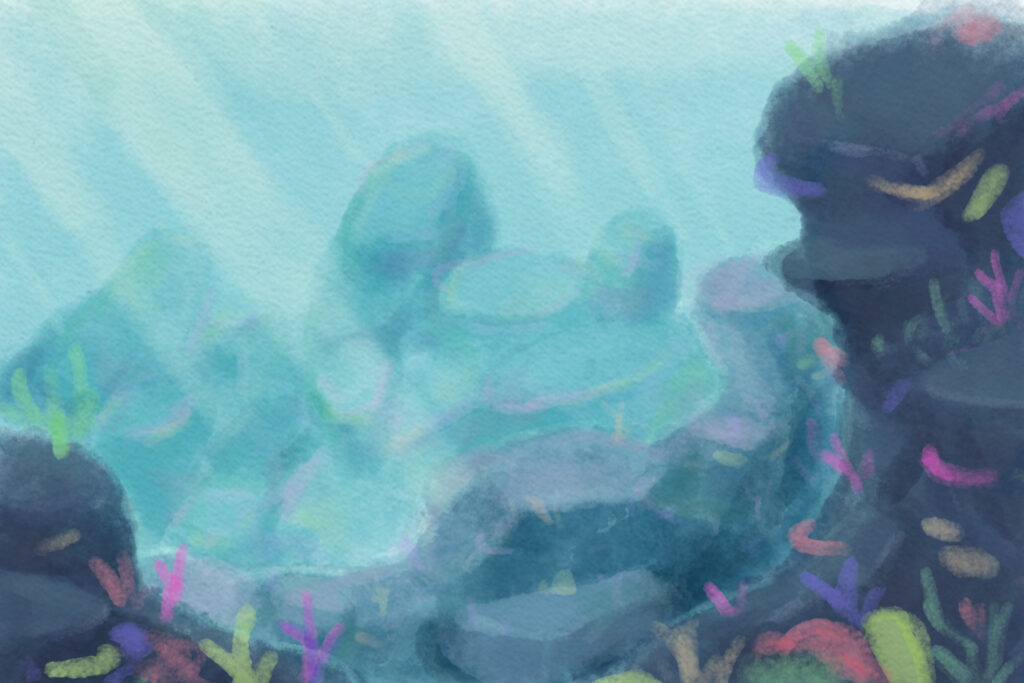
“Neptune” Watercolor Painting
Next, we used PhotoShop watercolor brushes and a paper texture overlay to create watercolor paintings. I drew this underwater landscape myself instead of tracing over an image.
Artist Statement – For this assignment I wanted to paint an underwater landscape because I love the range of cool colors from green to purple. I focused on hue-shifting to make the colors of the coral and the highlights on the rocks look iridescent. The sunbeams were a finishing touch that added a lot of depth to the scene. Overall I am really happy with the result.

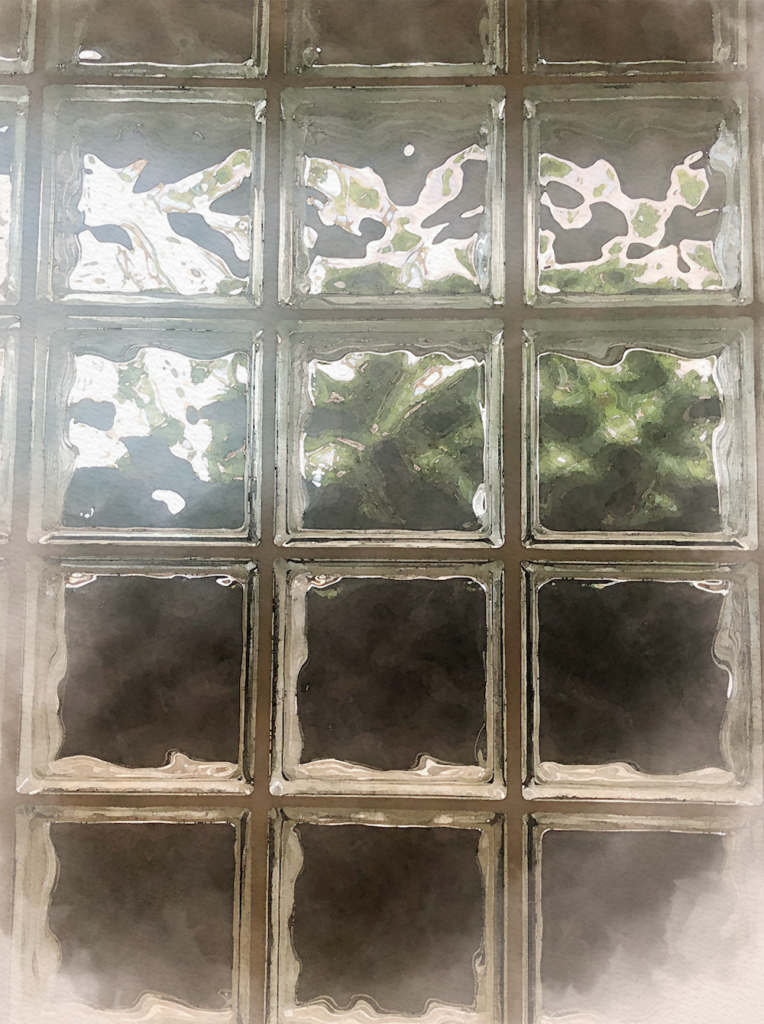
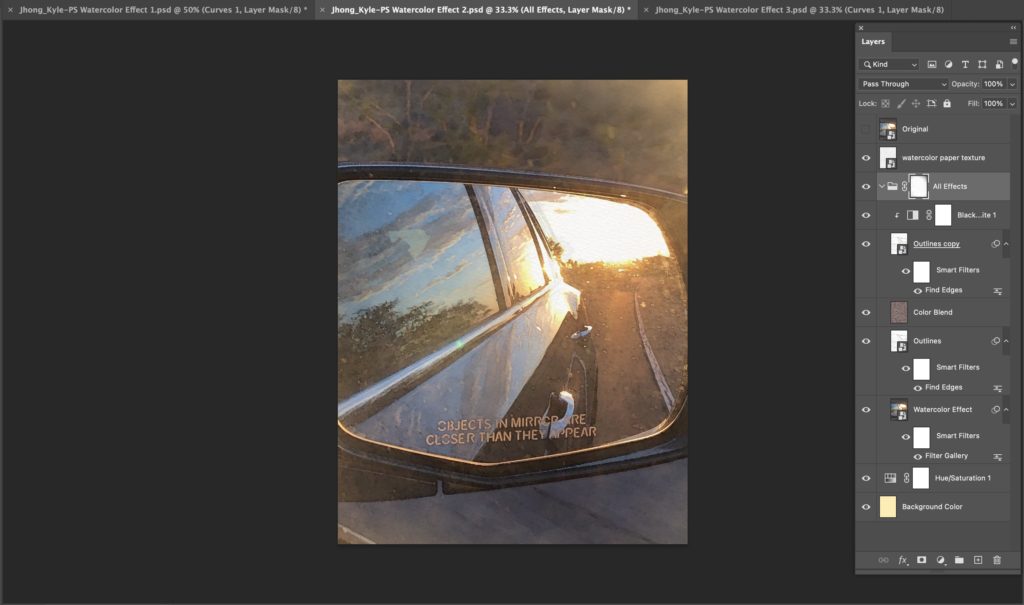
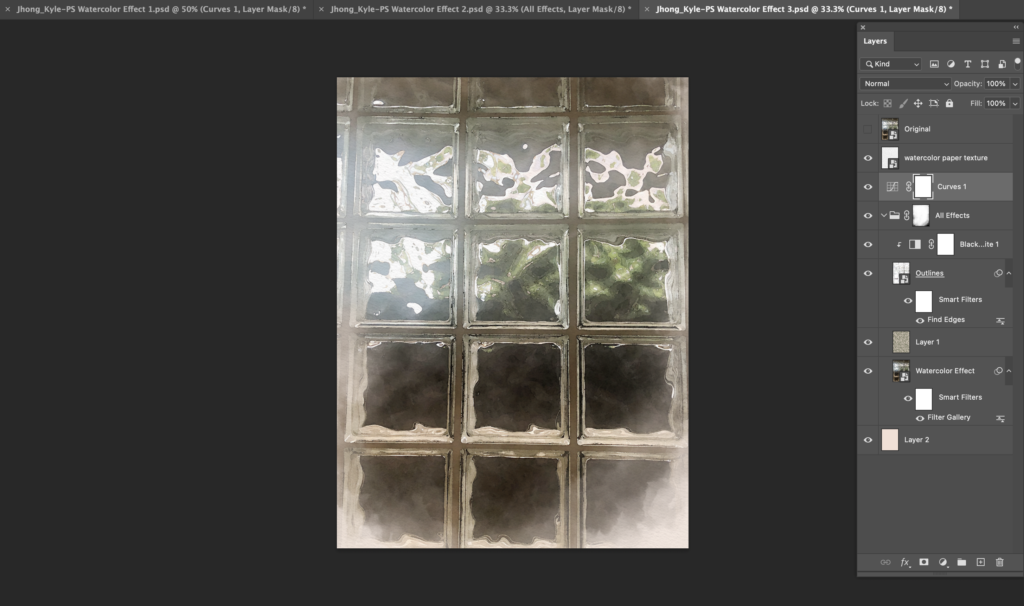
“Presence” Watercolor Painting Image Effect
Artist Statement – For this assignment we were meant to pick a few images we took and stylize them with a watercolor filter in Photoshop. The three pictures I selected reminded me of the beauty of the present moment, something I am trying to be more grateful for. I am very satisfied with the spectrum of colors between the images overall.

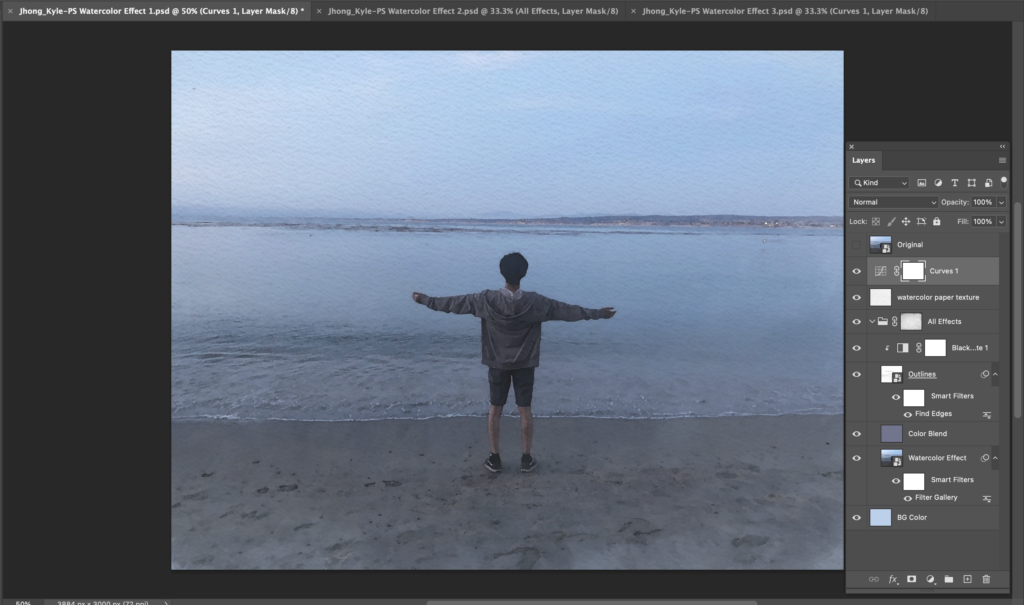
Pictures of the PhotoShop process below:
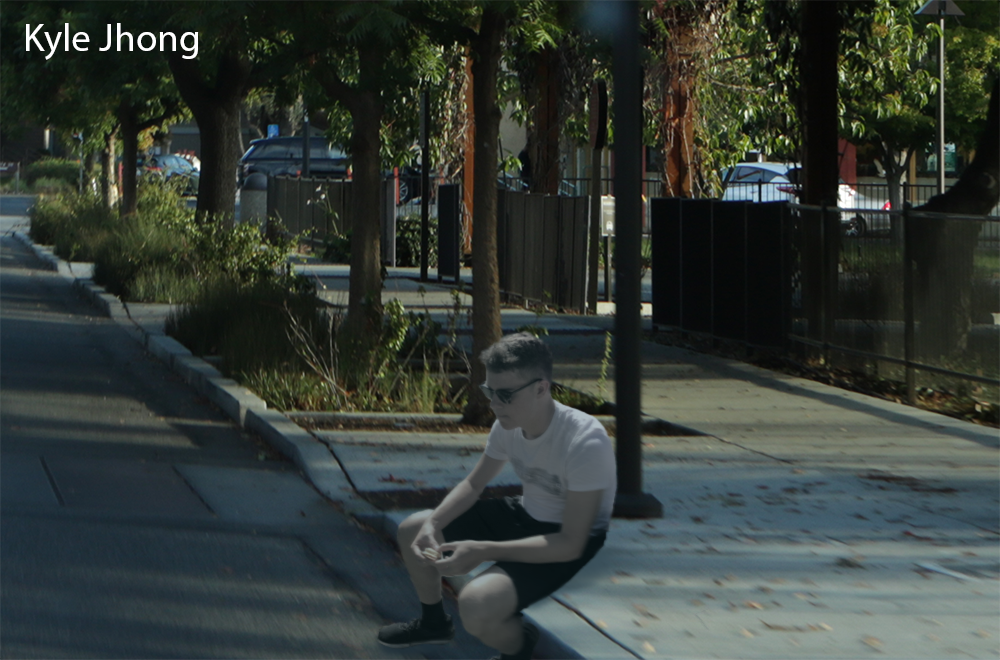
Photoshop Compositing 2 Photos
We then started learning techniques to composite multiple photos we took into one image. Below is my first piece, where I tried to blend my friend into the surrounding environment.
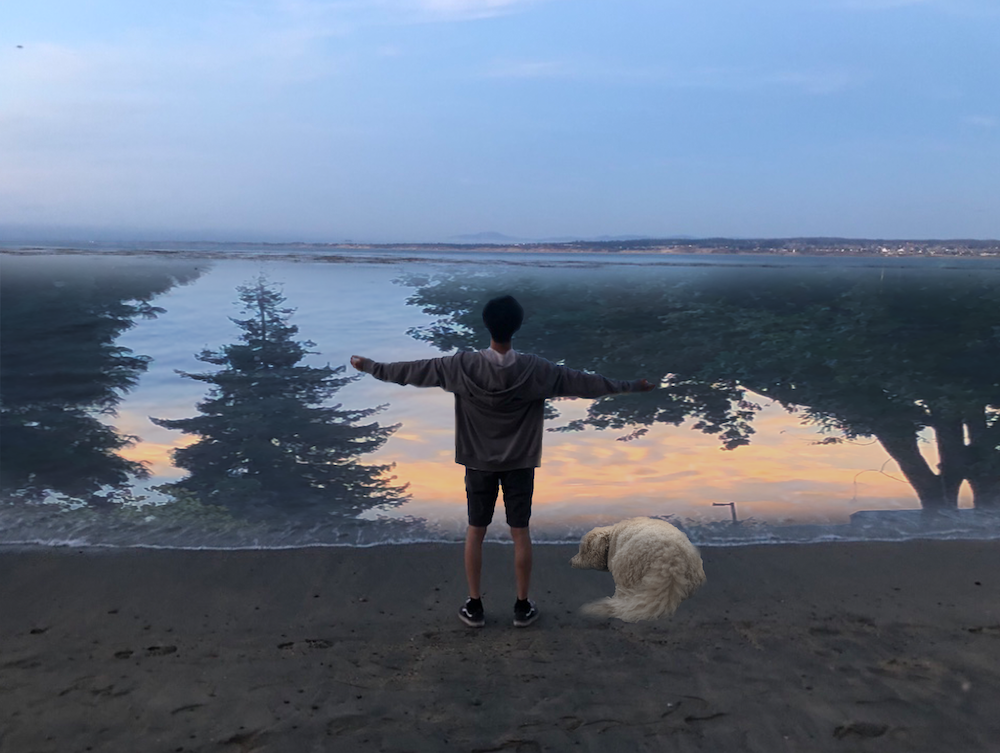
Photoshop Compositing 3 Photos
I then repeated this compositing technique, taking one of the watercolor images from earlier and adding a picture of a sunset and a picture of my dog into it.
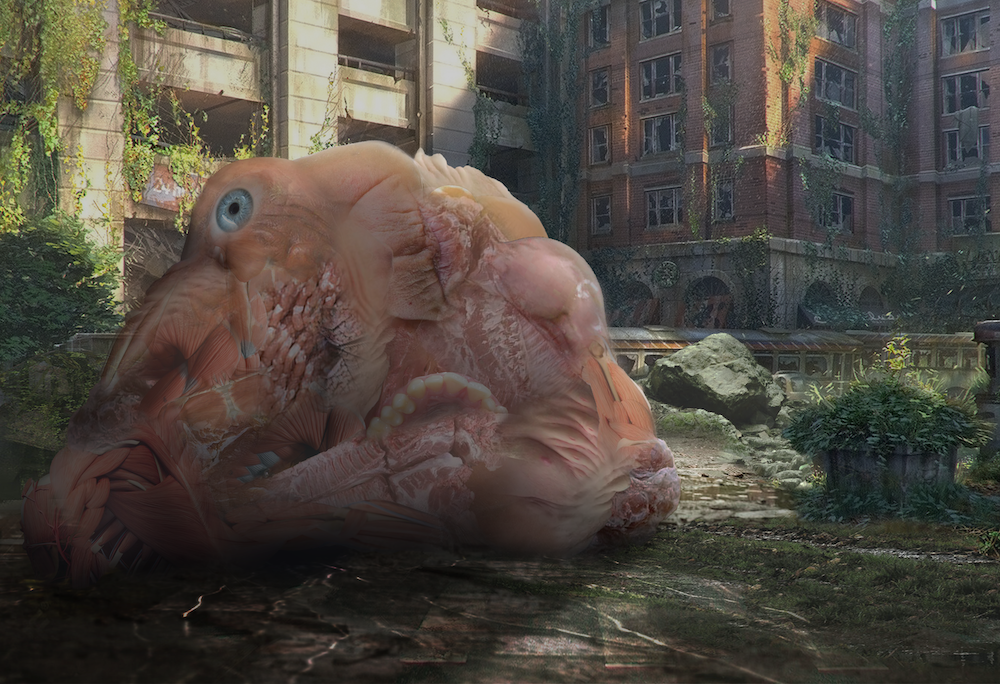
“Mass” Surreal Composition
Finally, we put these compositing skills to the test, taking what we have learned and making a surreal composition. In English class, we started our Worldbuilding unit in which we got into groups to create fictional worlds and write story treatments. I used my worldbuilding idea, about hideous amalgamations of flesh, as inspiration for the piece below.
Artist Statement – For this project we were meant to make a surreal composition out of our world-building concepts. Our concept was: “an engineer lands on Earth to refuel their spaceship, but is horrified when they discover humans have surgically fused themselves with other people.” So I stitched together pictures of people’s faces and meat to create one of the monstrosities described in our story idea. They are known as “masses”. Overall I am super satisfied with my shading on the mass and how I blended it into the environment.
Animation
In my Animation class, I’ve spent the entire year up to this point learning how to model, sculpt, texture, and animate in 3D.
Character Design
We started by drawing character designs to make into models later. Here was my preliminary design for my character, Olob:
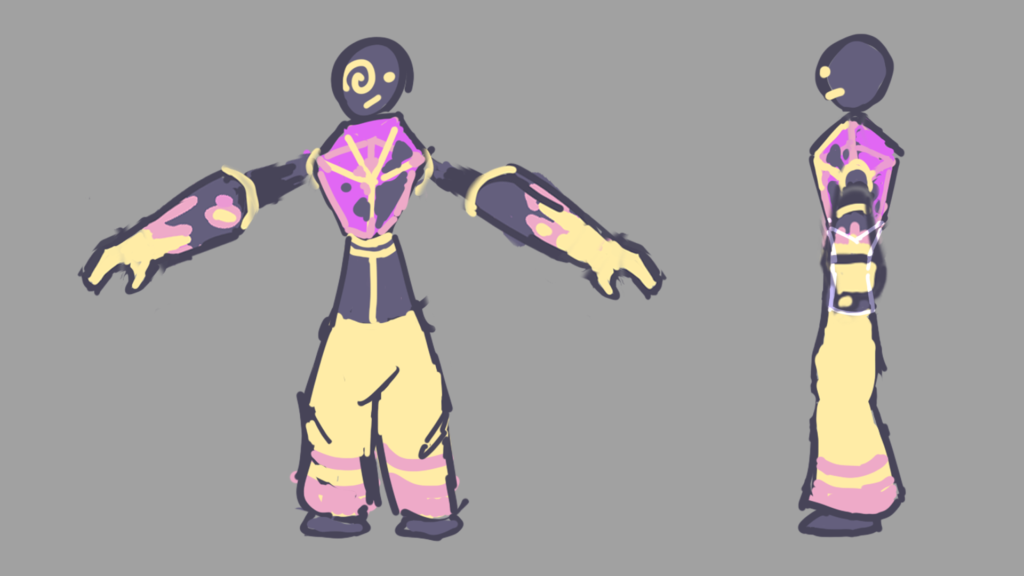
I sketched this design using PhotoShop. I wanted to use a bright color palette with a lot of contrast, and I love the gradient from yellow to purple.
Environment Modeling
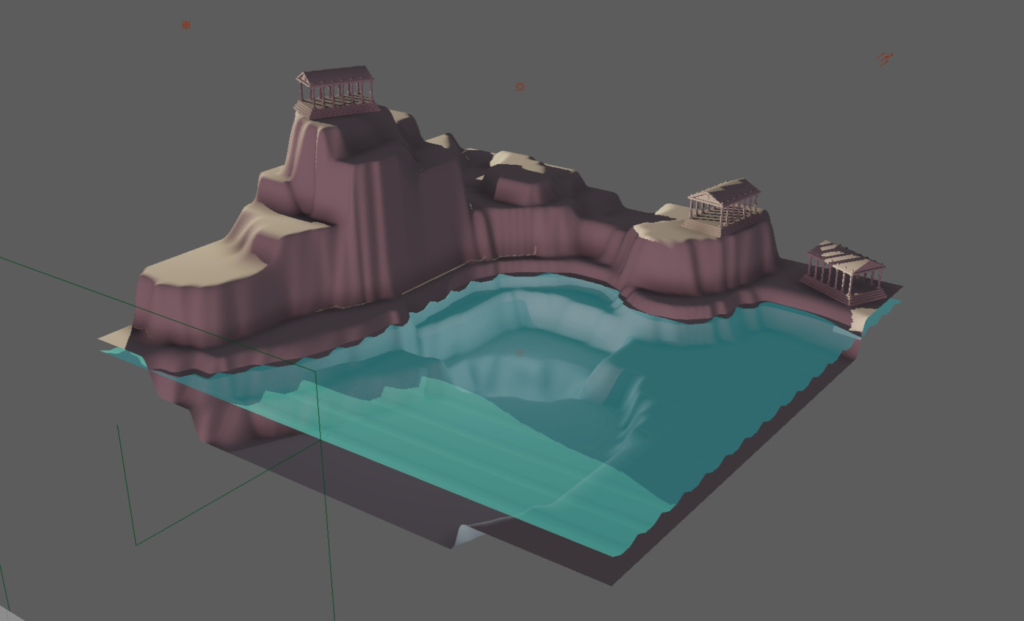
First, we learned how to manipulate basic 3D shapes and vertices in Maya to create low-poly 3D models. We started by modeling this Greek temple and duplicating it around a landscape.
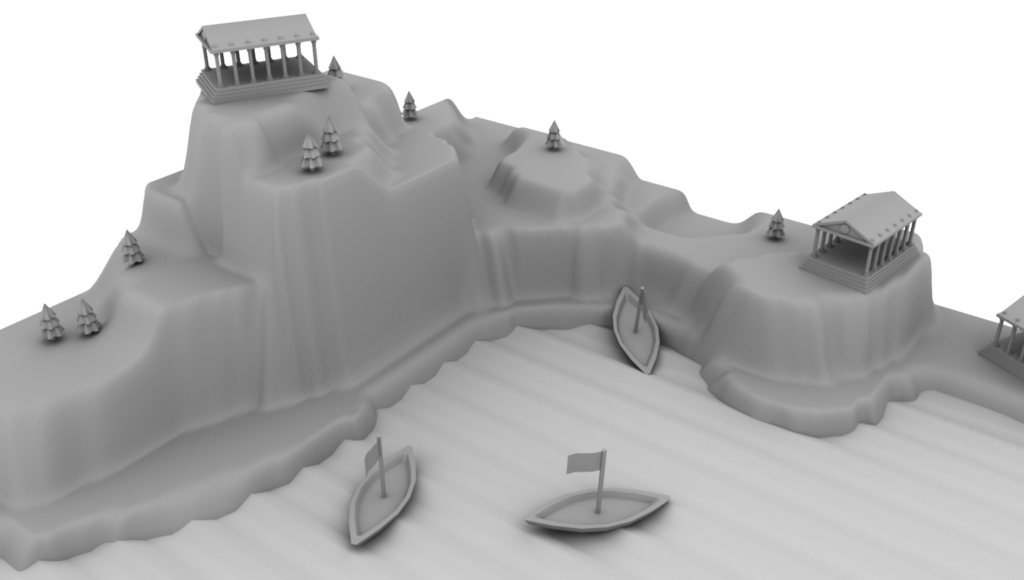
I built the greek temple by translating, rotating, and scaling around cubes. To make the boats, I subdivided cubes and moved the vertices into the boat-shape. For the water and the landscape, I stretched the vertices of subdivided planes up and down.
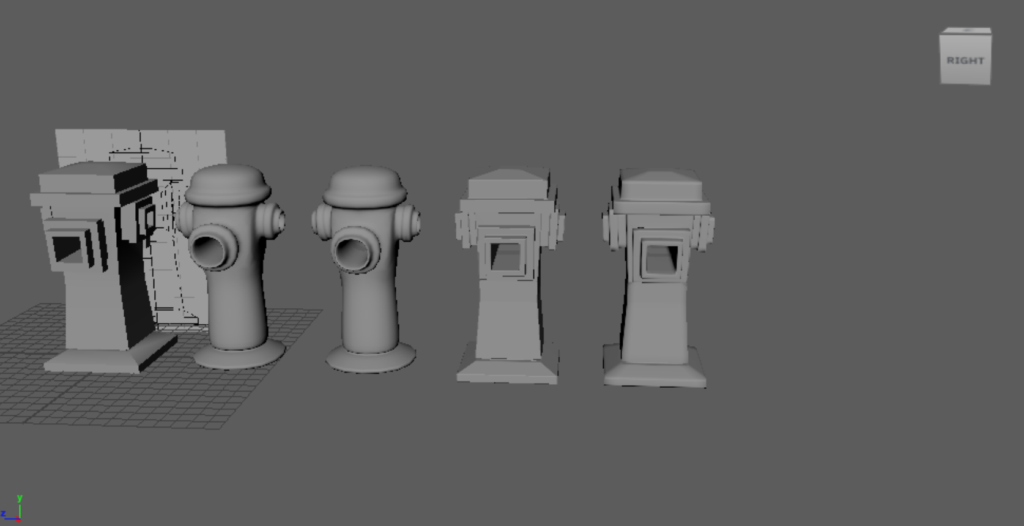
Rendering Fire Hydrant
Then we learned how to smooth edges, creating these various fire hydrants.
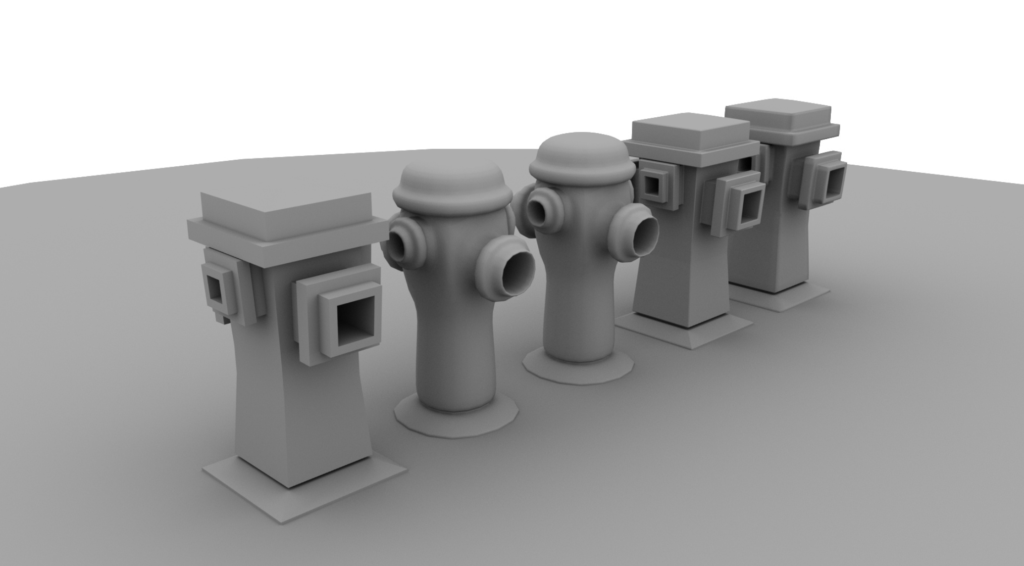
I created these hydrants by extruding faces of a cube. I then duplicated it four times, using different smoothing methods on each hydrant.
Sculpting Human Skull
Next, we moved on to sculpting using the program Z-Brush. Our first practice assignment was to sculpt a skull from a sphere using a reference image:
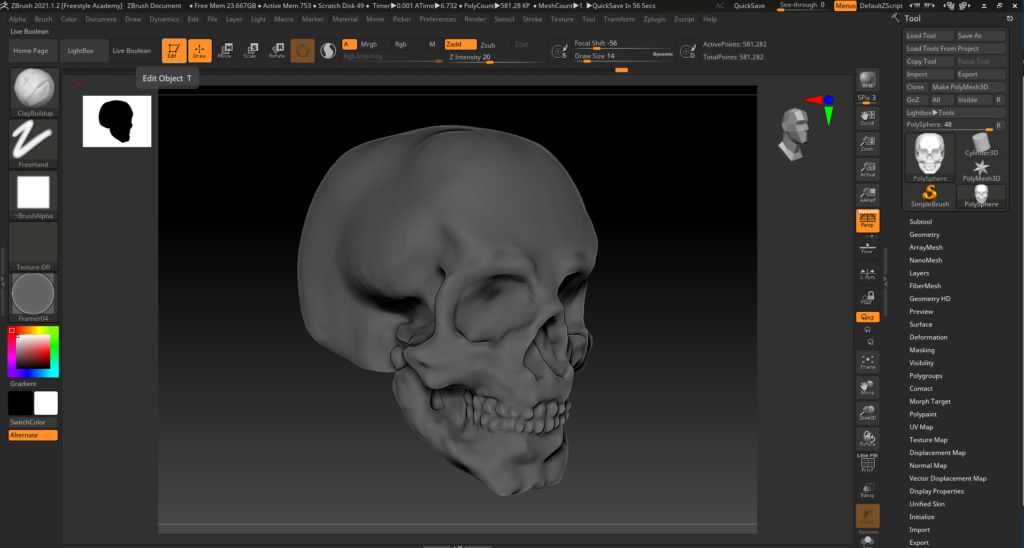
I started with a sphere and brushed over it, pulling areas out and pressing areas in. It was a slow process, but using reference images I was able to make it very detailed.
Sculpting Head Bust
Next, we were meant to create a cartoon head, and I used a reference image I found online to create this stylized Gus Fring from Breaking Bad, using the same techniques I used to create the skull.
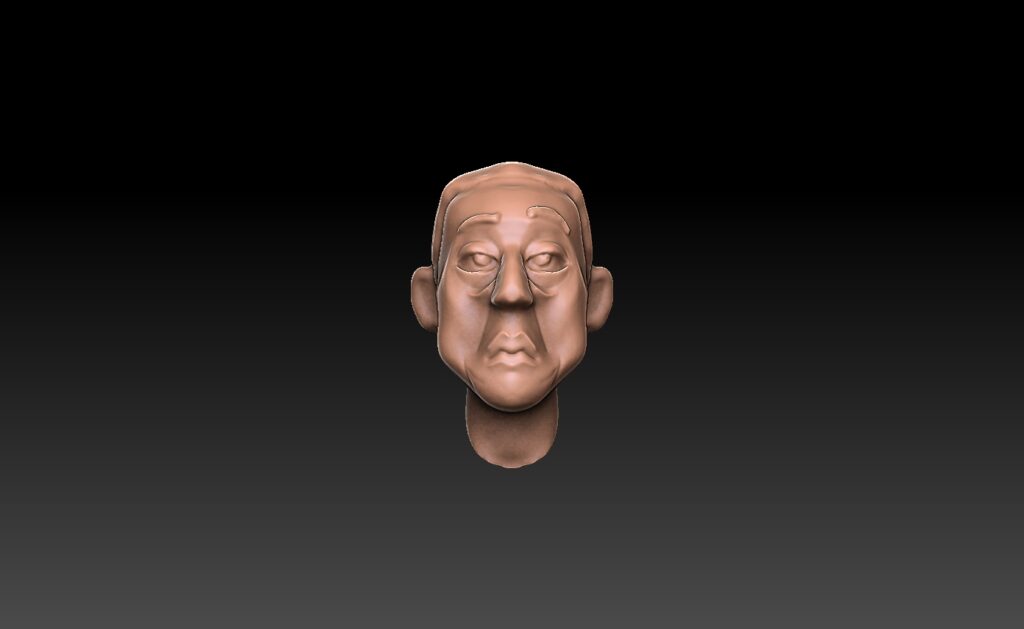
It was more difficult to create a smoothed and cartoony form using Z-Brush. I used smoothing brushed to try and get a more stylized style with flatter faces.
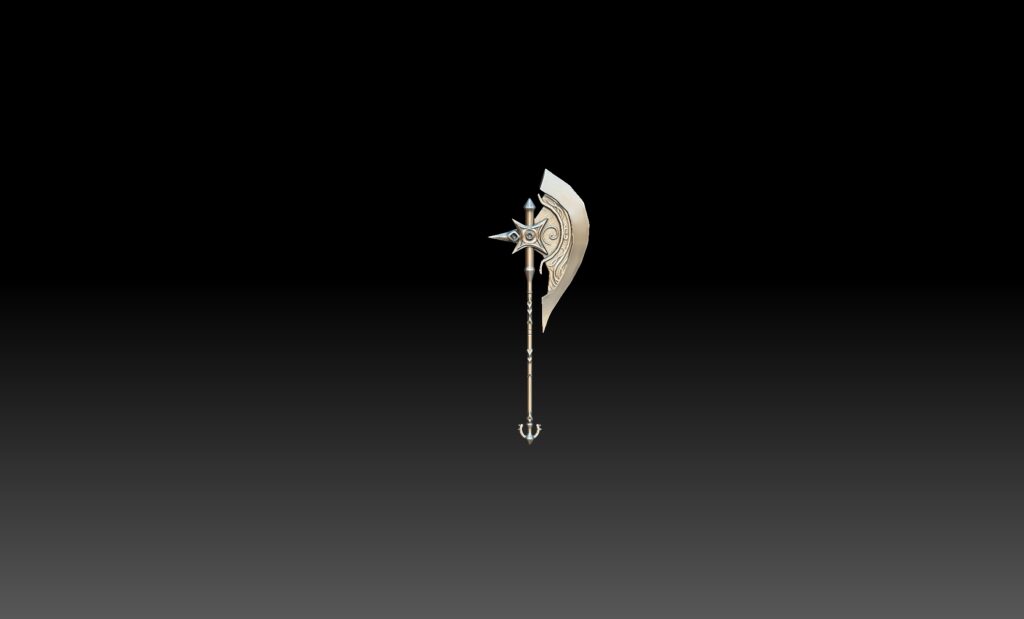
Game Weapon Design
Finally, we modeled weapons in Maya and then brought them into Z-Brush to sculpt and add more detail. I started in Maya, using a reference picture I found online as a guide. I made sure to make my model unique from the reference, adding my own four-pointed star plate.
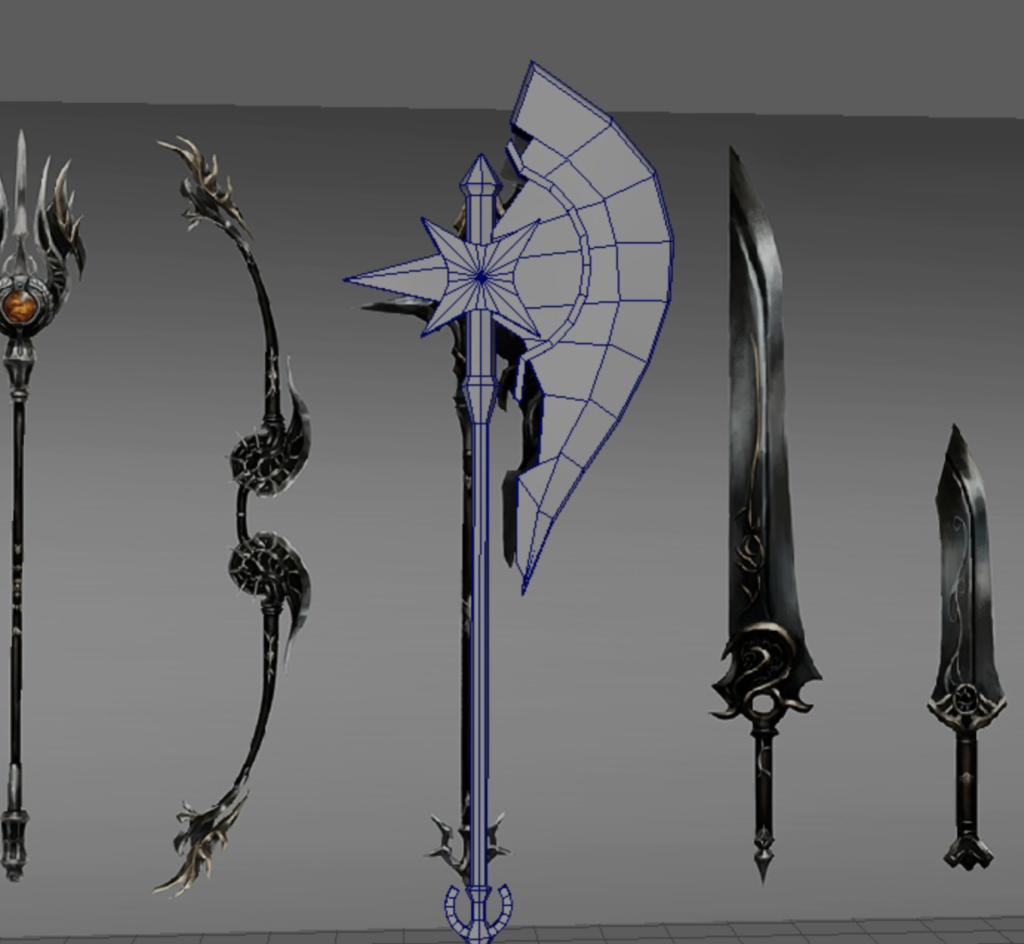
Next, I took it into Z-Brush and added flourishes and engravings, making the handle more detailed as well.
Reflection
Modeling and sculpting using 3D tools has given me a good foundation for 3D art. Now that I have a better sense of how much effort goes into 3D art and animation, I have infinite respect for the people who work in this field. Altogether, although we haven’t gotten very far, I’m excited to learn the rest of the 3D process.