
Photoshop
Surreal Composition
This is my favorite composition that I have made for this class. I used photoshop to composite different images together to create a surreal sort of image.
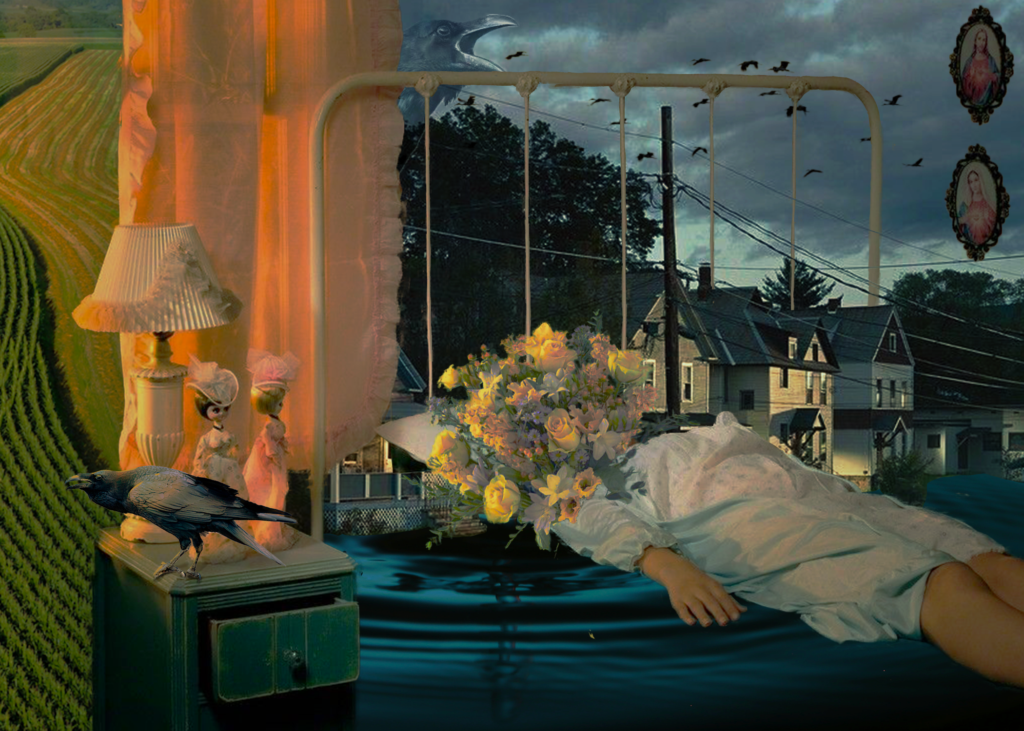
Title: American Dream
This photo composite is inspired by Americana imagery, with the suburb, the field, the little pictures of Jesus and Mary, and the white girl. I added the bouquet of flowers, the birds and ravens, and the dark water because to me, those things symbolize death. The idea of living like this, which seems to be what people think of when they want to move to America, seems so static to me, it’s almost like death.
To make this, I searched randomly on Google images. I didn’t know what I was going to make, and I kind of just let the searches lead me to an idea. In Photoshop, I brought the photos together using layer masks. I really liked the sort of honeyed lighting that was in the photo with the girl and the curtain, and I tried to replicate that lighting in the raven and the flower bouquet, though I don’t think I did it that well. I used lots of adjustment layers to try to make the colors fit together as best as I could, and I think that in total, the colors in the picture are really nice.
Before and After
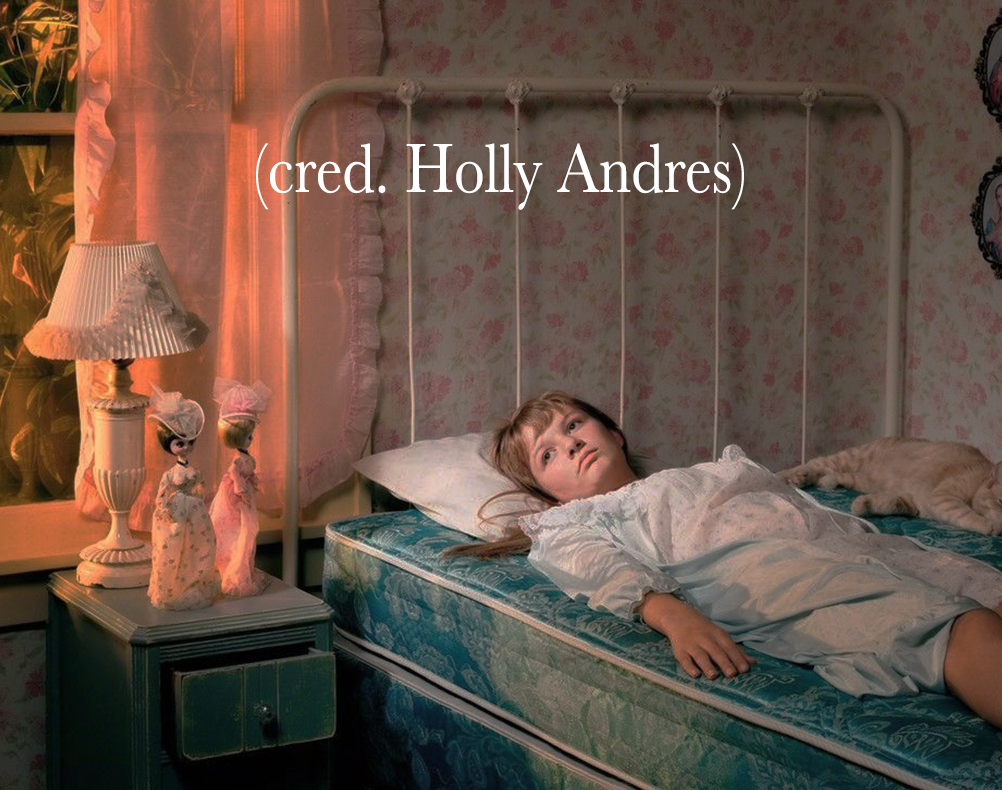
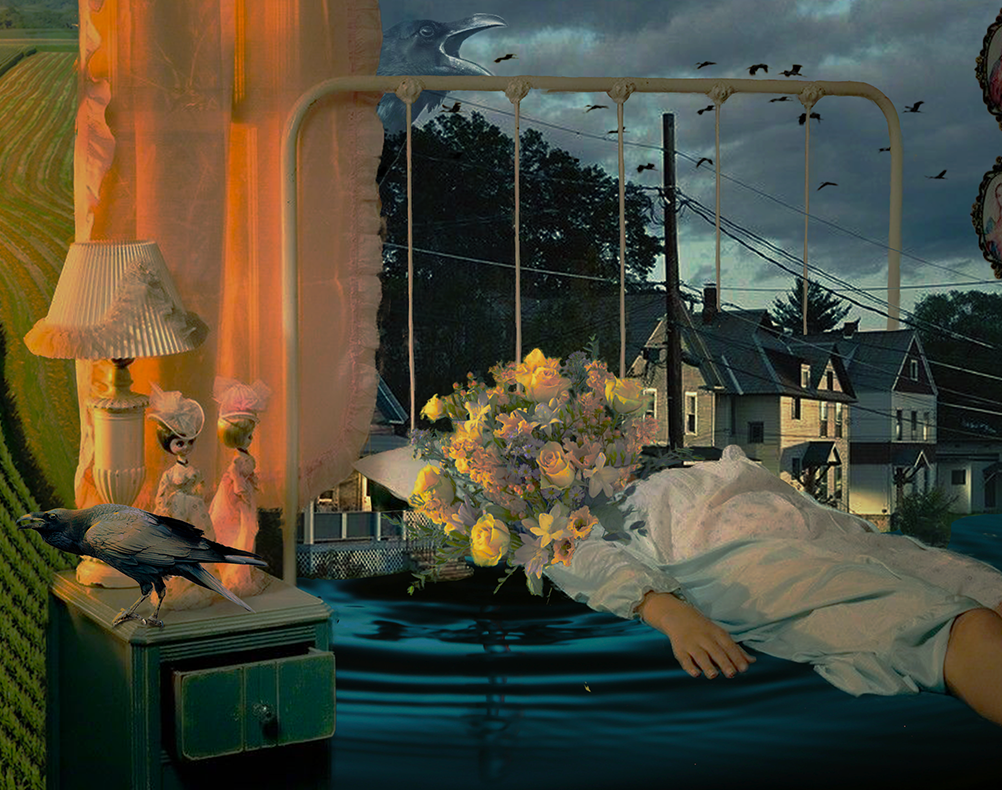
The whole composition I made was inspired by and based off of the “Before” image. I was inspired by the cinematic lighting and the nostalgia-Americana vibe.
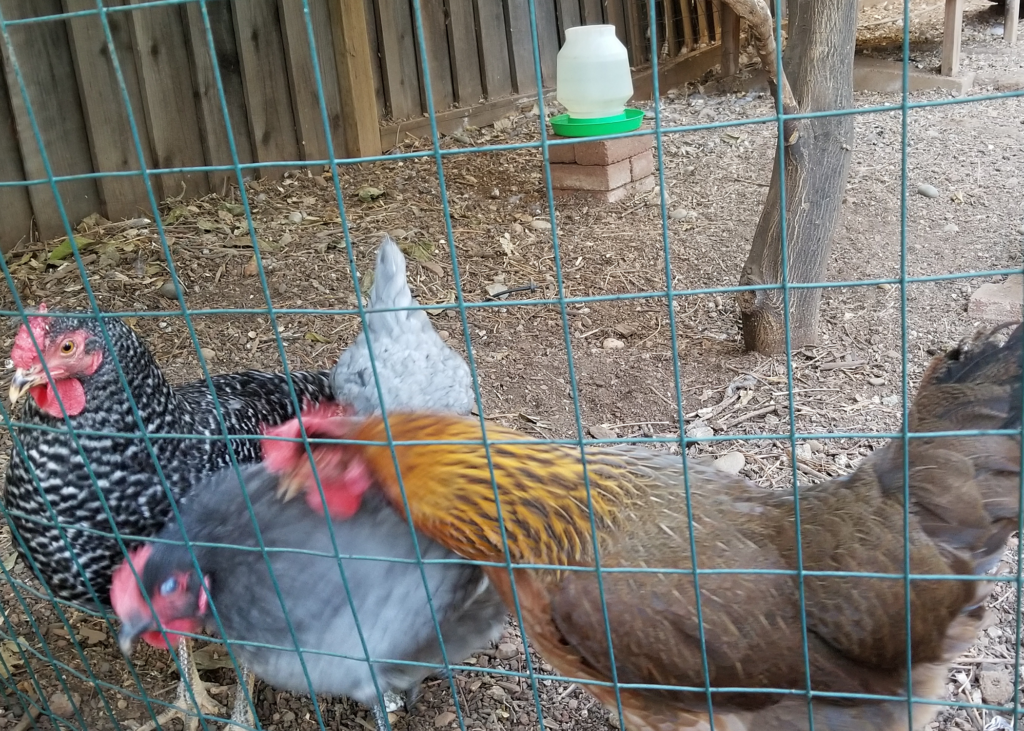
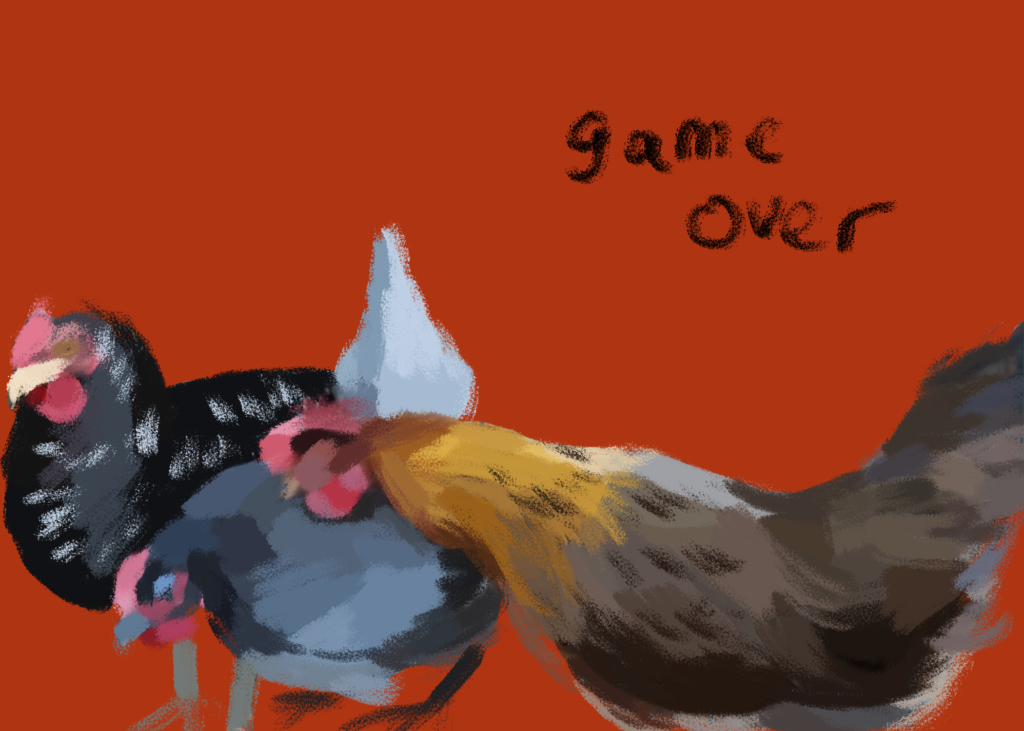
Pastel Painting
This is one of the Photoshop exercises we did to practice painting. For this project, we traced over real photos using various pastel brushes available for Photoshop. Below are my original photo and my pastel painting.
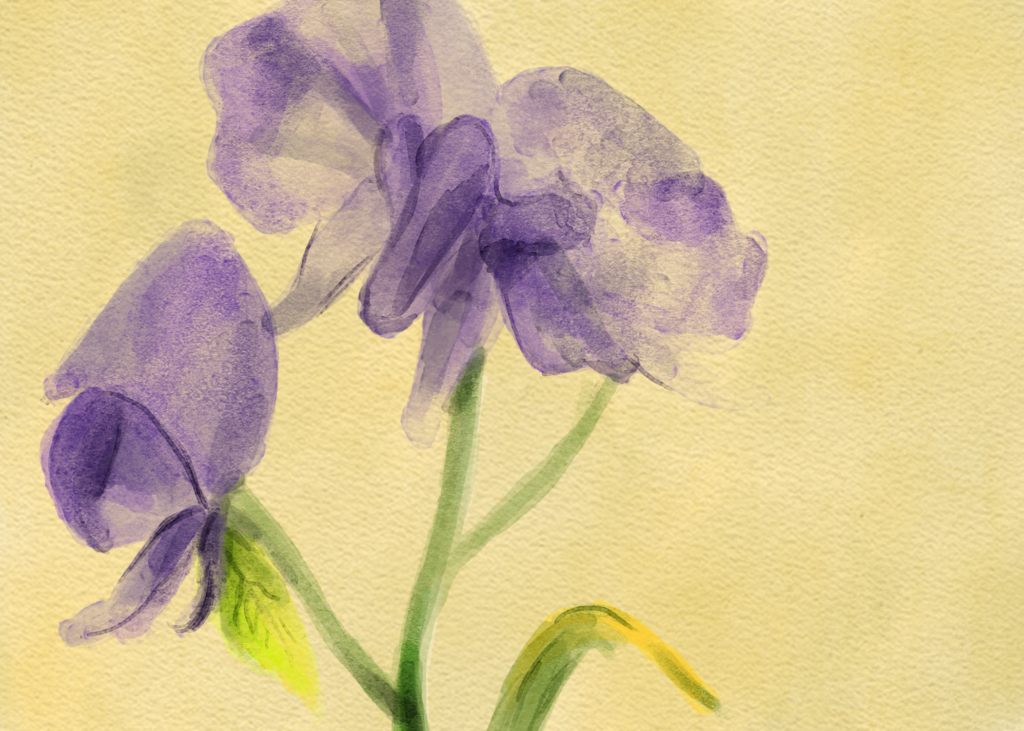
Watercolor Painting
This was another painting exercise for Photoshop, but practicing watercolor brushes, which are a lot harder to use because the opacity builds up and it’s more difficult to get smooth colors. I also added a watercolor paper texture in the background to mimic real watercolor.
Photoshop Painting
After the two practice paintings, we did a final painting that was free concept. I used the Kyle gouache brushes to paint mine. The brushes in that brush pack have a drier texture than the watercolors, but can blend colors unlike the pastel brush set.
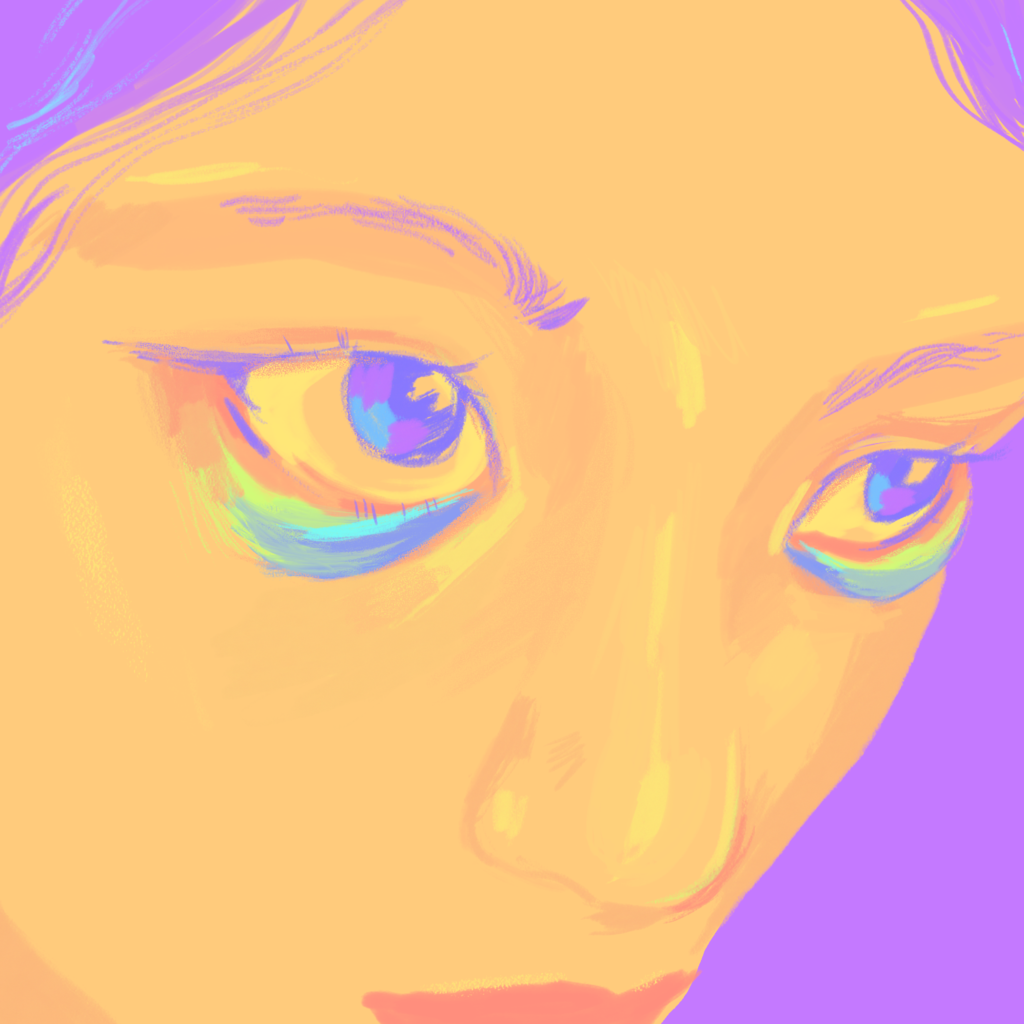
Title: i! want! macaron!
With this painting, I wanted to make use of the new Photoshop brushes I got. I used the Kyle gouache brushes. The thing that I struggled most with was an idea to paint. I wanted to draw something more complex. I wanted to draw a fork going into a cake but I couldn’t find a good reference for it, so I just went with something easier. I draw a lot of faces. I wanted to mix up the colors because faces are pretty cliché. I thought it would be fun to have all the colors have the same saturation and lightness, and just different hues. I like the rainbow in the eye bags and the stroke shapes in the eyebrows and hair. I just wish that I chose to draw something more interesting, and that I could have tried to get more of the paint texture in there.
Whenever I paint stuff, it makes me really appreciate how creative people can be, because I always look at other people’s art and wonder how they come up with such good ideas.
VR 360º Gallery
We used photoshop to create 360 degree images that are viewable in VR. You can click and drag this to view the images. Two of the things in my gallery are k-pop edits that I made, which you can probably tell.
Before and After Feature
3D Weapon Model
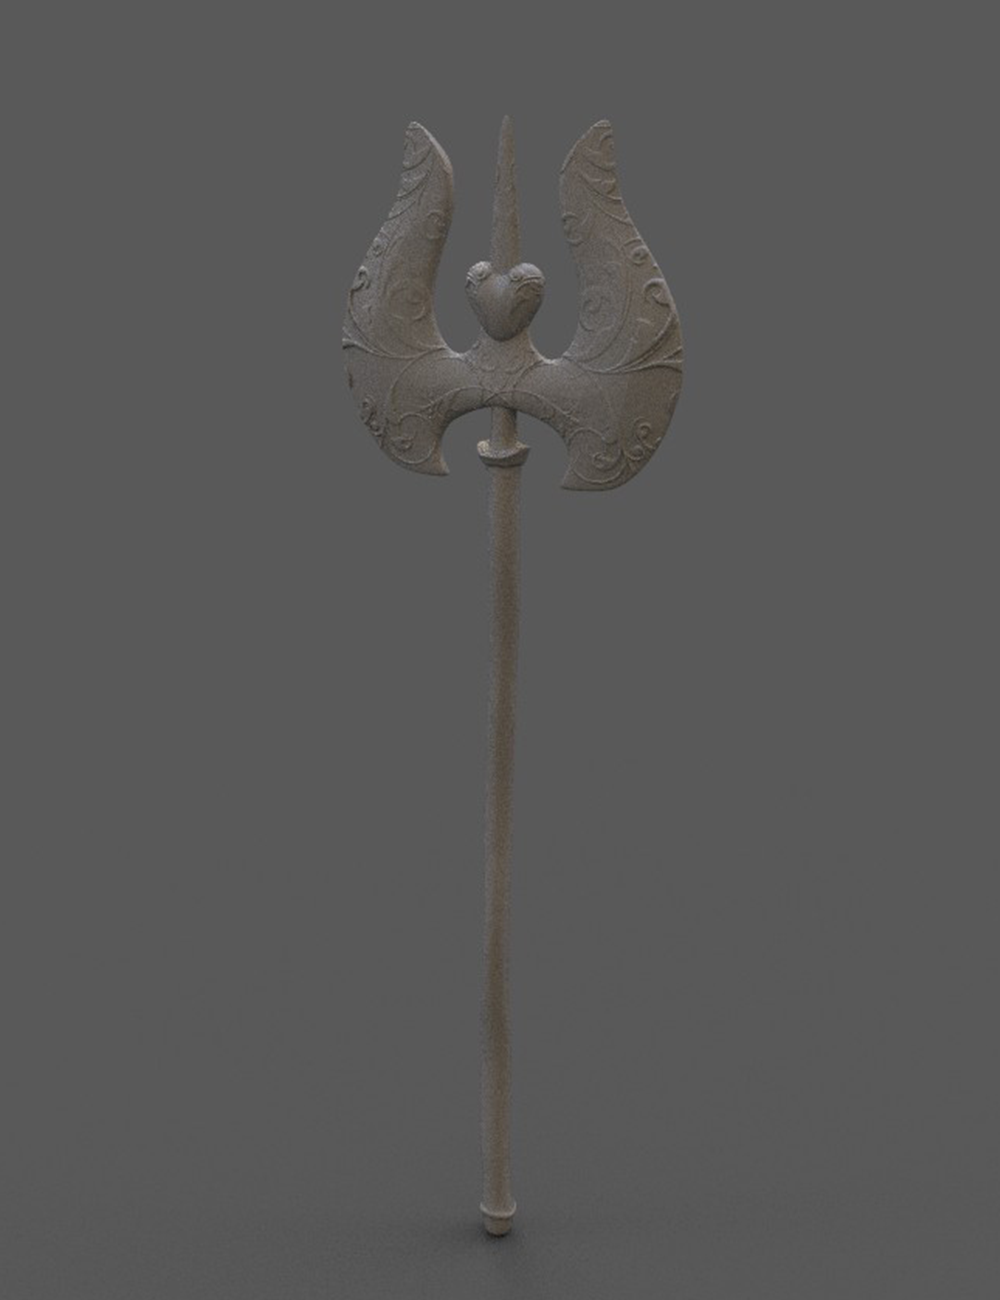
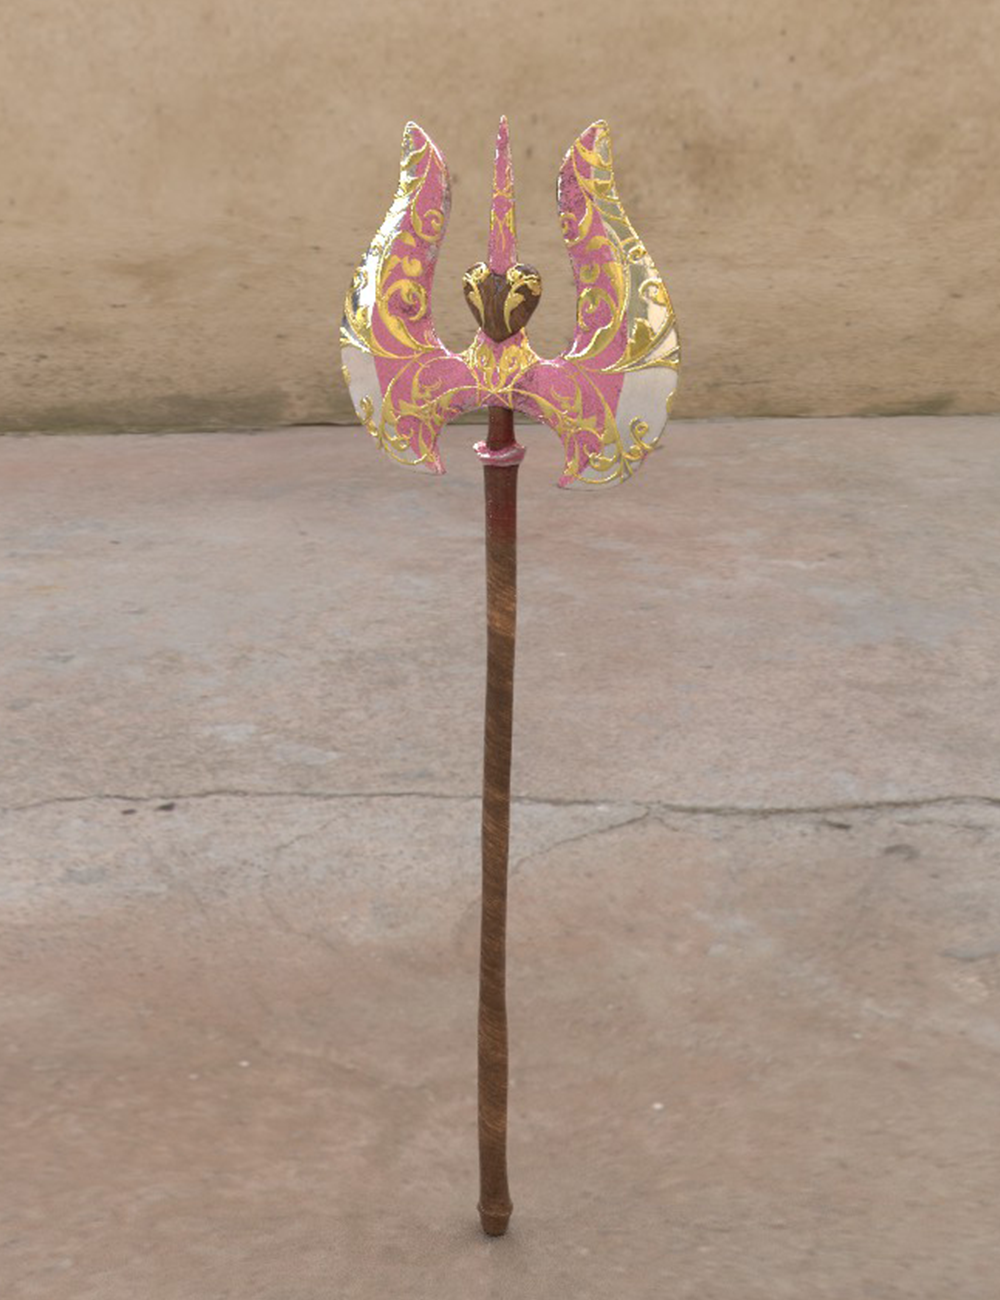
I made this 3D model in my Animation class. The “Before” image is the plain 3D model, and the “After” image is the model after I added color in Substance Painter.
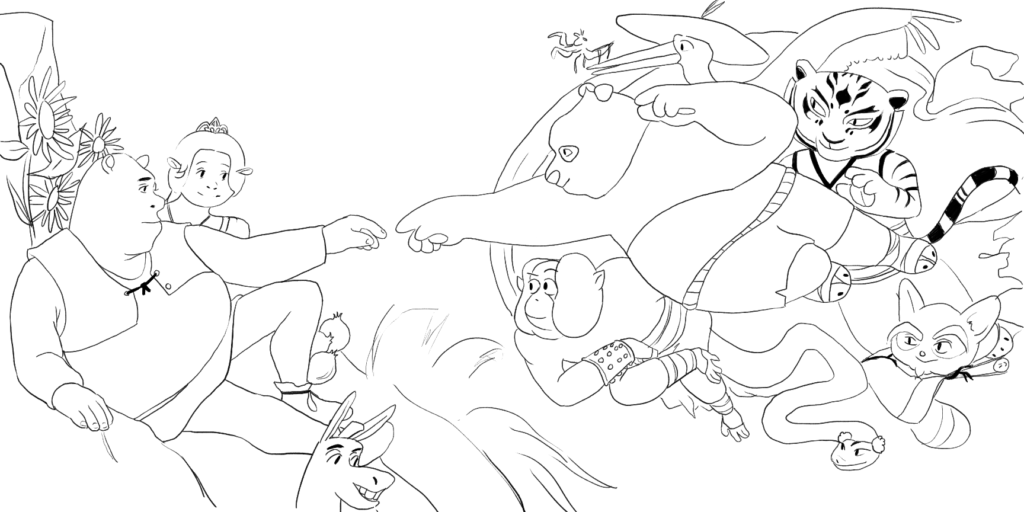
Multi-Layered Art
In this project, we created multi-layered art using Adobe Illustrator and cut the physical pieces out using a laser cutter.
I made this work of art with Vivian Huang. She loves Shrek, I love Kung Fu Panda, and this piece represents both our shared love for Dreamworks and our friendship.
To produce this, I drew the original design in Photoshop and Vivian did most of the work in Illustrator. We are a good team. It was pretty easy to design because I basically just traced over a picture of the original Creation of Adam painting. Drawing Shrek and Kung Fu Panda is fun. I think everyone should try it some time.
This video shows how I constructed the final piece.
In class, we learned how to use 3D space in Adobe After effects, and I used those skills to make this short video.