Mandala
Our first Digital Media project of the school was the mandala project, consisting of five parts. Using Adobe Illustrator, we started by creating various templates, with different numbers of “slices” in each. Once we selected a template (I chose the 12 slice one), we drew repetitive lines and shapes using the black brush tool to create a beautiful pattern. Then, we made a colored version using either our original black and white mandala or making a completely new one. We also laser cut the mandala onto a material of our choosing, with options ranging from plastic to pizza boards to LED light stands.
If the images do not display below,
On a Mac, press Command + (plus) then press press Command – (minus)
On a PC, press the Cntrl + (plus) then press the Cntrl – (minus)
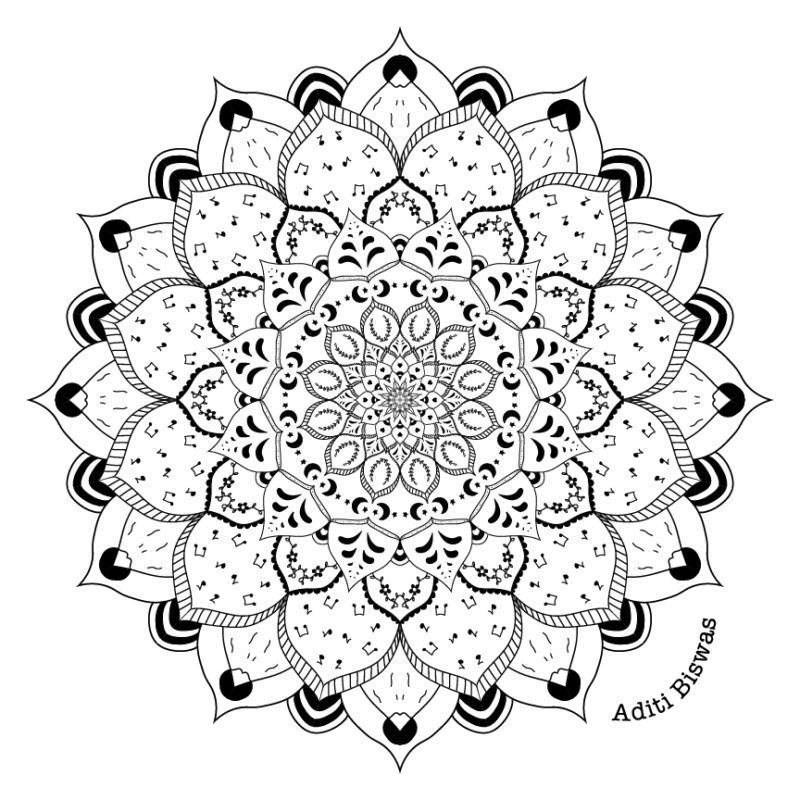
Black and white mandala artist statement:
My inspiration for this project was different doodles that represent me, like the moon and flowers. I wasn’t sure how to begin this project originally so I started by drawing petals and alternating between filling them with patterns and doodles. I am most proud of the center because I like how detailed it is. If I were to do this again, I would definitely try making it look more 3D through adding detail and filling in shapes. Overall, I enjoyed this project and the chance to practice using the Wacom tablet.
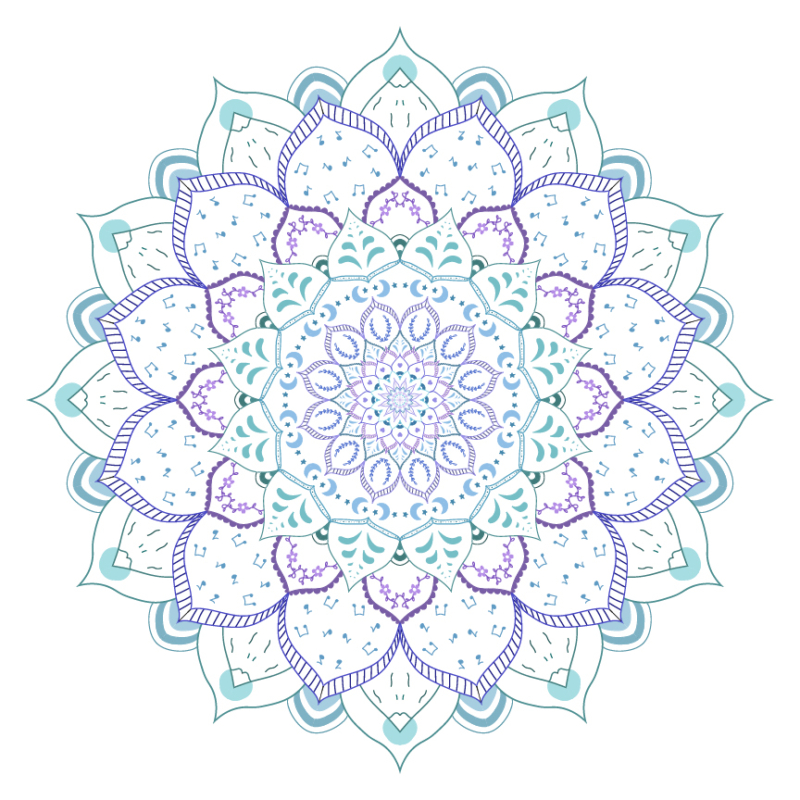
Colored mandala artist statement:
For my colored mandala, I used an analogous color scheme with various shades of blue and purple because I felt they represented me well. I started by filling in the shapes with color, but I didn’t like how it looked so I colored the strokes instead. If I were to do this again, I think I would try to make the pattern of colors more consistent by using lighter colors in the center and making them darker as I went further outward to create a sense of depth. Overall, I like the final result and the contrast with the black and white mandala.
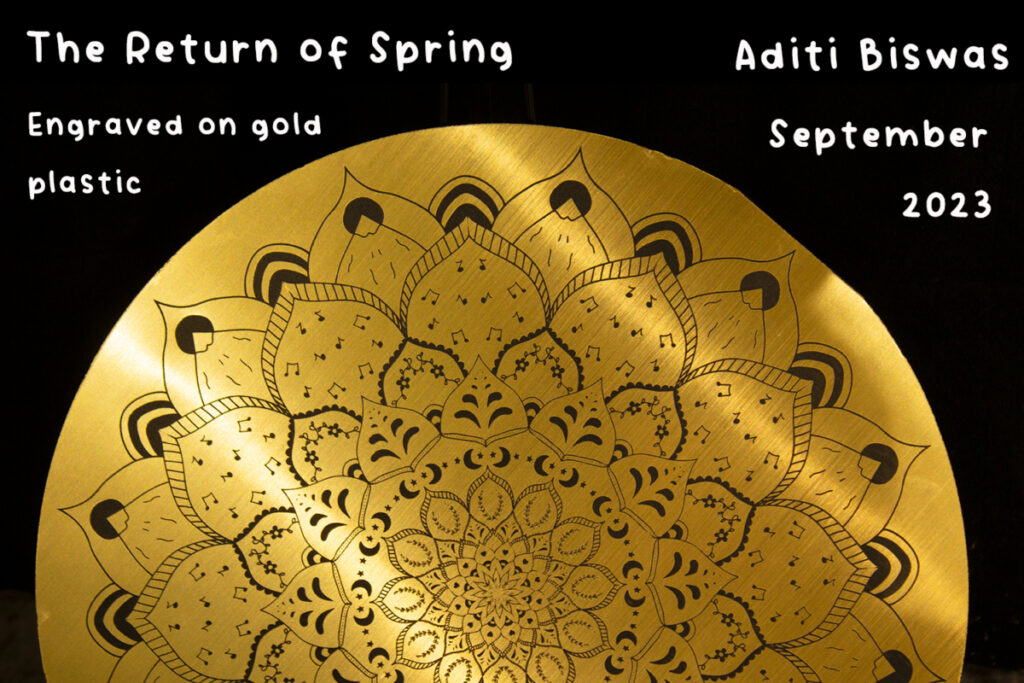
I chose to engrave my mandala on gold plastic because I liked the contrast between the black engraving and shiny gold background. I took the picture in the photo studio and used the black curtain as a backdrop to help the gold stand out. In Photoshop, I used a 25% screen layer to subtly brighten the overall photo.
Motion graphics
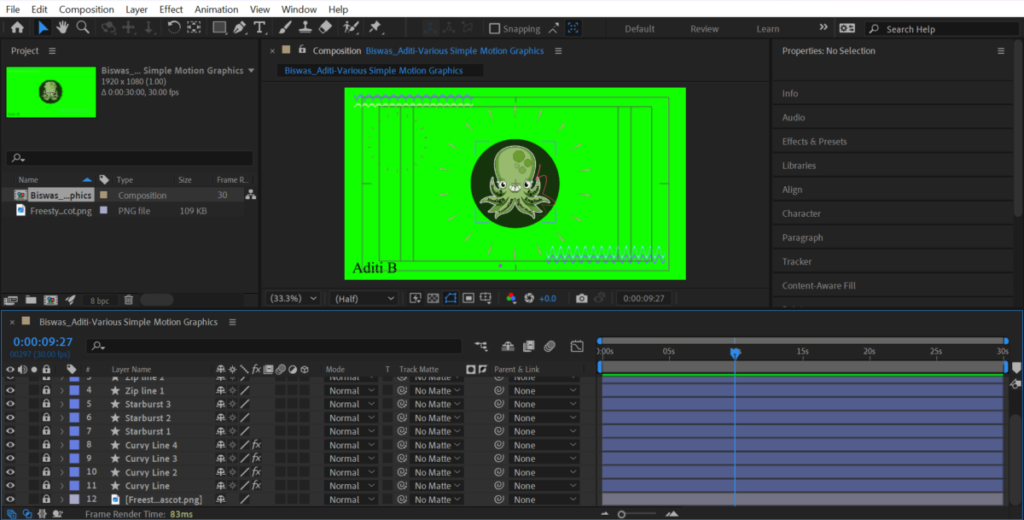
We also expanded our Adobe After Effects skills by creating videos using motion graphics and applying them to our own images and audio.
Syncing images to audio:
Placed bouncing text behind the person walking:
Used simple motion graphics like starburst and zip lines: