Introduction
For the first semester of Animation, we started exploring the world of 3D modeling. There were two main focuses for software: Maya and ZBrush, which both work in very different ways,
Maya is a modeling software, similar to Blender; it has the ability to make almost anything, from trees, temples, people, furniture, and more through the manipulation and combination of basic 3D shapes. ZBrush on the other hand, is more like manipulating clay; it has an assortment of brushes that help to develop and add details to any object.
Skull and Head Models
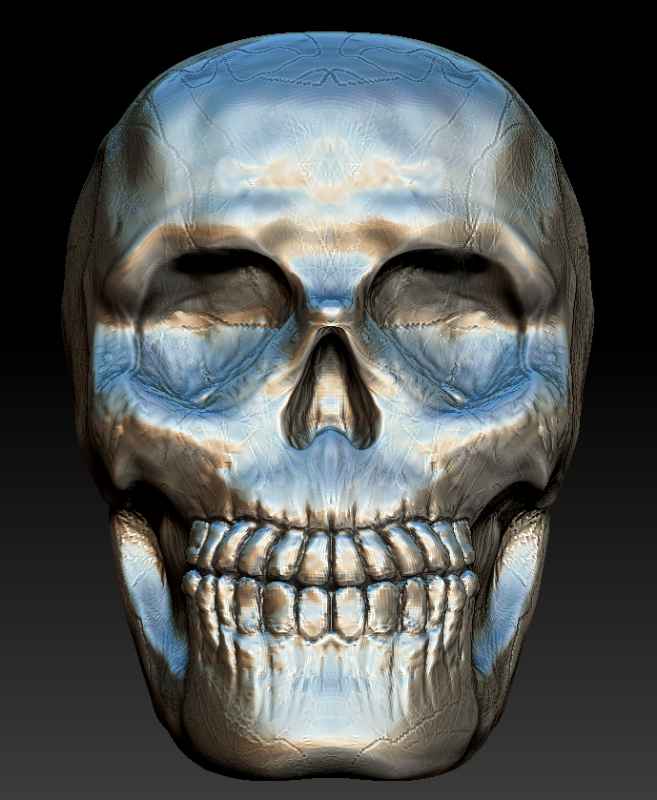
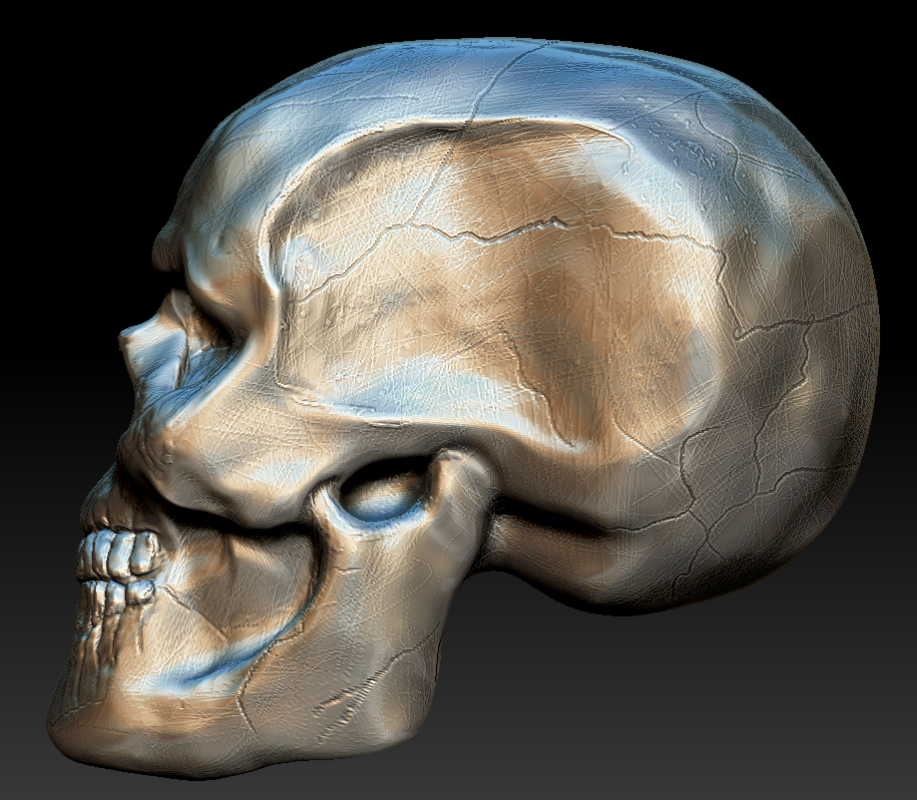
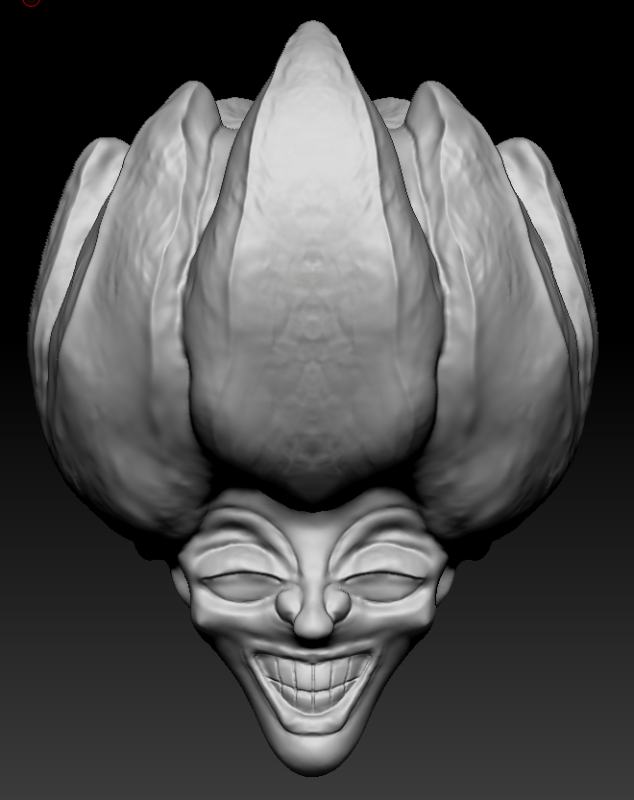
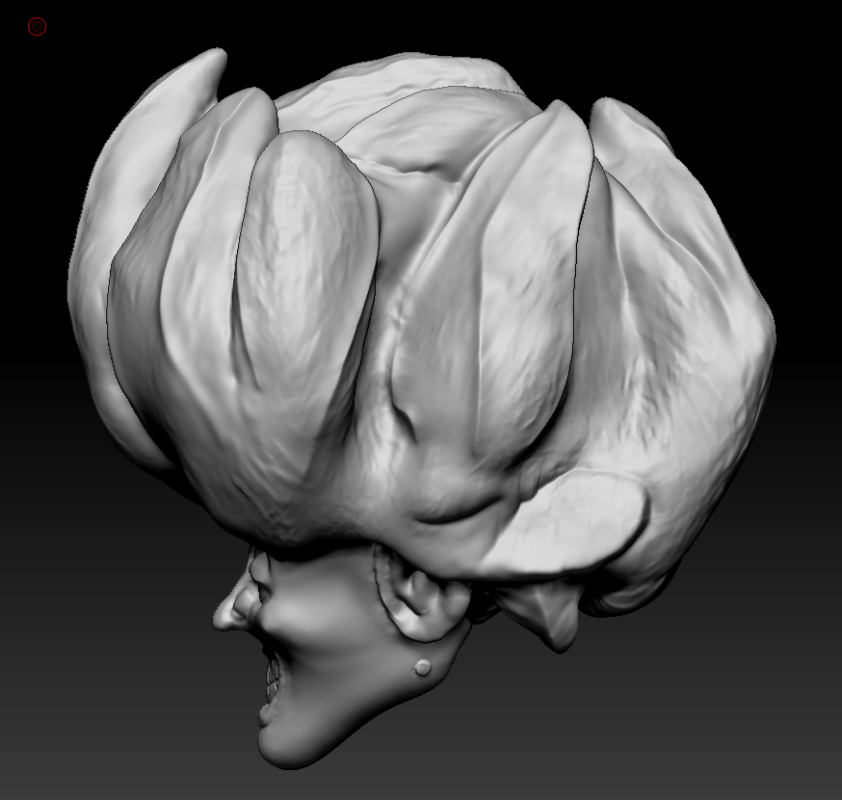
There were the only two models that we created only in Zbrush, and were both introduced as an introduction to the software. Using a Dynamesh sphere, along with the move, clay, smooth, and other brushes, we made a Skull and a Head.
In ZBrush, there are a few useful brushes that we used to create these models.
- Standard — Useful for basic sculpting
- Smooth — Smooths hard edges out, which is especially useful to correct mistakes that can’t be easily undone
- Move — Moves a portion of the model to anywhere I want, though it’s generally advised to re-Dynamesh the model after using it
- Masking — While it doesn’t directly affect the topology, it lets other brushes focus on a certain area to not ruin other portions of the model
- DamStandard — Incredibly useful for making visible outlines
- Clay and ClayBuildup — Useful for “adding” more size to your model in a smooth and harsh method respectively
- SnakeHook — Similar to the Move brush, except more extreme
- Cloth — Creates a ruffled look, just make sure to turn off the RGB option or the model will obtain a rainbow-colored effect
For the Head and Skull model, I used all of these different types of brushes to create a finished piece. Both models are shown below:
Game Model Weapon
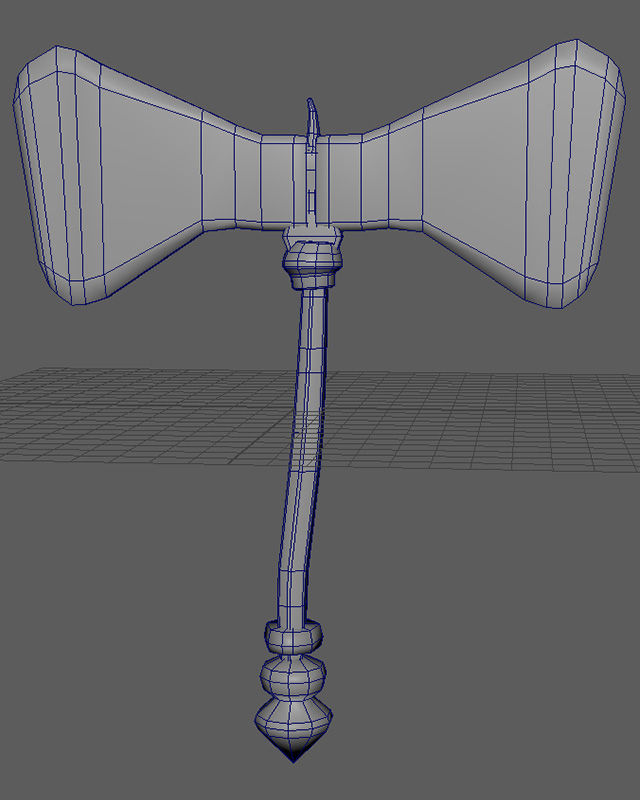
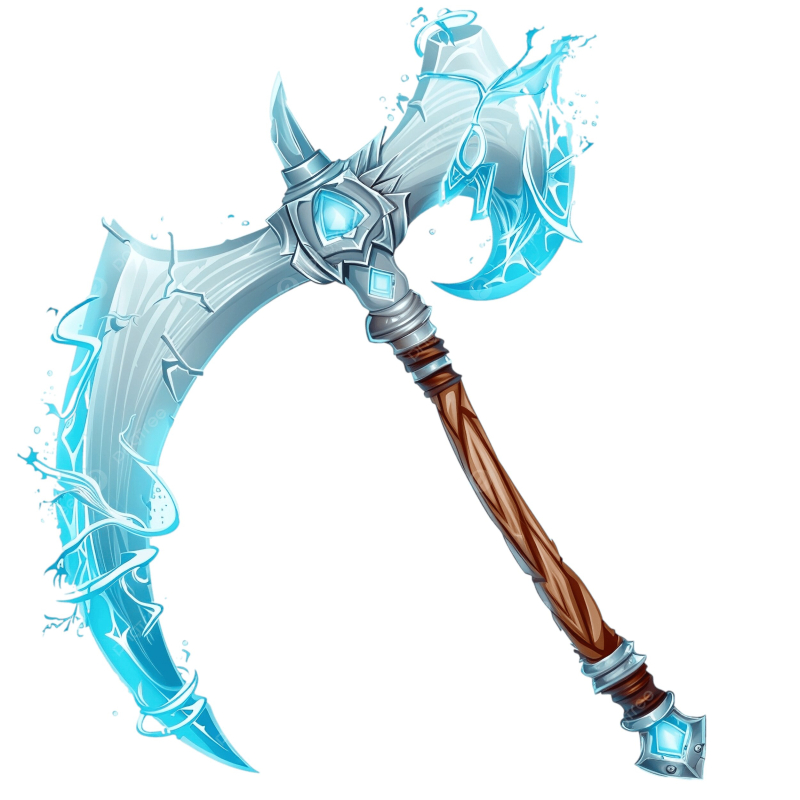
For this assignment, we started by first pulling references and placing them in Maya. Then, using basic objects, we constructed a low poly version of the weapon.
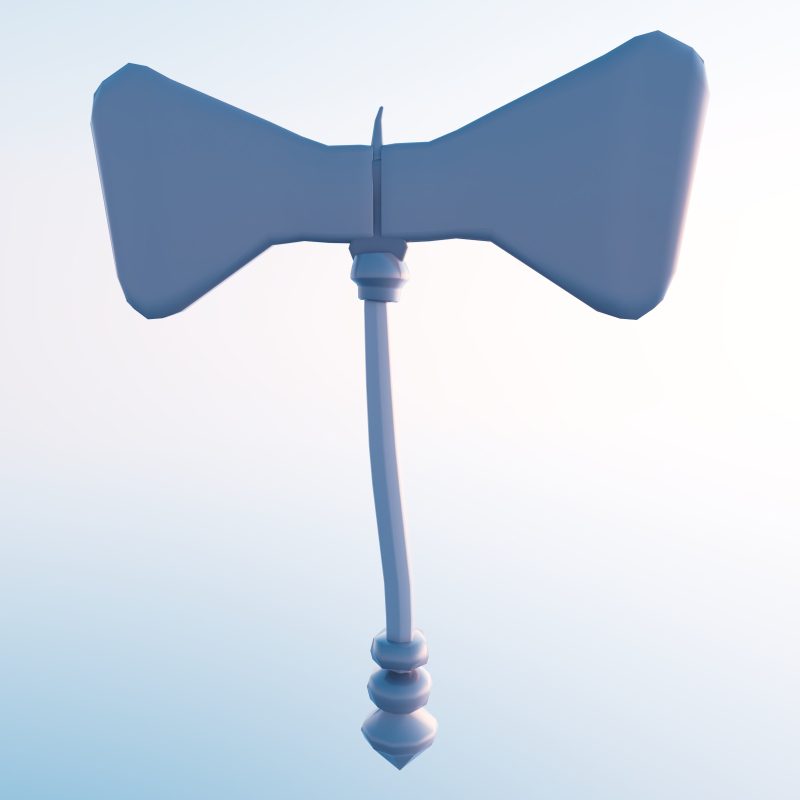
During this process though, I did change my weapon a little bit away from my reference and took my own creative liberties. I also had to remove a lot of detail to keep the poly count under 5000 faces, overall I’m pretty proud of how it turned out!
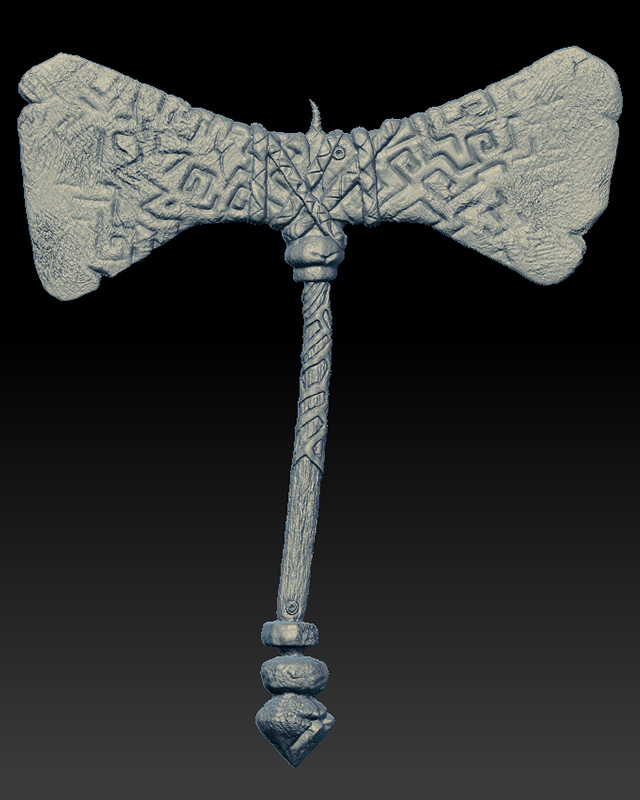
Later, we imported our model into ZBrush to add details. Since my weapon is a stone axe, I added a rock texture throughout most. of the model, and I even added a wood texture on the handle. This wood and stone texture is actually from using ZBrush alphas — images that one can imprint into a model to change its topology.
When showing my final product to my teacher, he recommended. to add a bit more detail on the face of the stone axe, as it looked a bit bare. Thus, I added a kind of pattern, which although I’m not sure if there are any stone axes with this sort of pattering, I think it fits the model quite nicely.
Below is the Maya and ZBrush version of the weapon; slide the slider to compare.
Furniture Model
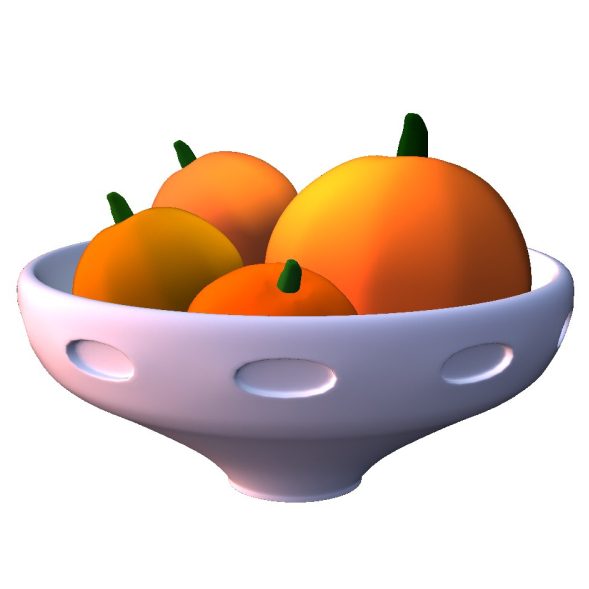
The journey throughout the furniture assignment was probably the most fun out of all the others, excluding making the character.
Near the start of the year, when we were introduced to Maya, we were tasked to make anything we wanted. I decided to make a bowl of pumpkins.
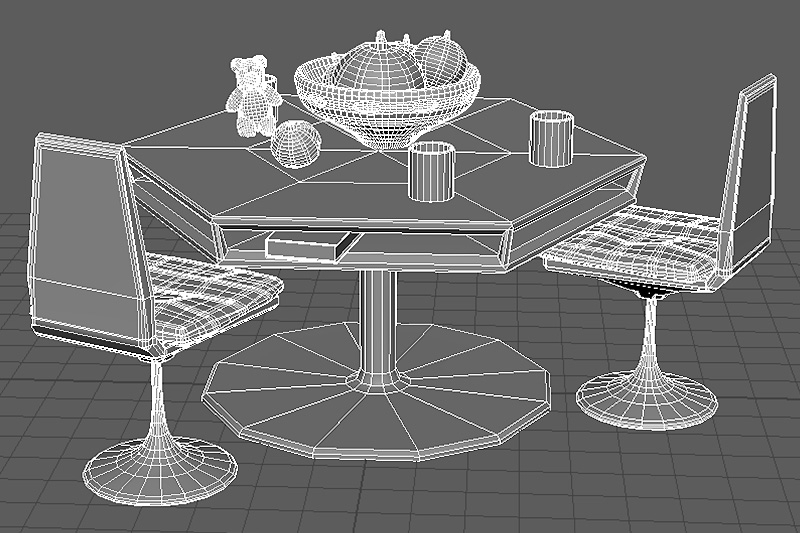
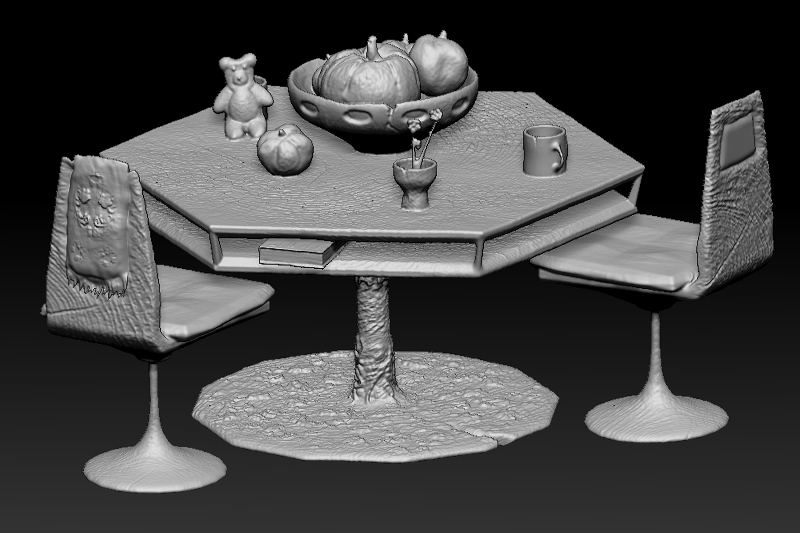
The next assignment was to make a set of furniture with an assortment of decorative items. Luckily, I could use this bowl of pumpkins to add a “center piece” to the table I created. I also added some cups, chairs, a book, some cushions, and a teddy bear.
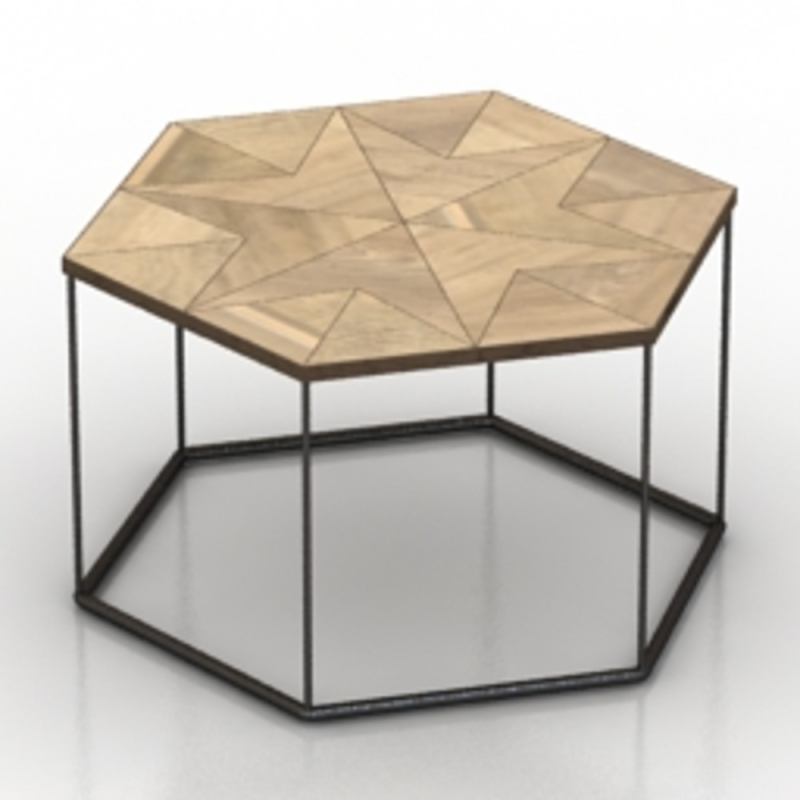
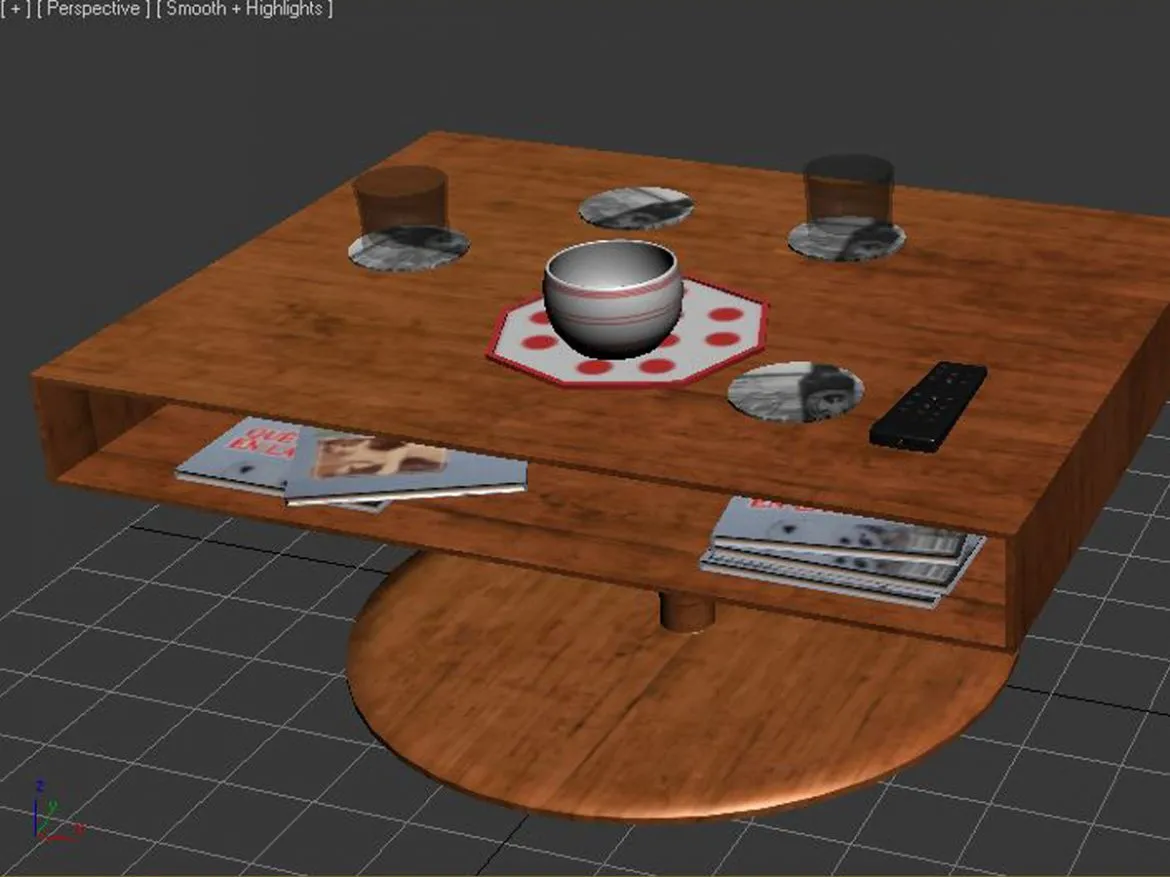
For the table, I combined two of my reference images. Notably, I used the hexagon shape from this reference image and the hollow space (acting as a sort of compartment) from this reference image.
Nearing the end of the year, we revisited this model and imported into ZBrush; this time, we needed to add more details to the model. I also used this opportunity to add more objects — I added flowers, detailed cloth on some of the chairs, and handles on each cup on the table. I also added a reference on the book; try to see if you can tell what it is.
Below is the Maya and ZBrush version of the furniture set; slide the slider to compare.
Reflection
Even though I had some prior experience in 3D modeling through Blender, I was surprised how much I’ve learned over the past few months, especially through ZBrush. It was also a great introduction to industry standards and methods, such as reducing the Poly count of certain models or using Dynamesh to mathematically maintain topology.
It was also a great experience using references to create models; previously, when I was modeling on my own, I created everything from my own head, which made it difficult to make anything realistic. With references however, I can ensure that my model has proper proportions. It’s also not like I’m following the references too religiously — looking back through all my models, I made a lot of deviations from my references; in some even, such as the axe, I went in the complete opposite direction from the original reference design-wise.
Through starting this year of 3D exploration, I am starting to realize one of my strengths. In Junior year, I noted how 2D illustration wasn’t a strength of mine, and while I have improved a lot, I had to use different, more unconventional methods of animation to make my work stand out. However, I feel as if 3D modeling is more “natural” to me; this new medium is probably my favorite out of the two, and I’m excited to make 3D animations in the future!