The Conceptual project focuses on creative risk-taking through a variety of mediums, creating a unique personal aesthetic. Students use professional equipment and applications to develop technical communication skills. Equipment and applications include Digital Single Lens Reflex (DSLR) Cameras, audio recorders, the Adobe Suite, and WordPress.
The conceptual unit allows students a great amount of creative expression. The acceptance of individualism so evident in this unit provide Freestyle students a clear look at the possibilities that they can have here at Freestyle.
Poem Photos and Recordings

The poetry unit spans all classes at Freestyle. In our English class, students begin with creating a haiku. This haiku is then processed in Digital Media, where students produce a video in which they read their poem. The next poetry project took Freestyle Students to the San Francisco Museum of Modern Art, where we were asked to pick a piece of art we were interested in and write an Explication Poem, which tries to explain the emotion emitted by the piece in a different artistic style. The last poem students created was a Free Verse Poem, in which students were given near complete freedom in creating a poem based around a central statement.

The production of poetry in this class gave me an insight into the types of poetry there are, as well as how to display them in a digital age. Overlaying text and images, as well as utilizing sound effects and editing audio in Pro Tools taught me how to use new applications.

Photo Haiku Photo and Video
The precursor to the Photo Haiku Photo and Video is the Photo Haiku. The photo haiku was a project in which we wrote a haiku, and had a photo that the haiku was written on. The challenge was to personally take a photo that fit the haiku. We then uploaded our Photo Haiku to Photoshop, saved it as a .psd file, and then created a short video, which had an introduction and outro with music and a voiceover of the text.

The Photo Haiku Video taught me how to use Premier Pro, and some simple texts and animations to use to create a more interesting video. We also learned to use Ins and Outs (not the restaurant); fading, so as to make transitions less harsh; and multiple types of transitions, which made the video more interesting.
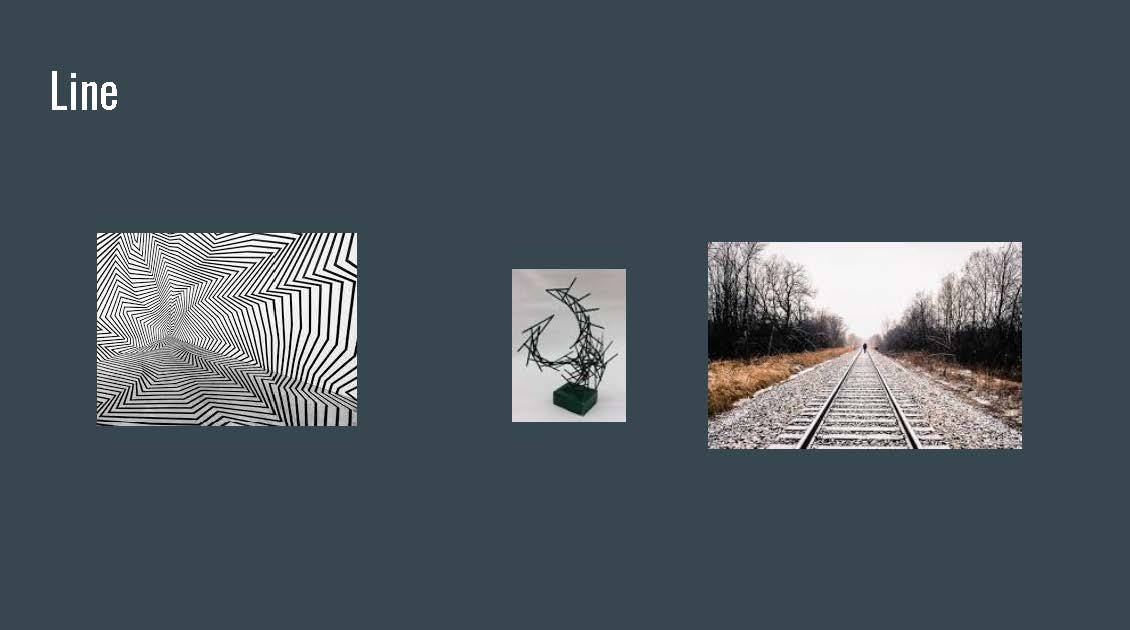
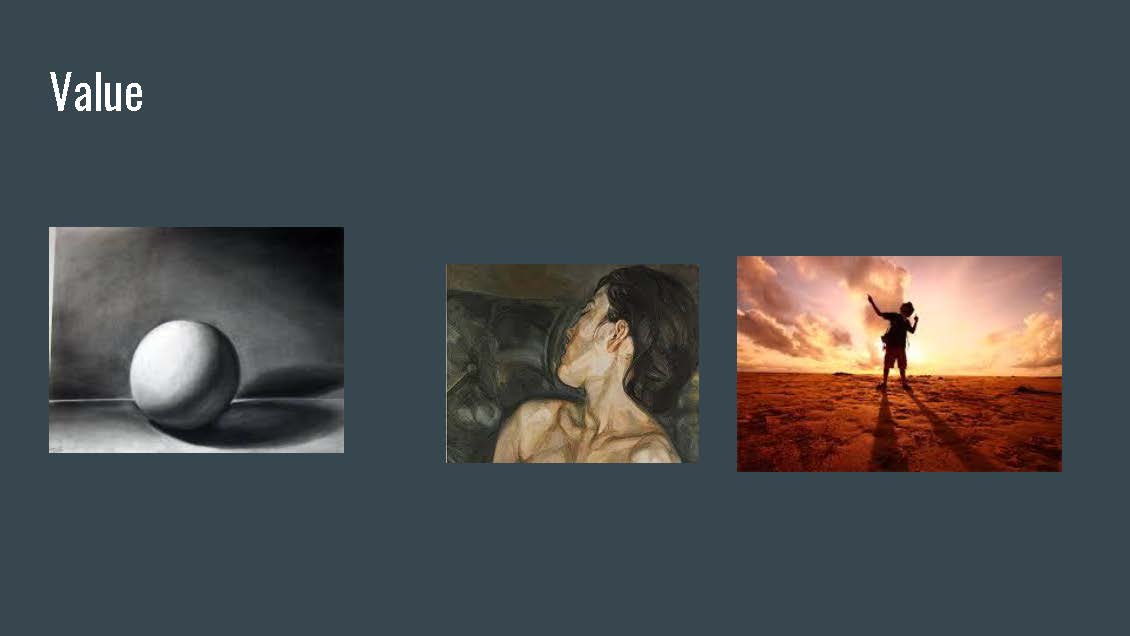
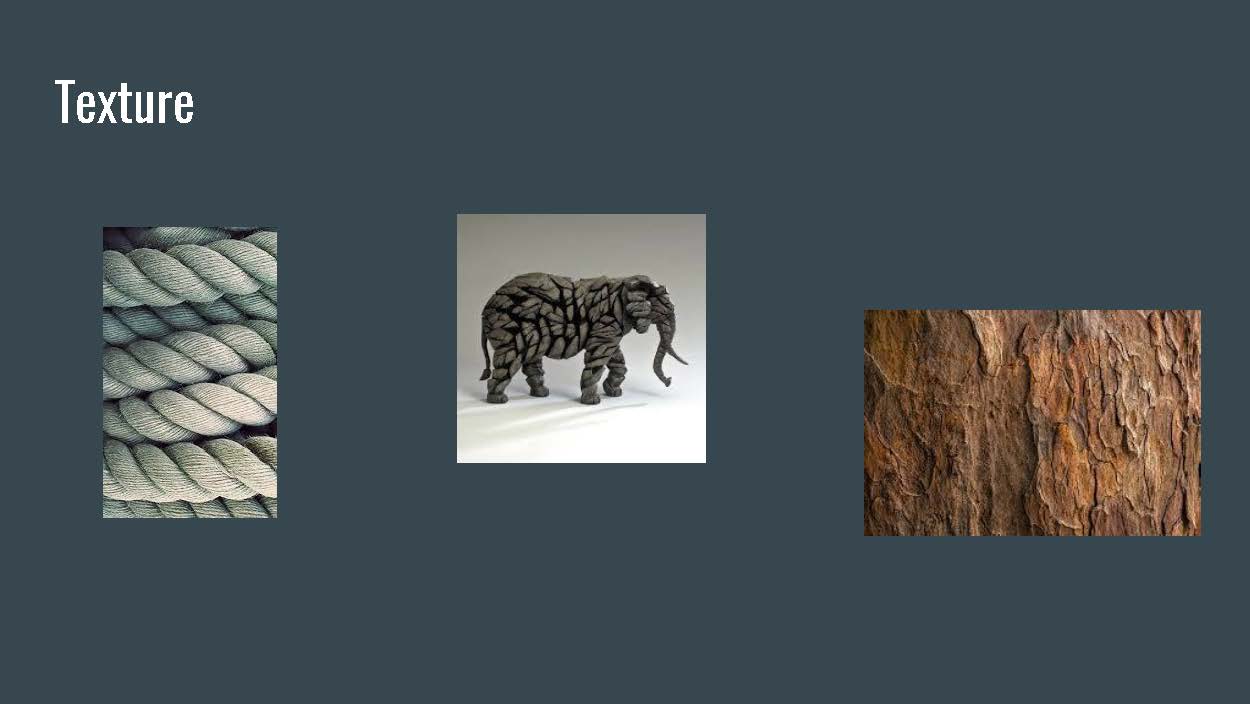
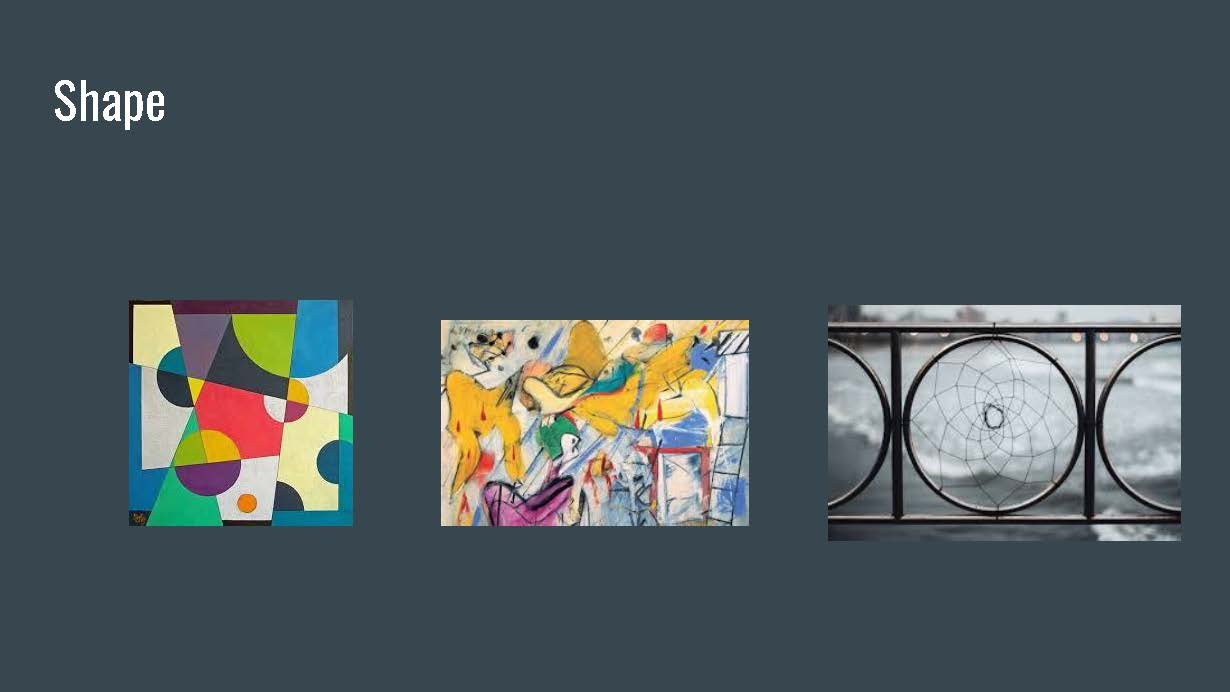
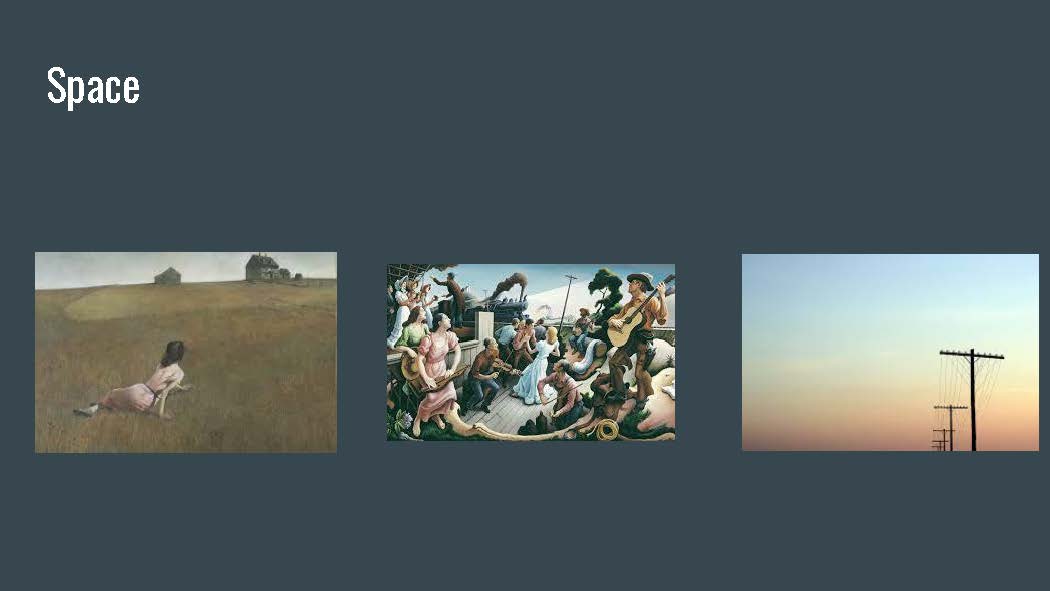
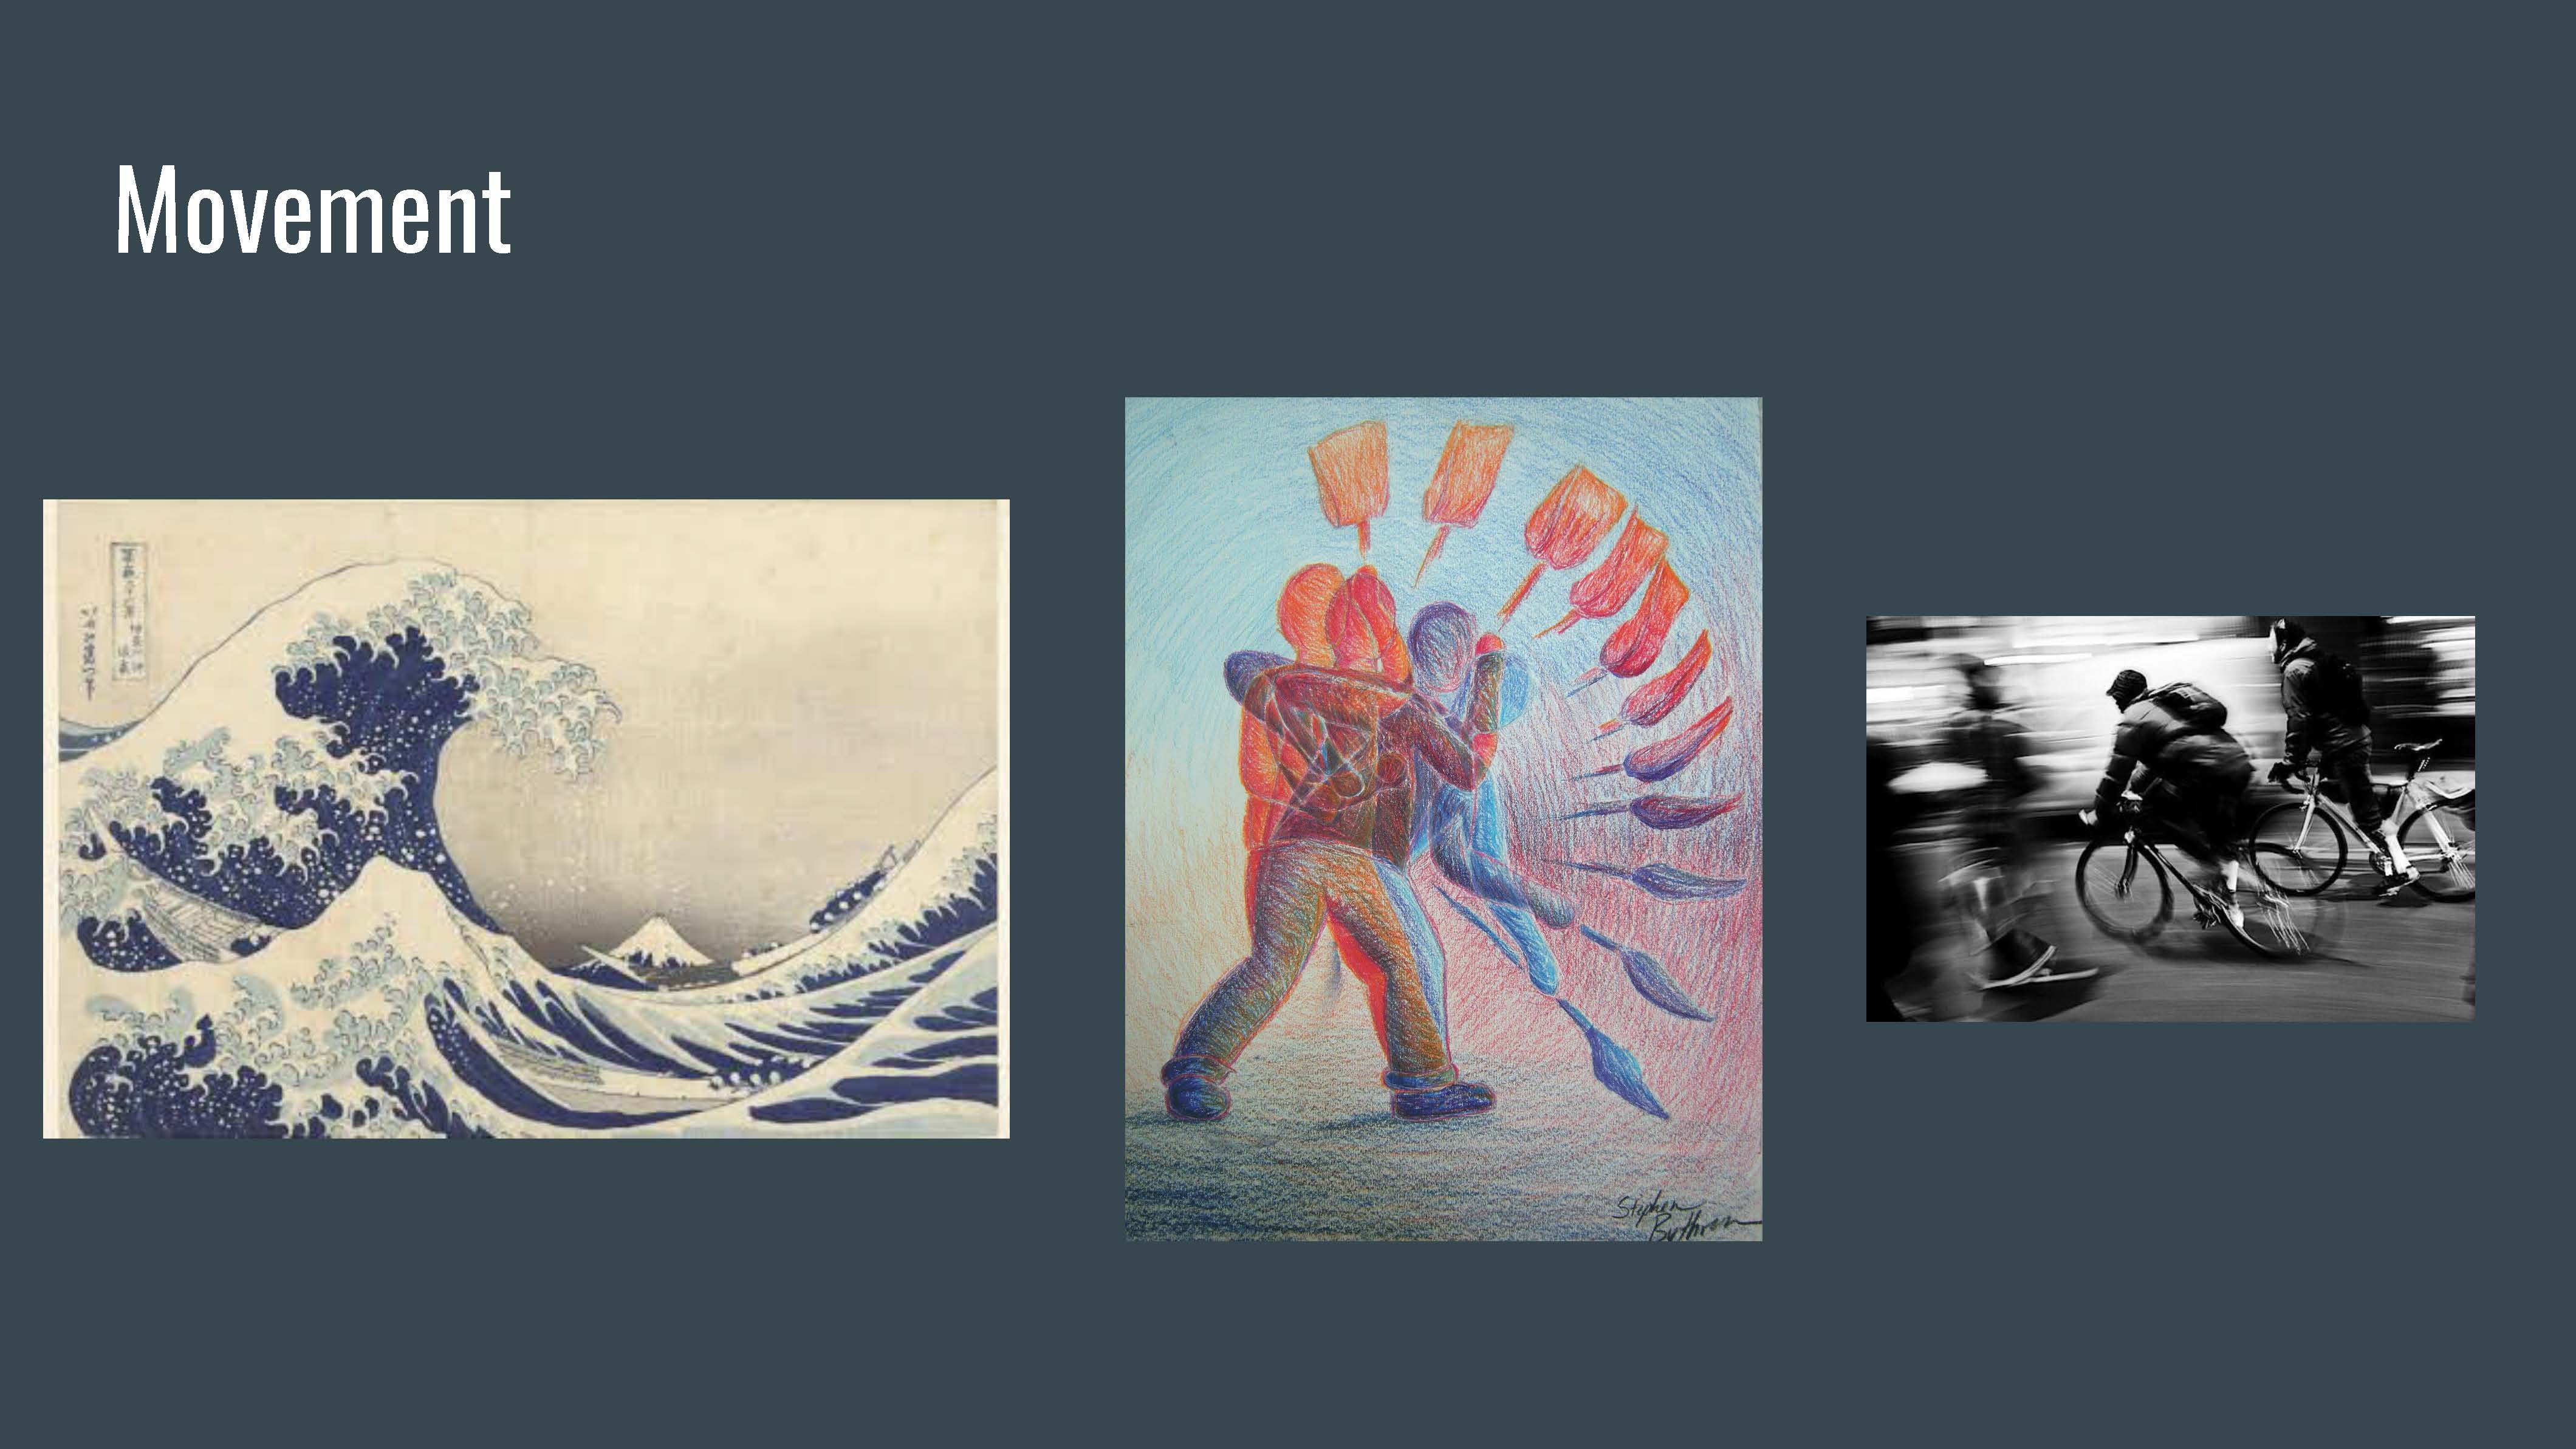
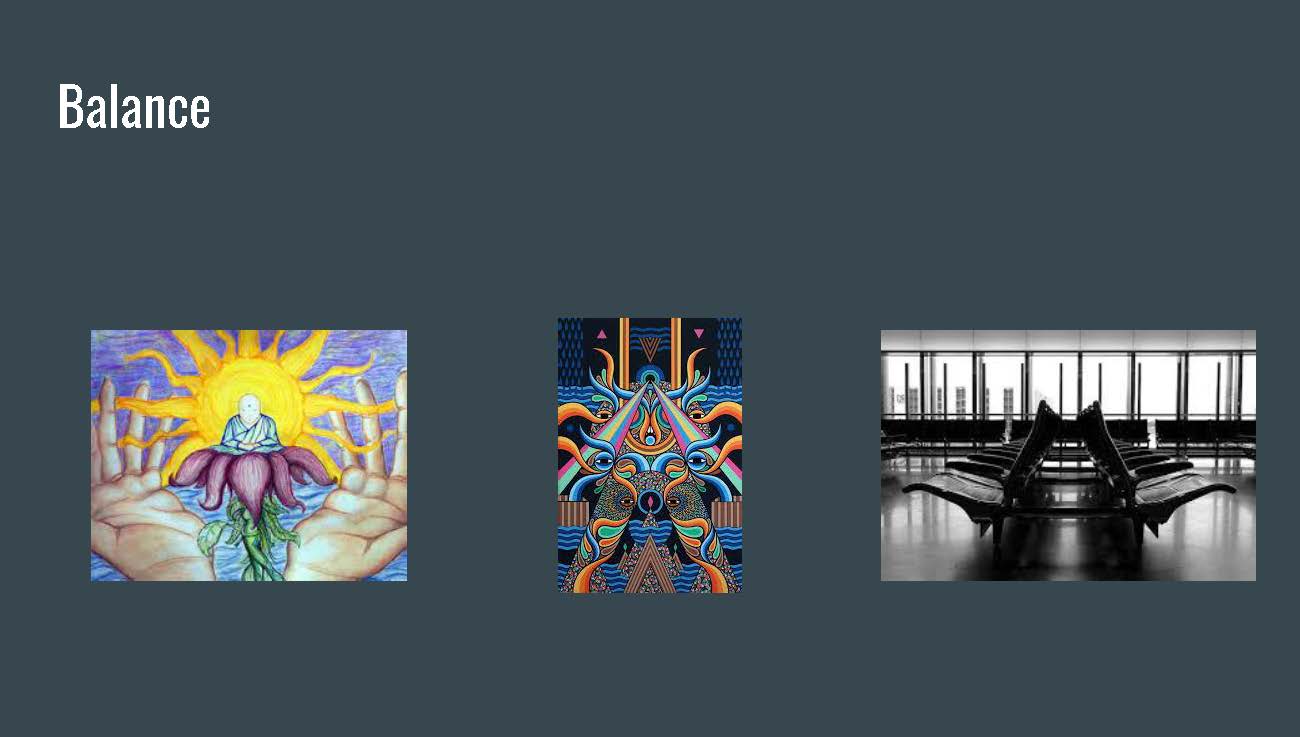
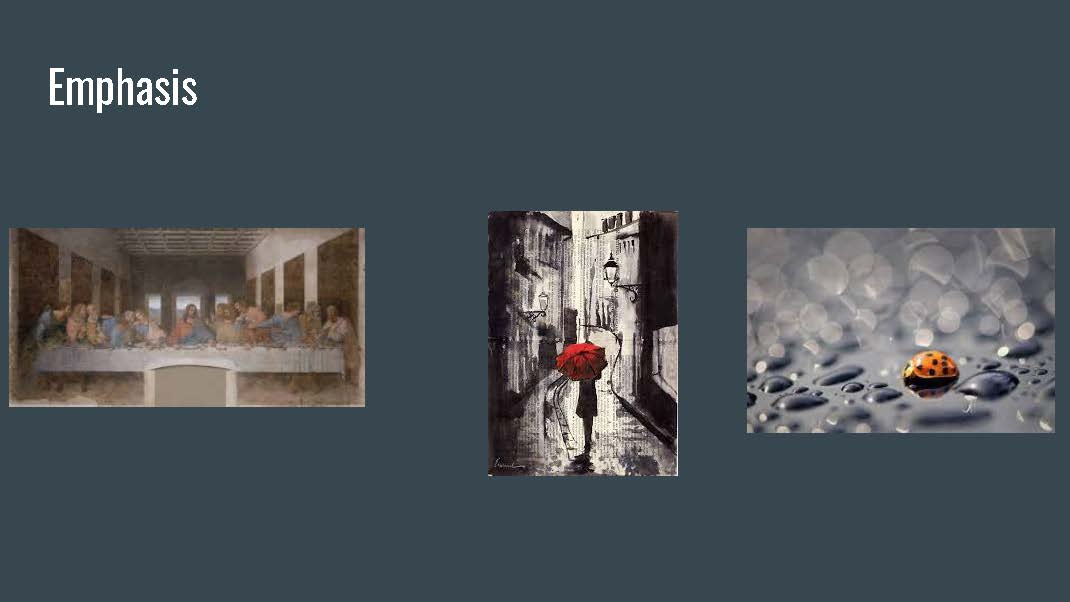
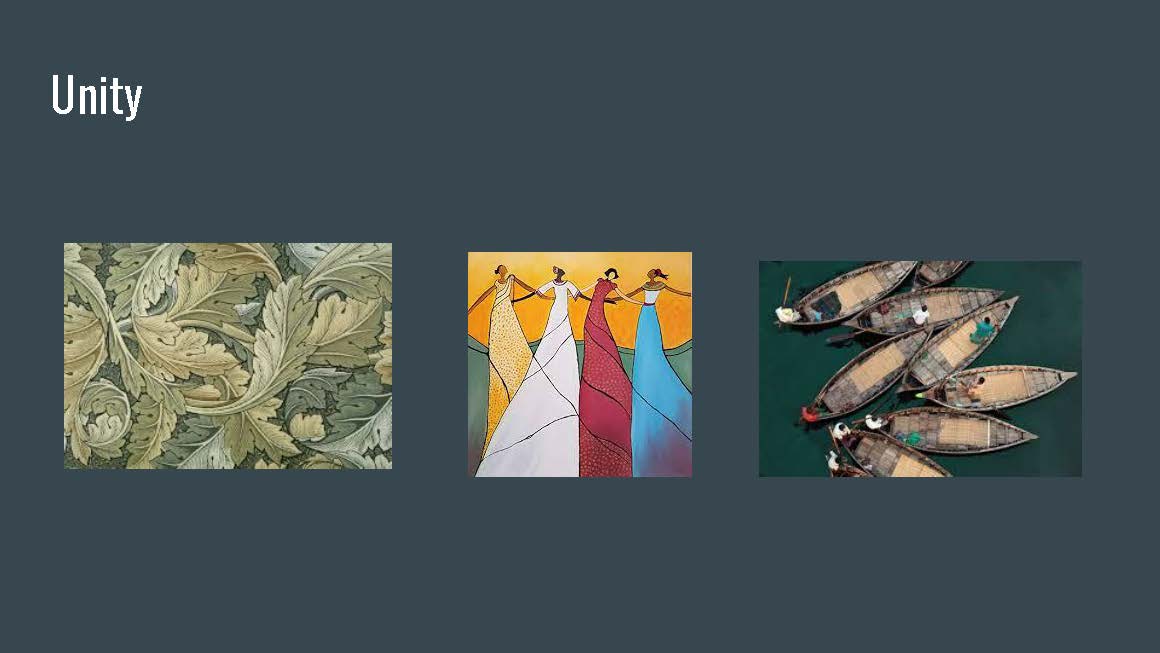
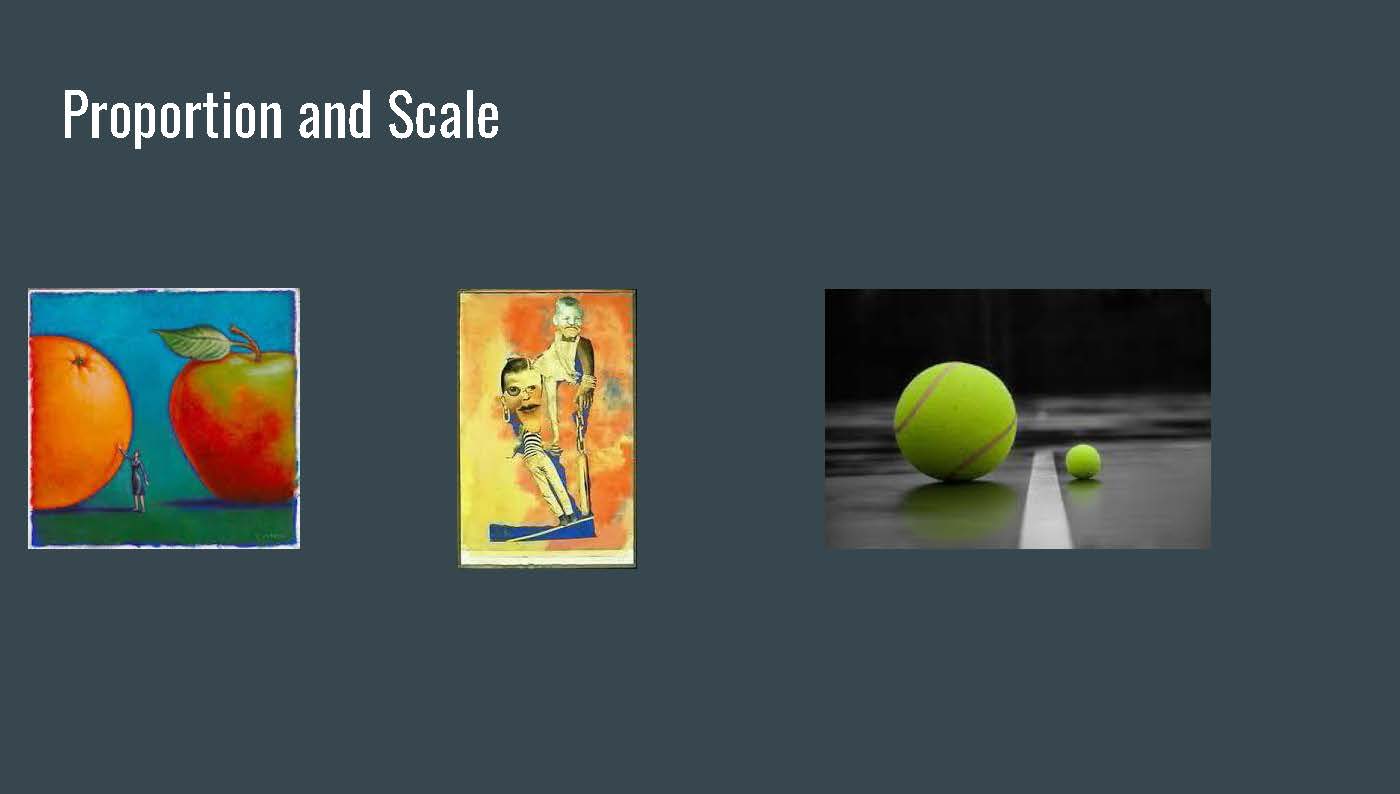
Elements & Principles of Art
The Elements and Principles of Art assignment was a simple presentation in which we learned about the various Principles. We had to make a presentation demonstrating our newfound knowledge on the subject.
Animation
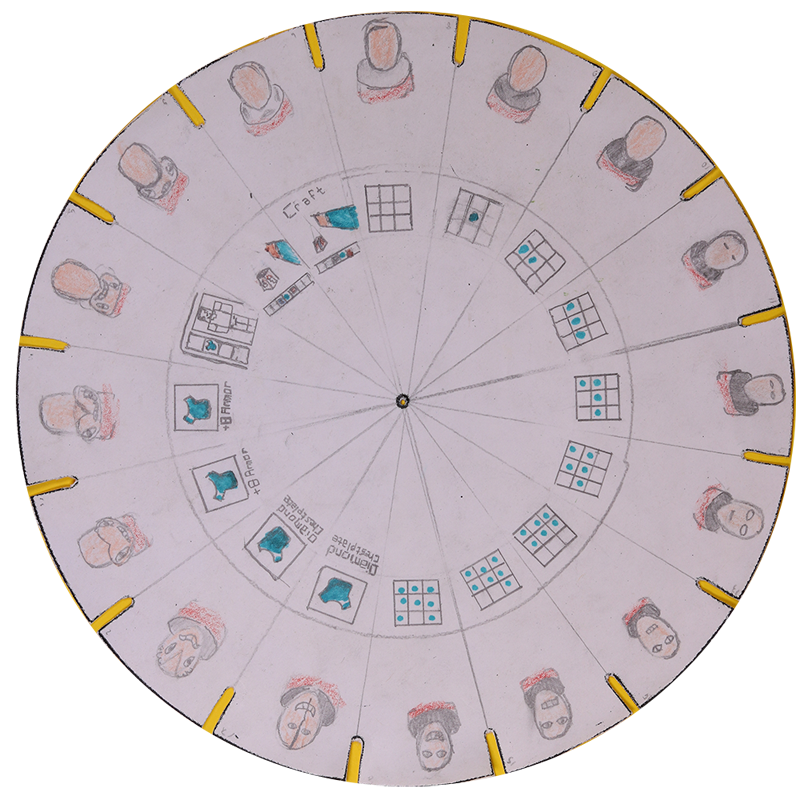
The second animation we created was a Phenakistoscope. The phenakistoscope was the first true animation, developed in the 1800s by a belgian scientist. A wheel, drawn with a certain number of equal frames, was spun while facing a mirror. The viewer looked through slots on the wheel to see the object seem to “move”.

The second animation we created was a Zoetrope. The zoetrope was a collection of strips viewed quickly through slots on a turntable, making the objects on the strips seem to move.
The third animation we created was as a class—the Exquisite Corpse. Focusing on fluid animation, students each were given part of a sequence in which they had a beginning and end shape, but could animate the object however they wanted to in between.
The following project was to create a flip book. We created them on paper, then digitalized them by taking pictures of each frame and compiling them, playing them in order at 12 frames per second.
Our next project was to display our knowledge of Direct Techniques. To do so, we had to create a stop-frame animation with two different mediums—I used paper cutouts and sand. Other options included painting and charcoal.
Overall, animation was a very interesting class. Not only did we learn how to animate smoothly, but we also learned how to digitize our works so that they could be shared over the web. Applications we used included Dragonframe, used for stop-frame animations, and Premier Pro, which was included in many digitizing processes.