“How can you find, explore, and/or expand your passion?”
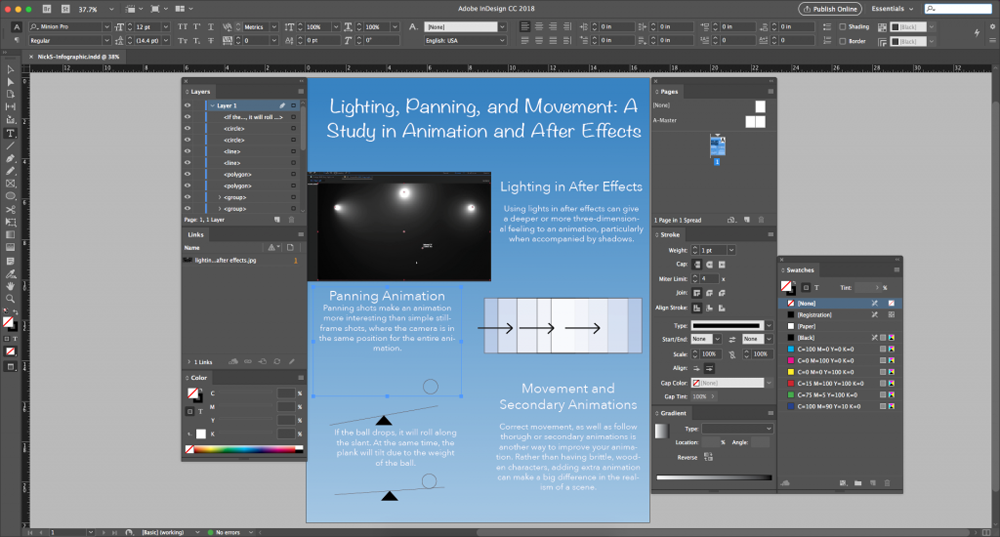
We were asked this question by Freestyle as a sort of prompt for our last project as Juniors at Freestyle. The requirements were that they were related to our elective classes (Animation, for me), and that there was some sort of self-improvement through the process: other than that, we were given complete control over what we wanted to do. I chose to find ways to improve my animation in general, by making it more interesting and realistic. Originally, I had planned to use lighting and panning video shots to make the animation more lively—as seen in this infographic.
Chapter 1: The Idea
Chapter 2: The Animation
While these ideas still stand strong, I didn’t have time to include them in my final animation. I started by creating a simple animation—a ball rolling down a ramp.
I then made the animation more realistic, by having the ramp respond to the weight of the ball, and the ball in turn respond to the changes in the ramp.
I then added color to the objects in the image, as well as a white mark on the ball, so that the viewer could better understand the rotation of the ball on the ramp.
I finally added a pop, so that the viewer could understand how to ball came into existence. Why? Just because I could!
Chapter 3: The Background
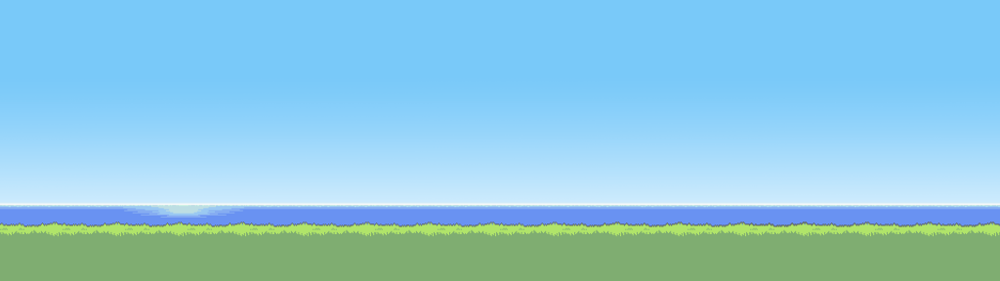
The background I created for the animation was originally meant to scroll sideways and follow the ball “off the screen”. To do this, I made a background that was 3840 pixels by 1080 pixels, because my animations were created in the usual 1980×1080 size. To create the background, I went through a grueling process of forgetting about copy and paste. I began with a grass background. Drawing the line between the grass and the air took me forever—I created the barrier one pixel at a time, and was more than halfway across before I remembered I could just take a small batch and copy-paste it across the screen to dramatically reduce working time.

I then added a simple gradient sky.

I decided I wanted some water in the image, between the grass and sky.

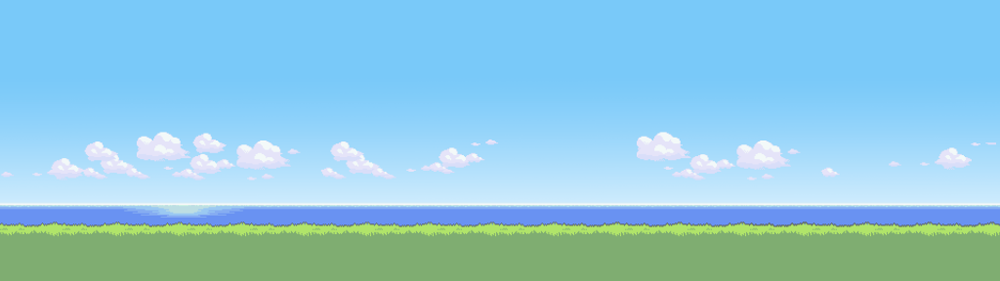
I took these three parts: grass, sky, and water, then improved on each. I started by making the grass more interesting.
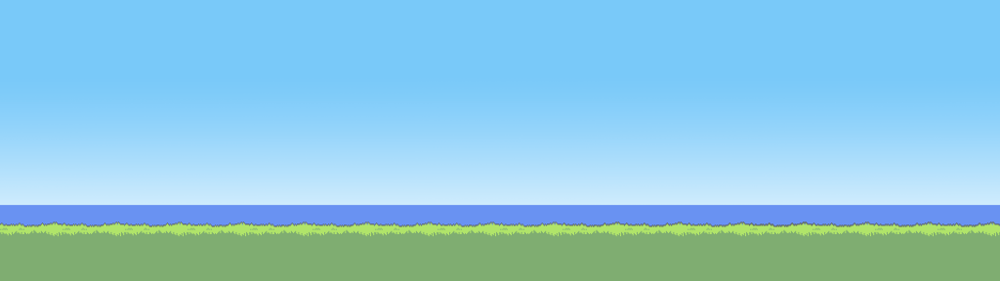
Then, I improved on the water. Possibly my favorite part, making the reflections, and mist on the horizon was a lot of fun, and (I think) makes it look really good. It’s hard to see so small here, but if you right-click on this image, and select”Open Image in New Tab”, you’ll get the best view!
Lastly, I added some clouds to complete the scene.
Chapter 4: The Final Product
Finally, I recorded myself explaining my process, than layered it over the various partial animations in Adobe After Effects. I added in a title at the beginning and fade out at the end to make the video more aesthetically pleasing.
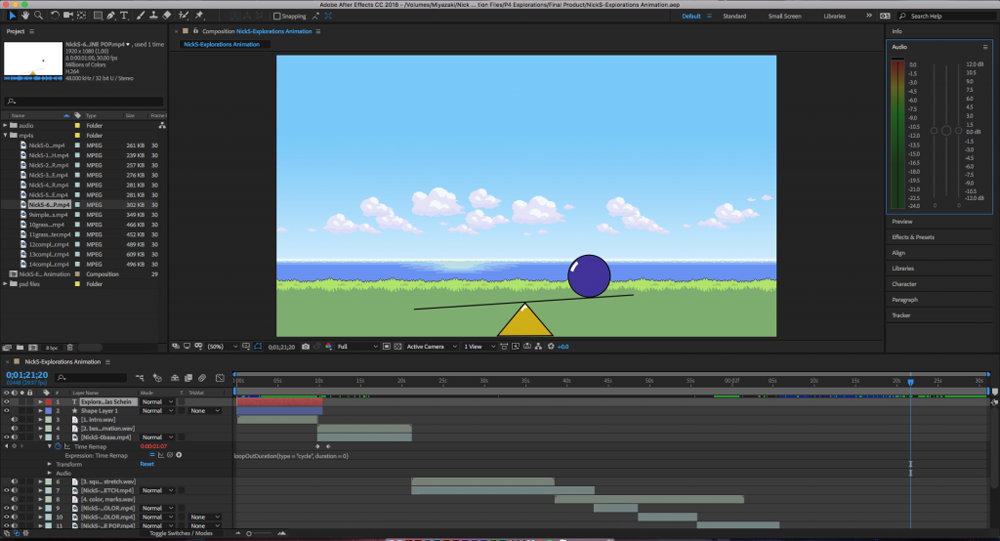
I enjoyed working on the Explorations Project. It was fun to work on a project we created for ourselves! While I had originally planned to include lighting effects and panning shots (in fact, the background in my animations is 3840×1080 instead of 1920×1080, in case I wanted to pan. In fact, you can only see half of the background in the animation). However, just working on the color, background, and “squash & stretch” as well as basic physics was enough to carry me to a minute and a half of animation, which was beyond the requirements. As well, the fundamental ideas behind the final product changed. Instead of an animation with a bunch of cool stuff done to it, my explorations final became more of a “How-To” video on improving your animations. In the end, my project isn’t just improving myself, but maybe others as well!
Reason: Experimental Music
The last project for Reason (and the biggest one) was to use what we learned from the previous two projects and make our own song—sounds daunting, right? However, with free reign, you can have a lot of fun. This was by far the most fun I’ve had on a project at Freestyle, even though I don’t consider myself good at making music—I just like exploring things!
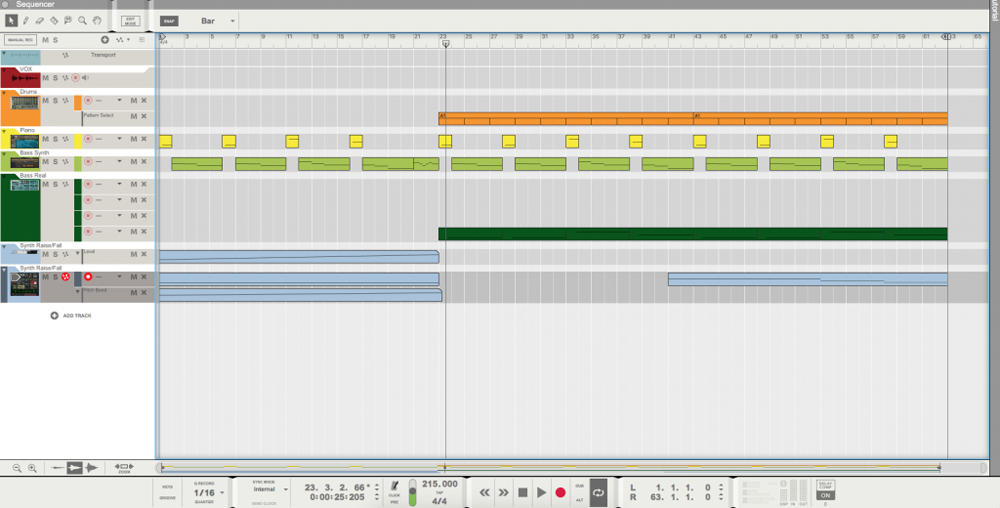
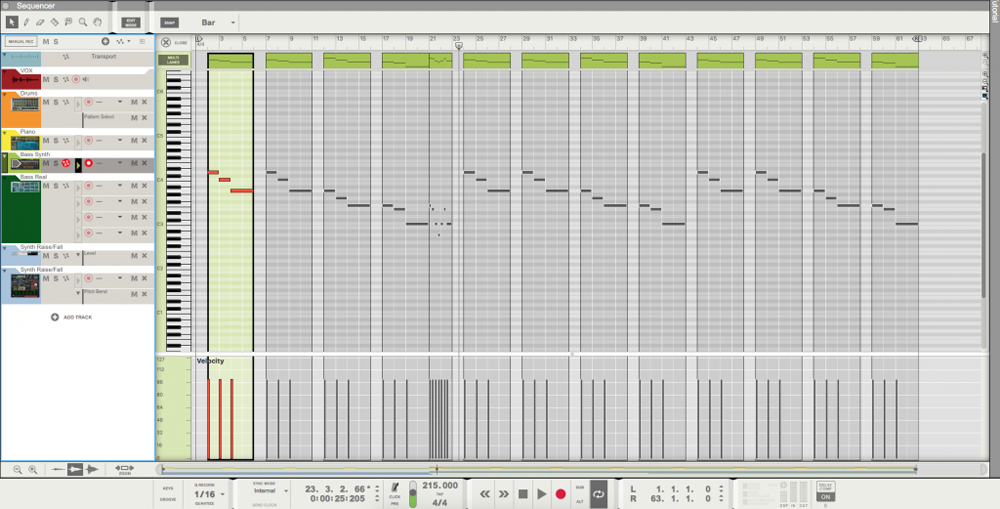
Below are images of all the instruments, automation, and other fun bits from the Experimental Music project that made the minute of music you (might) have just listened to. The rack (where all the physical wiring and instrument programming occurs) is really long, and I apologize for the large amount of scrolling I have subjected you to if you want to reach the bottom of the page.
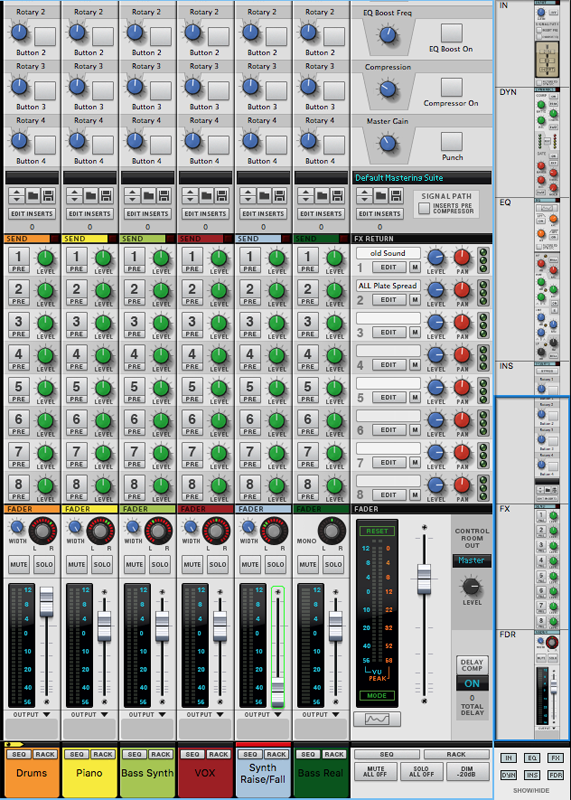
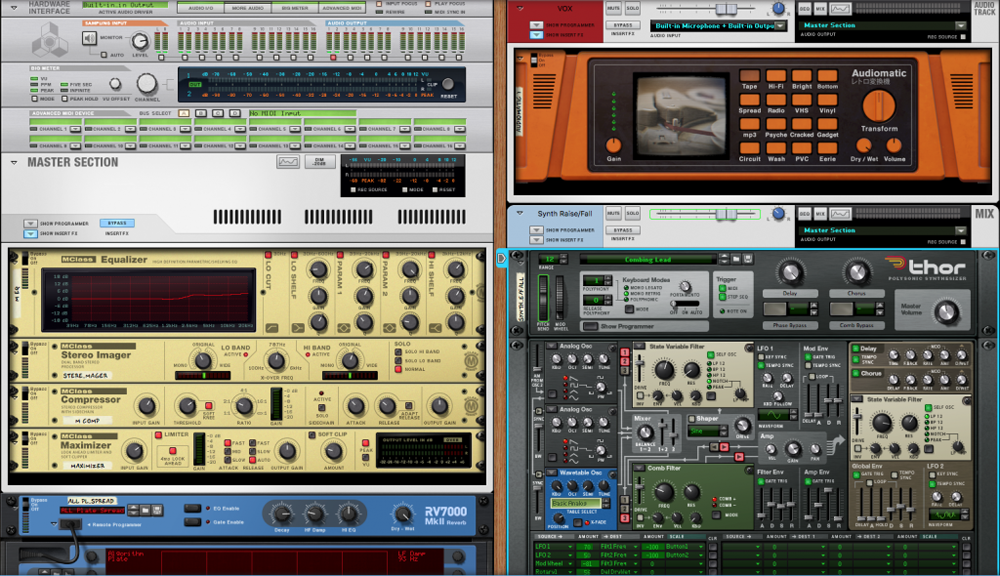

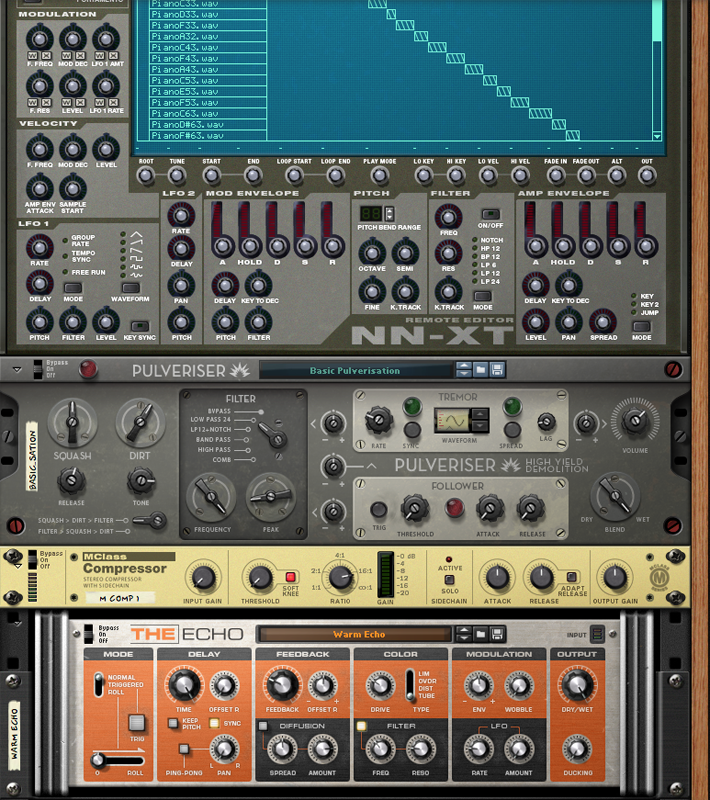
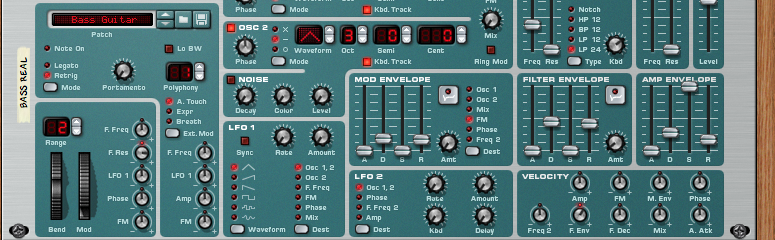
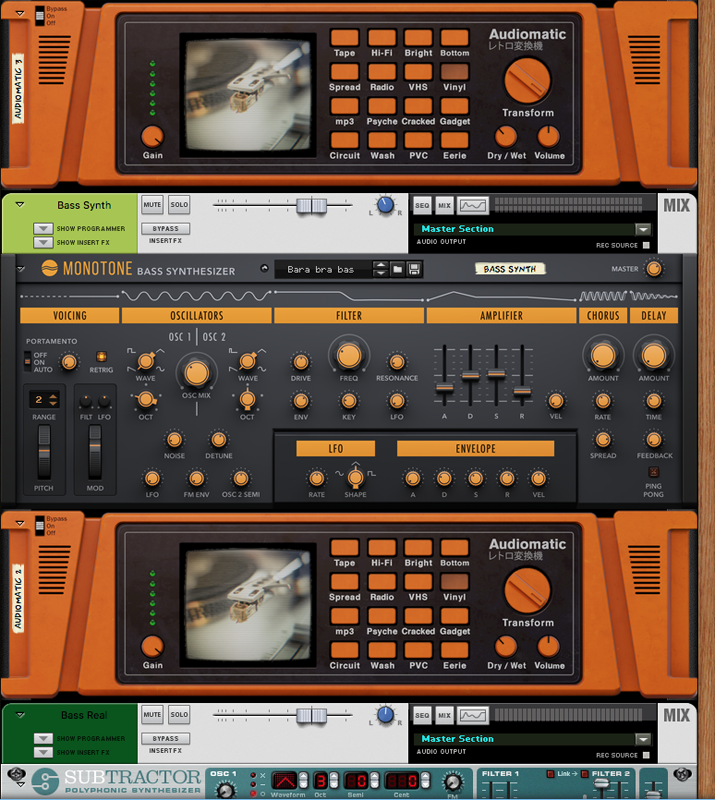
The front of the rack…
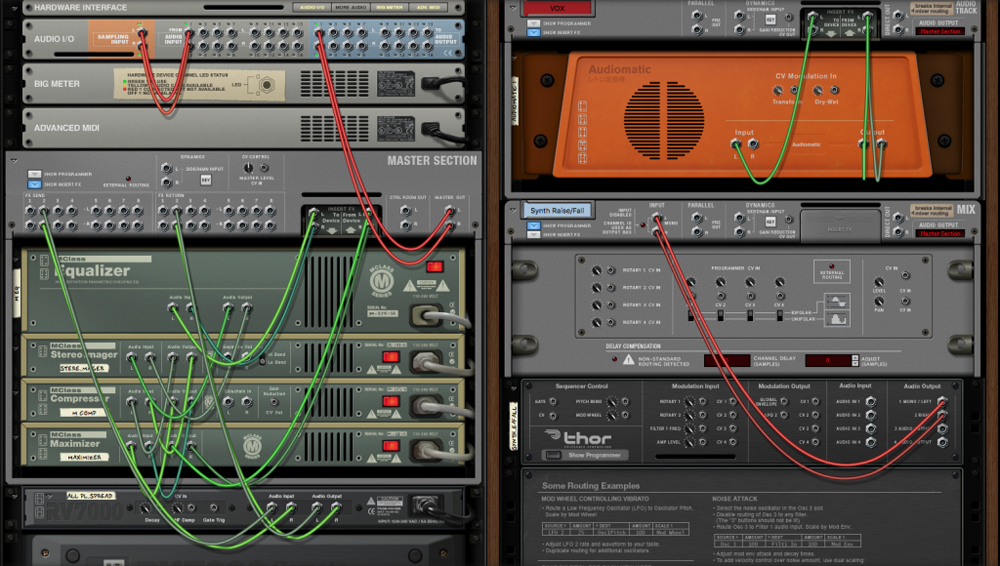
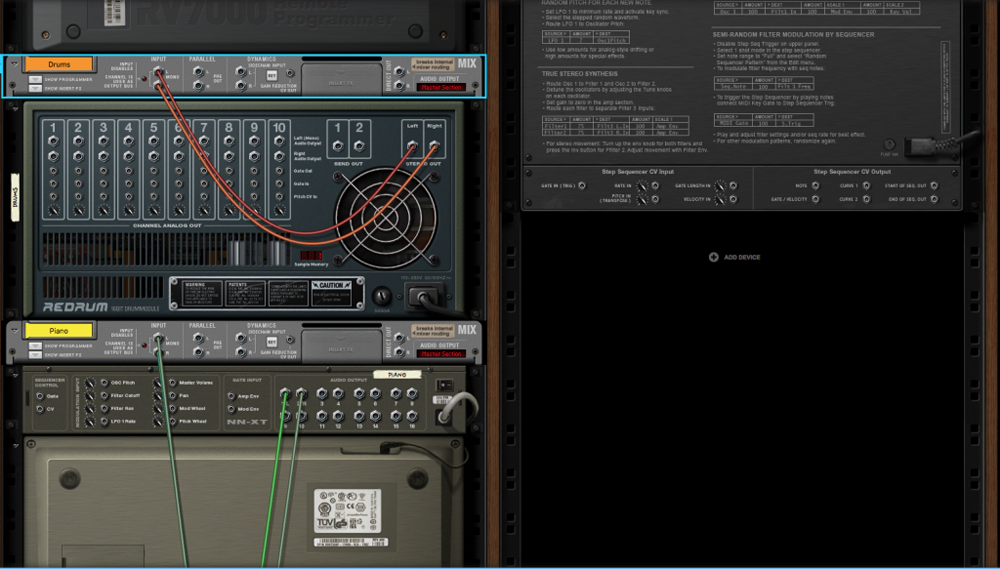
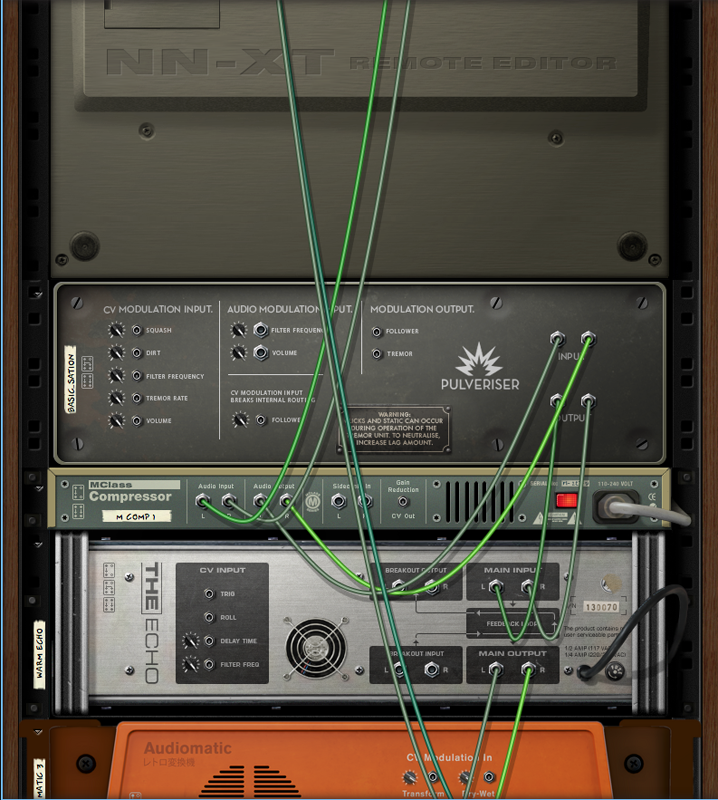


… and the back.
All that on the rack just for a couple of lines of music? Yup. Told you it was complicated.