Photoshop Pastel Painting
The first type of art we explored in Photoshop this year was pastel painting. We learned how to use the pastel brush tool in photoshop and we used this tool to create original pieces of art.
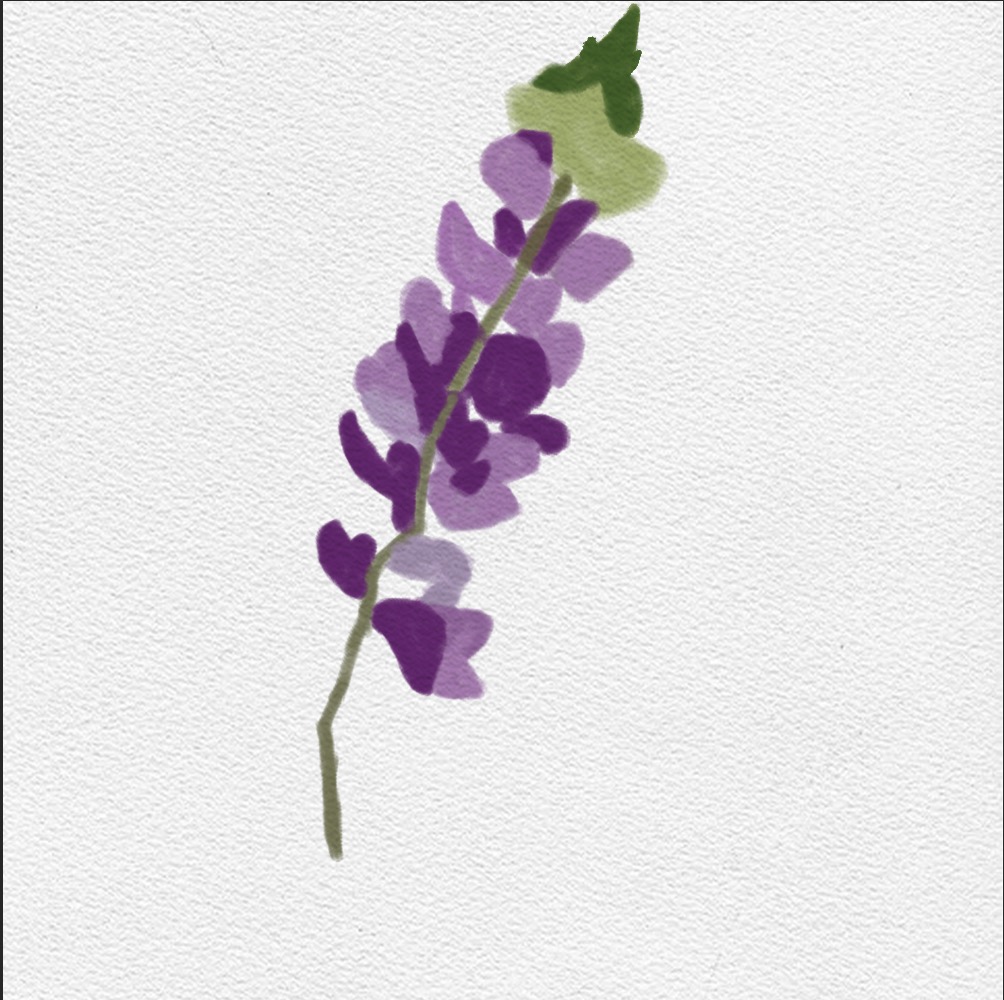
Photoshop Watercolor Painting
Similar to pastel painting, we also explored watercolor painting in Photoshop. We learned how to use the watercolor brush tool by recreating other pieces, once we were learned how to use the tool we created our own original watercolor.
Photoshop Painting
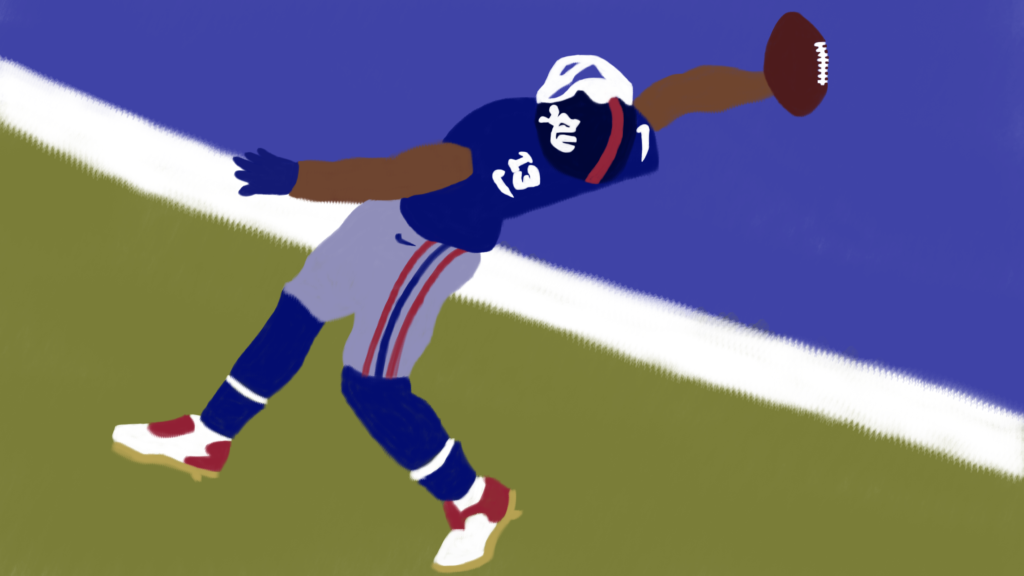
The photoshop painting project was meant to test our ability in the new tool we were learning. I chose to recreate the Odell catch against the cowboys in 2014.
Artist Statement
I think I grew in many ways throughout the process of making this project, and I definitely improved upon my photoshop painting skills. I grew by expanding what I thought was possible in photoshop. Even though I will always prefer Illustrator for this type of art project, I can use this new experience with the brush tool to alter how photos look.
I really valued this project because I realized how much fun it is to paint a football player in the middle of an incredible play. The way that their arms, legs, and entire body are positioned is very fun to replicate with painting. It gave me a much greater understanding of perspective and how it affects the way people look.
If I could re-start this project I would probably use a different brush that wasn’t so fringy on the edges. I would also have used a smaller brush size in order to be able to fine tune more detail, even though this would have taken more time. Even though I would have done those things differently I still categorize this project as a success because it was one of my first attempts at using the brush tool in Photoshop, and I learned a lot from the process of making this project.
Photoshop Surreal Composition
In this production, we were challenged to create surrealism using images. The skills we used in Photoshop to create this project were mostly just a lot of cropping and manipulation the size/color of images.
Artist Statement
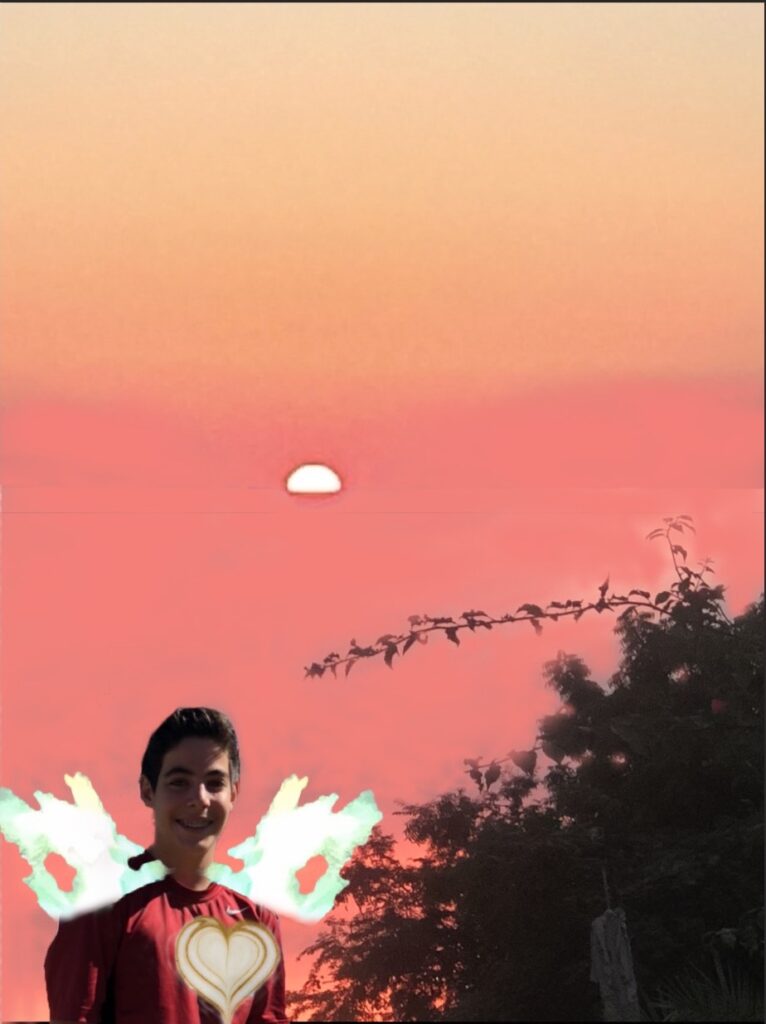
This surrealism project was very difficult for me because I was very limited by the photos I had. I had a lot of abstract ideas that I couldn’t create with my own picture, but I do have a lot of pictures from my time learning to use a camera. I took some of my more interesting photos that I liked, and I tried to blend them together the best I could. The picture of me was from when I got to go onto the field before a Stanford football game, and I decided to put flames on my shoulder because it was ridiculously hot that day. Those flames came from a picture I took of a campfire that we put some special chemicals into that made the fire blue for a few seconds. The reddish pink skies came from a picture I took in Mexico over last winter break. It wasn’t actually that hot during the red skies, but I thought it helped the warm weather vibe I had going in my photo. Then I thought it needed a sun, and I considered drawing one with the brush tool. However, I had a picture of a beautiful orange sunset.
It was really difficult to blend the orange sunset and the pinkish red skies, but I think I did a good job of making it look somewhat natural. I was also a little disappointed because when I was cutting out the flames from my campfire photo I had to make sure to not get the wood logs we put in the fire. This caused my selection of the fire to be a little small. If I had a bigger selection of fire I would have tried to wrap the fire around my entire head and shoulders.
If I could do this project again I would try to incorporate more of a landscape, and maybe put in some more random pictures to make the picture more abstract. Even though I am slightly disappointed with the result of my project I still enjoyed using what I learned over the course of this unit.
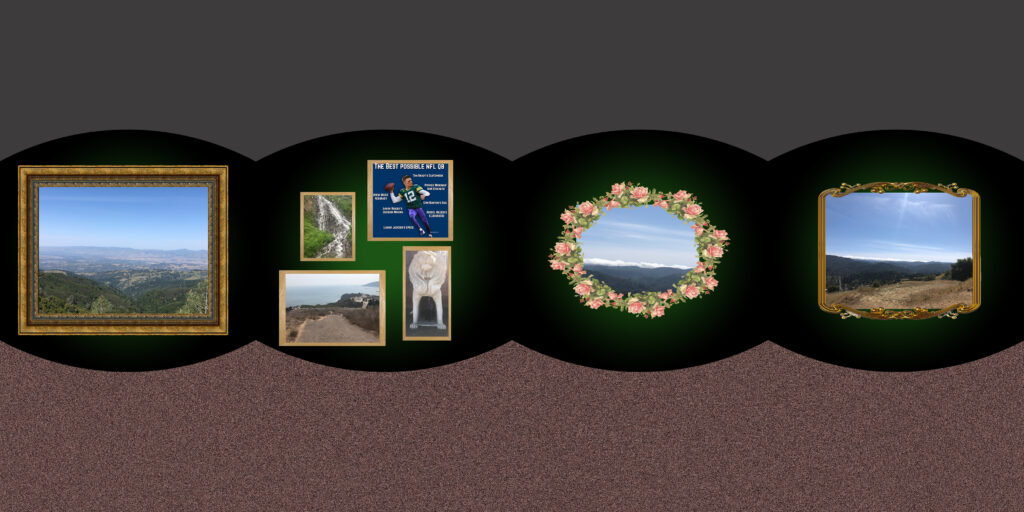
Photoshop VR 360° Gallery
For this project, we learned a new way to display our work. Using Photoshop we learned how to create a 360 degree gallery display that could show our work in a new way.
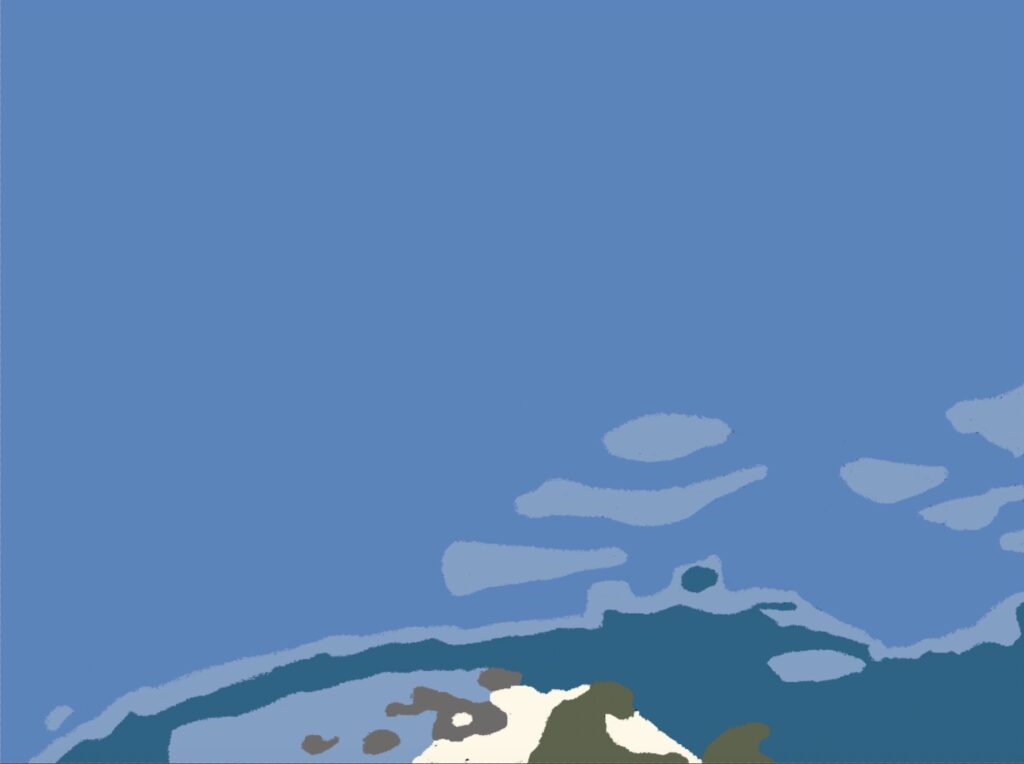
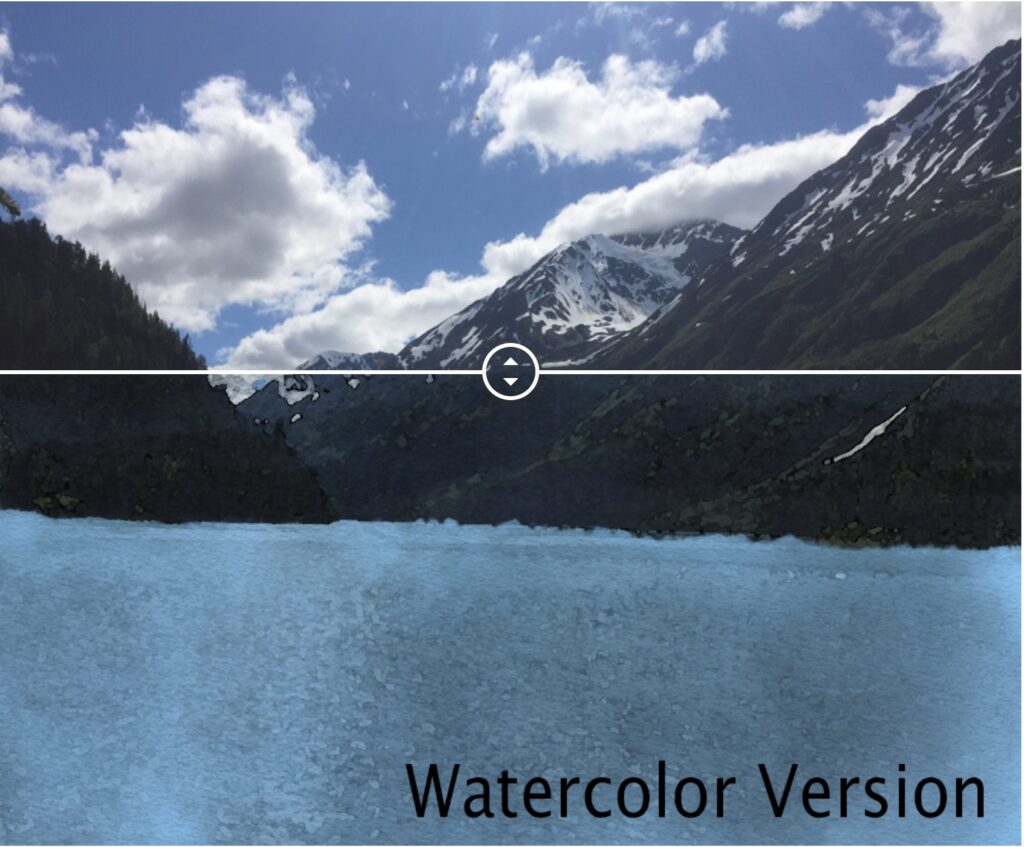
Before and After Comparison
For this watercolor project I used a picture of a mountain in Alaska and a picture of the London bridge. I took these photos and used Photoshop edits to give it a watercolor effect. I also used some of the brush techniques we learned to make the watercolor effect look more realistic.

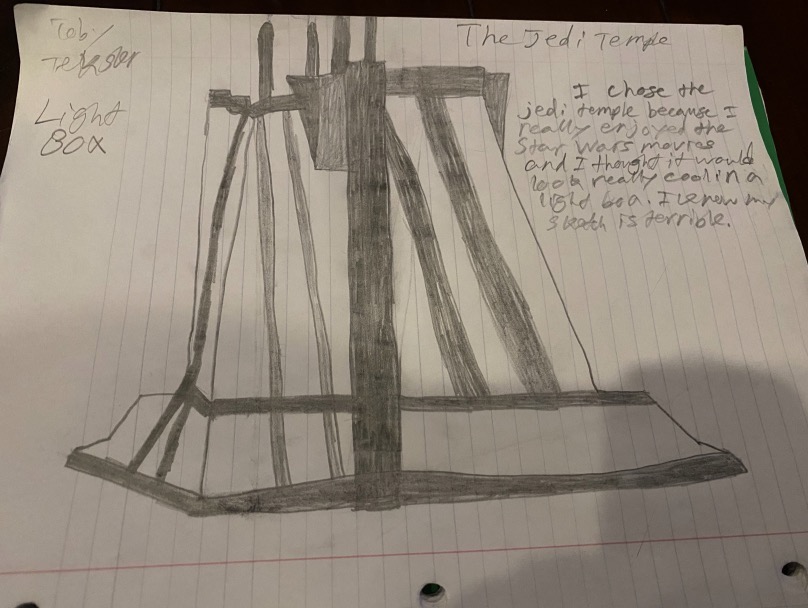
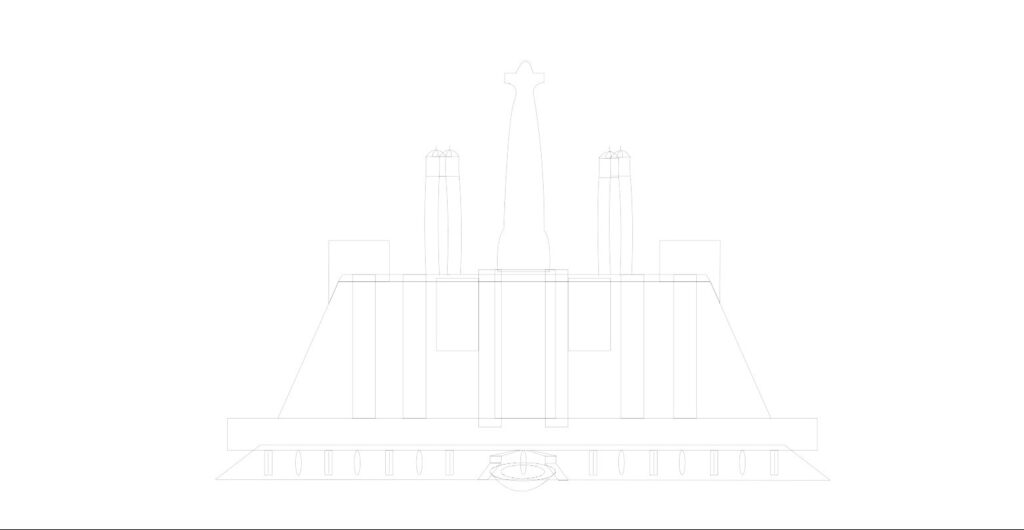
Multi-Layered Art Project
The multi-layered art project was meant to teach us how to create designs in Illustrator that can be laser cut into pieces that can then be assembled. I chose to design the Jedi temple from star wars, and here is my initial drawing which is pretty bad.