[Digital Media] Reflections
My Personal Mandalas
The Mandala unit in Digital Media teaches students advanced transformations within Adobe Illustrator, used to create 2 Mandalas that are turned into physical products: 1 engraved on a material of our choosing, and 1 printed onto MDF wood with sublimation techniques. After completion, we learn Adobe After Effects to create a build reveal video of either mandala, and later doing more projects with After Effects to learn animation techniques within the software.
Learning how to set up Adobe Illustrator to repeat and reflect a slice of a drawing multiple times around the image, we created 2 mandalas answering the question “Who am I?”.
If the images do not display below,
On a Mac, press Command + (plus) then press press Command – (minus)
On a PC, press the Ctrl + (plus) then press the Ctrl – (minus)
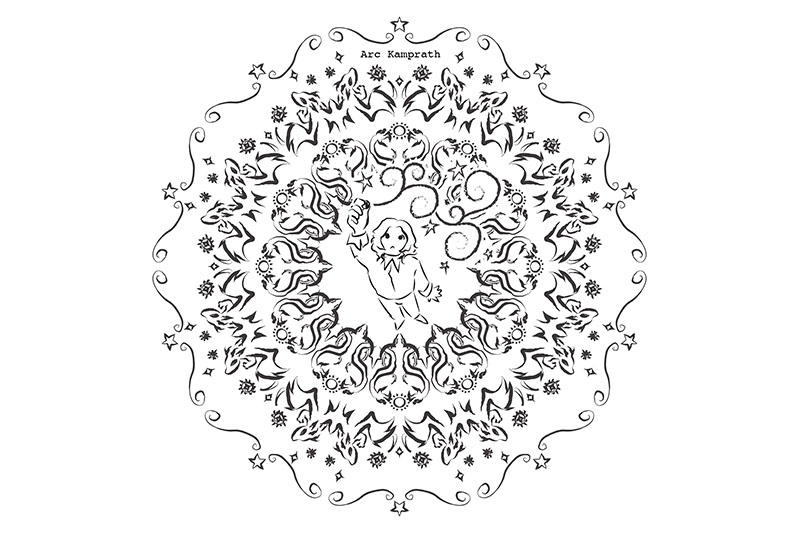

“Timeline of Tales” BW Mandala Artist Statement
Thinking of myself over the years, I tend to think in timelines of the art that I’ve created. Little pieces of myself reside in each character and illustration I bring to life, making the culmination of those works a perfect answer to the question “Who am I?” posed by this assignment. Each ring of this mandala represents a different story, associated with the time of my life where I started creating those characters, much like how the rings in a tree’s trunk can tell a story of its life.
At the core of this piece is an image of myself, with symbols of spirals and stars emanating from the pen I hold. These are symbols associated with some of my oldest original characters, designs that have become rather sentimental to me due to being created nearly 6 years ago. I myself have changed a lot over the years, and the characters I make often grow and shift with me. Because of this, looking at all these symbols brings to mind who I was back then, and tracking how those stories have grown brings to light a narrative of how I’ve changed into who I am today.
This art piece holds value due to how personalized it is to me, and the skills I learned throughout the creation process. Before this project, I had rarely utilized the transformations tools in Adobe Illustrator. During the learning process, my technical skills grew as I familiarized myself with these tools and more. I gained further proficiency within the software, keeping my layers neat and grouping items together for ease of editing. Learning how to set up pressure sensitive brushes within Illustrator was especially useful, and I will certainly keep that skill in mind for future projects.
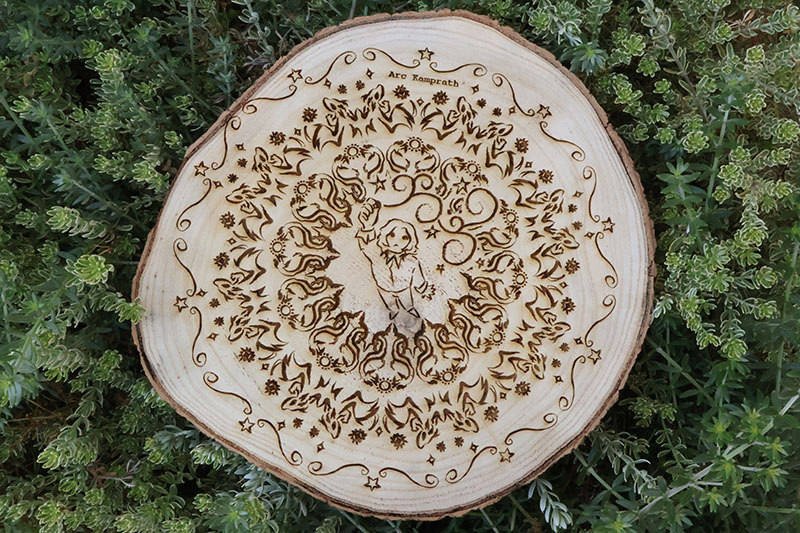
“Timeline of Tales” ENGRAVED Mandala Artist Statement
Upon seeing my laser engraved mandala, I found myself suddenly a lot more proud of the project than I was back when I had just finished the digital artwork itself. There’s a charm in having a physical product, having something you conceptualized now real and in your hands. The color and textures within the wood make the physical art more interesting to look at than a screen; you can see the imperfections in the tree trunk, the haze around the engraving where the wood started to burn… all these little things don’t show up in a digital black and white drawing, but that difference gives more life to the piece in my eyes.
My choice of wood for my laser engraved mandala best represented me and this piece because of the use of layers to connect to different characters I’ve created over the years. I felt the rings in a tree trunk were fitting with the idea of each layer connecting to a different time period, as represented by those different characters.
Working with only black strokes for the engraved mandala had me focusing more on silhouettes and line weights to create contrast between different pieces within the art, whereas in the colored mandala I was able to use color to achieve that as well. Working with color very much changed my workflow, as I started using lots of gradients to add depth and interest to the visuals. Through working on the BW mandala, I learned a lot about pressure sensitive brushes and using custom brushes to get an ideal look.
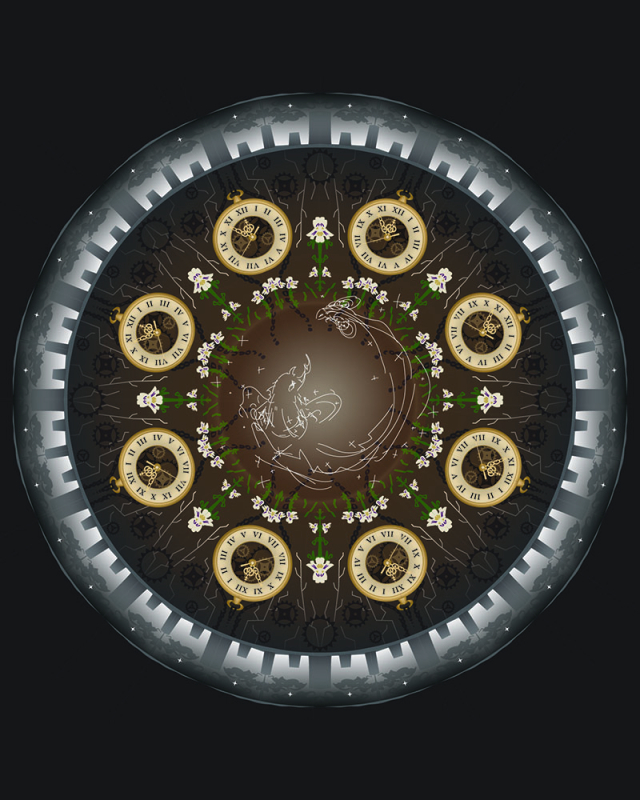
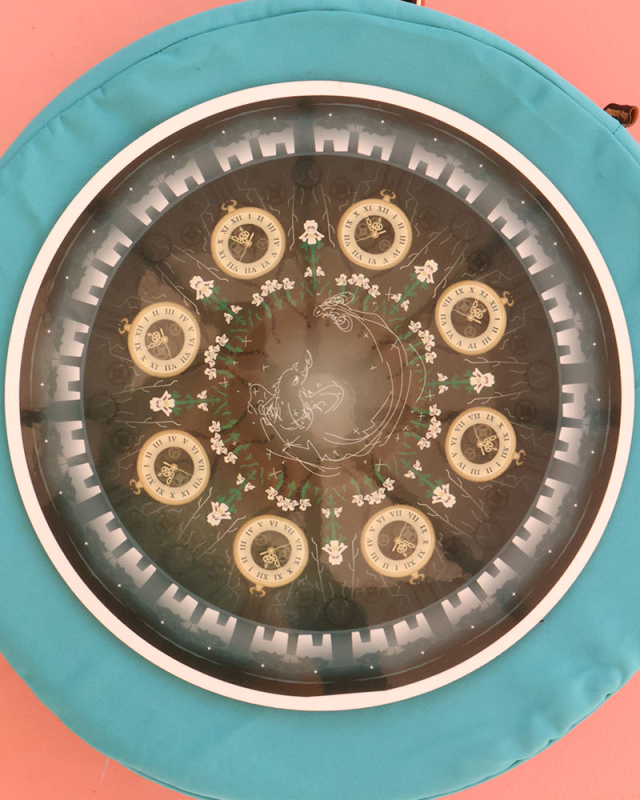

“the city of St. Ourania” COLORED Mandala Artist Statement
My initial reaction to seeing my printed colored mandala included being extremely surprised and confused over the green tint, later rectified by an explanation of color variance between digital displays and printed ink. Despite the printed version looking a bit different than when I had drawn it, I ended up loving the product. Instead of focusing directly on myself for the “Who am I?” prompt of this assignment, I chose to delve into one of my passions, a fictional world created by me and a handful of close friends.
One aspect I really enjoyed about making a mandala was the circular format letting the layers of the art piece look like the surface and inner core of a planet. I had fun with that visual layout, further emphasizing it with roots and the color brown to make the inner part seem underground. I chose to represent the city on the outside layer with grayscale, because the way it contrasts with the inner section makes the symbols there, which are associated with characters from the story this piece represents, seem more alive and important.
Working with color allowed me to add subtle depth to my art through gradients, and make certain elements of the design stand out more through a contrast of saturated and unsaturated hues. The most saturated elements of the art piece include the pocketwatch and the flowers, which are symbols associated with main characters of the story attached to the art. Fun fact: the flowers are very specifically euphrasia flowers, a direct namesake of the character they’re associated with. The workflow for this colored mandala was more complicated than the black and white one, dealing with gradients and choosing specific color values for everything, but I enjoy the greater complexity it allowed for in the design itself.

For the final piece of the mandala projects, we were to create a video with Adobe After Effects showing how one of our mandalas were created. The original idea was to just grab some music, stitch together screen recordings of us turning the layers on one by one to show the mandala slowly being completed… but I quickly found myself wanting to do more complicated things with the tools I had at hand. I wanted to time things exactly to the music, so instead of screen recordings I took screenshots of each in-progress shot of the mandala, therefore being able to time things down to individual frames within After Effects. I had over 3.5 min of music to use, but just showing the mandala slowly being built the whole time seemed boring to watch, so I started adding anecdotes throughout the piece; either talking about how the art piece was created, or the story that the art is connected to. I messed around with keyframes a lot: editing the position, scaling, rotation, opacity of a image… through that I was able to get images to fade in/out onto the screen, zoom in and out, and even spin into frame like some silly google slides transition. I had a lot of fun with those.
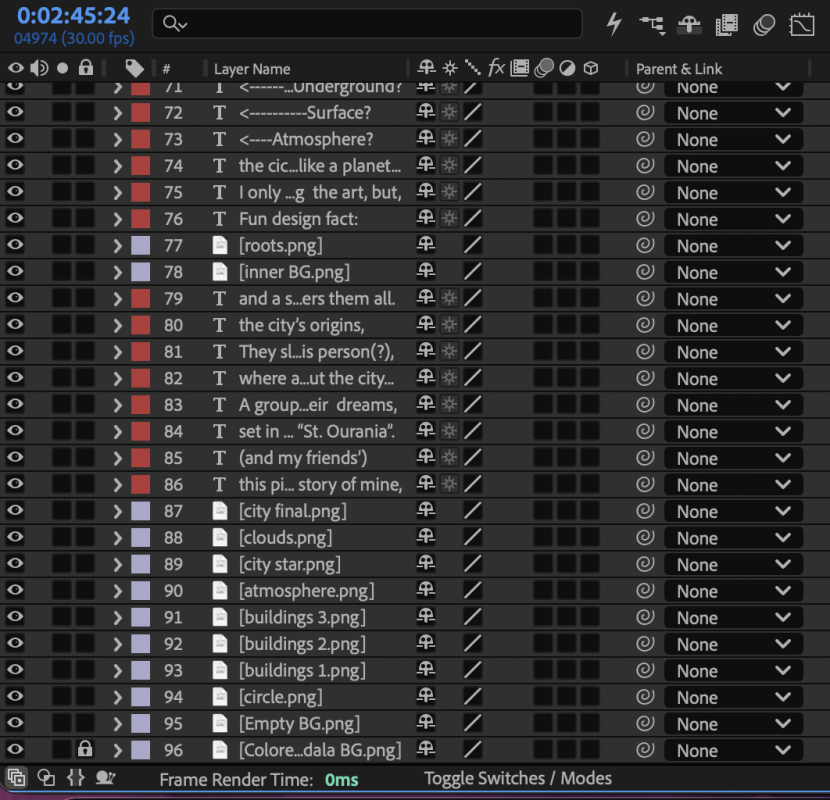
Each text group and image counted as its own layer in After Effects, so my layer count quickly piled up as I worked. Color coding my text vs image layers helped a bit with organization, but it was still a lot to scroll through during editing.
The creation process for this video was a lot of listening to the music, figuring out how to edit visual transitions to stay in time (expanding the mp3 layer to show a waveform visual of the music helped a lot with lining stuff up), and then messing around with keyframes to have the images move around the screen. By setting two keyframes for the starting and ending points of a movement for an item in After Effects, the computer will calculate all the in between frames for you. It’s very useful, and with keyframes being categorized by different types of movement (position, rotation, scaling, opacity…) you can customize stuff and get some complicated visuals going on.
A skill that I learned through personal research was creating blinking/pulsing visuals in After Effects. In the following video, you’ll likely notice arrows and lines that blink in and out of view: setting keyframes for every single blink would take forever and be extremely annoying, so I learned a method of creating only 2 keyframes, then setting an equation in After Effects to repeat those two keyframes forever.

I gained lots of valuable technical knowledge through this project: using Illustrator, After Effects, and surprisingly—some website coding skills as well? In the last part of this project, we learned how to create the sliding before and after comparisons showcased further above on this page. In order to do that, there’s coding behind the scenes with HTML, CSS, and JavaScript… my prior coding experience consists of about 2.5 years of learning Python in middle school, so I definitely didn’t fully understand all the code I was using to achieve those products, but I understood enough that it sparked an interest in learning how to customize websites further. Being able to showcase my work in creative ways is something I find compelling, so I’ll likely look further in to these coding languages when time allows…