A Praxinoscope is a device that you can spin to make a slip of paper feel animated. For my animation, I felt like creating a person wearing a top hat jumping off into a body of water. To give the animation an extra touch, I made the top hat fall off the person’s head while they are jumping.
While I am proud of my creation, I felt it was a bit too rushed. If I had more time, I would like to refine the jump because the current version felt unrealistic. I like the splash animation though, and it’s probably the highlight of the Praxinoscope.
In my Animation class, I was tasked to create a Phenakistoscope. A Phenakistoscope is an animation device from around the 1830s, where spinning a piece of paper with slits in front of a mirror created the illusion of movement. Due to this being digital, these slits did not appear in my version. For my Phenakistoscope, I took inspiration from another Phenakistoscope created last year named “Grab It“, and tried to make my version invoke the same kind of uneasiness emotion.
In this Phenakistoscope, I solely used color pencil, going back and forth between two draft versions with a lightboard to keep the animation consistent, and then tracing the draft onto a final cardboard version.
If I could change one thing about this Phenakistoscope, I would make the animated-illusion more refined. Unfortunately, the static looking image in the center breaks the illusion a bit. On the other hand, I am proud of how the heart and the fire turned out.
Through my learning journey in Freestyle Academy, we heavily focused on the use of Photoshop. A key aspect of photoshop is its wide array of blend modes. The very first few blend modes that were taught consisted of Multiply, Screen, Overlay, and Normal. The Multiply blend mode works by taking the top layer’s RGB and the bottom layer’s RGB and multiplying the values together, which naturally creates a darker image. The Screen blend mode works by inverting both the top and bottom layer’s color, multiplying them together, and then inverting the final output once more. This process creates a lighter image. The Overlay blend mode combines both Multiply and Screen, where the colors above 50% gray use the Screen blend mode and the colors below 50% gray use the Multiply blend mode. The Normal blend mode is the default blend mode, where there is no mixing of colors except when opacity is involved.
With this knowledge, I gained the skill to do basic color correction in a photo, with an example being shown below.
I have also created some more images experimenting with the various blend modes, with an example given below.
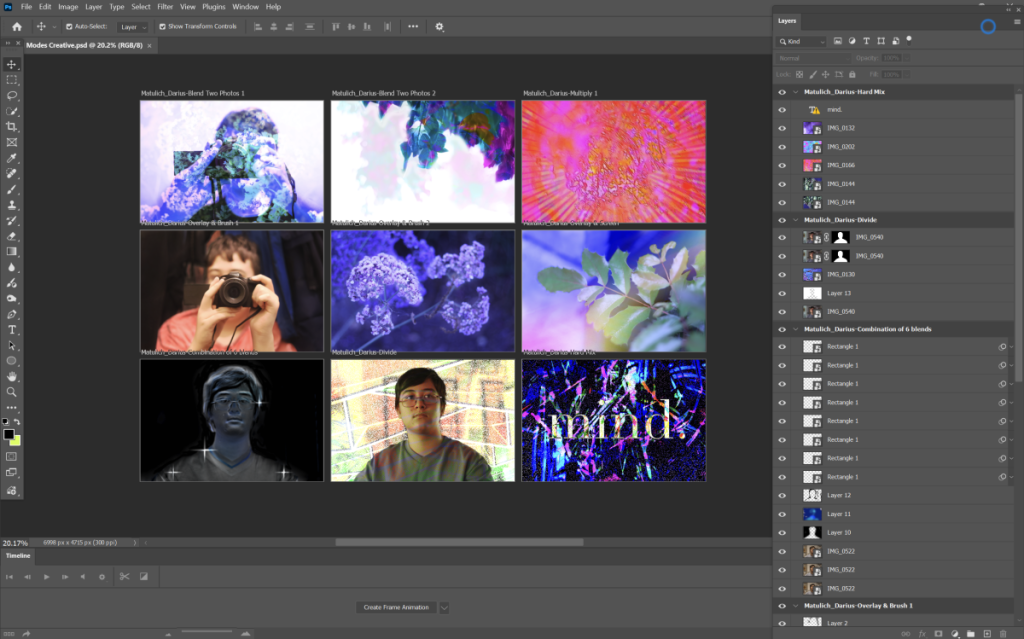
However, there are more to blend modes than these four options. There are plenty to chose from, and while Multiply, Overlay, Screen, and Normal are most often used, I love to use Dissolve, Hard Mix, Soft Light, Darken, and more. The Dissolve blend mode works by creating a noisy pattern depending on how transparent the layer is. The Hard Mix blend mode adds the RGB values in a way that creates only a few highly contrasted and highly saturated colors. The Soft Light blend mode is essentially the same as the Overlay blend mode, but its color curve formula doesn’t create a harsh contrasted look when applied. The Darken blend mode looks at the top layer and bottom layer’s red, green, and blue values, and selects the darkest one. With these blend modes and many more, I was able to create the following nine images.
I attached two screenshots below of the photoshop workspace to make it easier to understand how the creation process actually looked like.
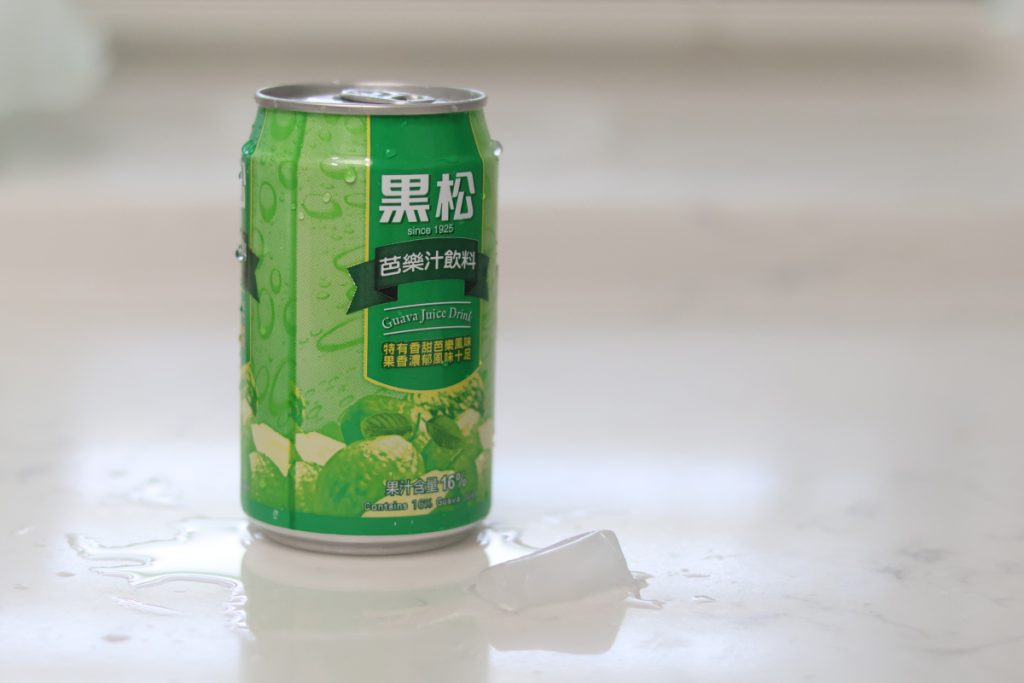
For this photograph, I doused this guava juice can I found in water to create a “condensation” look. I also put an ice cube next to the green can to draw the viewer’s focus toward the water.
For Christmas, uncle Steven made tamales for all of us, something that he does every year. When taking this picture, I made sure to use a warmer white balance to create a more “homey” feeling.
50mm, 1/4000, F1.8, ISO 10050mm, 1/4000, F1.8, ISO 100
For these two images, I wanted to play around with making the outside look “shadier”. Therefore, for my adjusted white balance, I chose a colder white balance to contrast the auto white balance.
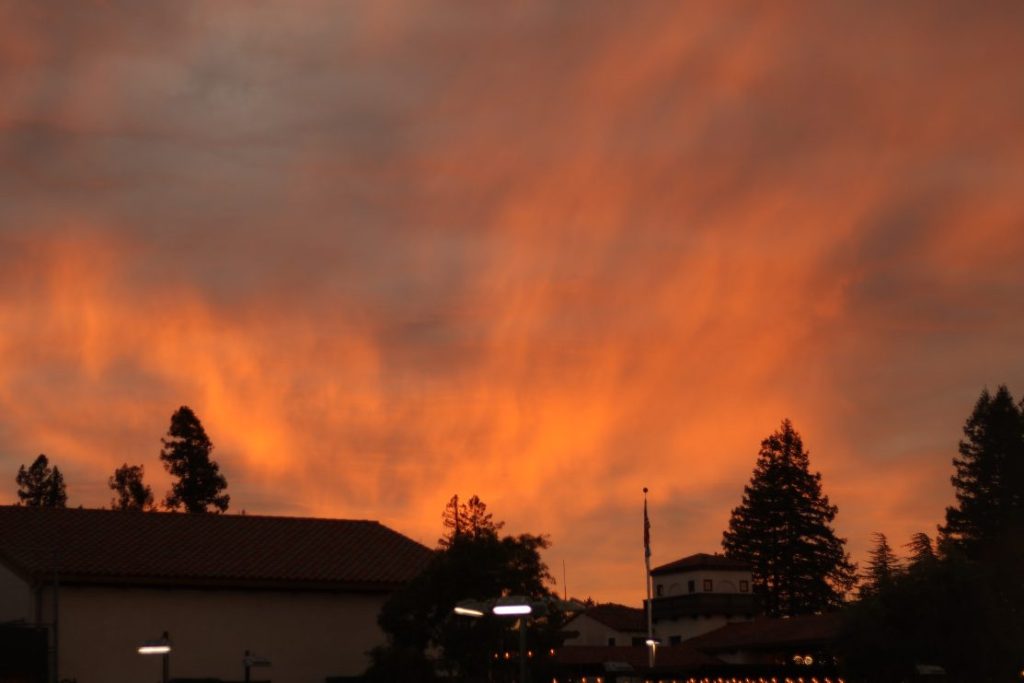
Today, I took a walk through my neighborhood. I recently moved to a new house in a new neighborhood, and this was my first time walking through it. As I walked, the sun was setting, so I decided to take some pictures. To make sure the orange in the picture was as visible as possible, I tweaked the color temperature to make it seem warmer. The picture above is the best picture I could take; I love how vibrant it is.
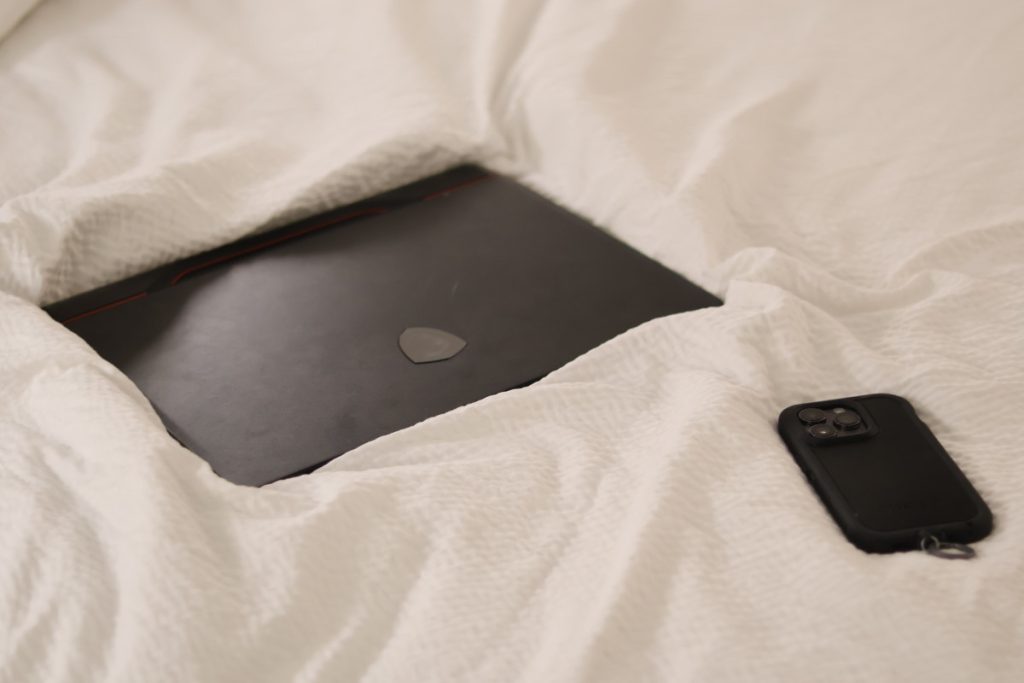
The idea of this image is to show how heavy an object is in different ways. For example, the computer in the image appears heavier due to the computer creating crease marks, while the phone in the first image seemingly causes no disturbance to the blanket.
I decided to implement symmetry in this photo, I would take a picture with the water reflection. I went to a park with my parents while I was travelling, and this felt like the perfect spot.
When I was assigned this project, I was in the middle of experiencing a voice change, which is why (to this day) I still have no clue why I chose to make a parody of the song “No One Mourns The Wicked” in particular, which originally goes as high as the note E6 (more than two octaves above middle C).
With the voice change happening, I decided to make the lyrics about literally singing badly. I also made a made up character for this song called “The Ringer”, which parallels the original soundtrack where there is someone mentioned as “The Wicked”. The Ringer is just someone who is hurting everyone’s ears with their high singing. You can tell if the ringer is singing since their voice echoes and cracks way too much. I didn’t intend for so many voice cracks, but with the nature of the song and my voice range being way lower than what the song needed, it was impossible to keep my voice straight..
The making of this song’s lyrics was pretty easy, I was able to make them in less than thirty minutes since the concept of the song was simple enough. Recording the song though? That was incredibly difficult. As I’ve said before, this song goes way higher than my vocal range (about two octaves higher), requiring me to solely use falsetto. The lyrics also got a bit obscured with the high notes. The layering of the voices also proved to be a difficult task, especially at the end where the voices all were doing different parts. I ended up keeping most of the takes I did, except for one.