In our senior year of animation we shifted form a 2d focused learning to a 3d focus. The goal was to be able to shape things in 3d, color it, rig it, and then animate it!
To start with, we needed a good foundation in shaping our models. In this case, we started with 2 different ways at once. We would use a program called Zbrush for the organic shapes, and a program called Maya for starting with more basic shapes.
Click on all the images in this page to get a larger, higher res version!
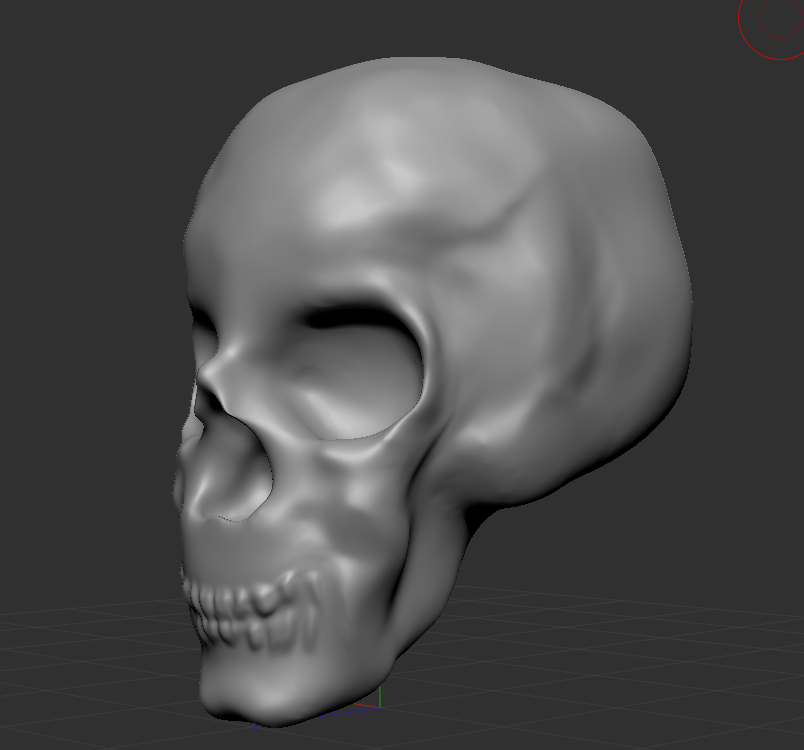
Skull
One of our first projects of the year, we learned that most Zbrush and other sculpting programs start with a sphere of digital clay, that we can stretch, pull, crease, and texture however we want. Using reference images, we were able to create skulls that were fairly realistic.
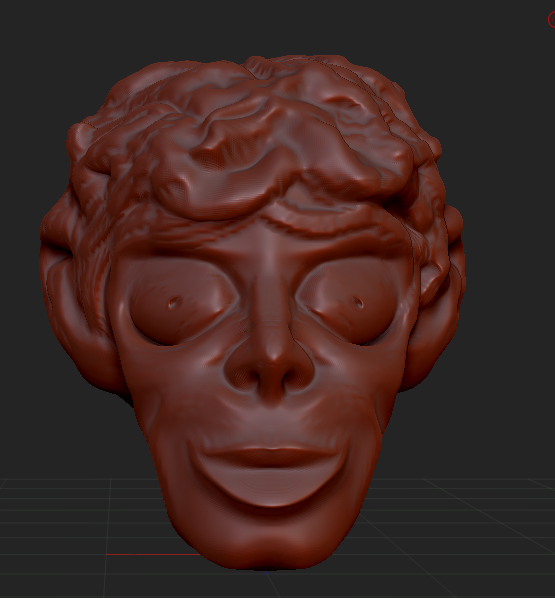
Head
After creating out Skull, we created a character heads that we would use later for our character. With a similar process, although this time we have more freedom because it does not necessarily have to be human.
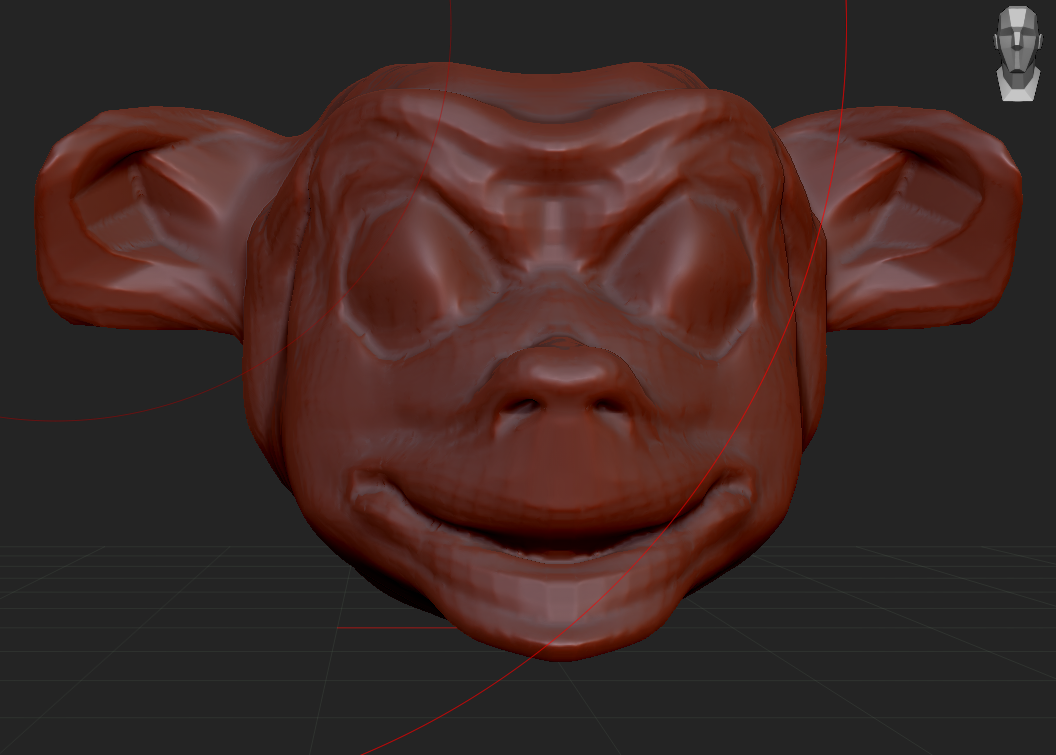
You will notice later down this page that I did not use these exact heads for my character, but you could see ideas forming around what I already created.
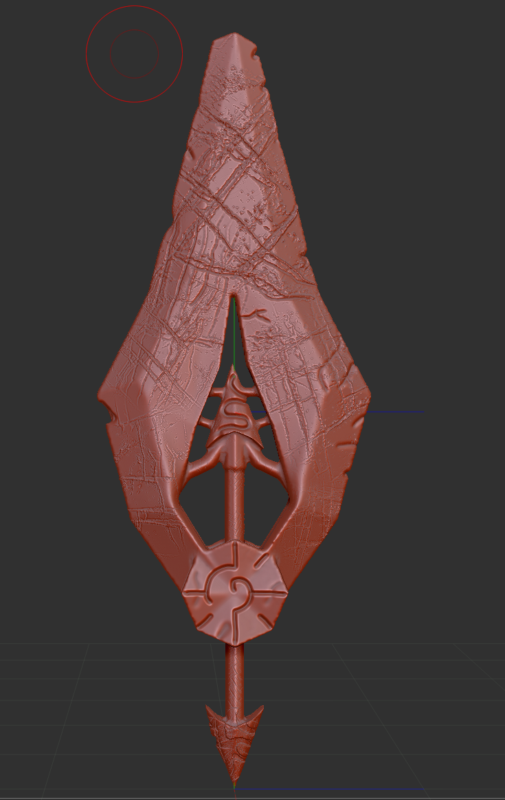
Weapon Render
After going organic, we created weapons that our character might use, and to practice texturing and importing files from different programs.
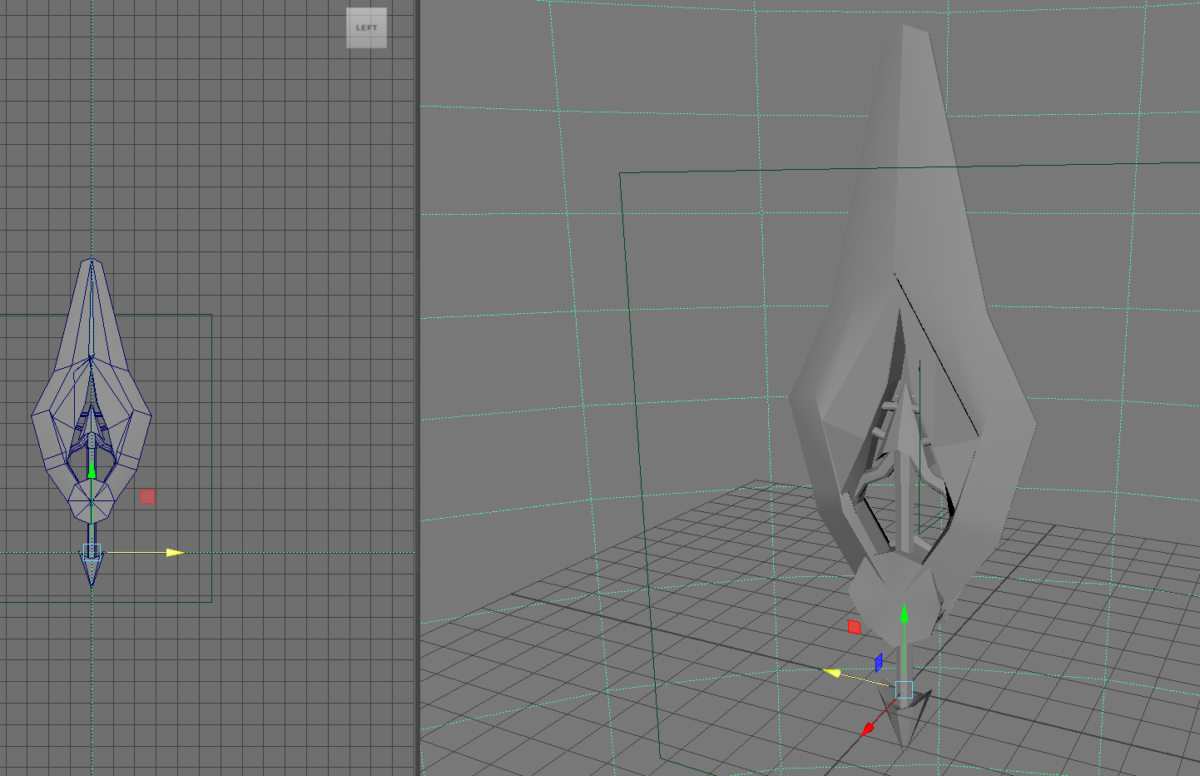
You can see the first stage of development up above. You block out the very basic shapes in maya.
After that, in substance painter, we got to fixing up the model, changing the shape slightly, and then texturing it! I envisioned an old sword cared out of a magical stone, still strong, but you can see the wear after centuries of use.
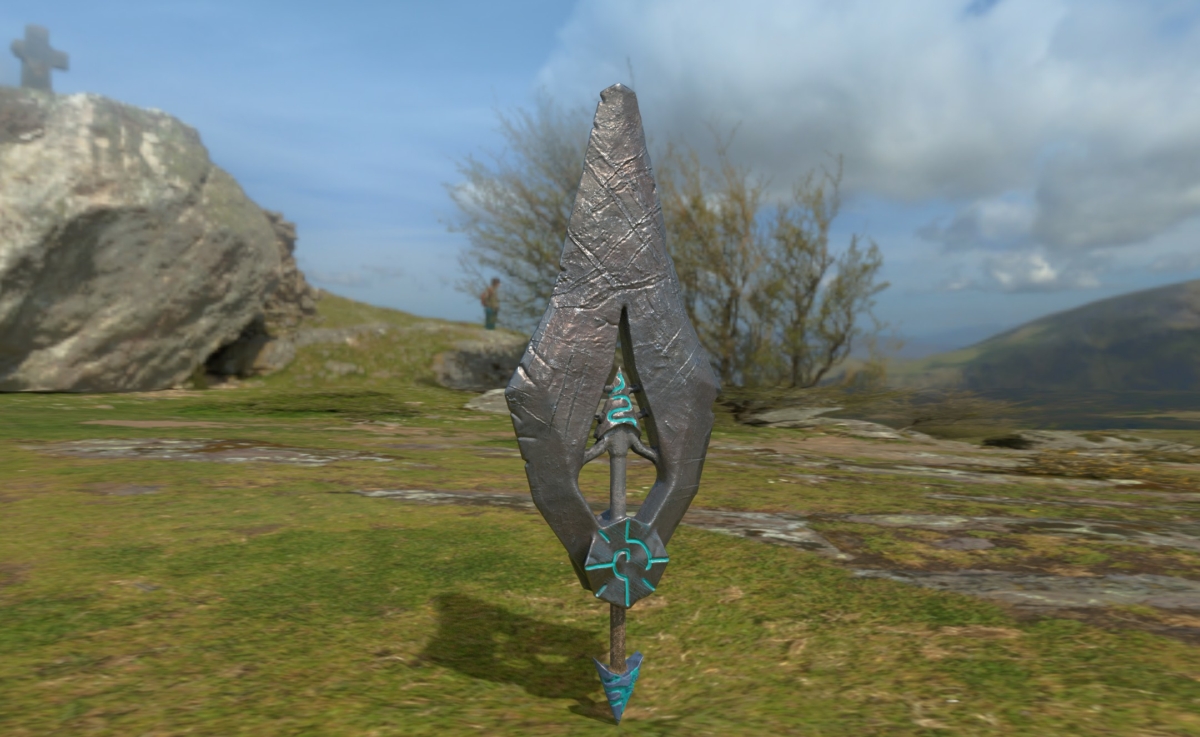
Finally, we brought it into Substance Painter. texturing it and rendering it out into a final product is the end of this swords journey(for now).
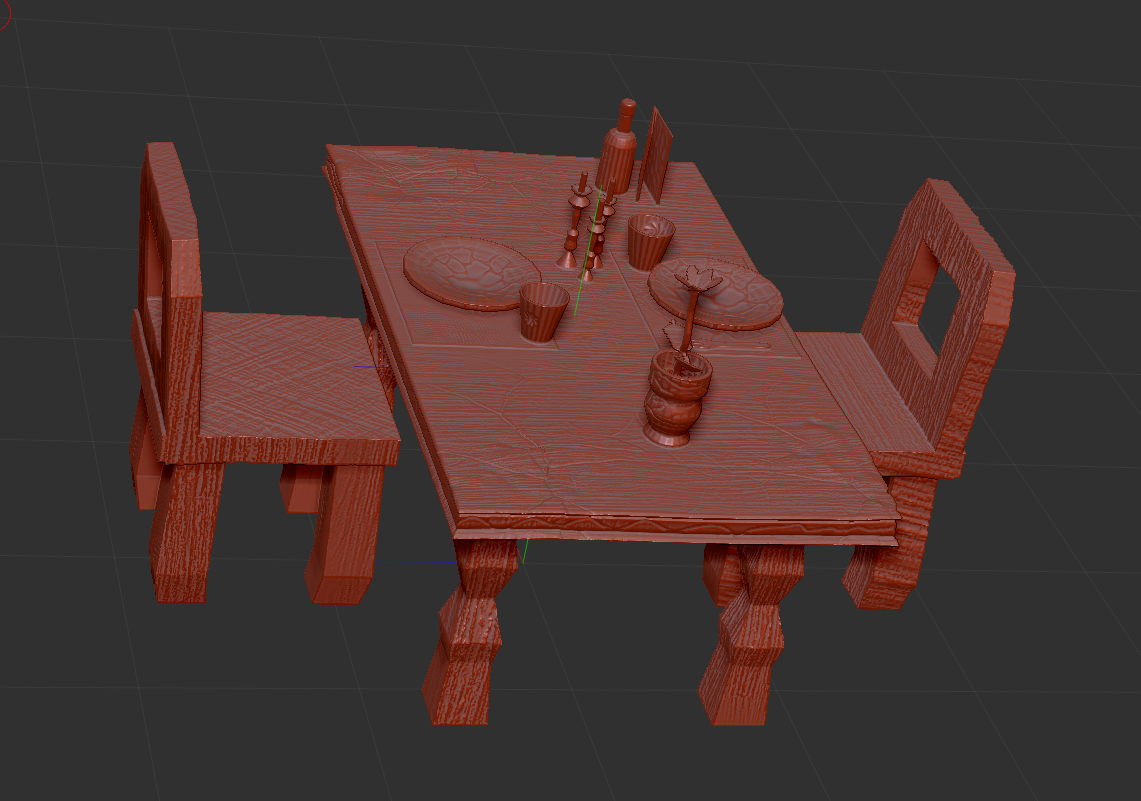
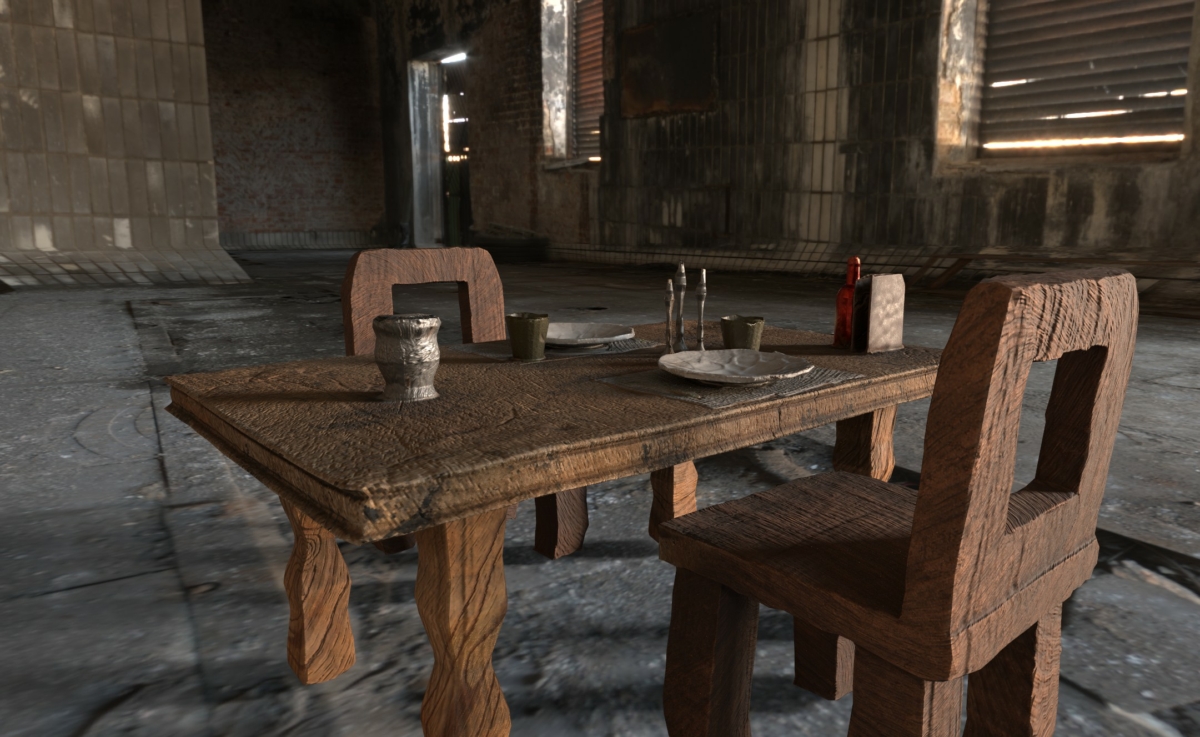
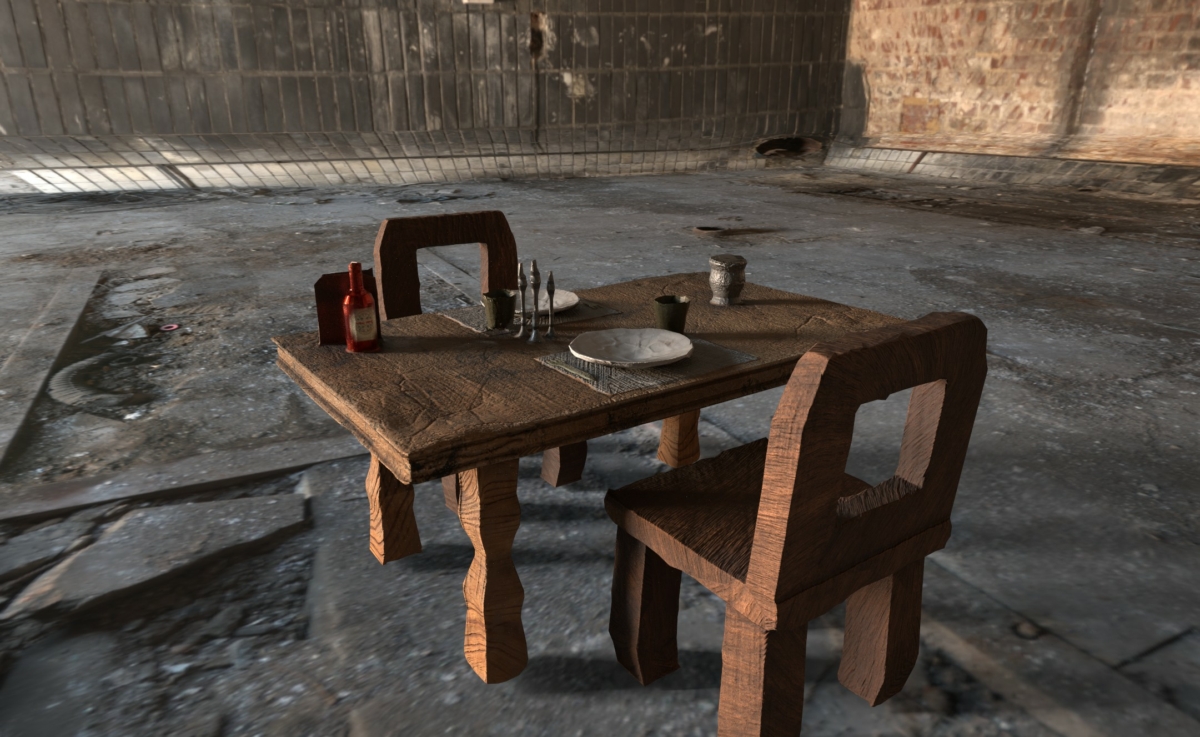
Table Scene
Creating a table is another assignment that we did that taught us more Maya skills. we used symmetry to work on half the table, and the other half would be copied, saving us much time.
After texturing the wooden table, we texture painted it and rendered it out, solidifying our knowledge of our 3d workflow in freestyle.
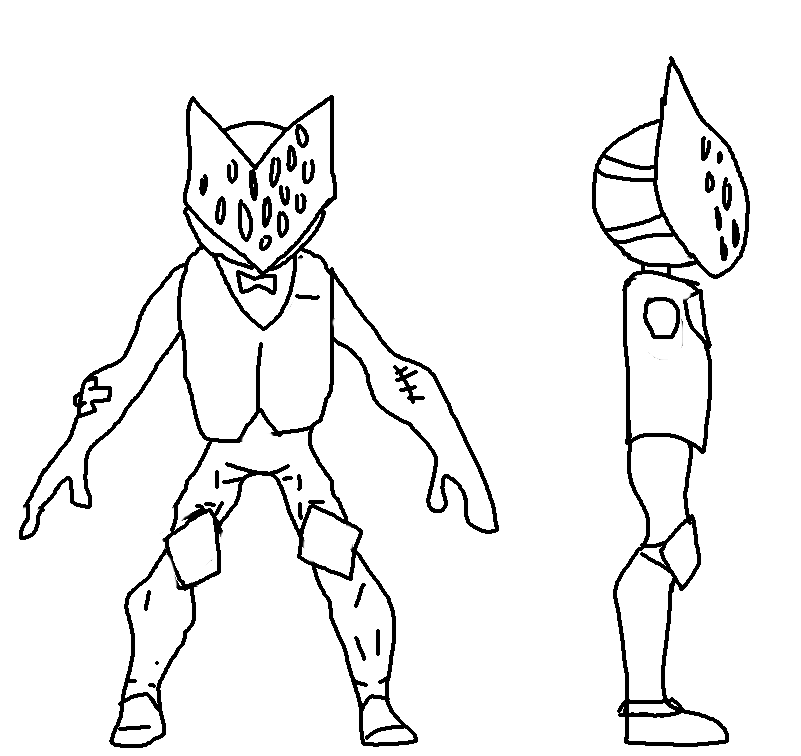
Character
This is the culmination of our time at animation in our first semester in our senior year. going through our 3d workflow another time would not be too hard, but this character we would use for our second semester in our animated stories(link to come!).
First, we drafted concept art. I wanted to go with a goblin who found themselves waiting tables at a fancy restaurant.
After that, I put the art into Maya and created a basic shape.
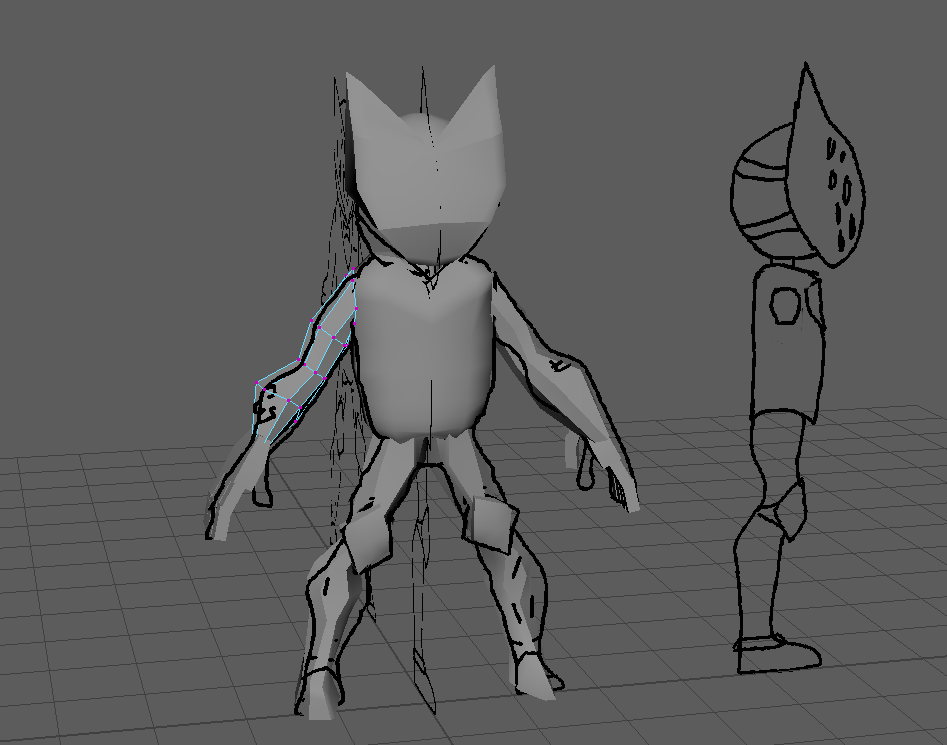
Then, we put it into ZBrush to solidify the shape and design. You can notice that the head is very different. In the design, the mask would not be suitable for animation later down the road, because we need to see the characters face.
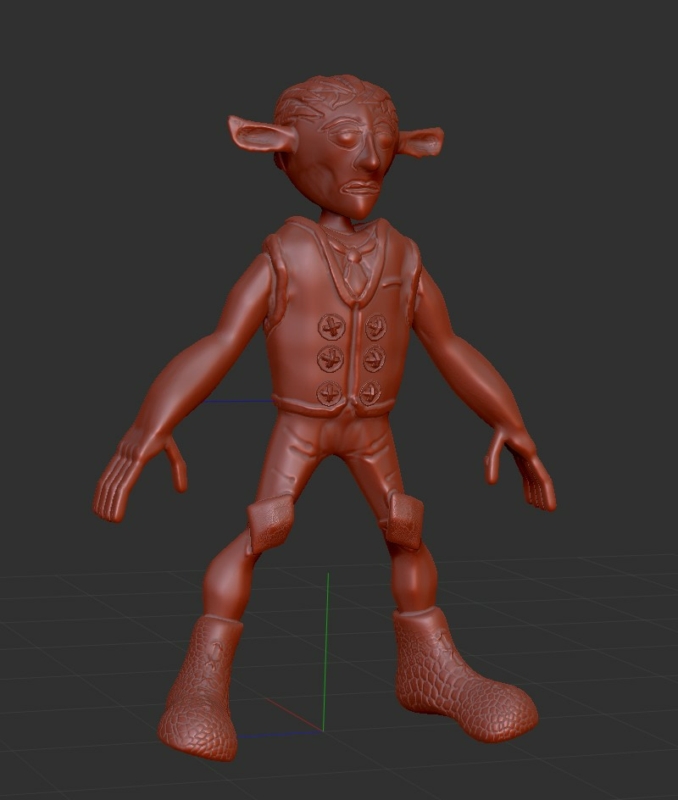
He is looking pretty good right now! All I need to do is color the person and rig him!
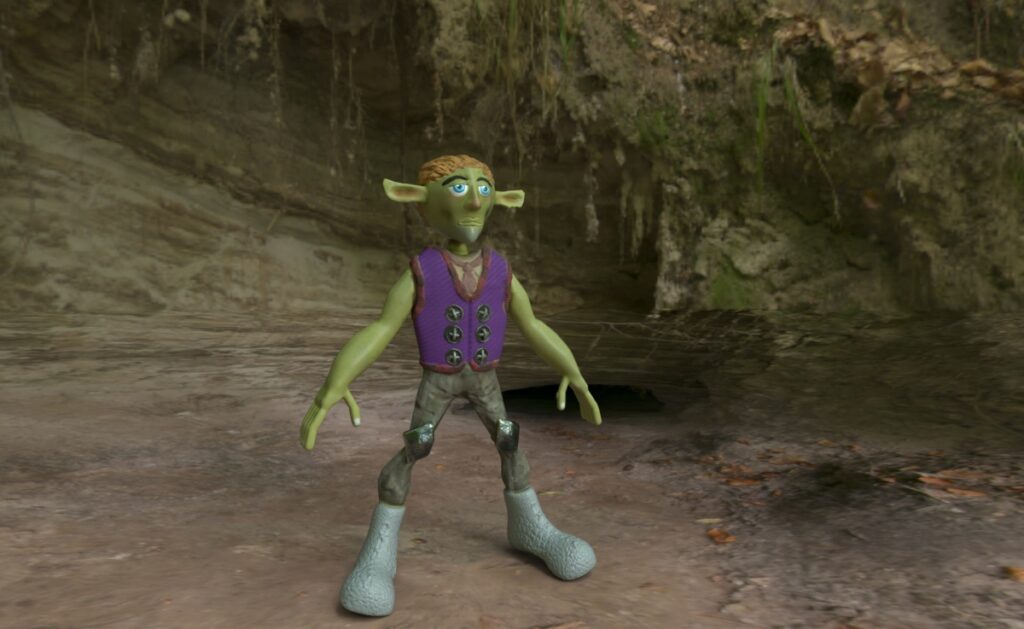
Color is done, I made the vest knitted, and he still has his shiny knee pads.
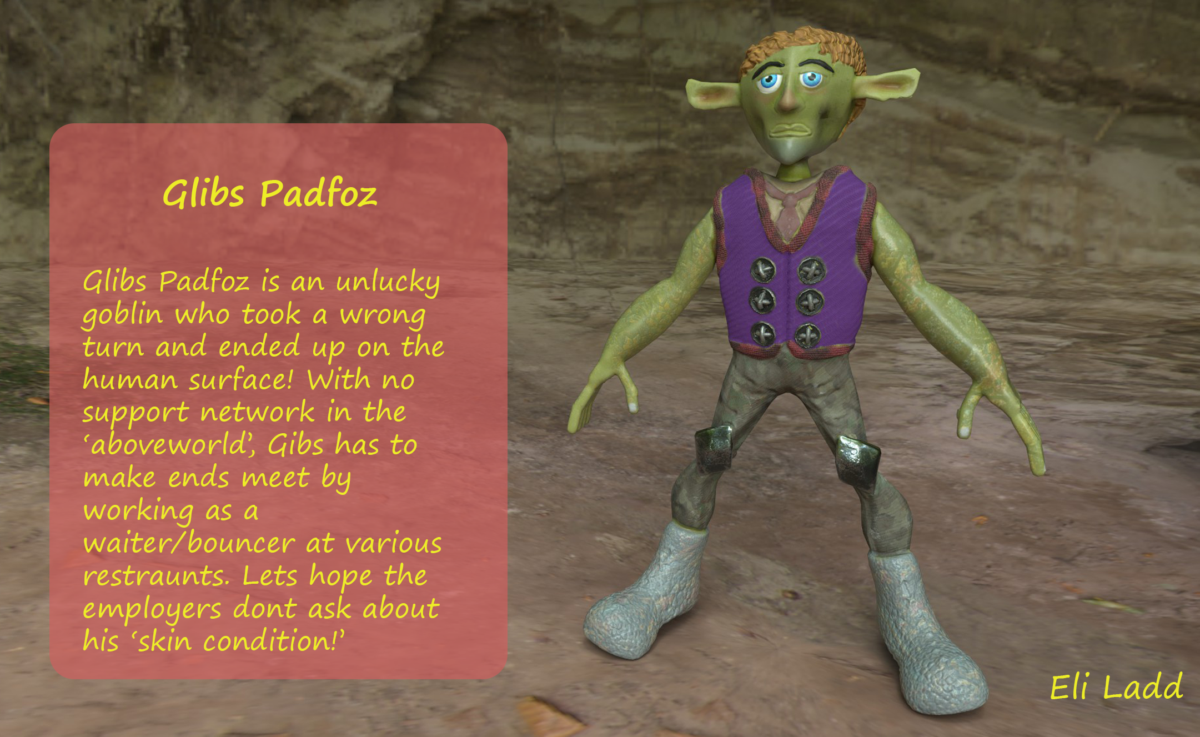
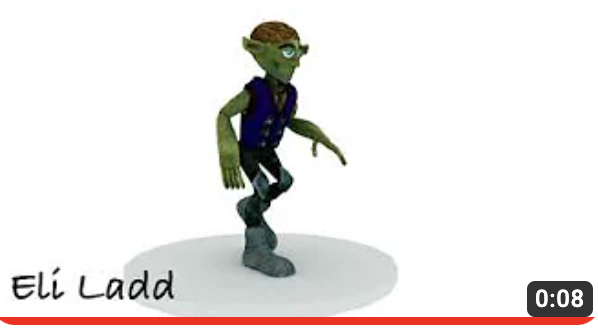
Rigging Glibs was a process that could have gone better, but in the end, I added bones, and weight painted him! Thankfully the program did much of the heavy lifting! Click the Image below to watch the animated character!
Thank you
For letting me share my reflections journey with you, and I hope you got an insight on a reflection of who I am.
Elijah Ladd, December 2023