Introduction
As we carry on the Narrative 2 unit to Digital Media, we were assigned to do similar assignments from what we’ve learned in English. We focused on turning our WorldBuilding projects into digital portrayals of artwork through Adobe Photoshop and Illustrator.
Funny Images
The first assignment we’ve done is the “Funny Images” project, where we had to use online images and mesh them together into surreal pieces of art. When I was thinking about what I would do for my composition, I tried searching online for whatever image I would use for the assignment.
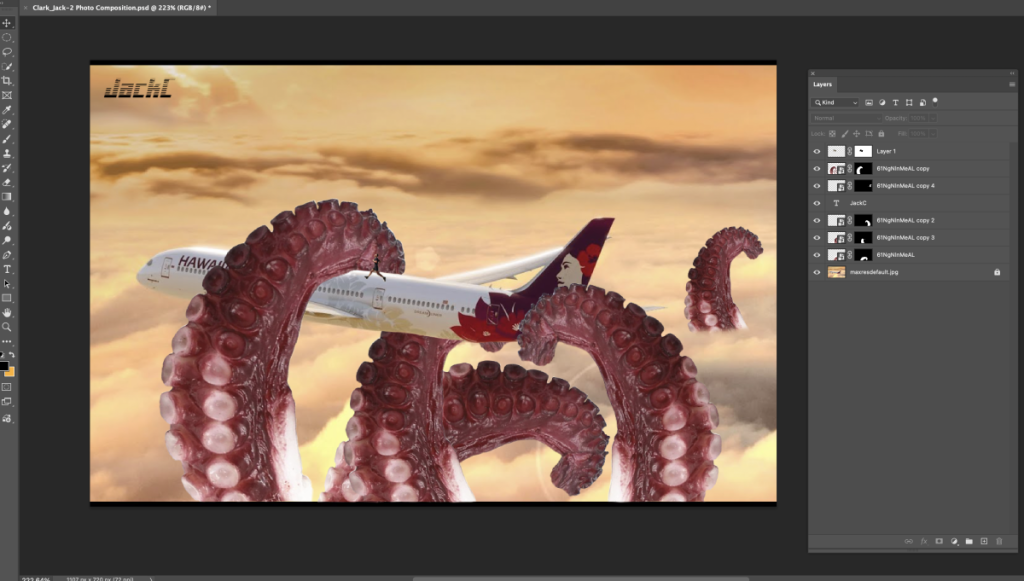
It was hard to find one that would at least work, so for my first composition, I went with pictures of an airplane, a (fake) tentacle, and an orange sky. To put the three images together, it was required for me to use the brush tool (B) and the clipping mask tool (Opt) to make the latter look like they’re apart of the former. One technique I was able to use was the smart object tool, because it helped made the pictures look fluid enough to be put into the sky background.

For the second composition, I searched online to do something more comical. I went with using a desert background, a picture of a futuristic-looking car, and Squidward. I chose them because I thought it would be funny.

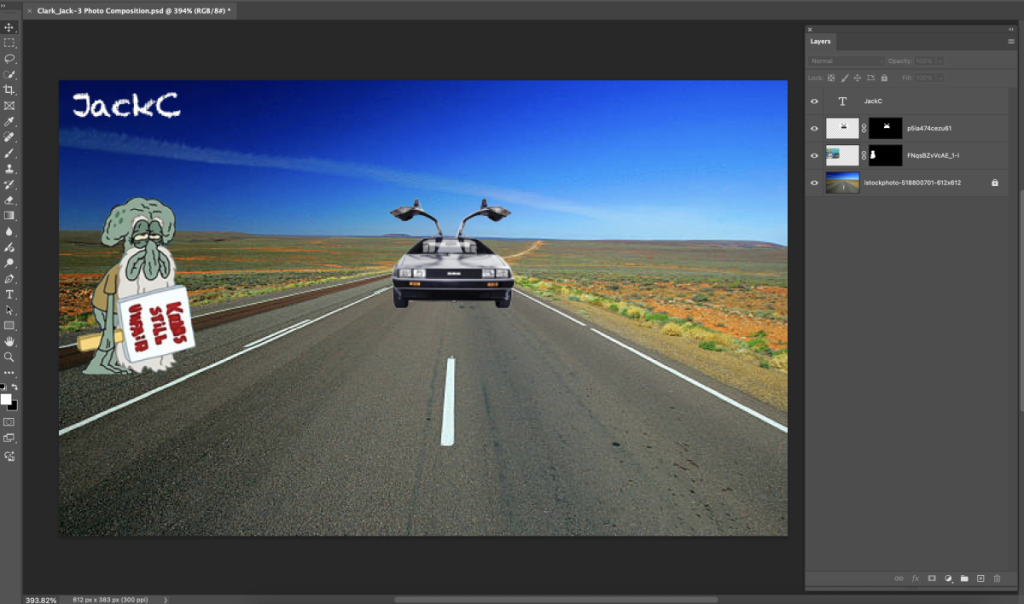
Since I was already experienced with using Photoshop, the process of making these compositions was quite easy, but I’ve learned a new technique (selection brush tool). Overall on the surface-level, they seem like they’re just funny pictures that anyone can laugh at, but in reality, they took a lot of skill to be put into them. It was fun doing these compositions for me to come up with ideas.
Multi-Layered Art Project
The next assignment was to do the “Multi-Layered Art Project”, which was the longest one in the unit so far. This assignment was required for us to display a defining moment from our WorldBuilding stories. Once we’ve made the sketch, we had to cut out each layer through laser-cutting. Our main choices to do the project was to either do a LightBox, stacked wood art, or a ring wood art display.
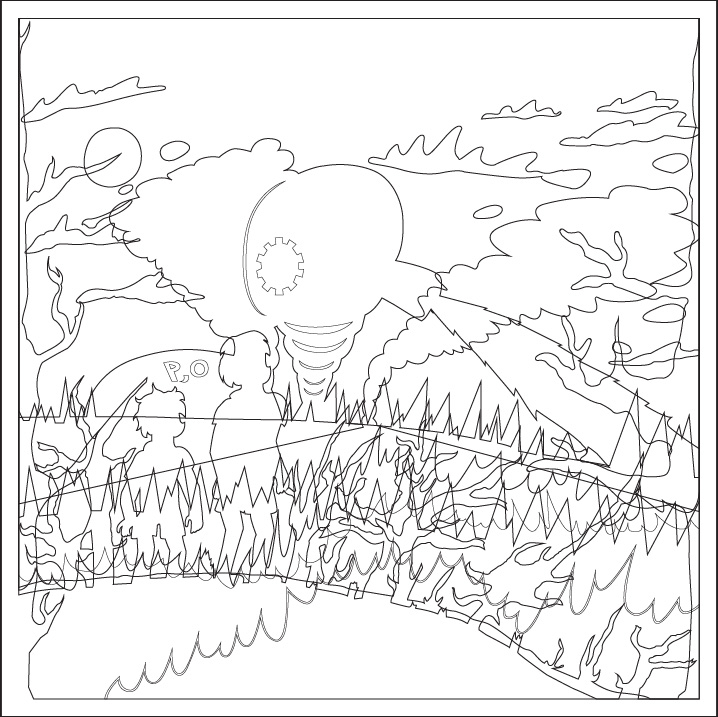
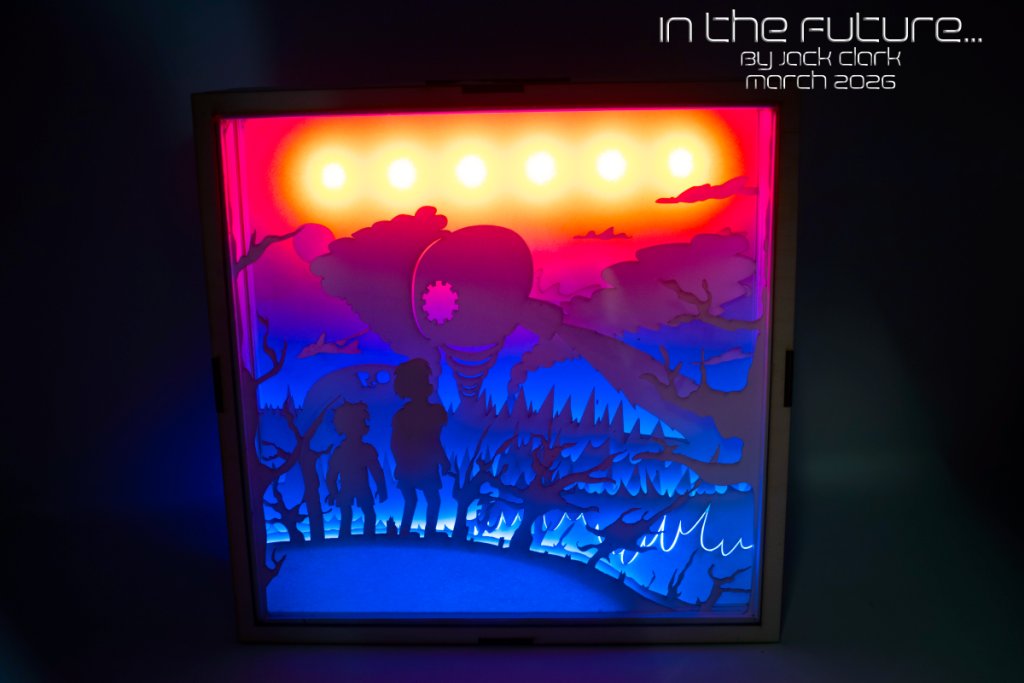
I’ve decided to go for the LightBox, because I wanted to make it based off of a key moment in my WorldBuilding group’s story. As we first draw our first drafts of the project, I decided to draw a sketch featuring the two main characters from 2326 – Reuben and Jonah Andrews, seeing the chaos happening at the forest, which is burning in flames by a giant robot. Before working on the digital version, I carefully made some adjustments to some of the layers, such as rearranging them so that it would work better, and that I had to erase some layers that felt unneeded.
Once I was finished doing the digital version on Illustrator, I felt really proud of what I’ve accomplished and doing the laser-cutting was the fun part of this project.


Digital Layered-Art Video
Once I was done doing the colored version on Illustrator, the next part I had to do was import my layers into After Effects, so that I could work on a video that showcases all of them being put together. Part of making this video was to move the camera angles, which I was able to pull off easily when I followed the instructions on one of the tutorial videos. The video took about several weeks for me to finish, because I was working on other schoolwork around that time.
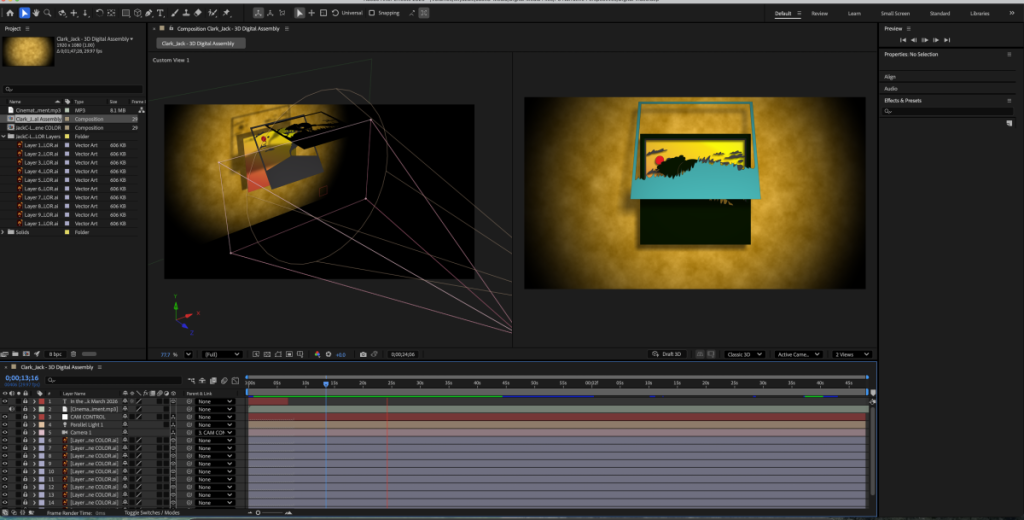
Multi-Layered Video
When I was still working on the digital version on After Effects. Before I had to cut all of the layers, I had to build the box first, using glue and pieces of flat wood on each side. Next, I had to put one of my cut layers at a time – I just simply had to put chopped foam on top of the layer, put the next layer on top, and repeat. Once I did the layers, I added the transparent paper when I flipped the box, and I became the first student to add glue onto it.
After I was done adding my layers, I had to choose which lights I wanted on my LightBox. I went with red and blue, because I wanted the blue part to be the fire while I wanted the red to be the sky. After I finished doing the LightBox, I was so proud of how hard it took for me to do.
Here is the video of me putting together the LightBox

Artist Statement
In the Future
For my Multi-layered Art Project, I chose to make a LightBox to enhance the sense of suspense by adding realistic effects to the fire and sky, which are depicted using red and blue colors, respectively. This piece relates to our WorldBuilding Story, where the main characters Reuben and Jonah are transported to a future where the world is permanently sheltered while the natural environment has been burned to ashes.
It’s important to understand that the story in my art piece depicts the brothers seeing all of the trees getting burnt to ashes thanks to the floating robots in the polluted sky. Our WorldBuilding Story centers around two brothers being sent to 300 years in the future where the world has turned into a utopian society and the red and blue in my art piece represents the polluted sky and the fire in the environment.
In creating a physical analog art piece and a digital art piece using imported artwork, 3D space, virtual cameras and lights of the same Multi-Layered Art Project, I felt very passionate about learning how to do all of these things. Apparently, this project helped me grow with my creative thinking; artistically, I learned how to cut layers with the laser-cutting machine, how to make the LightBox, and how to make a 3D video on After Effects. This project was fun for me to do, and I hope that I’ll create another LightBox in the future, or maybe in 300 years…