Introduction
This is the first unit in our Senior year, Reflections. During the unit, we learned how to express ourselves and identify our core values through different mediums. In Digital Media, we still learned how to use different softwares like Adobe and done projects like personal mandalas, art curations, and our core values. In English, we were making our own worlds through story, conflict, and depth. And finally, in Animation, we’ve used 3D softwares like Autodesk Maya and Zbrush for the first time and are trying to learn about how to use them.
Art Curation for Personal Museum
This was the first project in the Senior unit for English. Freestyle Academy hosted a field trip to the San Francisco Museum of Modern Art (SFMOMA for short), and we were tasked to snapshot 5 artwork pieces while exploring the rooms, and for our assignment after, we’ve had to choose only 3 pieces of art to put in our museum if they reflect upon who we are, and exclude 2 if they don’t interest us that much. The pieces of artwork I often prefer are ones that have a peaceful atmosphere, cultural background, and being made from the heart. I don’t like artwork that’s pretty angsty or have a sad tone to it because it’ll turn me off completely from the picture, but I do like artwork that can be pretty dramatic too.
3 art pieces I would ADD
to my Personal Museum


2 art pieces I would EXCLUDE from my Personal Museum


I chose 3 of these artwork pieces because they caught my attention for the artists’ experiences in their past and how they made them, and my favorite is the one made by Richard Diebenkorn because I like how he made it just from an experience flying to the Caribbean islands. where Jamaica is located. It was hard trying to decide how I can choose which artwork I can exclude, so I had to go with the one made by Ellsworth Kelly and a photo taken by Jimmy Jocoy. Why? Because the former doesn’t interest me that much and the latter I found pretty disturbing and violent.
My Personal Mandalas
The Mandala project tasked all of us to create our own personal mandalas (a mandala is a geometric configuration of symbols) through using Adobe Illustrator. By creating our mandalas, we had to make them represent our core values or something related in our cultures and hobbies. At first, I didn’t know what I was going to add on my mandala, but since I’ve noticed a lack of video game themed mandalas in the DM room, I decided to make mine represent my nostalgia of playing video games growing up.
If the images do not display below,
On a Mac, press Command + (plus) then press press Command – (minus)
On a PC, press the Ctrl + (plus) then press the Ctrl – (minus)


For our first senior project in DM at Freestyle, we got to design our own personal mandalas. I built a 16-slice BW mandala using Adobe Illustrator. For the theme, I wanted to do something with video games, so I just pulled in some classic items from Super Mario Bros. and Minecraft. During the process, I used the rectangle tool to create all the tiny pixels and just copied them over and over. I started with the diamond sword first, and then moved on to other stuff like the magic mushroom, the skeleton head, and more. I used online images for reference as I went.
I chose Mario and Minecraft for this project because I grew up playing them, and additionally, the star in the middle represents the energy I feel inside. Before this project, I learned how to repeat each drawing around the mandala so everything can show up at once, but deciding which items to use was pretty tough, so I just did my best. The best part of my BW mandala is that I’m really proud of how much effort I put into it and that I got to show off a hobby I love.


This piece is different from my BW mandala in that it includes all of the same items from Mario and Minecraft, but everything’s all in color. Upon seeing my printed colored mandala, my reaction was really positive for looking super accurate to the digital one I finished, and I think both the pizza board and the final printing easily replicates the 8-bit theme that I worked on.
I intended to visually represent my nostalgia down through memory lane with items from the games I played. Working with color allowed me to change some of the black pixels on the items I chose to look like how they appear in their respective franchises in my artistic technique and workflow.
My favorite part about my mandala is that it has the video game theme I put on and reminds me of the times I played Minecraft and Mario. Other reflections about my colored mandala include my nostalgia through the power-ups and items from said games.
After creating our black and white and colored mandalas, we used Adobe After Effects to edit a “Build Reveal” video that shows our mandalas being created. The video is recorded in Adobe Illustrator, showing us clicking layer by layer to reveal each part of the mandala.
This piece answered “Who am I?” because I had a lot of nostalgia for playing video games. When I compare my digital BW mandala and my physical laser engraved mandala, there isn’t anything new between them and they’re just identical. My choice of a pizza board for my laser engraved mandala best represents me because I like to create items that can be usable instead of only being shown on display.
My reflections about the entire mandala project from creating mandala templates, BW mandala with pressure sensitive brushes, colored mandala, build reveal video, and final laser engraved mandala include being progressive. However, the only thing I was having a hard time with is trying to connect the tiny squares together while making the product.
What I’m most proud of is the fact that I got to see my digital artwork get engraved on a physical item. Through this project, I can apply working on my mandala for several weeks to get it done. Before this project, I felt stuck about trying to come up with something to put into my mandala, and now I feel my artistic skill thriving when I see others’ art.

Personal Essay
In English, we were tasked to write an essay about our personal lives. I answered the question “Who am I?” by writing how art has defined my personality and shaped my passion to become a full-time artist in the future. When I began drafting, I wrote my interest in art, but I’ve also wrote my experiences making friends. However, I ran into some issues because some of my classmates commented that the switch in focus on the paragraphs didn’t make sense.
During the next few weeks, I’ve got help from my parents to stay focused on my passion for art and how my childhood shaped that passion. Most of the methods I’ve used came from the “College Essay Essentials” book by Ethan Sawyer. I’ve revisited myself throughout this process, and writing this essay explored how I went from being shy about my interests to being much more confident in sharing them.
Here is the essay down below
Transition to 3D
In Animation class, we switched our focus from 2D animation to 3D animation. We’ve focused on modeling, sculpting, and rendering, using softwares such as Maya, Zbrush, and Adobe Substance Painter.
At first, we’ve started out by creating simple objects and shapes on Maya, followed by a table, a fire hydrant, a greek temple, a weapon (I chose an Axe for mine), and an original character. Before we could design our characters, we’ve done some additional assignments on Zbrush, such as making a skull and a human face to test out the program’s software. Lastly, we’ve added some sculpting to our models and moved them to Adobe Substance Painter, where we had to color them and add texture to them.
Doing 3D animation wasn’t easy for me when I first started it, because sometimes modeling can turn out sloppy when rendered poorly. Not only that, learning concepts from extruding faces, texturing, and UV mapping were all difficult for me to understand. Heck, I even had some trouble trying to get into Substance Painter. When I improved over time, working on this software has made not only me appreciate the medium even more, but also appreciate different kinds of animation.


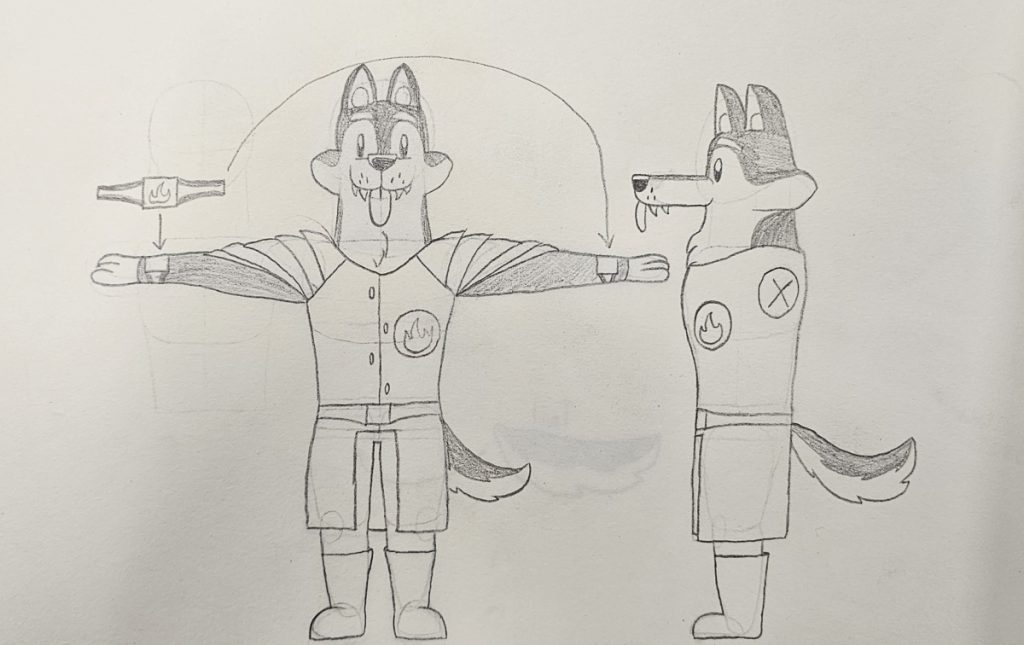
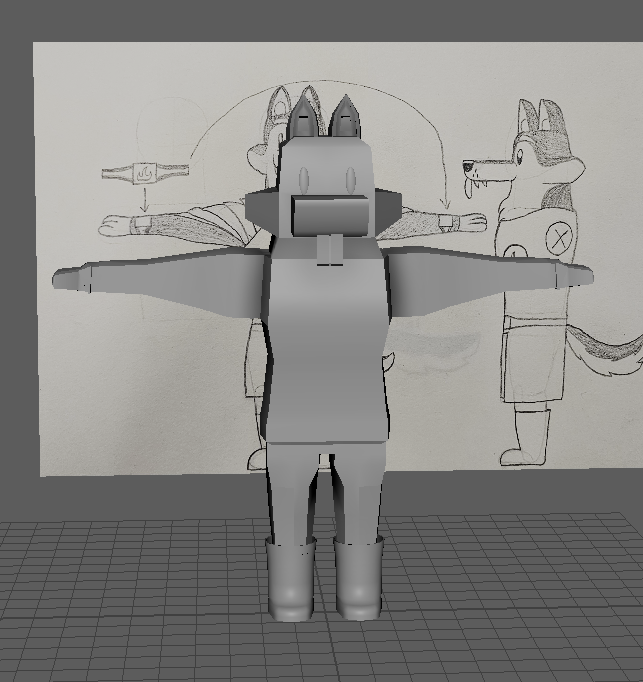
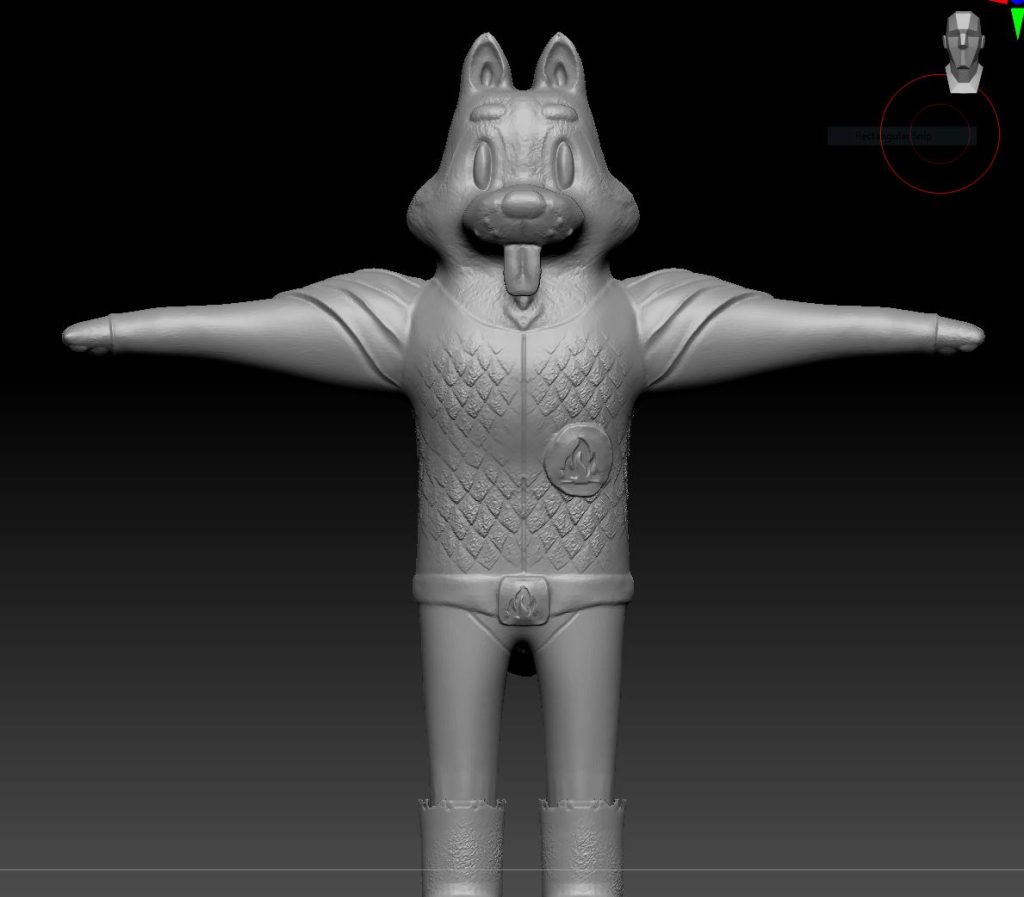
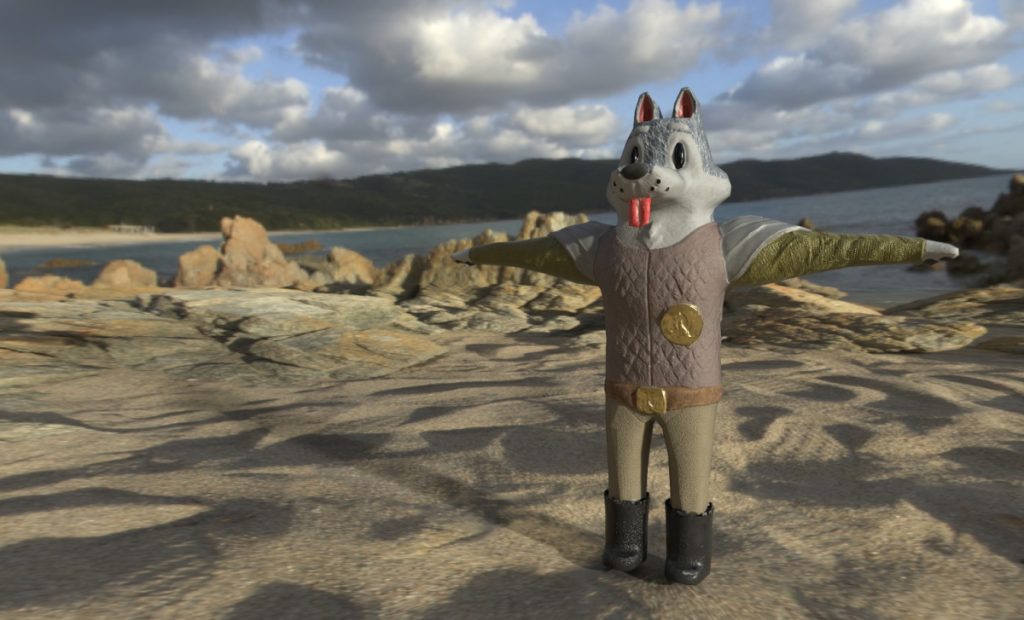
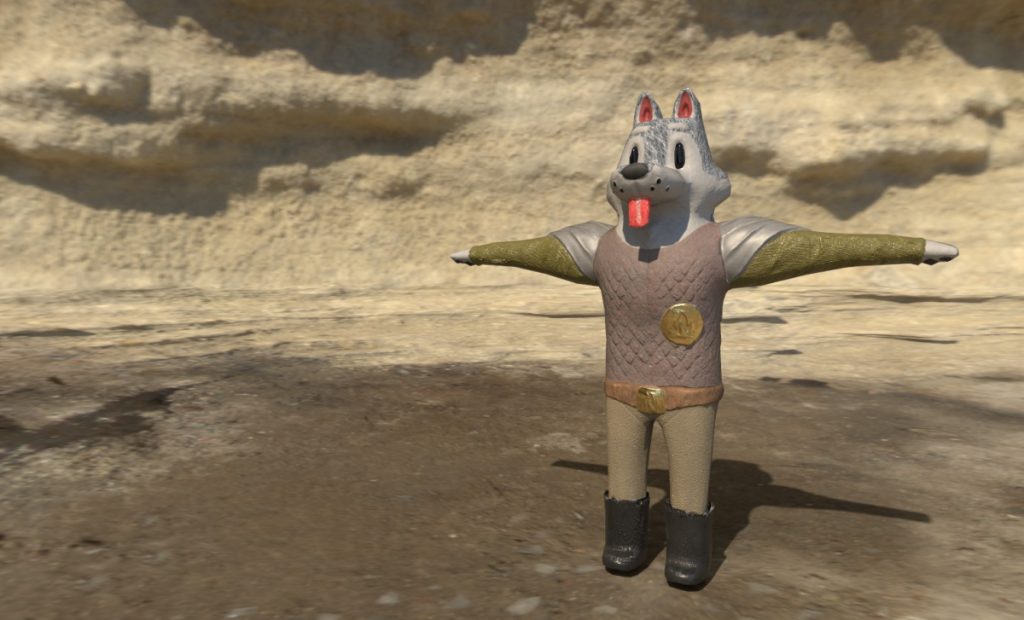
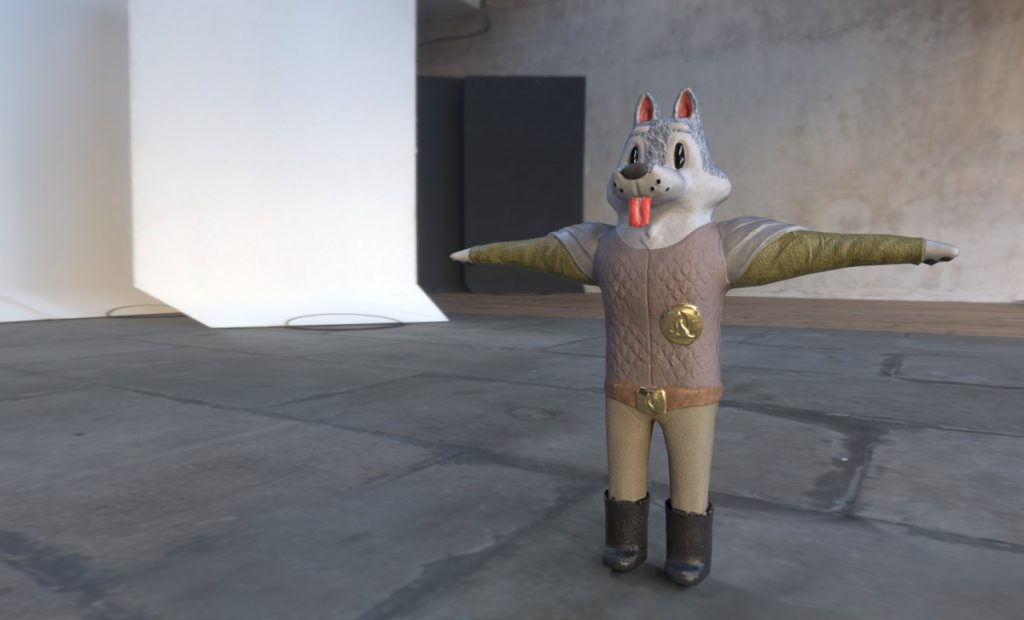
Practice Models
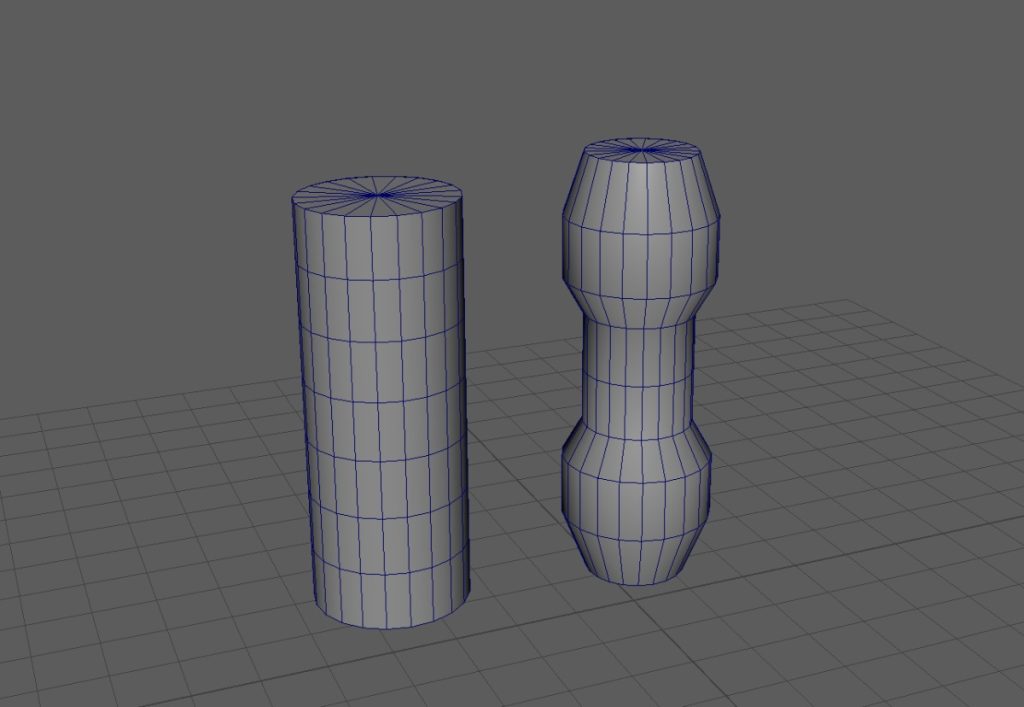
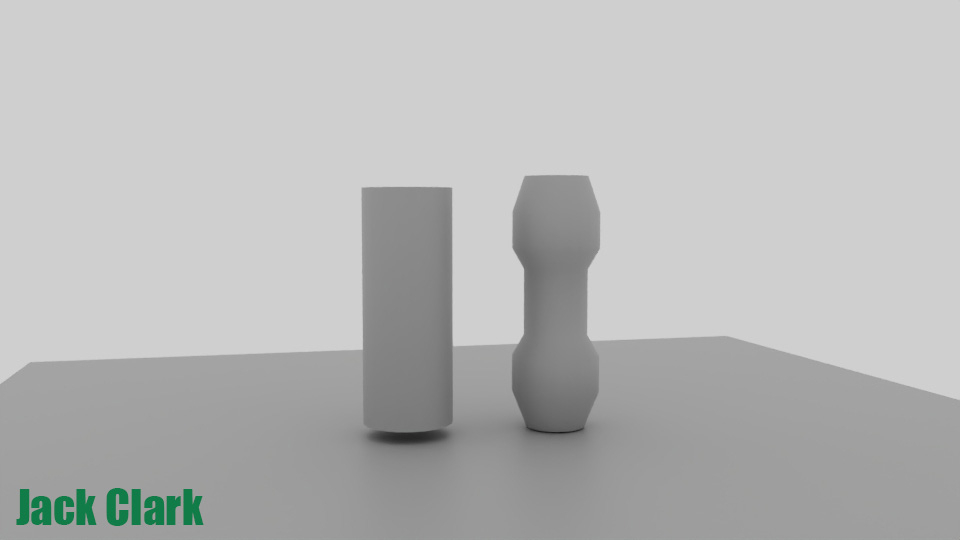
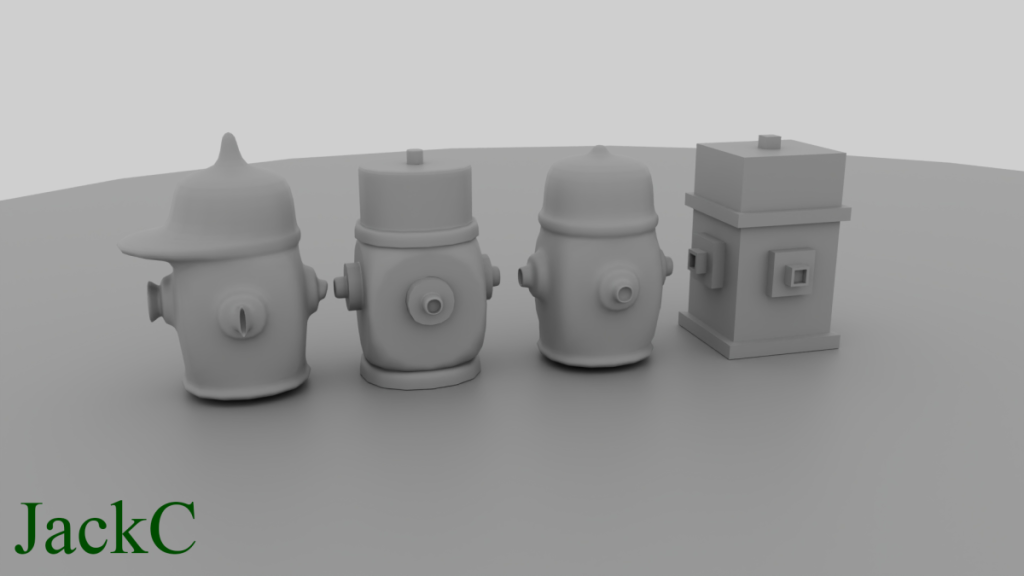

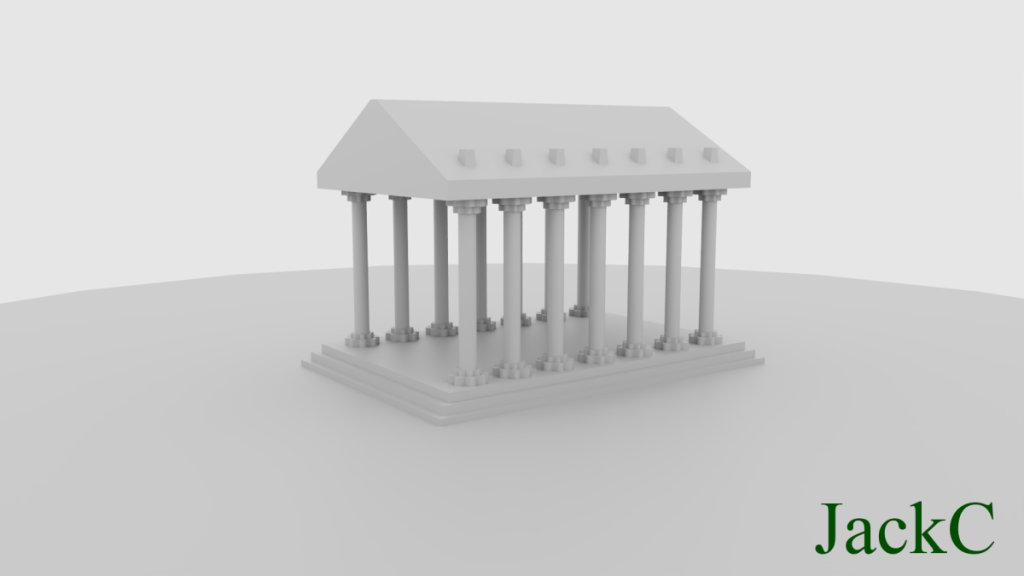


Our introduction to Autodesk Maya involved an incremental workflow, beginning with simple geometric shapes before progressing to fire hydrants and eventually full environments. It was quite easy doing this process, allowing us to gain confidence before moving on to more detailed models.
3D weapon
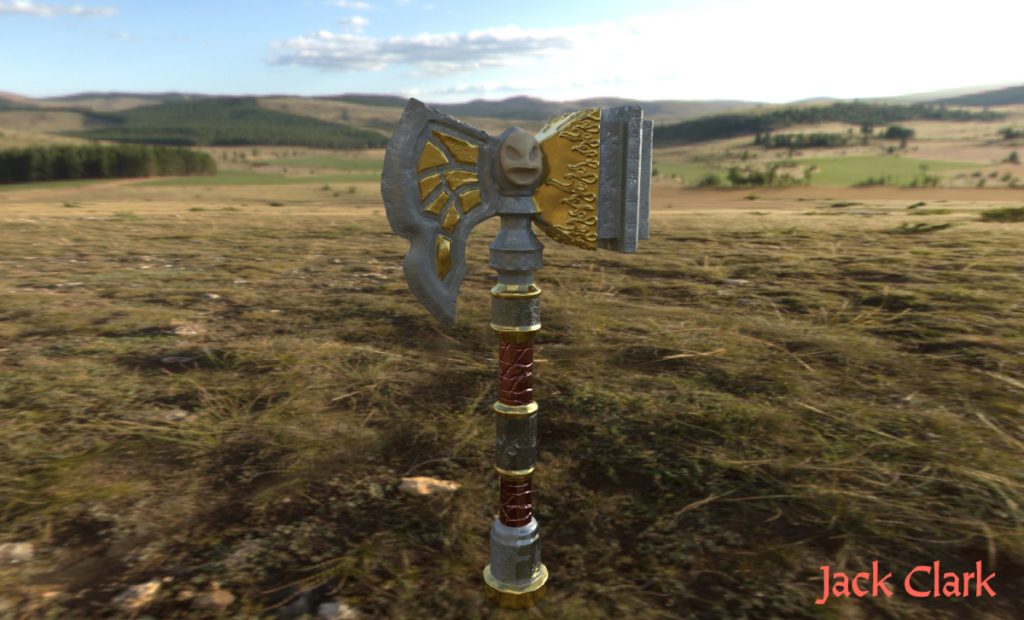
The Elixir
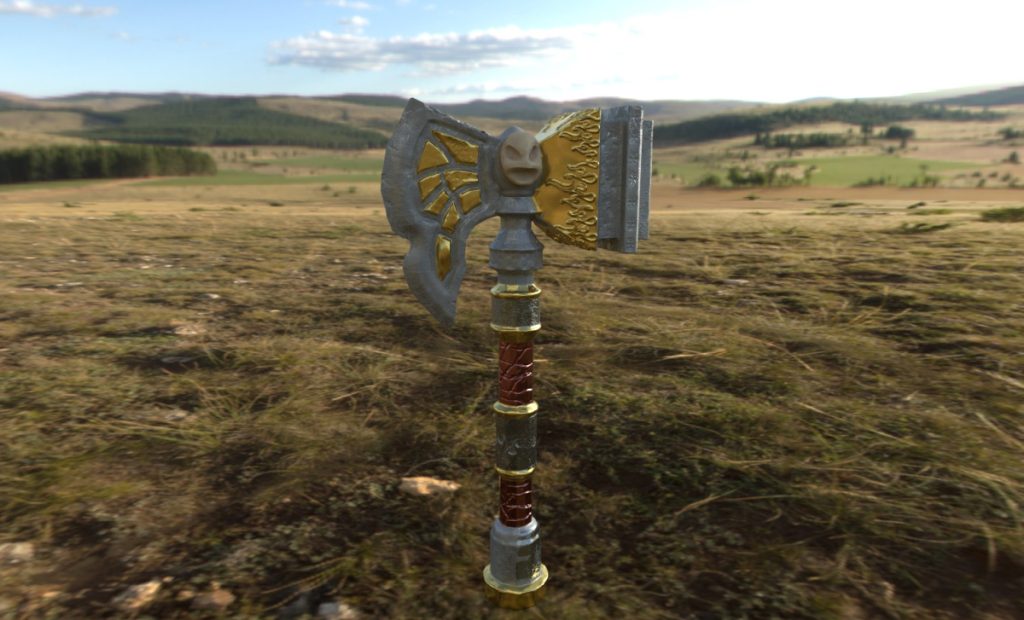
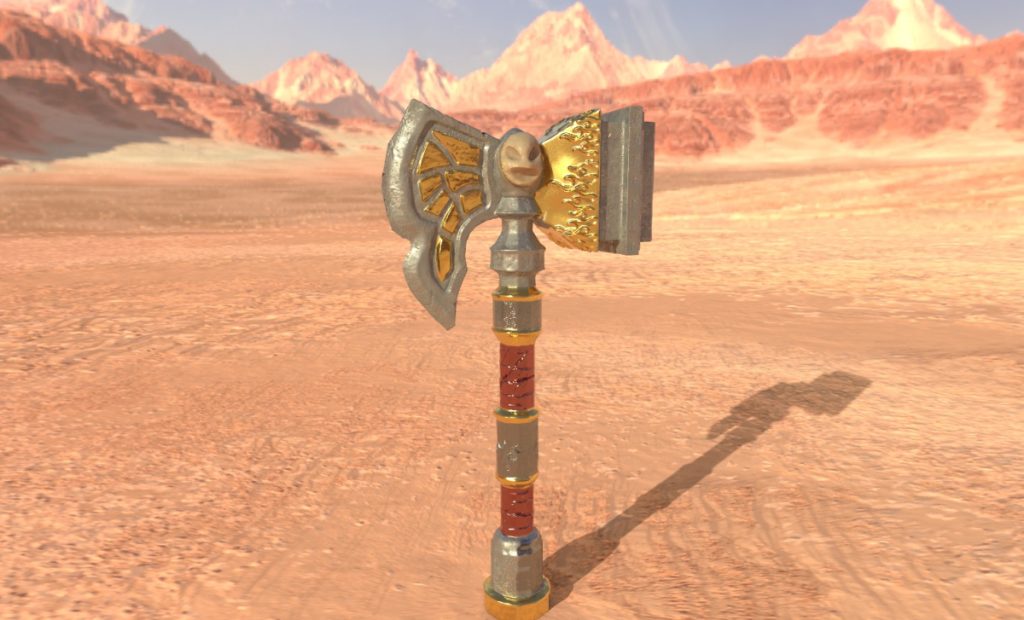
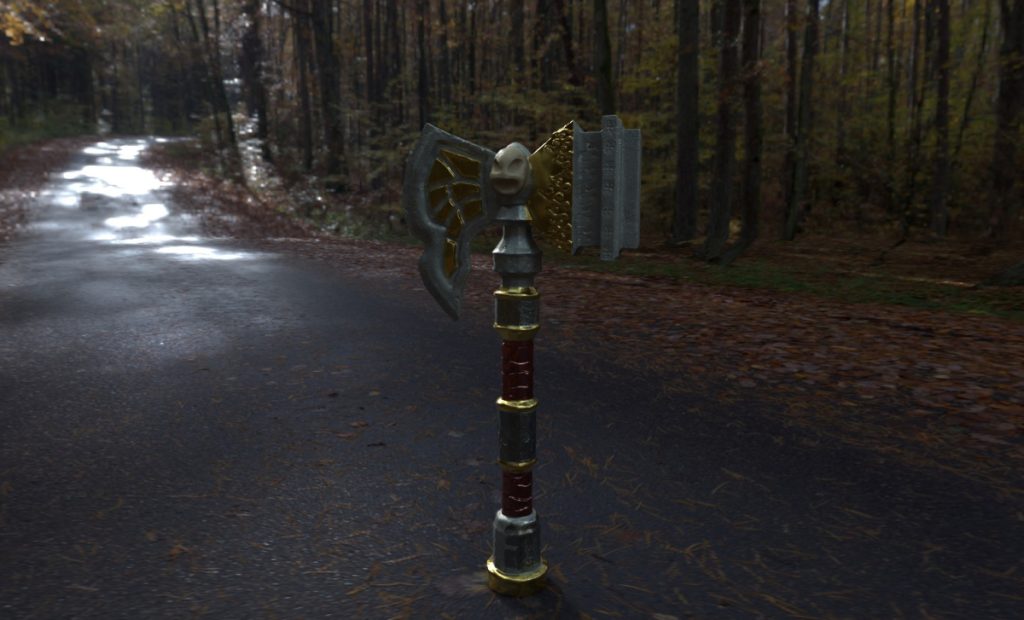
When we started working on our 3D weapons, I didn’t know exactly what kind of weapon I wanted to create. Getting inspiration online, I’ve chosen to do a sledgehammer, because I thought it would be cool. Once I’ve done the model through Maya, I’ve imported it to ZBrush, where I had to make the weapon more detailed. It took about several weeks for my weapon to be finalized. Afterwards, we imported our model to Adobe Substance Painter, where we had to color in the texture of my weapon. I liked using both ZBrush and Adobe Painter, because they gave me more options to make the model look better than just looking sloppy.


Core Values
As we’ve started using After Effects more, we were given multiple mini-assignments to test out the text effects. To answer the question “Who am I?”, we were assigned to create a video that showcased of what our “core values” are.
My Core Values video had to embody 7 words that would describe who I am as an individual. I wasn’t too sure of what my core values were, considering that I had to carefully choose which words. Rather than doing just 7 words, I’ve done 8. My final 8 words are – creativity, passion, family, adventure, imagination, enjoyment, serenity, and curiosity.
I chose to do a blue-and-orange watercolor background, because I’ve like scenes where the sky is half-orange (or pink, depending on the time), since in that way it can seem like it’s either serious, calm, or just a good view to look at. I’ve chosen a variety of fonts to include in my video, so in that way it would be themed of what the word represents.
The soundtrack I’ve also chosen for was an upbeat track so it would fit my mood represented. Throughout the process of editing, I’ve carefully timed the words at the same time I’ve said a word in my recording, and I also chose which text animation I would add when browsing Adobe Bridge. Although, the last bit was a little long, I’ve done good on this assignment.