Introduction
How effectively can I tell a story—through 3-Dimensional design and animation?
3D Modeling: Temple, weapon, table
In the past semester, I learned to create original models of an environment (of Greek temples), a weapon, and a table scene from basic 3-dimensional polygons provided in Autodesk Maya.
These I featured on my Reflections webpage, linked here for you to check out at your disposal!
3D Modeling: Character design
These modeling projects led into what I think was one of most important projects, character design. I say this because we ended up using these characters in a group animation project, writing her into an immersive narrative.
Say hi to Maya (named after my baby cousin who my character was supposed to be modeled after!):
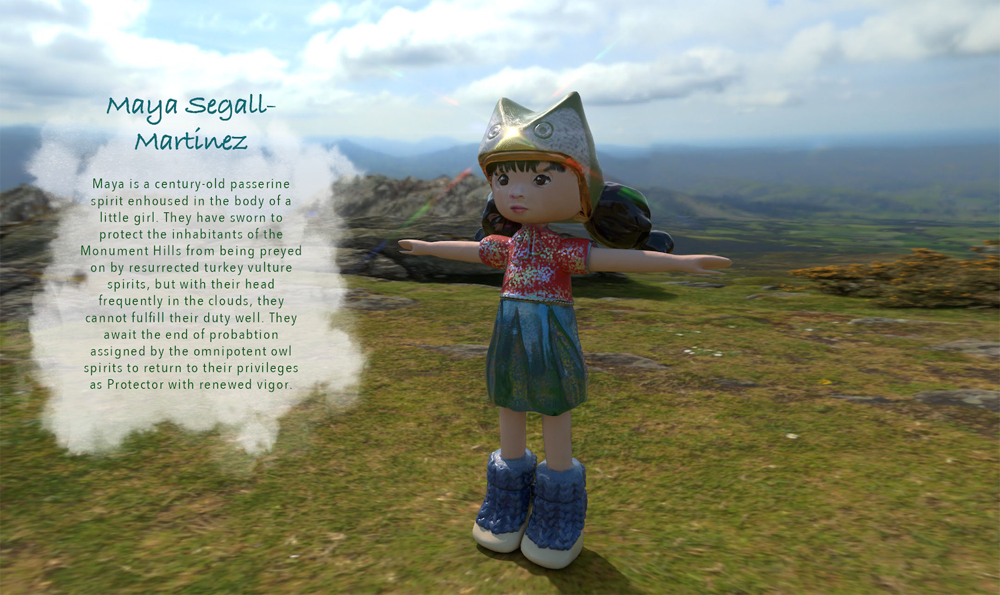
During the process of my character’s body design, I took inspiration from characters I saw in 2D art online, often Japanese animations. Below are the steps I took to actually create this 3D character.
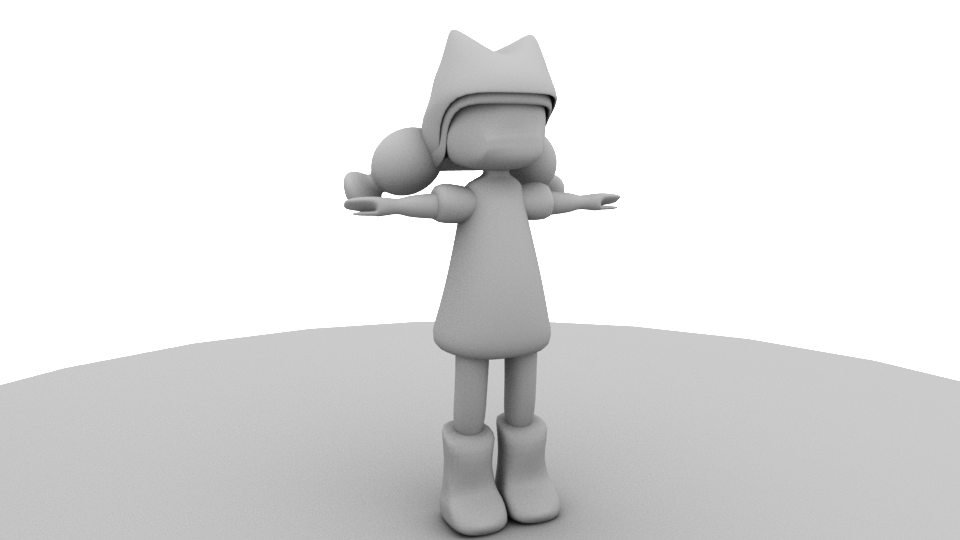
Step 1: modeling. In Autodesk Maya, I created basic shapes to build the form of a girl. I took inspiration from characters I saw in art online:
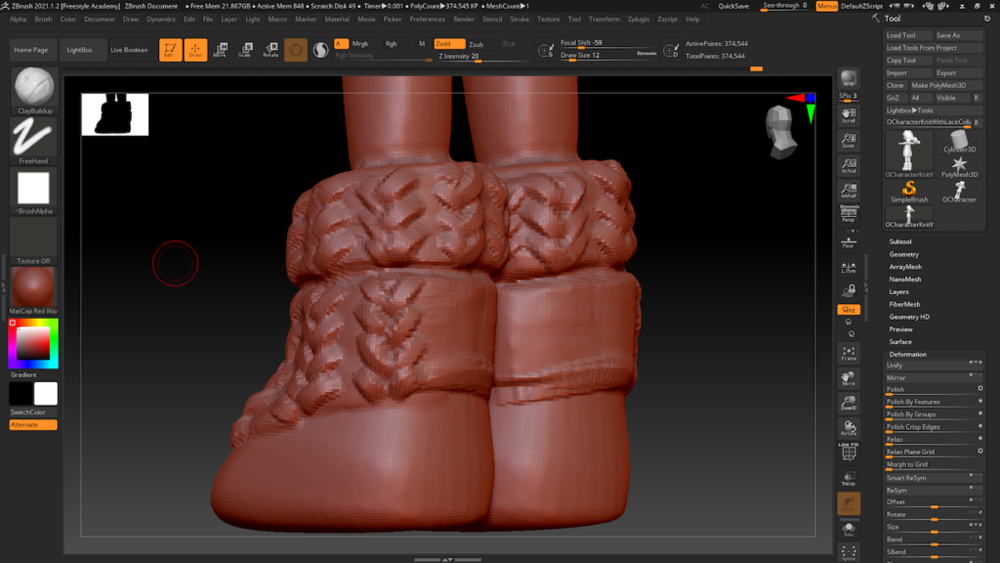
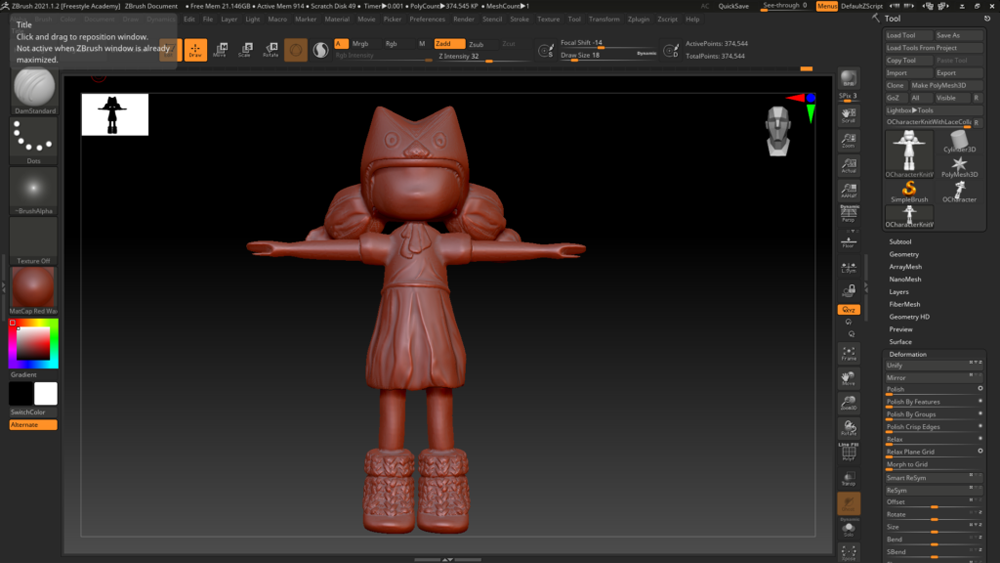
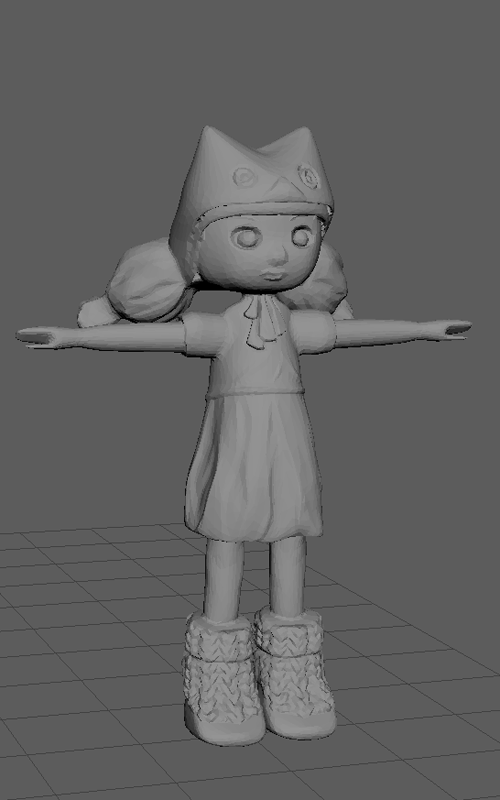
Step 2: ZBrush to add facial features (like lips), folds to clothing and skirt, texture of knit yarn boots.
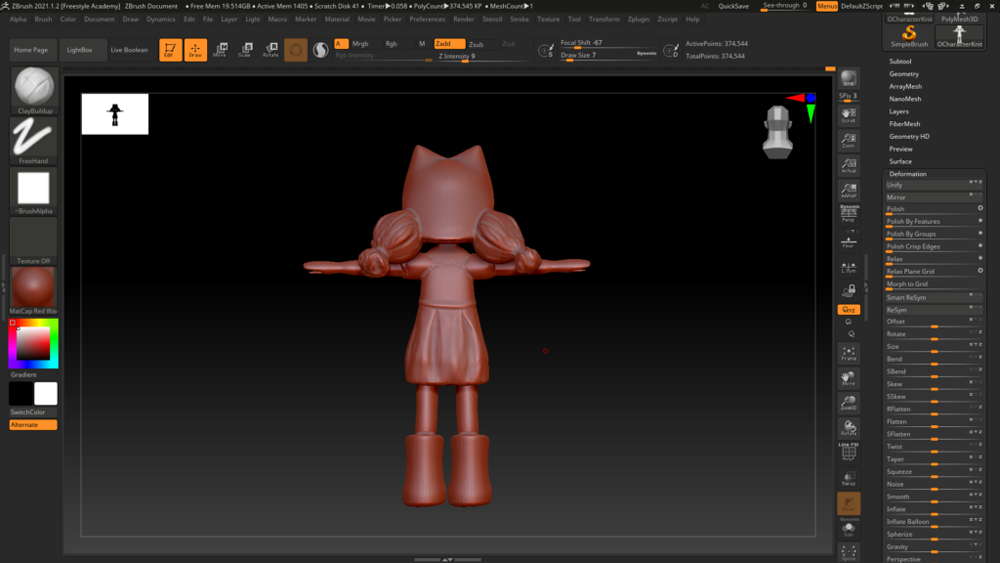

Eventually I ended up with my character like this. I continued adding some facial features and finally exported the detailed model as an OBJ. Before taking it to the next step (painting with color), I saved one version of the high-poly ZBrush model, and divided it several times until I had a model with a lower polygonal count (the low-poly model) and saved that, too.
Step 3: I imported the low-poly model to Adobe Substance Painter, then attached it to the high-poly model to show the finer details. The models must have been equipped with UV texture mapping from ZBrush; otherwise their polygons would not be able to be painted.
I played around with materials to add color and satiny skirt, glittery top, paint hair. Additionally, I learned that I could ‘paint’ images I’d downloaded of eyes, nose, and mouth features onto her face, as well as a knitting pattern to the owl hat.
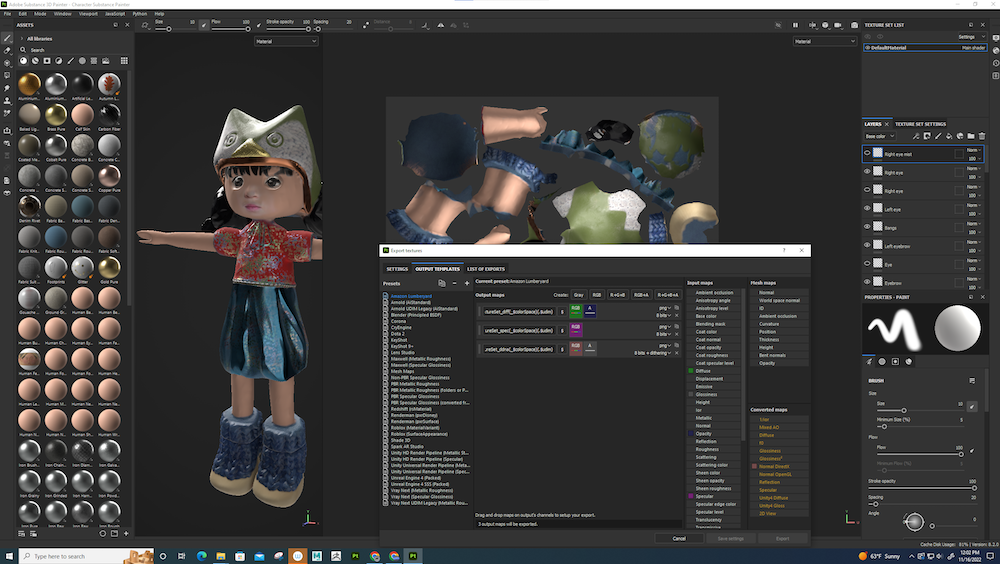
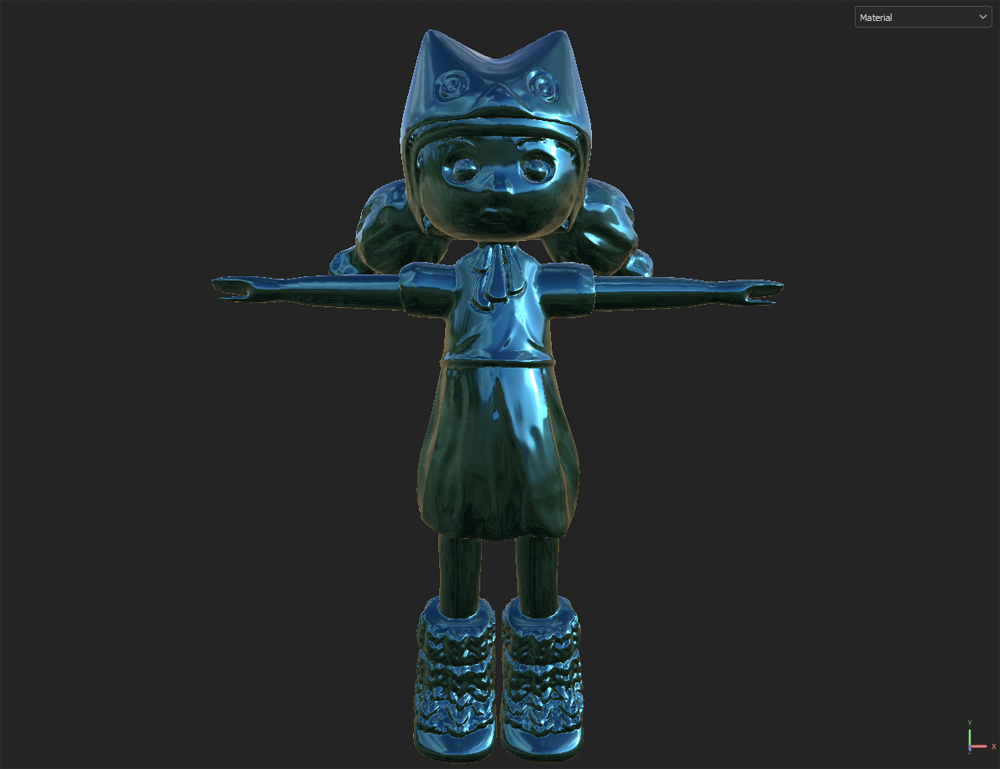
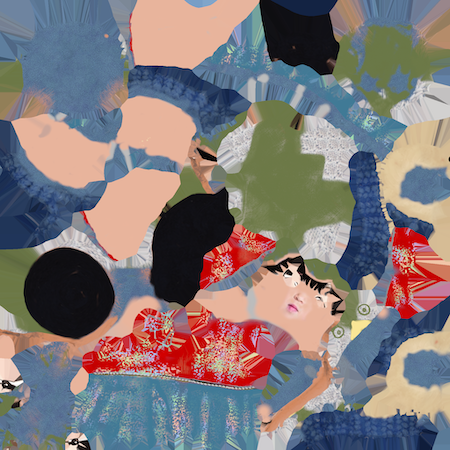
While exploring colors and textures, I couldn’t resist assigning all sorts of random materials to my character. I kept some PNGs of these cool textures on my character:

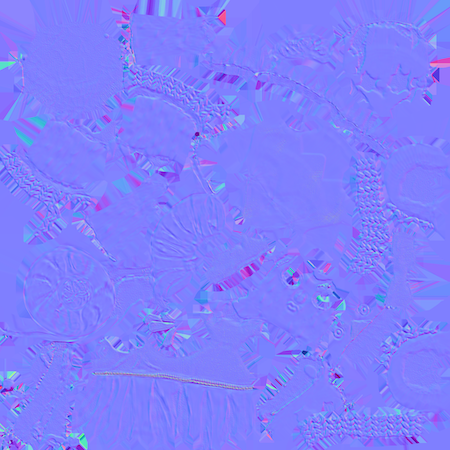
I exported this final base-color map and bump map, along with other associated maps like metallic-ness and roughness:
I loaded these two maps above into the Hypershade interface within Maya so that I could attach the texture I painted to my model! The color shader I used was a Blinn shader. I also had to adjust the spectral settings to they wouldn’t result in an overly metallic luster. With any model selected, you can apply the shader to it.
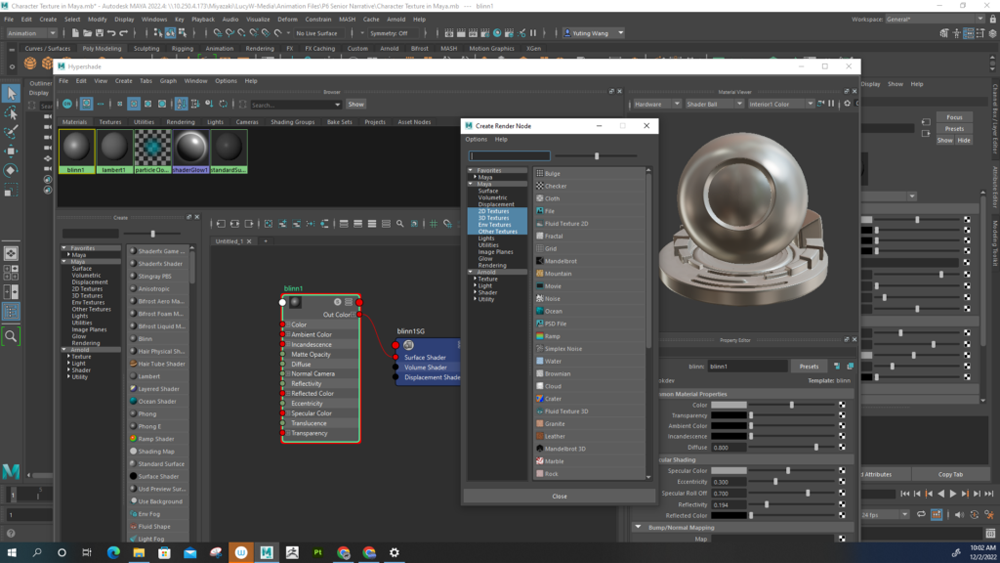
After importing my now-detailed, low-poly model back into Autodesk Maya, I assigned the Hypdershade Blinn shader to my model. This is the permanent stage of coloring a model, because the color is rendered out with the character.
Click to see larger image!
3D Body Animation
Now we’re at the exciting part – animation! Here is how I created animations with my character.
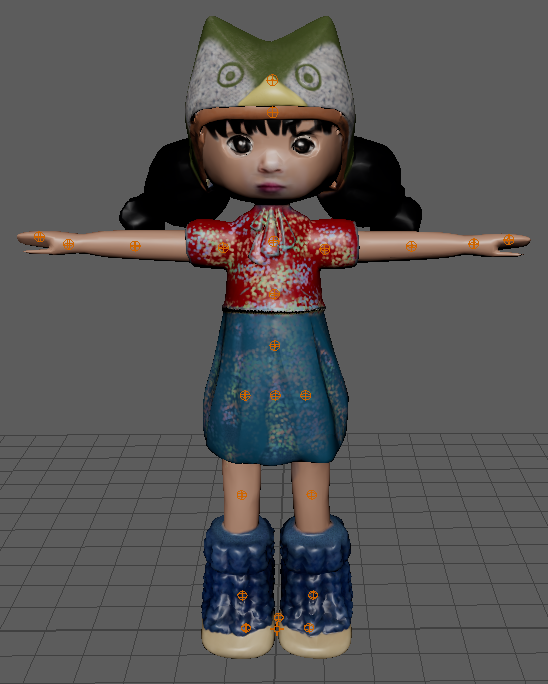
- These two photos below show what it looks like to create a ‘skeleton’ for my character. In the left-side photo, the orange proton-like circles over the character represent points at which I would create joints. The right-side photo shows the character after I connected the joints to create the “bones”, which show as yellow triangular prisms.

After binding the ‘skin’ of the character to its skeleton, now we have a rigged model. Rigging means that when you move around a joint, the character’s corresponding limbs (or torso or head) also move with it. Here, I’m moving the wrist joint of my character to lift her arm and change her pose.

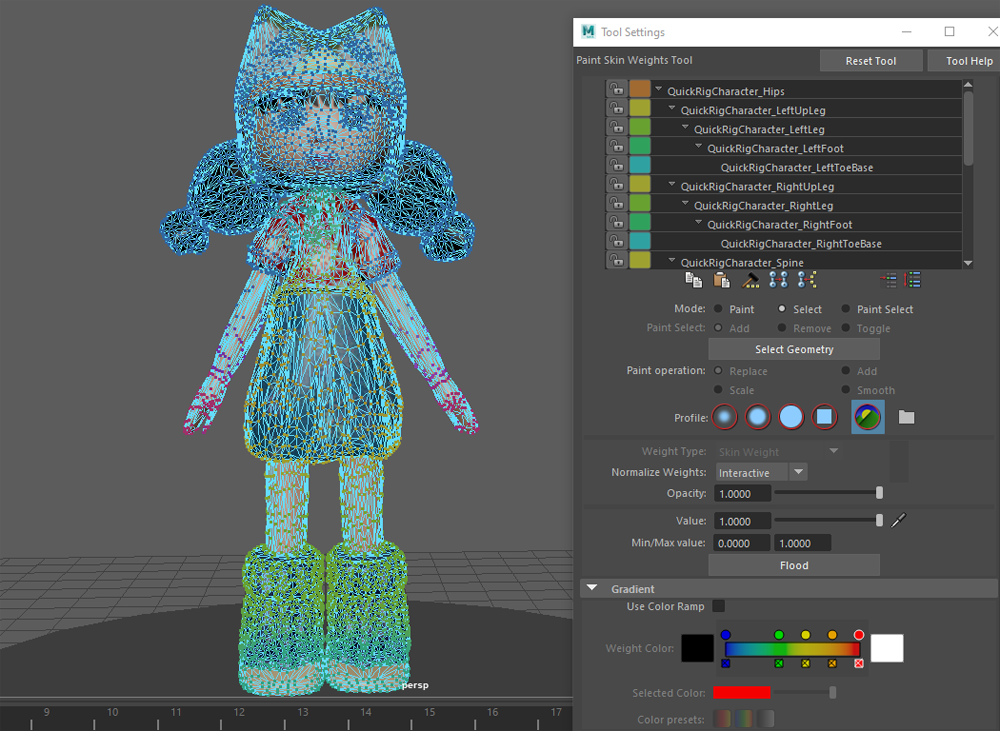
Sometimes the polygons of the skin get messed up when I move the joints; I think my character’s puffy ponytails stumped Autodesk Maya on this one. To try to fix this, I use the Paint Skin Weights tool, essentially to designate areas of the body to a particular joint and avoid interrupting movement.
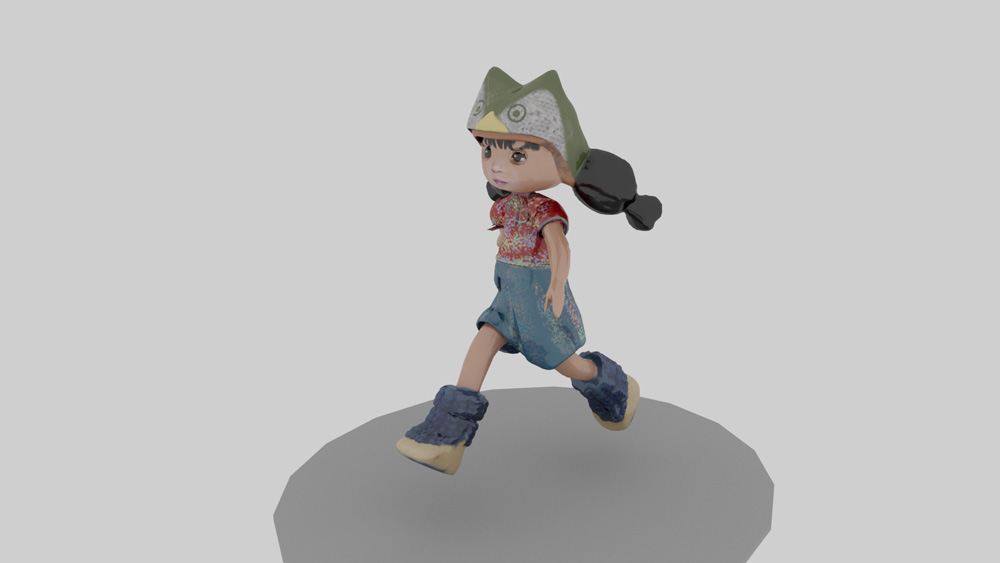
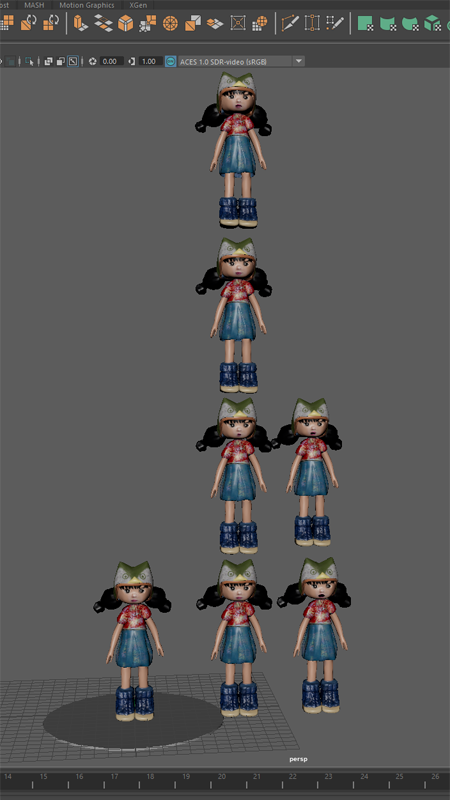
Once I got comfortable with joint movement, I made an animation showing a 3-action cycle for my character: a walk, run, and jumps!
Some behind-the-scenes views: On the left view below, you can see thin green grid lines covering the space behind the girl. These are part of a Skydome light, which in the Render view appears as a white-gray background space.
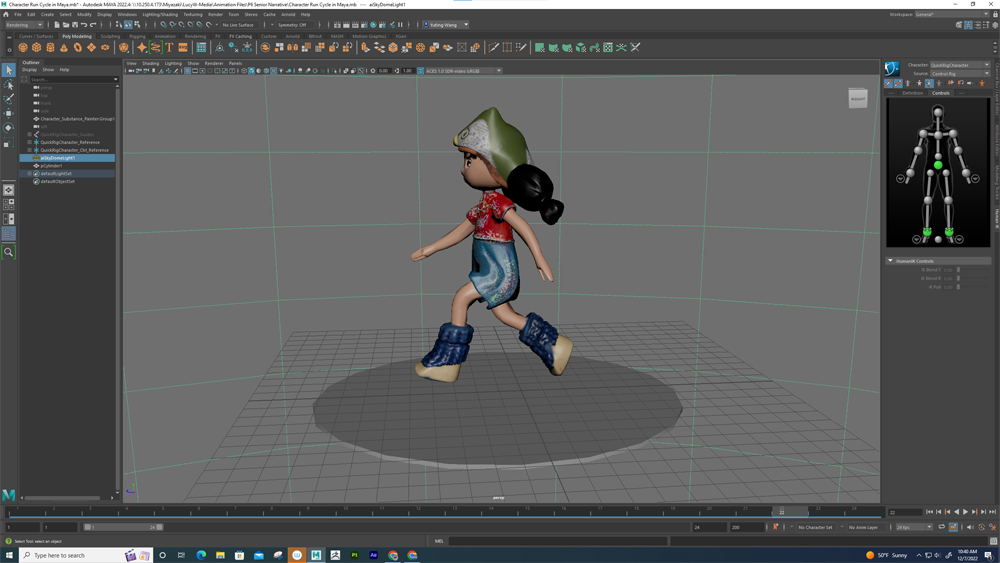
.
Another way I learned to create body animation was by connecting motion capture data to the rigged model. For this example below, I downloaded motion capture data of doing tai chi (probably a student learning from Mr. Flo), placed the file into Maya first, placed my character file into Maya second, and connected the model to the motion source.
3D Character Lip sync
After learning to create body animations, I then learned to animate lip shapes for my character, much like last year’s lip sync project (which was in 2D). This animation focuses on the head of the character, and I put a bit of body motion on my character as idle movement.
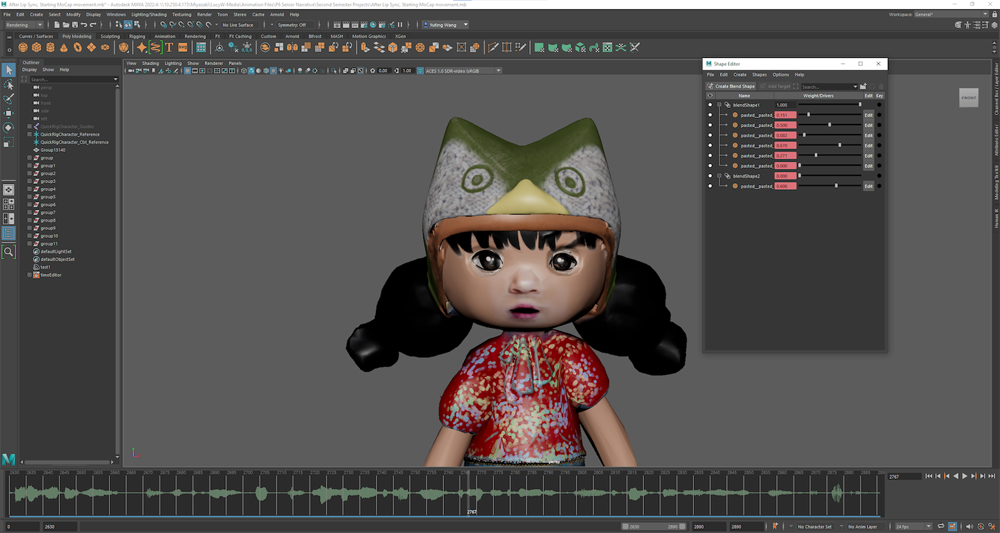
I made a cut between the lips in order to “open” my character’s mouth. I duplicated this character with the opened mouth about six times and on these doppel-gangers, I manipulated the model’s vertices to form the essential mouth shapes: ah, eh, o-h, puh.
Selecting these models with my cursor, making sure the original model was the last one selected, I assigned the original model as their parent. This created several sliders to facilitate the character’s mouth movement from one sound to another.
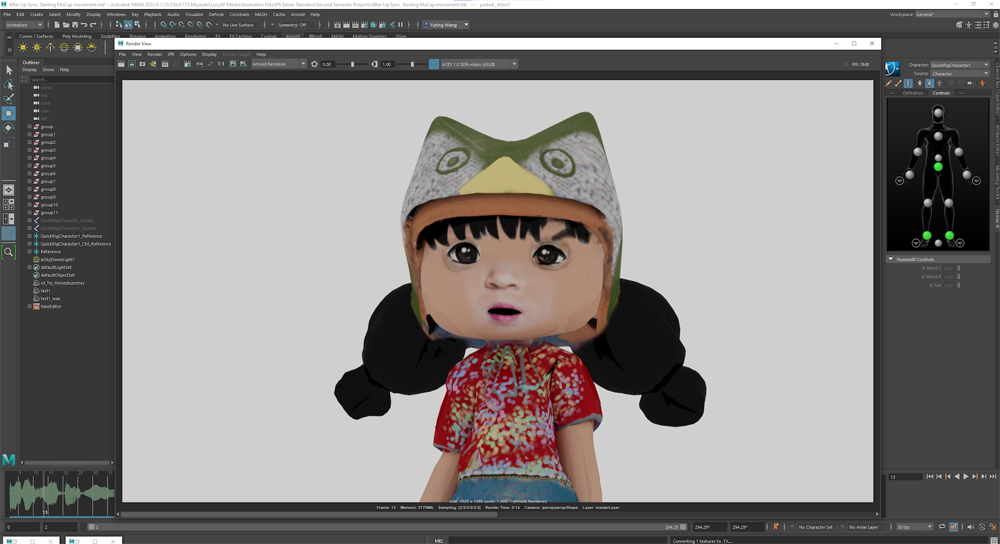
I imported my audio file (a clip of dialogue from the movie, “I Am Sam”, during a court case). You can see its waveforms bottom of the screenshot below. I used these to guide my lip sync animation to match movement to sound.
Epic Group Animation project
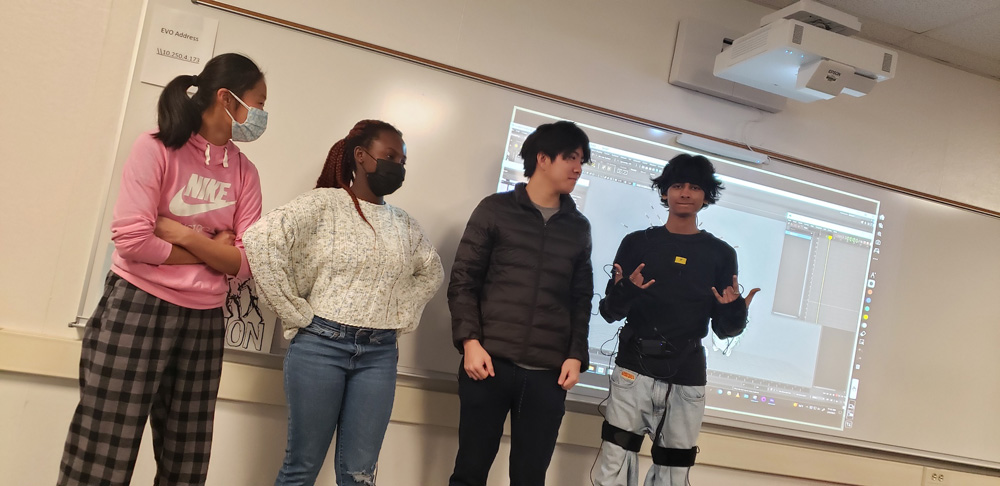
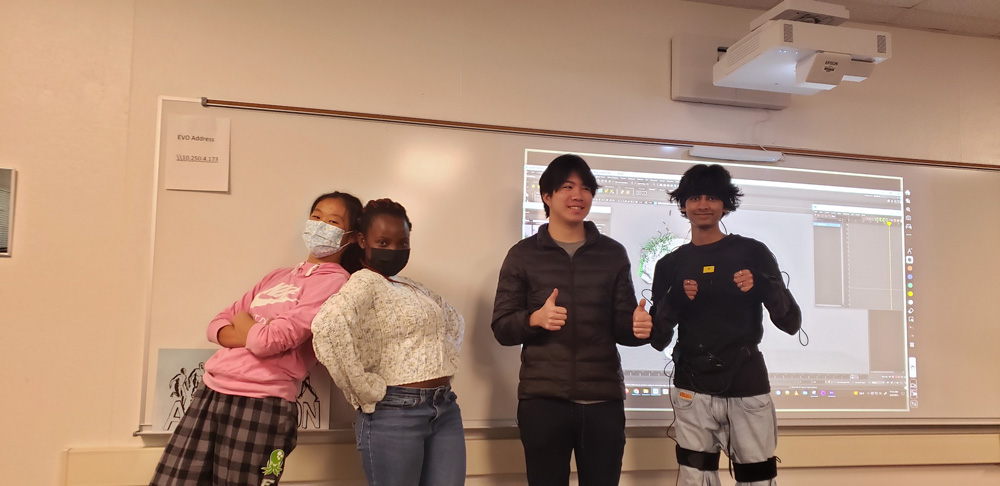
The senior animation class put our new skills to test for a 2-month long group animation project. Here’s what TheresaM, NicholasT, HarryK, and I created…
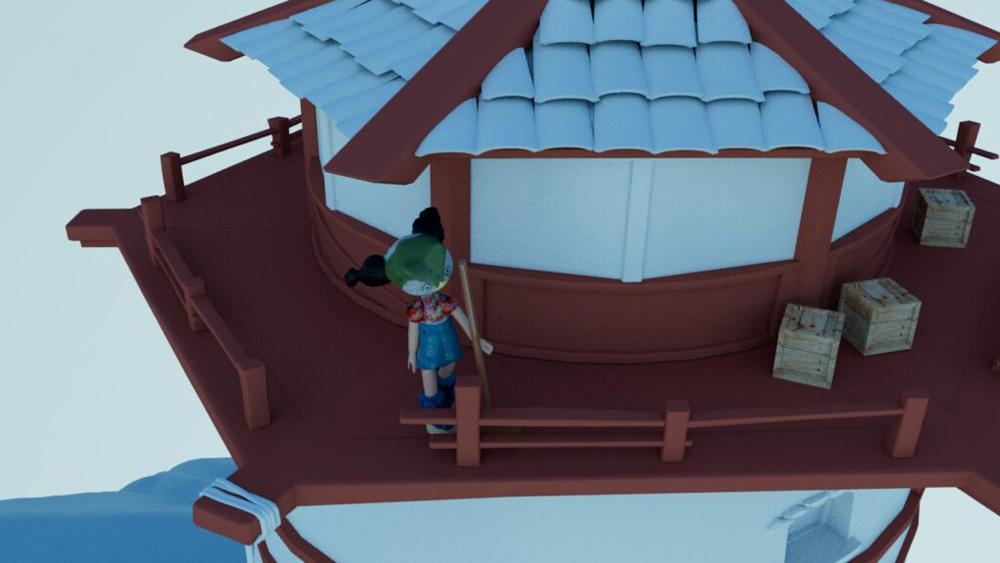
We decided to create the story of a lighthouse-guarding girl whose daily routine is interrupted by an annoying seagull. Our story took a tangent from the original inspiration, which was Nick’s pitch of a lonely old man living in a lighthouse who befriends a seagull, appreciating its company.
We used some most interesting props: borrowing LiillianC’s lacrosse stick to interact with as a broom, and my cat Long Long’s mouse toy on a string to simulate a seagull!
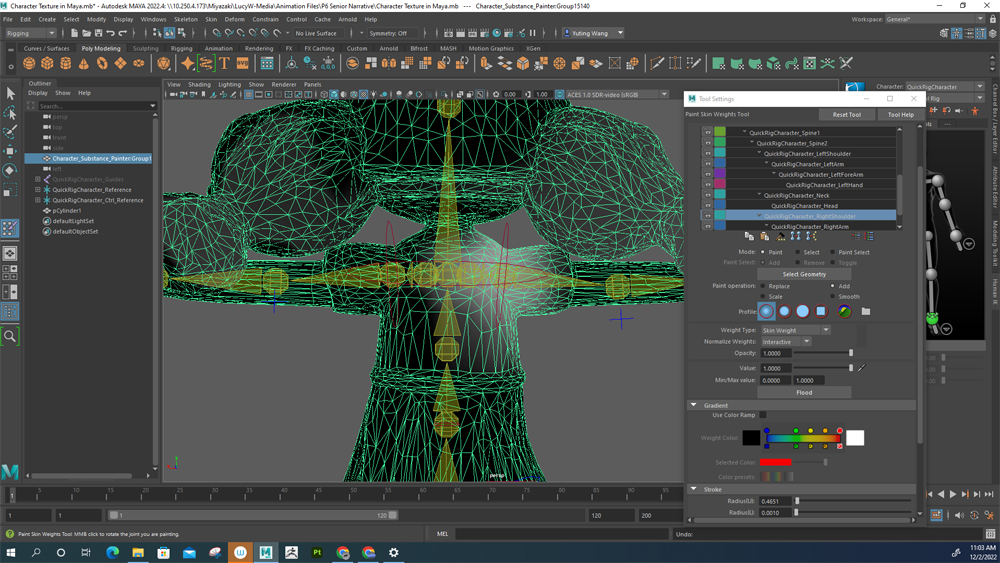
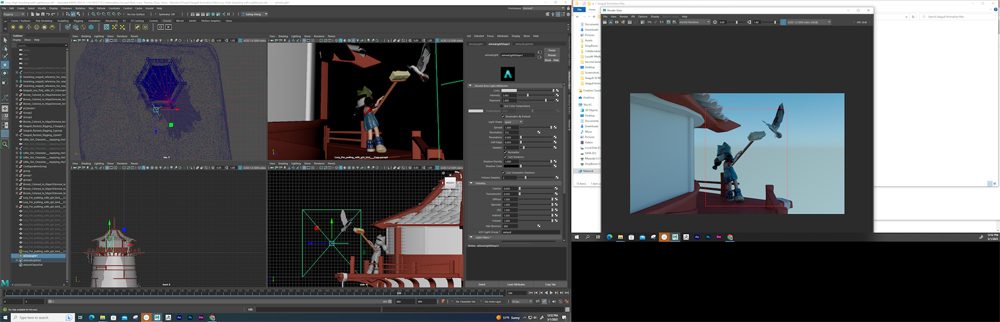
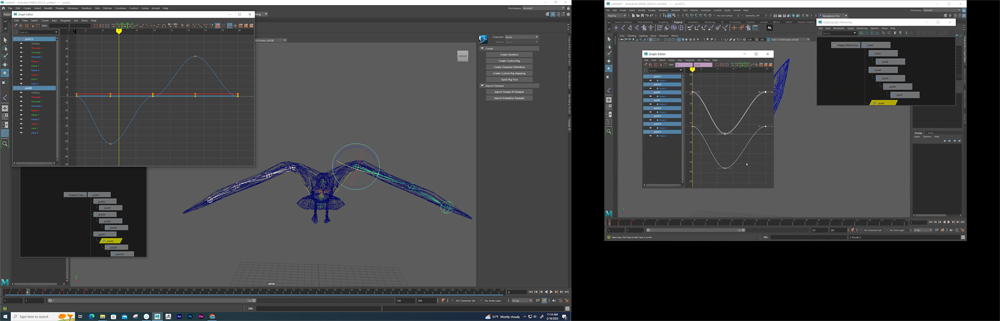
Below are some screenshots of my Autodesk Maya workspace while I was creating animation! Please click on each image to see a larger version of it. In this first image, I’m working with 4 orthographic views, while reviewing my work in the render view on the right side (on a second monitor).
One of the more challenging parts of creating this animation was creating a constantly flapping bird. Luckily, Mr. Cho made a tutorial for us, which I followed multiple times to make sure I had the skill down. This screenshot shows how I am using the graph editor to alter the motion of the bird’s “joints”. I also used the graph editor to manipulate the bird’s flapping motion to continue infinitely. The panel of tabs to the right is the hierarchy, which makes it easier to select specific bones/joints.
I hope you’ve enjoyed seeing my process for these projects!