Funny Image Compositions
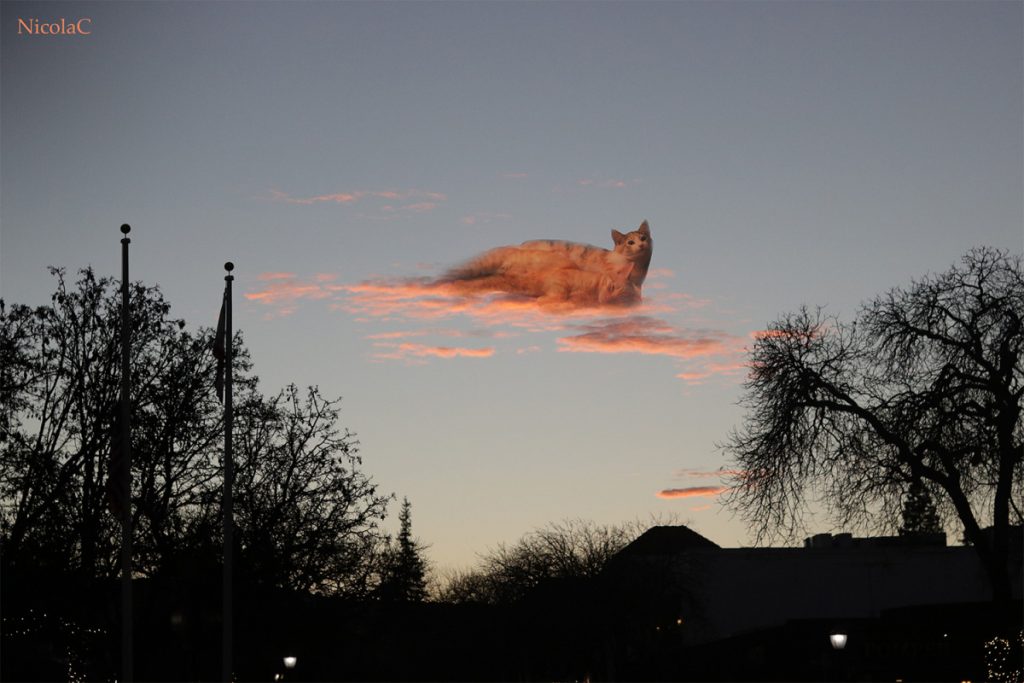
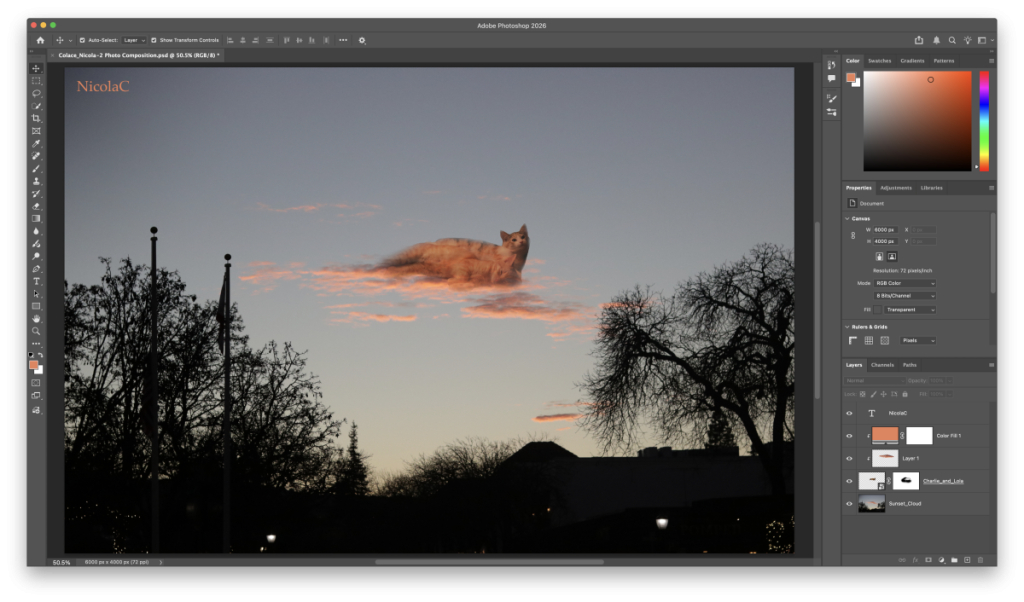
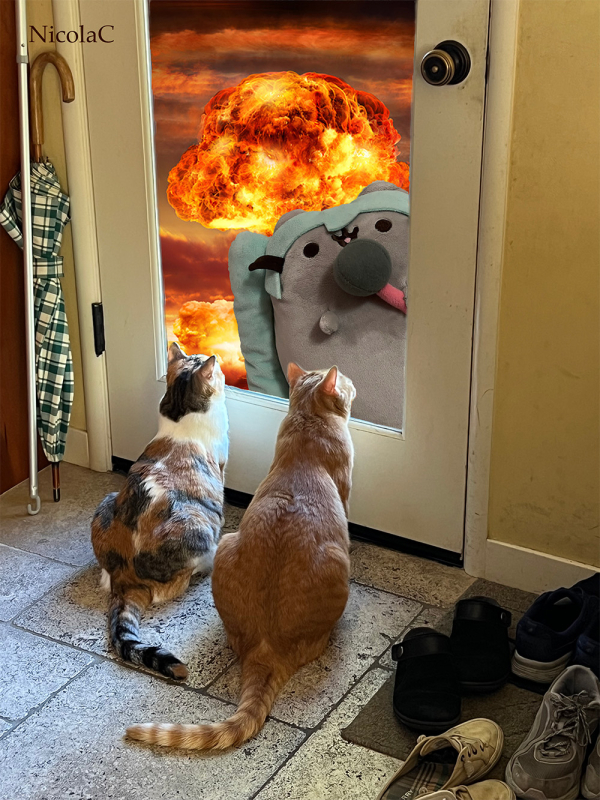
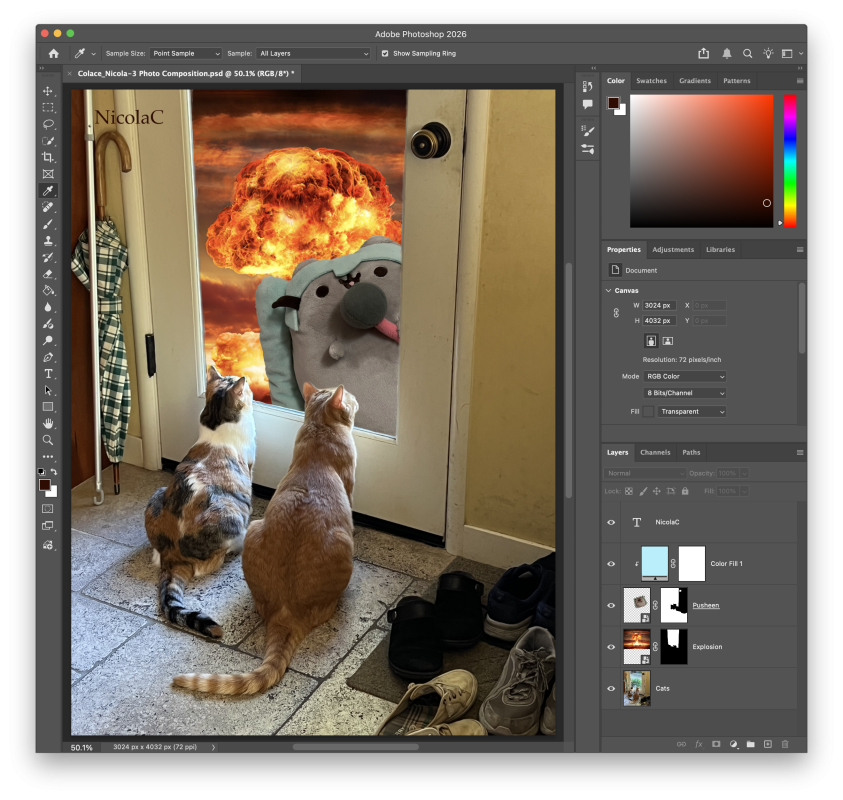
The Funny Image Compositions Project in Digital Media was a way for students to practice combining multiple images using masks, blend modes, and other features in Adobe Photoshop. For both of my compositions, I decided to feature my two cats, Charlie and Lola. The first composition combines a photo I took at sunset and a photo of the cats laying together to create the illusion that there is a cat-shaped cloud in the sky. The second composition combines a photo of the cats looking outside through our glass door, a photo of one of my Pusheen plushies, and a photo I found online of a large explosion to create a scene where the cats appear to be looking at some crazy disaster outside. To the right of each image, you can see a screenshot of my Photoshop interface that shows how I edited the images to achieve my final results.
This project helped me to grow more familiar with Adobe Photoshop and its editing tools. I enjoyed the process of combining different photos together and experimenting with masks and blending modes, and I now feel more confident in my photo editing skills.
Motion Graphics
The Motion Graphics Project taught us how to create various simple graphics in Adobe After Effects. We learned how to creatively keyframe paths, sync graphics with sound effects, create sound-responsive graphics, and more. For my final video production, I combined various techniques we learned to create a cute showcase video of my cats.
This project strengthened my skills in After Effects and taught me versatile techniques that will be very useful in any After Effects Projects that I create in the future. I’m glad to have this practice using the program, and I hope to become even more proficient with After Effects in the future.
Multi-Layered Art Project
The Multi-Layered Art Project challenged us to create art in a 3D space, designing each layer to create purposeful depth and visual interest. We were given the option of creating our layered art with stacked wood, wooden rings, paper, or a light box, and I chose the stacked wood option. To create my artwork, I used the pen tool in Adobe Illustrator to draw the different layers of my piece, which were then individually laser cut out of sheets of wood. I had also planned out my artwork in Procreate to ensure that my layers worked together as intended, and I used these layer templates to guide my work in Illustrator. The next step was assembly, where I carefully glued each layer on top of each other.
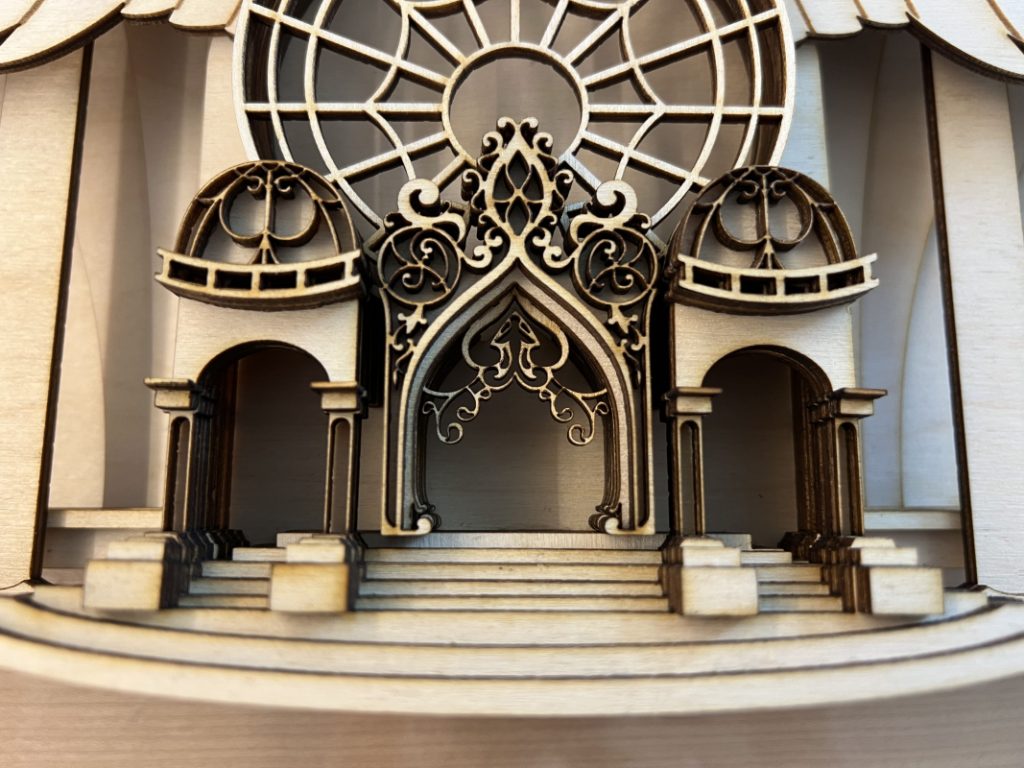
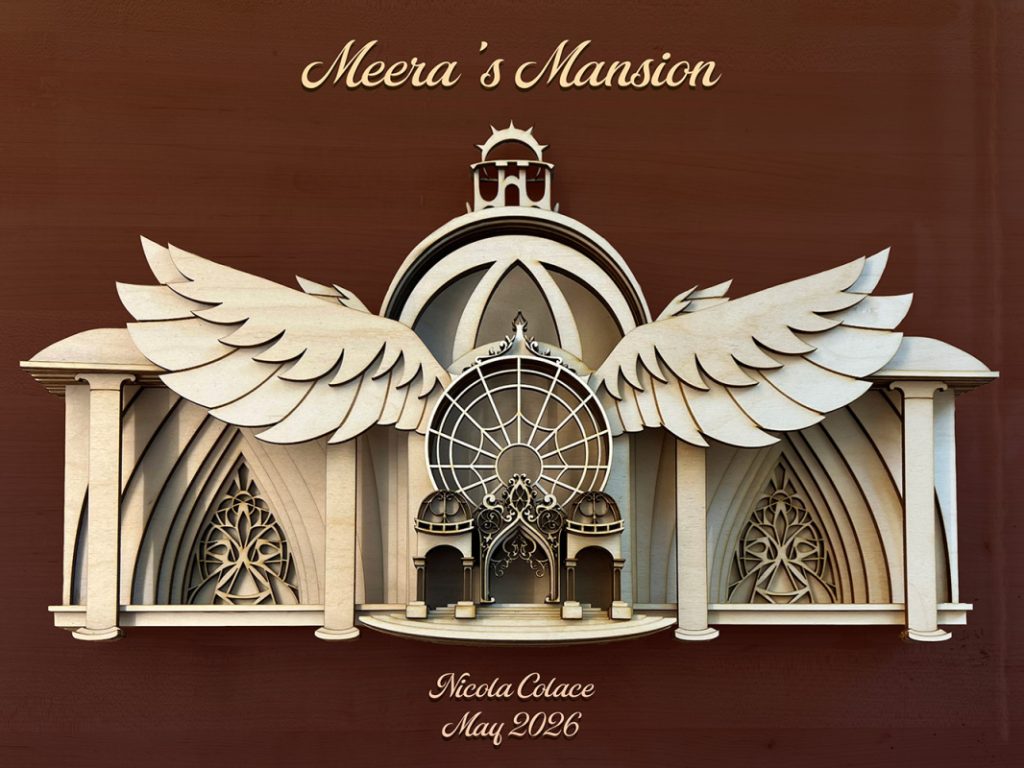
My piece depicts a mansion belonging to one of the characters in my Worldbuilding Project, Meera. Meera is a wealthy citizen of Lisant, the capital city of the society in our story. Her narrative impact is brief but significant, as one of the main characters visits her mansion for information, which causes an epiphany that ultimately leads to the climax of our story.
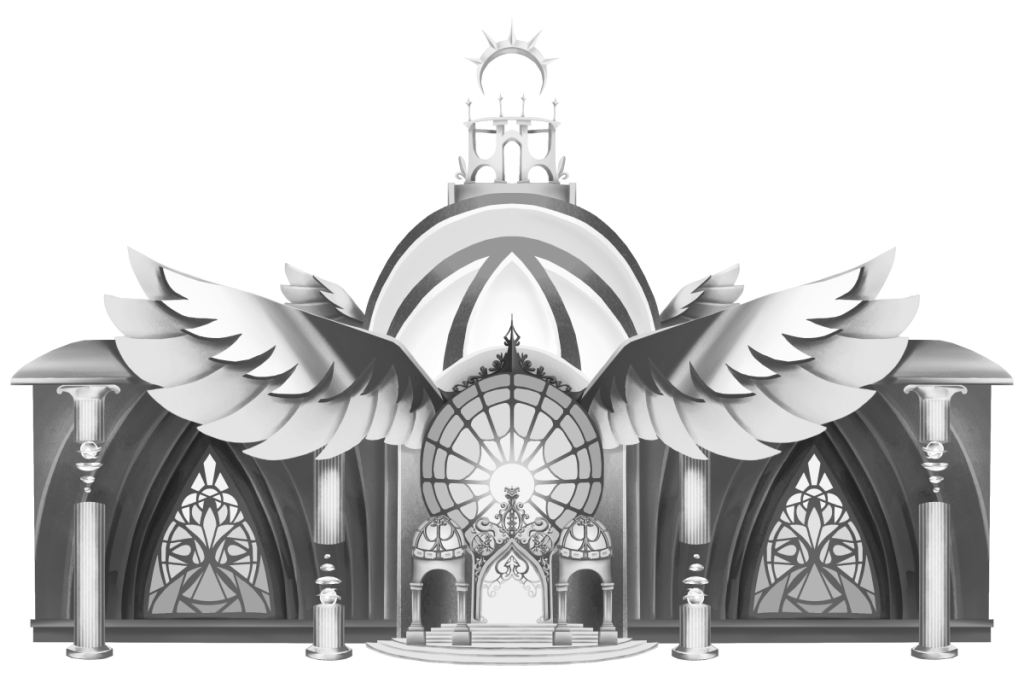
Below is my original grayscale illustration of my design:
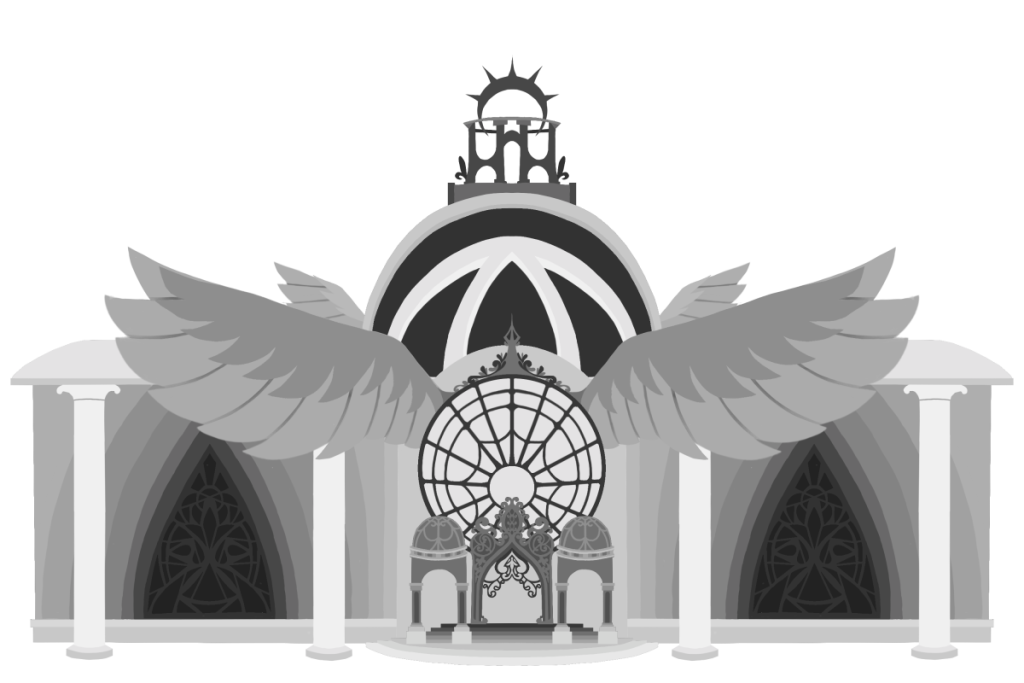
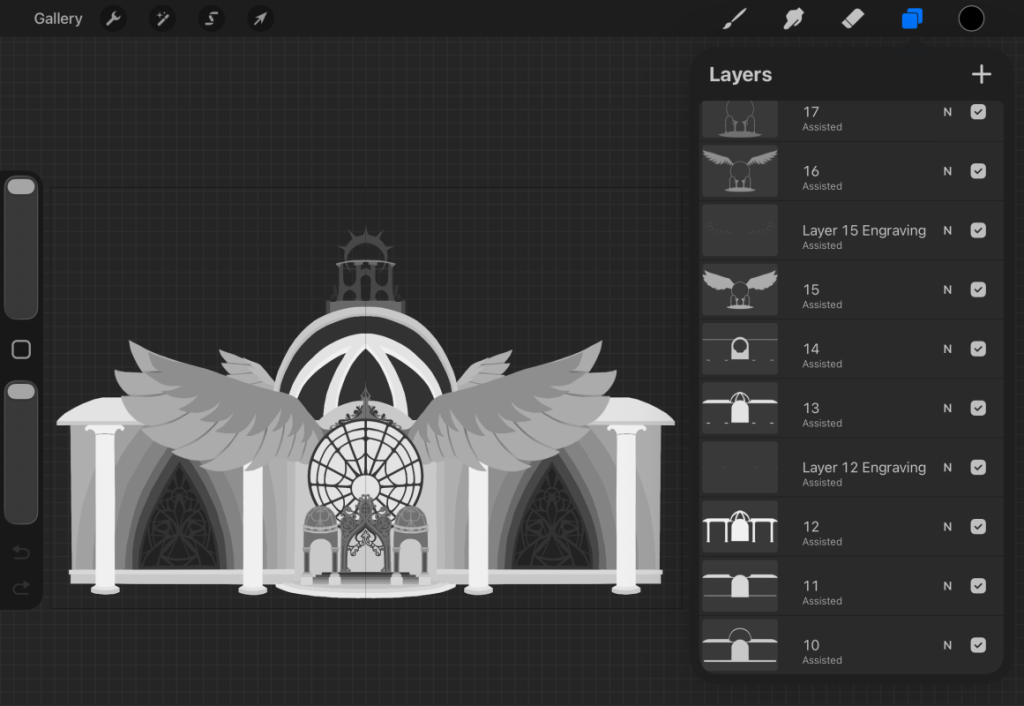
And this is my design after digitally planning out the layers, along with a look at how I created it in Procreate!
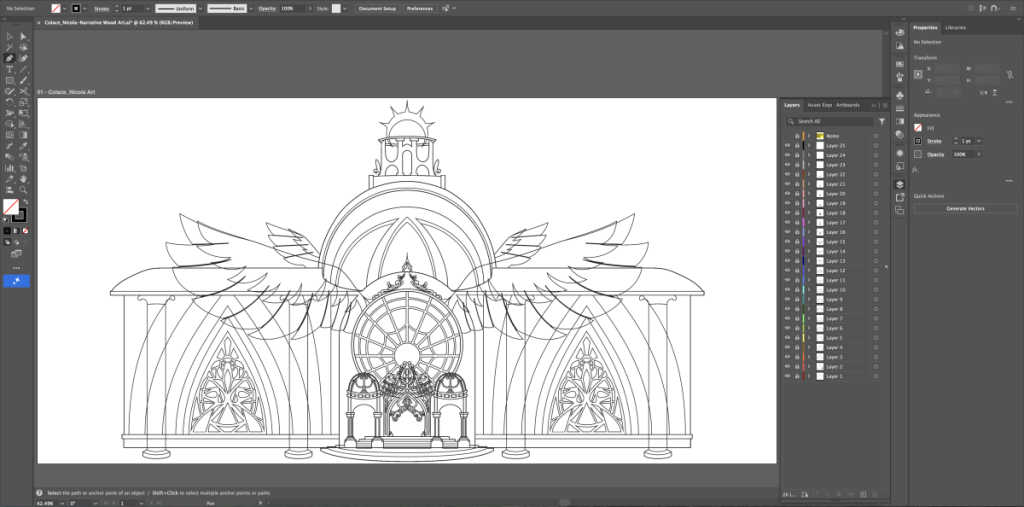
Here’s my design in Illustrator:
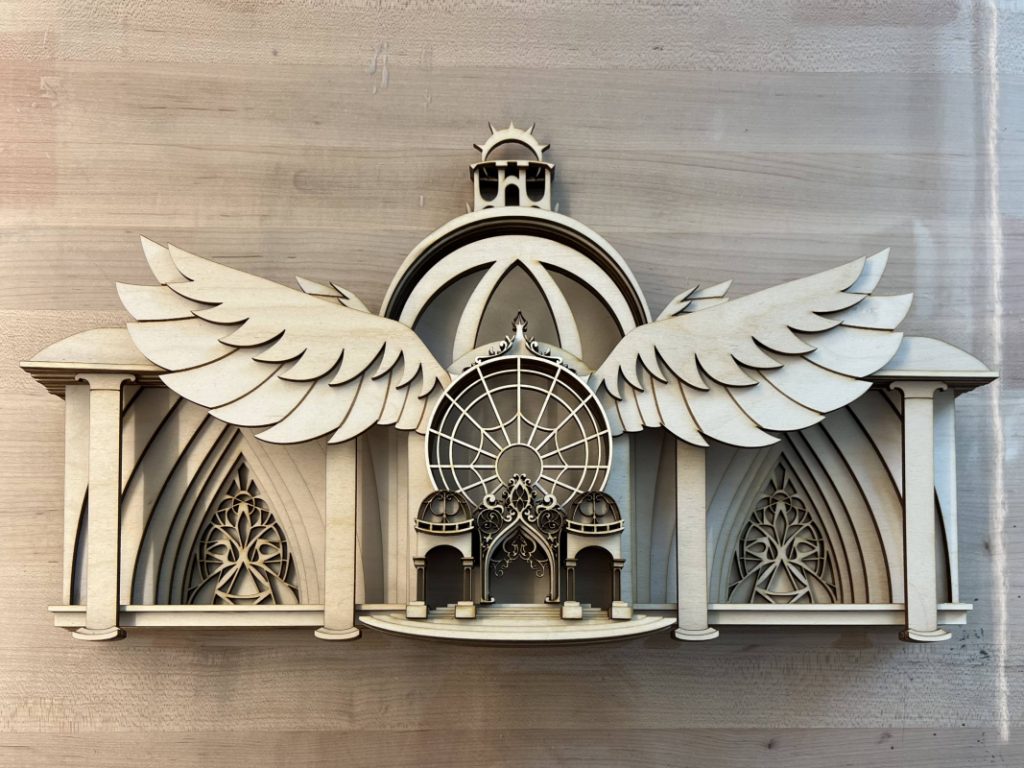
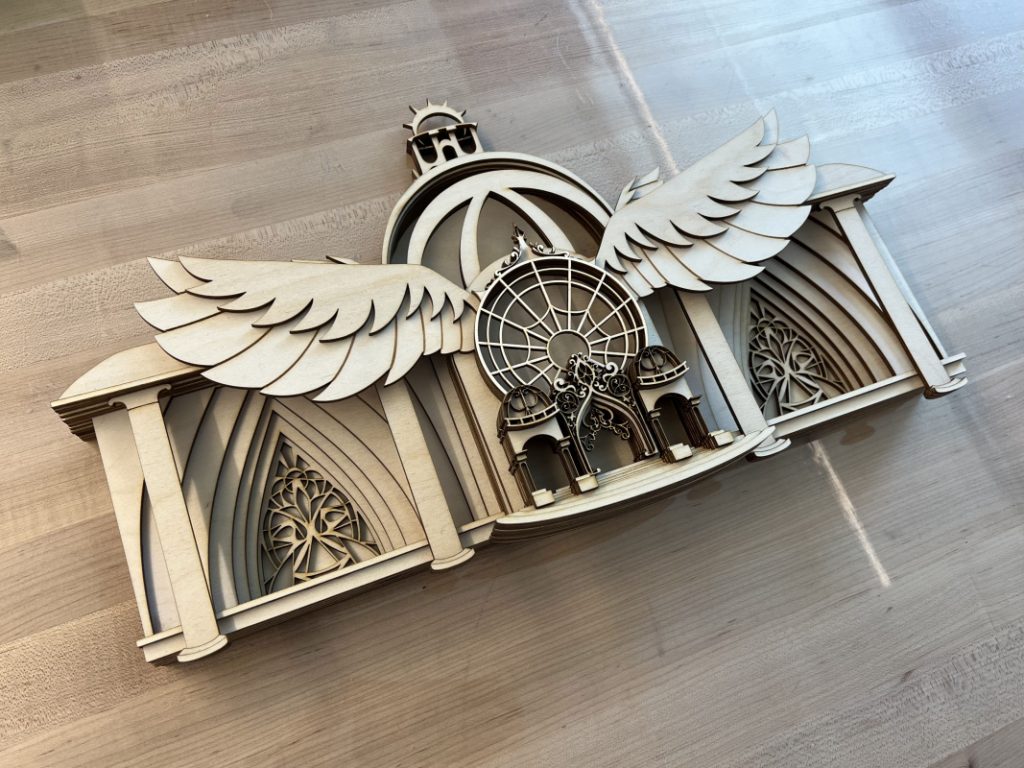
Below is the final product after gluing all of the layers together!

I also completed video productions showcasing the layers of my design and the process of putting the physical piece together!
Below is a time-lapse video of assembling my piece:
And here is a video produced in Adobe After effects that uses the virtual camera feature to highlight the dimensionality of my piece!
Artist Statement
For my Multi-Layer Art Project, I decided to use stacked wood as my medium because I wanted to create a final product that would be more akin to a wooden sculpture, using layers to build solid, 3D shapes. This approach to the project came more naturally to me than the other two options, especially because I didn’t want the image to fall apart when the piece was viewed at a harsh angle. This option also made the most sense for the design I had in mind, which was an ornate mansion belonging to one of the characters in my group’s WorldBuilding Story. To best represent the mansion’s features, it was important for each layer to be joined directly together, rather than having any space between them. This would make it clear how the building fit together and made it much easier to layer small details.
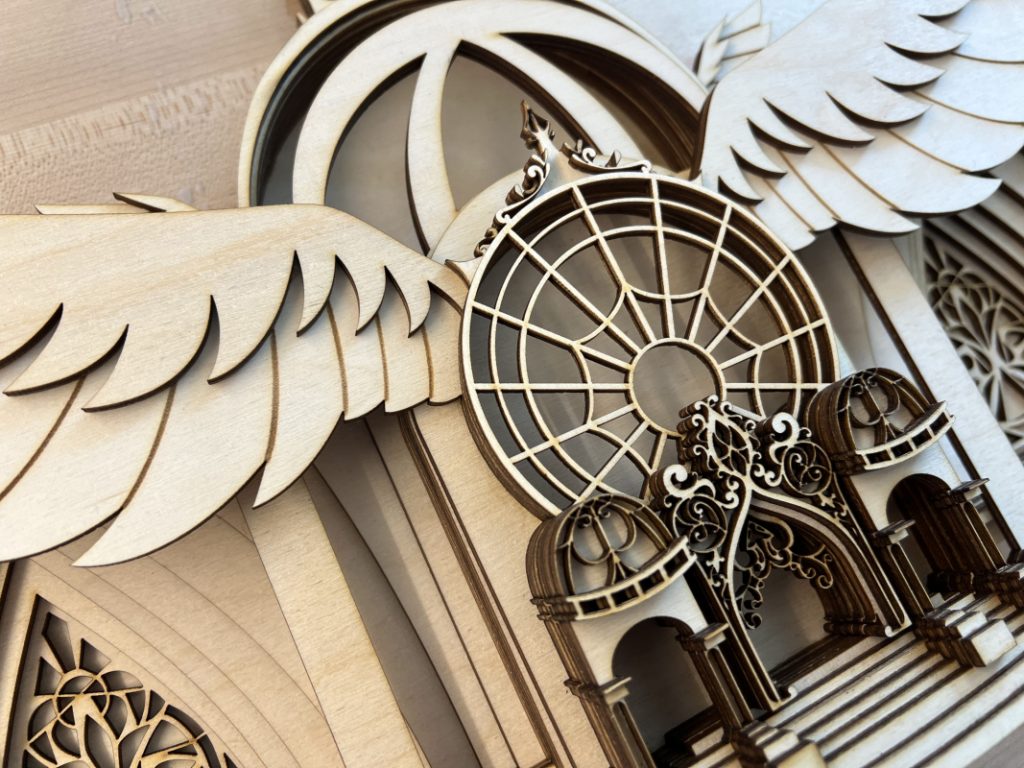
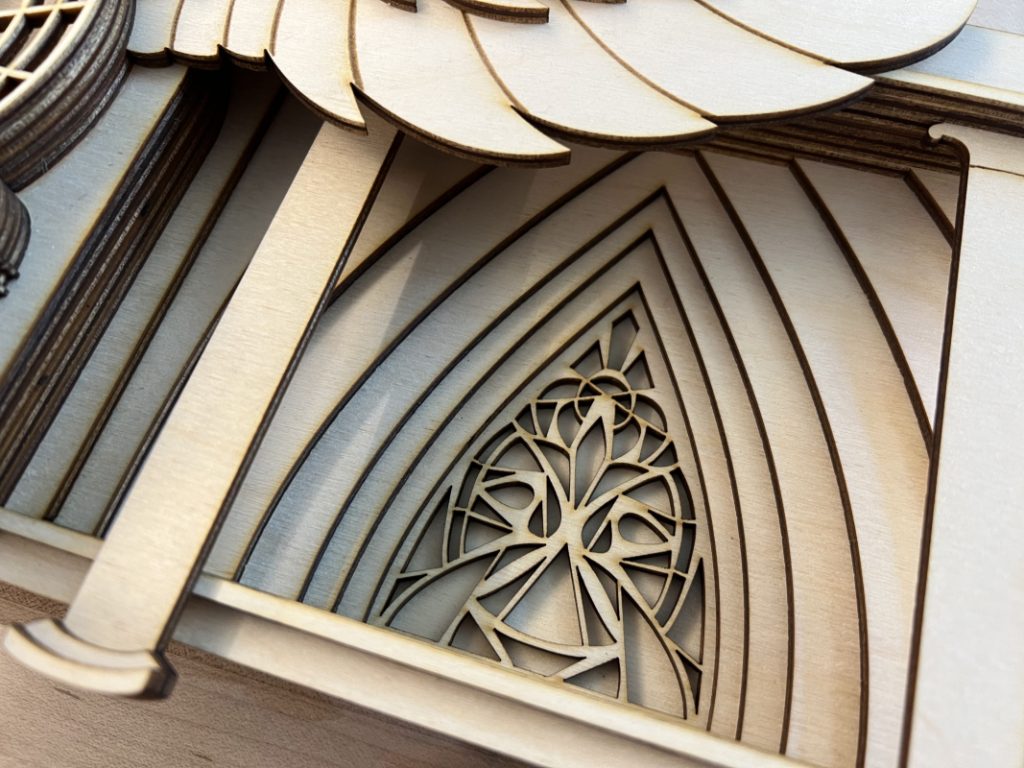
As previously mentioned, my piece depicts a mansion belonging to one of the characters from my group’s WorldBuilding Project. The character in question, Meera, plays a brief but vital role in our story; when the protagonist is seeking information about a mysterious illness, he collaborates with Meera to search her mansion’s library for answers. This leads them to uncover the surface of a dark secret that sends the protagonist and the rest of the main cast on a groundbreaking expedition. Meera’s mansion is highly extravagant, built to exude luxury from every angle. Its entrance features an ornately sculpted archway framed by an additional set of domed archways on either side. The two main walls comprising the building’s facade each boast a towering stained glass display, and positioned atop the central entrance is a large, circular window with a winged frame. At the top of the mansion sits a massive glass dome, crowned with a halo-like stargazing platform. The various details that I built into this design lent themselves very well to the process of creating my final layered piece, as I was very easily able to cultivate physical depth within elements like the dome, windows, sculpted walls, and stairs. This gave my piece a strong visual appeal, and effectively conveyed the artistry of my design.
I really enjoyed the process of designing in 3D space and seeing that design come to life both physically and digitally. Figuring out how to separate a 2D design into 3D layers was both challenging and gratifying, as I had to be very mindful of exactly where I wanted each feature to be placed relative to one another. This process forced me to consider how to most effectively convey the depth of delicate details, as the thickness of the physical wood limited how small or thin I could make a piece before it would start to appear disproportionate. Ultimately, I felt very satisfied with the final design of my 3D piece, and it was really exciting to see my vision coming together as I glued on each layer one-by-one. Creating my analog art piece helped develop my skills as a 2D and 3D artist, giving me a stronger understanding of how to imbue three-dimensional thinking into my two-dimensional design process. On the other hand, when it came to showcasing the layers of my design digitally, it was really interesting to learn about virtual cameras and lights in After Effects. The ability to navigate 3D space in After Effects is a remarkable feature, and I am glad to have been able to practice this technique with my layered art. The effect I produced for my video was very interesting, and I hope to continue experimenting with After Effects’ virtual camera in the future.