For the Narrative unit, we focused on exploring different points of view and building stories. We worked to answer the question “How well can you apply advanced narrative techniques to build a compelling story?”
English
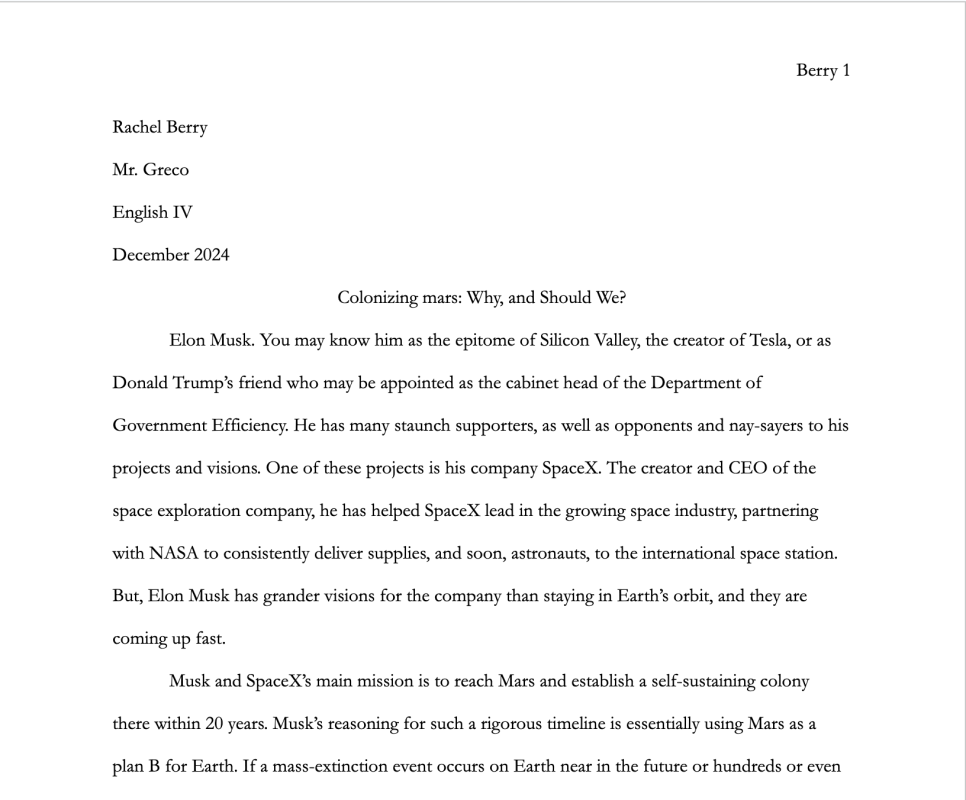
Research paper
We began the unit with a research paper, exploring a political issue that is relevant in the present day. I chose to research Elon musk’s plans to colonize mars and whether they are feasible and the right thing to do.
Worldbuilding
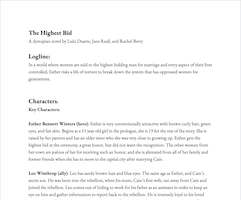
Next, we created a pitch presentation. I worked with Lulu and Jane, and cerated a pitch for a science fiction novel called The Highest Bid. The book takes place in a world where women are sold at 15 years old to the man who bids the highest at a yearly bidding ceremony. Women’s only purpose is to obey their husband, and if they step out of line, they are harshly punished.
Our story follows Esther, who is bid on by her town’s government representative, Cain. This gives her extreme social status and she is forced to move to the Capital city with him, away from all her friends and family. Cain starts to become violent as his power gets to his head, and Esther is eager to find a way to escape his attention and find a community.
Below is our narrative worldbuilding pitch:
Finally, we presented our pitch to the class:
Digital Media
Photoshop Compositions
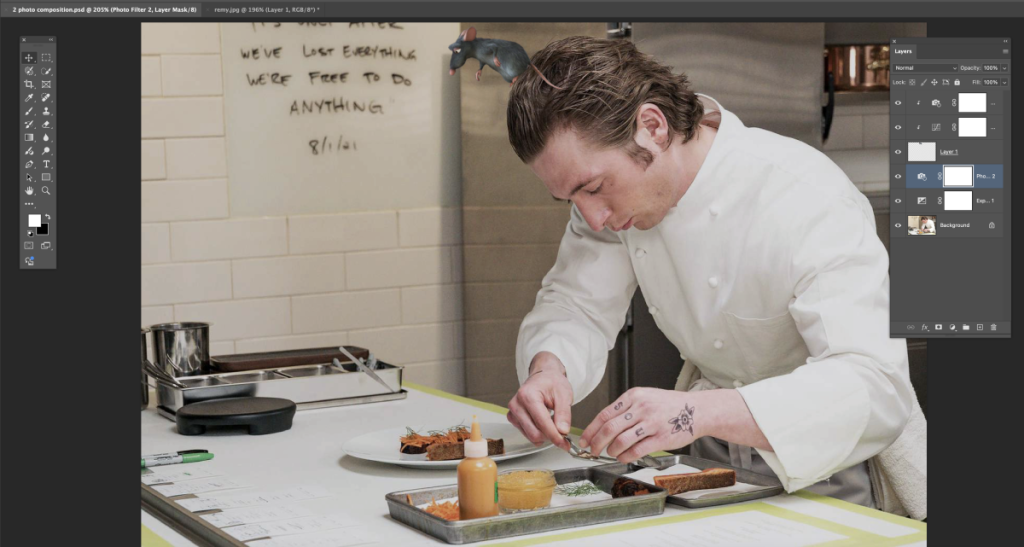
We began by creating two funny compositions to practice our photoshop skills:


This practice helped us create a surreal composition in photoshop based off of our English research essay. Below is my surreal composition, an astronaut alone on mars in front of a glittering city.

Motion Graphics
Next, we practiced Adobe After effects and created motion graphics. This was a good way to learn to use After Effects because I had never used it before, and applying all that I learned really helped me remember it.

Multi-layered Art
Finally, we created our multi-layered art projects. These were based off of our English narrative pitch projects, and meant to convey a part of our plot from that project. This project was a great opportunity for me to level up my Adobe Illustrator skills. Learning to think of each layer as an individual piece rather than part of a whole was a big challenge, especially when it came to visualizing how they’d come together. Once I got the hang of it, the process became a fun puzzle, and I’m really proud of the final piece. It was especially cool to bring it into the physical world by assembling it by hand using foam board and lights. The inspiration for this piece came from my world building project in English class, and I aimed to reflect the hopeful ending of our book through nature, cottage, and lighting. Each element was designed to support the mood of the world I imagined.

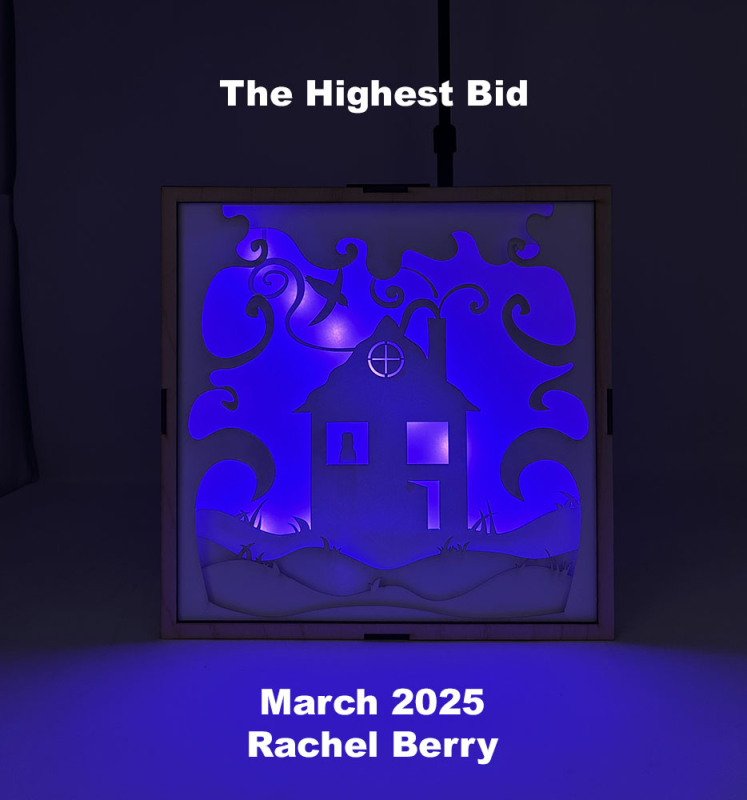
Here is my assembly video to create the physical lightbox:
We also used after effects to create a 3D video of the multi-layered project. Translating a 2D layered design into both a physical 3D piece and a digital 3D production in After Effects was an exciting challenge. Working with the z-axis, virtual cameras, lights, and shadows in After Effects helped me understand how much depth and drama can be added through motion and perspective. It made the piece feel immersive and alive in a way that just a photograph of the artwork can’t quite capture. Knowing both Illustrator and After Effects gives me the tools to turn almost any idea into a finished product, whether it’s digital, animated, or physical. Being able to move between those programs is empowering, and will allow me to imagine a world and actually bring it to life across different formats.
Design
Watercolor Name
We started the Narrative unite in Design with our watercolor names. These were created in Adobe Illustrator using a mirroring technology. While writing my name, I made sure to create lots of space within and between each letter so that I could add lots of color later. Once printed, I used watercolor paints to fill in all of the spaces in the lettering.

Product Design
The next project in design was designing a product and brand. This included deciding what the brand would sell, and designing packaging and merchandise for the brand.
I chose to create a chocolate milk brand, based heavily on the ’50s and ’60s when milk was still delivered to houses weekly. I began with a moodboard to decide my color scheme and inspiration.

Product logo and label
I started by creating by brand’s logo, which had to be both simple and convey the purpose and aesthetic of the brand. I then created a label to go on the chocolate milk bottles. These had to follow real life criteria, such as displaying the weight and nutrition facts of the product.


Product Triptych and Video
After creating the labels, we used the website PlaceIt to put these labels on to product mockups. We also used PlaceIt to create merchandise and a promotion video for our brand.

Magazine ad
Finally, we created a magazine ad for our product. Some elements that we had to think about were the marketing aspects of advertisements, such as being eye catching, not too detailed, and informative.

Worldbuilding
For our worldbuilding design unit, all the projects were based off of our pitch from English class. We created a book jacket and movie poster, each using elements of the plot of our story
I began the process by making my moodboards, taking inspiration from book covers of both similar and different genres to my own, and many science fiction movie posters.


Book Jacket
My book jacket was heavily inspired by the concept of marriage, and the potential dangers of the ritual, especially in the context of our book. Traditionally, the veil represents purity and obedience, and that is a huge theme in our book — that women are supposed to be obedient to their husband and do whatever they are told. In the foreground is a bride who has perfect hair and makeup and a big smile, but her eyes are blacked out. The eyes often betray true feelings and by blacking them out, we can tell that something is wrong. In the background are many white curtains which are reminiscent of the veil on the bride’s face, showing that something is being hidden and “protected.”

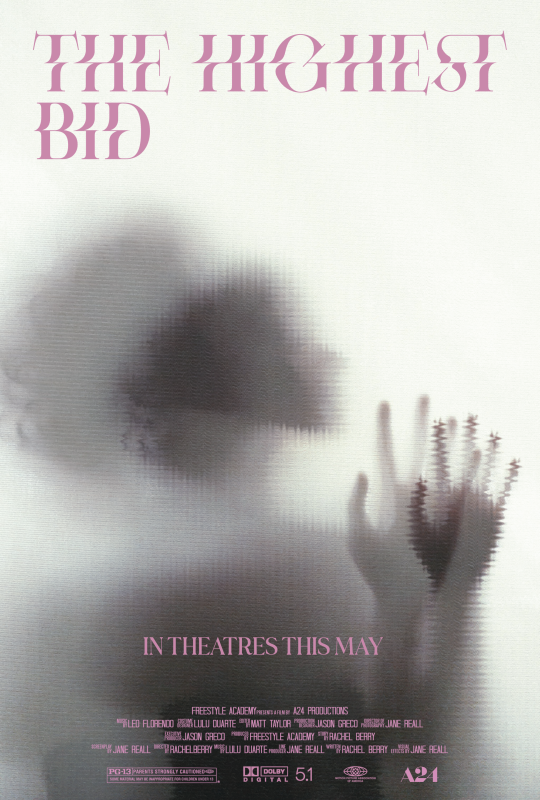
Movie poster
To create the movie poster, I searched Pexels for lots of photos. At first, I wanted the poster to show a perfect-looking suburban town, to show the facade of the town in the narrative. However, I then found a photo of a silhouette of a girl behind a curtain. I used this photo and applied a few photo filters on Photoshop to make the image more cool-toned. I then duplicated the photo and lowered the opacity to create a more warped version of the silhouette and represent the two selves that Esther has: the one she has to be in front of her husband and the one that wants to rebel and save herself.
Throughout the process of creating the poster, I learned a lot of patience. In the beginning, I had a very specific vision about what I wanted the poster to look like and couldn’t find any photos that seemed to fit that image in my head. However, when I found the image that I ended up using, it was so different to what I had imagined my poster would look like that I initially didn’t want to use it. However, I also learned that being flexible is important and the initial vision is often not what ends up being the final result.