The zenith project is the culmination of the two years I have spent at freestyle. It is the final project where we teach ourselves the 21st century skill of Self Direction. Every senior at Freestyle chooses their own project that they are both passionate about and will help them develop more as an artist in a modern world.
Geometry Nodes
For my zenith project, I chose to develop my Blender skills, in particular a art of blender called Geometry Nodes. Although there were other areas of blender that I could have worked on, such as Grease Pencil, simulation, or modeling, I felt that Geometry nodes were both the most interesting to me, and a good introduction to the various other node based systems in other creative applications.

Geometry Nodes are a procedural way to modify geometry through a (you guessed it!) a node based system. They allow the user to create your own tools specific to a project. They speed up repetitive tasks, and can allow for things you cant do manually without extraordinary amounts of effort. Terrain designers, Asset creation, and general artists all might want to use them. Especially for asset creation, instead of modeling 200 different rocks for your world that you sculpted, you could design a node tree that creates a world and places 200 unique rocks for you! It might have been faster to create 10 rocks, but the time it takes to generate more once you have the node tree made is just click of a button away!
After deciding that I wanted to learn about geometry nodes, I realized how risky this project would be, as I knew too little about them to figure about what my final project would be. I figured that the first step would be to follow some tutorials and learn the basics. I eventually settled on a video tutorial series from CrossMind Studio. I found this tutorial series really helpful as I learned for the first time what all these nodes did.

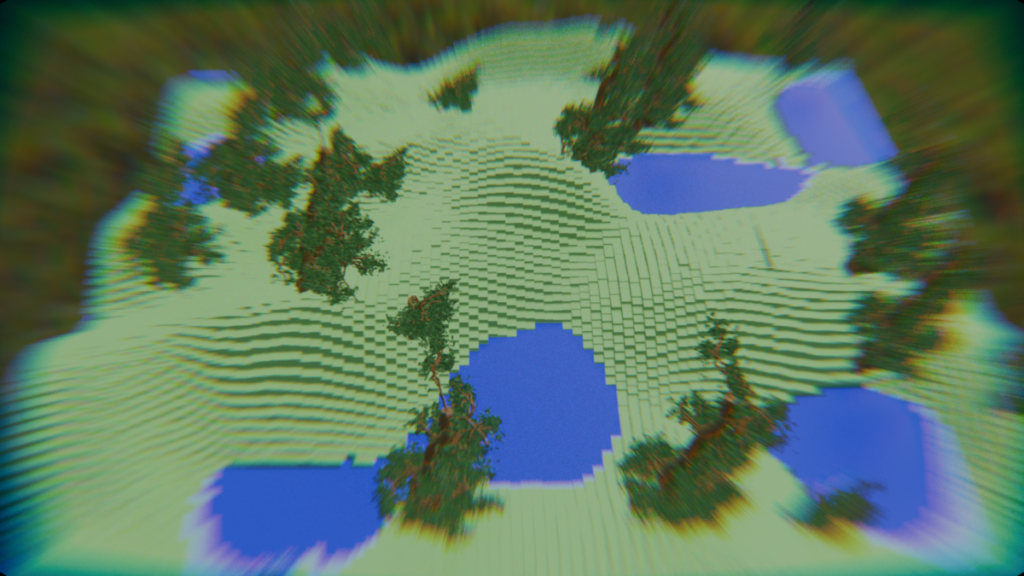
What inspired my actual zenith project was this 3D music visualizer that I made during the tutorials. I loved how it looked like terrain, and I wanted to make some sort of landscape that would change with time. I also wanted to play with lighting. I believe that lighting can really elevate a project, and if its bad enough, ruin one also. For the image to the right, I did not think that it was as good as it could have been, I think a lot of the time I spent texturing the materials did now show sue to the poor lighting, but I love the atmosphere that the blue light brings the the render.
When I started on my final project, I felt uncertain as up until now, I was follow tutorials on the subject. Now that I was left alone, I struggled where to start.
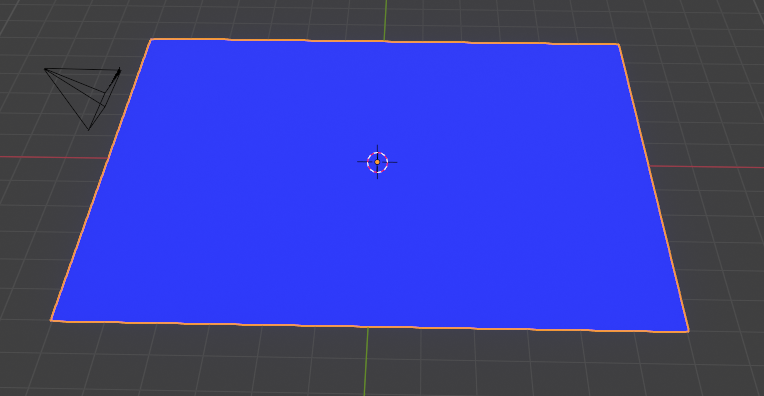

Knowing I had to start with something, I created a plane that was subdivided 100 times to give a lot of vertex points. After that, I put a ‘instance’, or a copy of a cube on every point on the grid. At first, It did not look like much, but I knew I had to start somewhere. The next part was pretty challenging to get right.
I had to make these flat cubes into terrain. Although using a noise texture is pretty simple, using effectively is hard.
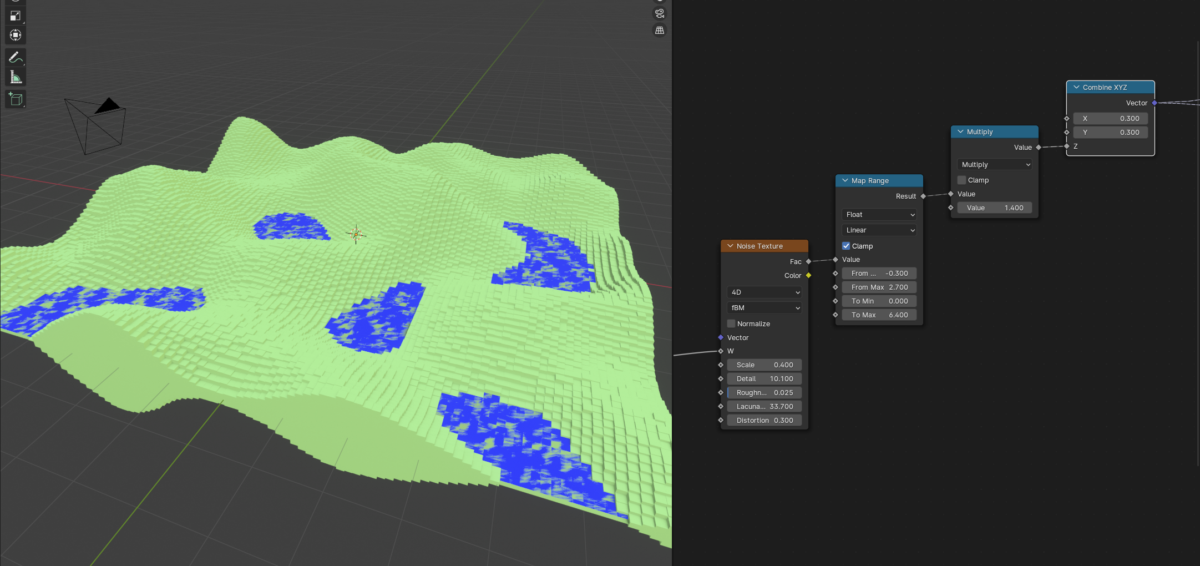
Installing these nodes into into the scale of the cubes created this terrain pattern. I did have a problem of some cubes being so small, they are clipping into the water. I fixed it by removing any cubes with a height less then a certain amount from the scene with a few extra nodes.

Personally, I found this to look great on its own! With a few adjustments, I was able to get the noise texture to move over time to create terrain generation! The next step for me was to add trees.
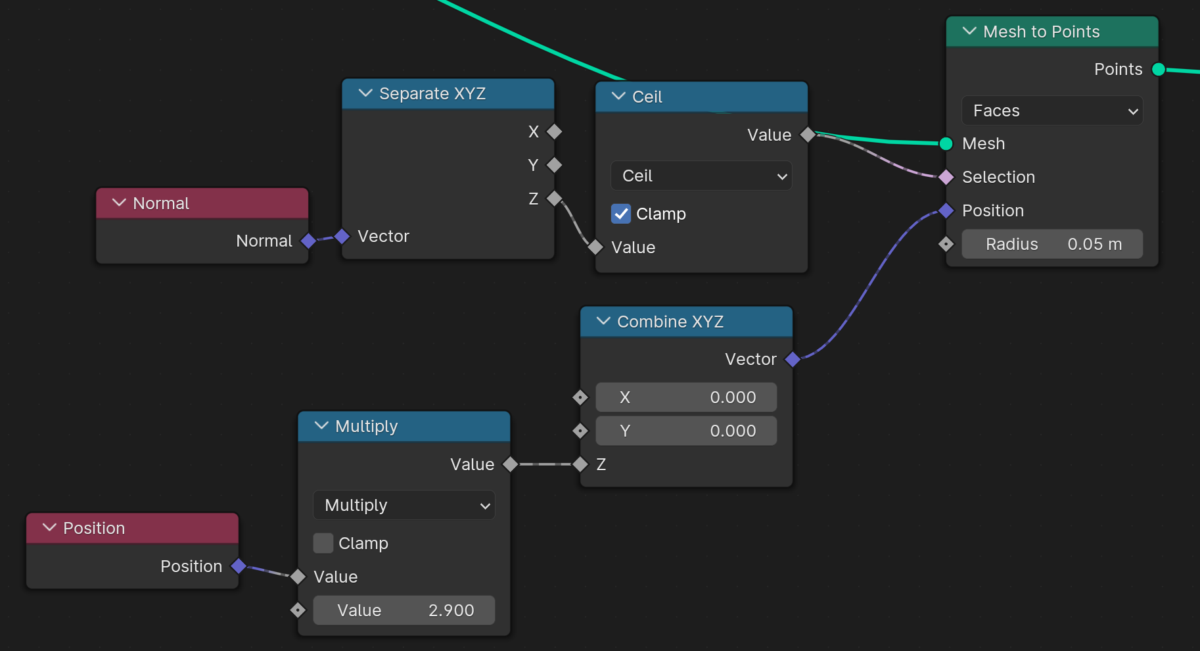
I would have to take the ‘mesh'(each individual green cube) and put a point on only the top face. This was the first major challenge because I could put points on all sides, but making it only go on the top was a challenge. Eventually, I figured out that this node group would place points on the top face. I still don’t really understand it, but it gets the job done!
What’s next is for me to actually Distribute trees on each of the points. This was fairly easy, as all I had to do was bring a tree object into the scene, and have a node copy it onto every point I wanted. With a quick bit of scaling the trees to be the size I wanted, I was almost done!
After reaching this point, I figured my next point of improvement to be the trees. They are all evenly spaced looking the same. This makes it to be quite frankly, boring. That’s what led to the final part in my zenith project. making algorithmic trees.
Making these trees increased the complexity of my project by at least double. I wanted every tree to be unique and semi realistic.
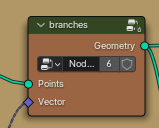
The first step would be creating the trunk. I made a circle, and placed some curves on them. next, I twisted the curves around themselves to give more definition to the shape. then I generated the branches that came off of the trunk. This was an interesting step because I created my own custom node that had many nodes inside of it. Inside of it was a bunch of math and geometry that added more curves on various parts of the tree.
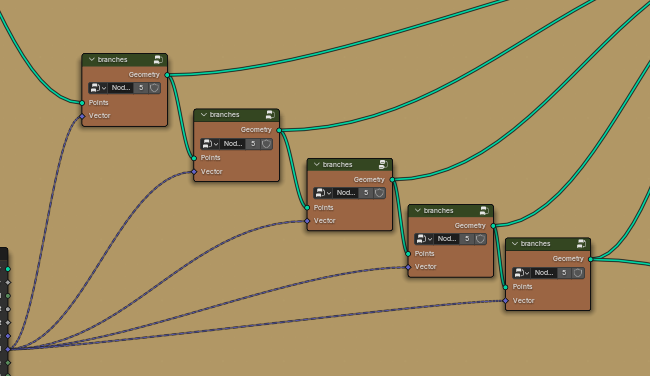
The cool thing about this node is I was able to place these nodes on each other, to have branching branches!
the next step was to give all of these curves geometry. previously, they were invisible strings, but using the set curve radius node with map range, I was able to give everything shape and substance. finally, I gave the trunk a material, and this tree was ready to go!
The next step was for me to replace all the basic trees with these new custom trees. previously i was putting a tree generation point on top of every cube, but these trees would crash my computer because they are so complicated. Instead, I had to distribute a very small amount of trees on all of the faces. I was able to do this by using the Distribute points on faces, and have the density to be very small. I would then but my own custom tr5ee node on the node that distributes the points on faces. Once that was done, my actual geometry nodes part of my zenith was complete!
Compositing and rendering

Although my focus was on geometry nodes, I took the time to learn a small part of another tool blender offers. Compositing. Compositing allows you to change how the final rendered image looks while it is rendering. many people use this for color grading, but I opted to use some of the built in effects to make the image more interesting.

The final thing that I did was mess with the render settings. I wont bore you with the details, but I rendered on eevee, and experimented with AgX color transform to make the colors slightly *more*.
Final Product
Thank you for taking the time to read my website!