Introduction
The Reflection unit allowed students to look inward and explore what makes them tick. The Reflections Projects challenges artists and follow the essential question: WHO AM I? In Digital Media we created many cool products like our Photoshop surreal image or our Mandala. In Film, we produced a reflection video while in English we wrote our college essays and crafted a Lyrical essay.
I learned a lot about myself while exploring this unit’s essential question, Who Am I? At the start of the unit, Mr. Greco had us write 10 essentials that we live by every day of our life. Mine where:
- Nature
- Friendships
- Adventures
- Music
- Art
- Bravery
- Serenity
- Humor
- Mystery
- Curiosity
Mandala
For our first project as a senior Digital Media student, we were tasked to create a mandala. A mandala is a geometric configuration of symbols. In various spiritual traditions, mandalas may be employed for focusing the attention of practitioners and adepts, as a spiritual guidance tool, for establishing a sacred space, and as an aid to meditation and trance induction.
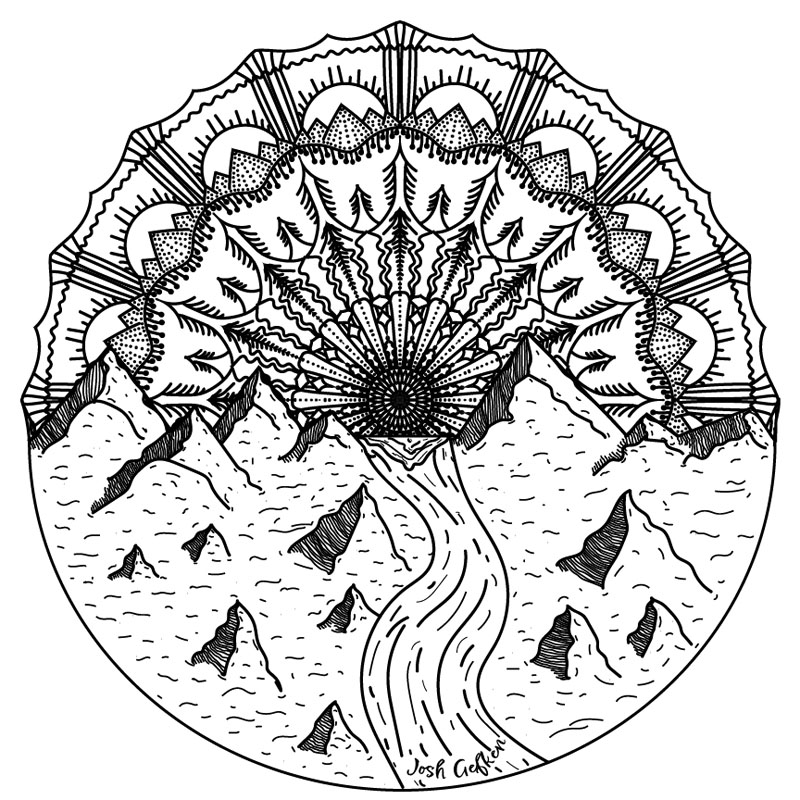
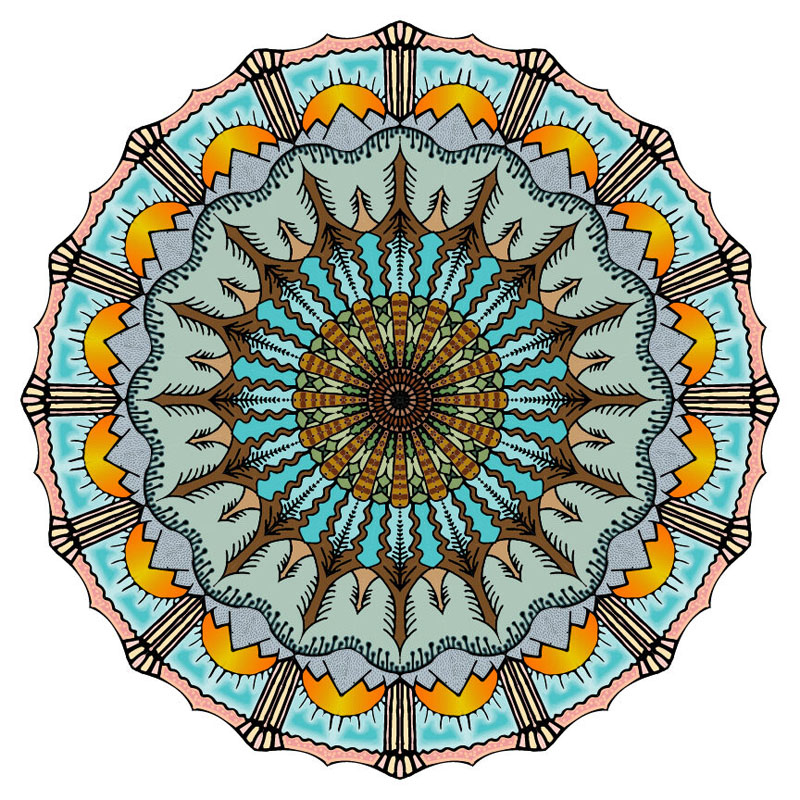
I was inspired by nature and put together this piece. I applied my skills from Adobe Illustrator and I am very proud of how this tuned out. Below you can see my black and white mandala as well as the colored version.
Black & White vs. Colored
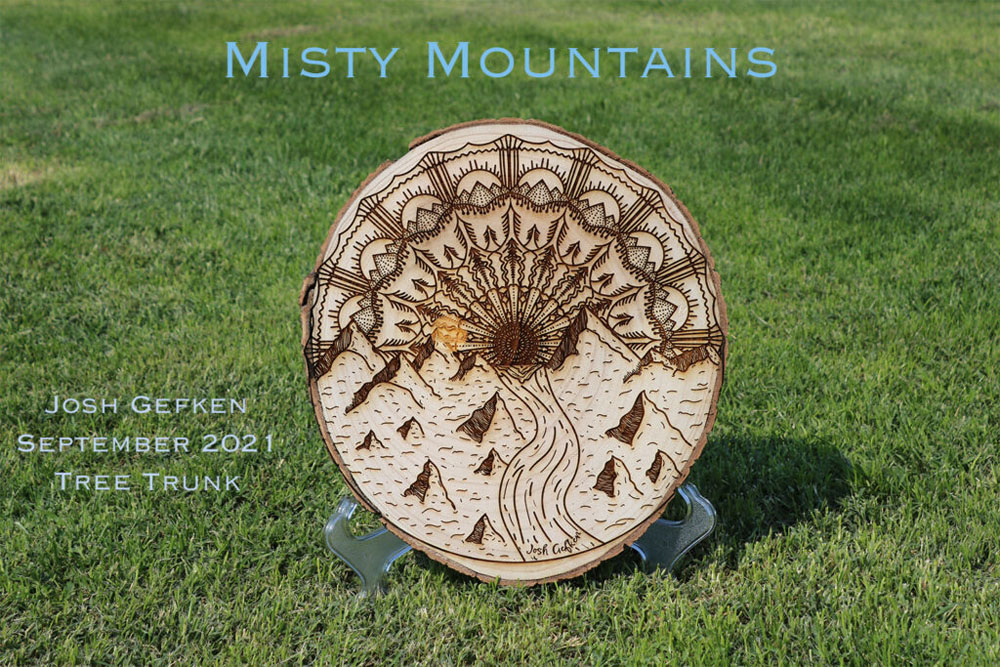
Misty Mountains
Here is my final Lazer Engraved mandala. I chose to have a tree trunk as my material.
Build Video
Finally, we were tasked to create a build video.
Artist Statement
If I were to do the mandala project differently I would have completely done a new mandala for my colored version instead of just coloring my black and white. For my first black and white version, I think I should have experimented with more of a variety of stroke sizes. In my Reveal video, I think I could have split the layers up more and so more would be revealed as the video went on. Instead, I did it by having the basic lines appear in two sections then the colors following.
As a whole, I valued that I got to create something really cool that shows my personality as well as a finished physical product. I am really excited to see my laser engraved mandala on the tree trunk! Since we made mandala templates, I can make new mandalas whenever I want. Put together, I think all the mandalas I made look really cool and I am really proud of myself.
“Who am I?” This project was inspired by that phrase. I tried to show the values that I implement into my everyday life. It is not a shocker but, my mandalas were inspired by nature. It’s really important to me and inspires how I live my life. I learned that if I keep going and if I don’t give up I can make something awesome. When I first started the project, I doubted myself thinking it was too challenging and confusing to do. But, now that I have finished I am so happy with how it turned out. I think I added a unique twist on the mandala by cutting half of it off with a majestic mountain in the foreground.
Photoshop Art
In Photoshop, we tackled many projects. Starting with paint in Photoshop. We learned how to use different brushes, strokes, and colors to transform a photo into a pastel painting. Next, we used our new skills from Pastel Painting and painted a watercolor of our own. Then we used magic in PS and created 3 watercolor effects on original images. Finally, we learned about surrealism and practiced it until we produce our surreal composting.
Pastel Painting
Goal: Learn to paint DIGITALLY on Photoshop – specifically pastel painting.
Pastel Painting 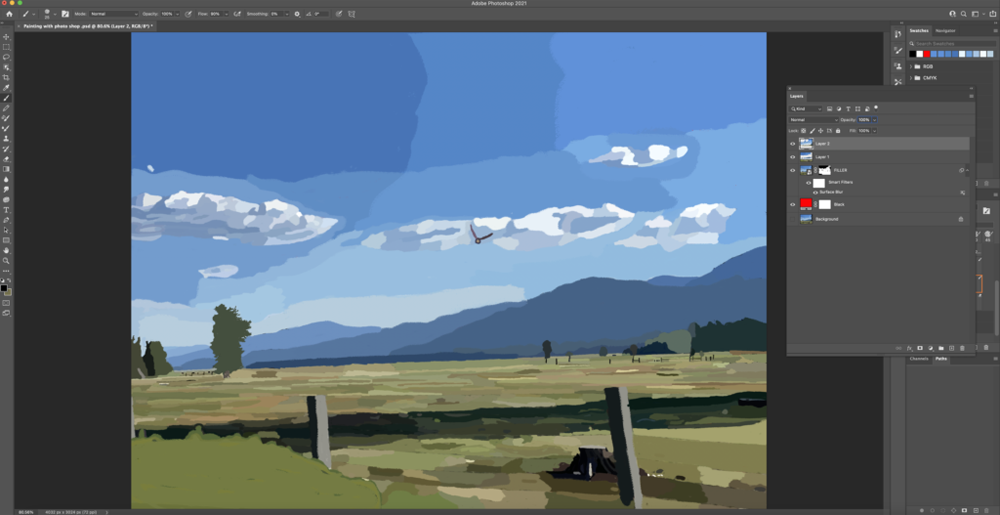
Photoshop
Artist Statment
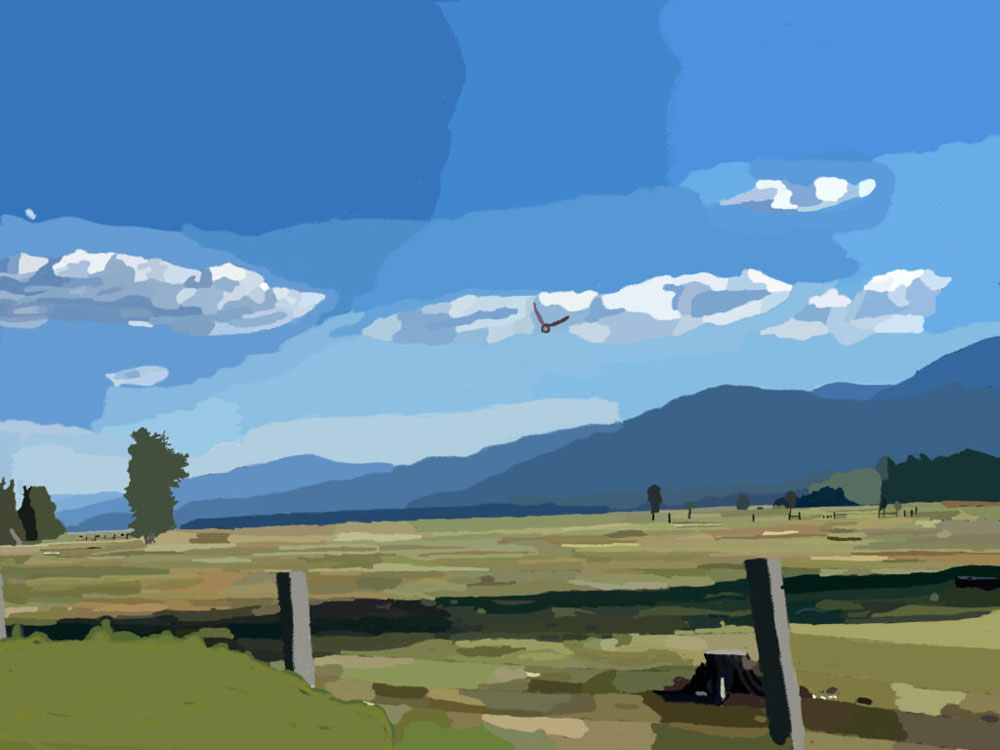
My experience was difficult when creating my Photoshop Pastel Painting. The first challenge was finding a picture that would perfectly fit. I spent a hot second searching through my camera roll for the right photo. When I finally chose the photo little did I know that I made a huge mistake. My original photo was from Oregon and has tiny details all over the place. Luckily I kept going and I love my final painting.
I valued that once again we got to choose what photo we produced. I also valued that we got to work at our own pace and only had a final due date for a deadline. I look forward to making my watercolor painting next.
I learned that I can make something really cool even though I might not have any experience. I also learned that challenging and daunting tasks can become fun and that you can enjoy yourself while producing them. Finally, I am really proud of myself and very happy with the outcome.
Photoshop Watercolor Painting
Goal: Learn the DIGITAL tools in Photoshop to emulate watercolor painting in the ANALOG world.
Photoshop 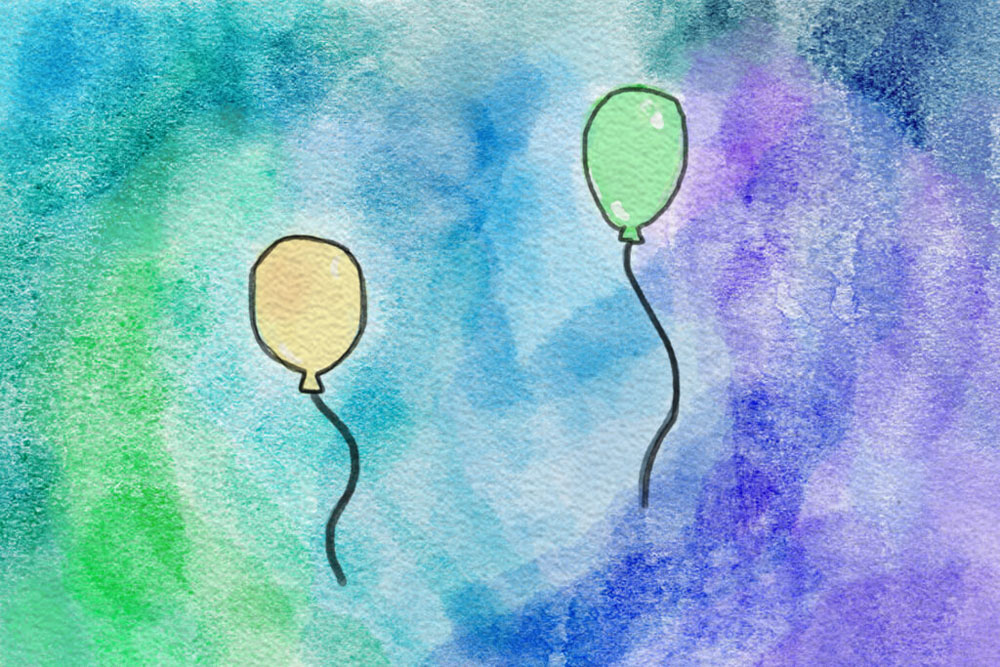
Watercolor
Artist Statment
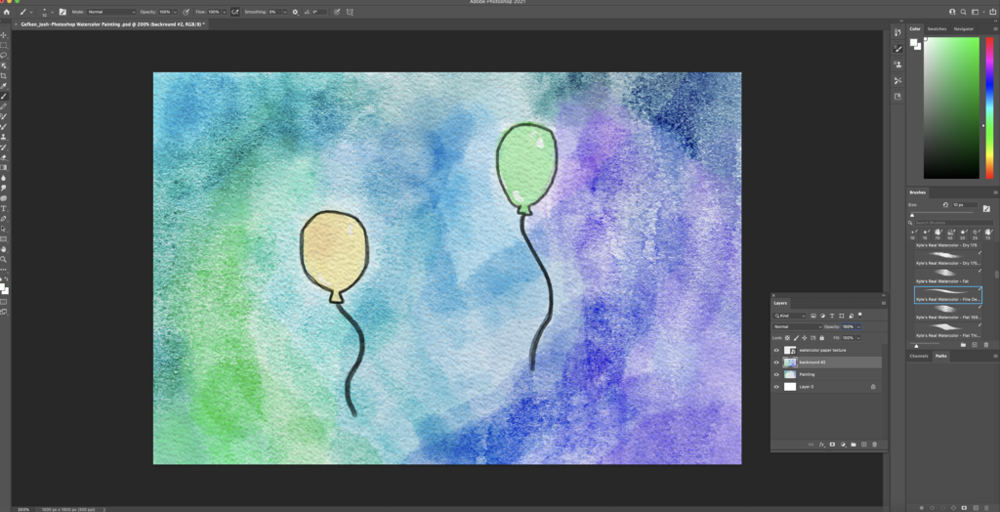
Since we are now in our Narrative Unit my painting of balloons represents all the birthdays I spend with my friends and family. Honoring them on their special day makes me really happy and I always go all out. The two colors of the balloons also have significance in my life. Green has always been my favorite color and yellow reminds me of my 4-year-old golden Schnoodle Luna.
From reading the three articles I learned that you can’t expect to be a master at painting when you first pick up the brush. It takes time and the more you practice the better you become. Also, I learned that you always have to change and push yourself. Challenging yourself to create more difficult pieces is key for improved and afterward, you will be proud that you accomplished it. Finally, paintings should hold memories and inspire others.
Overall, creating the watercolor was pretty difficult for me. I still valued the project and will keep trying until I master it. Compared to our last assignment I like the pastel painting more. I have never been the best at painting but I love the way my pastel painting turned out when using digital painting.
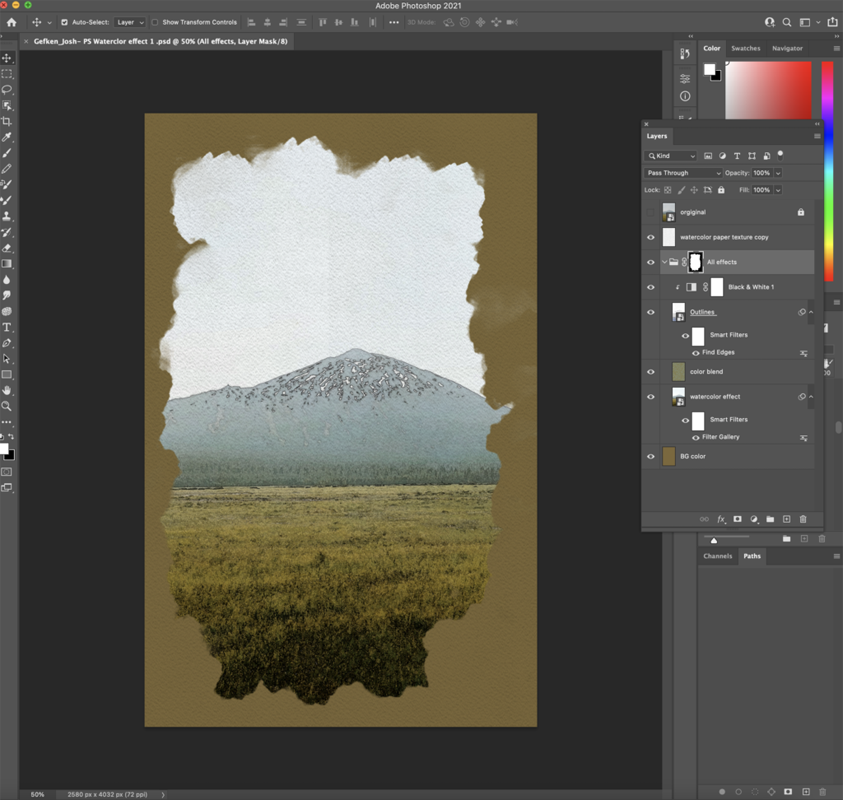
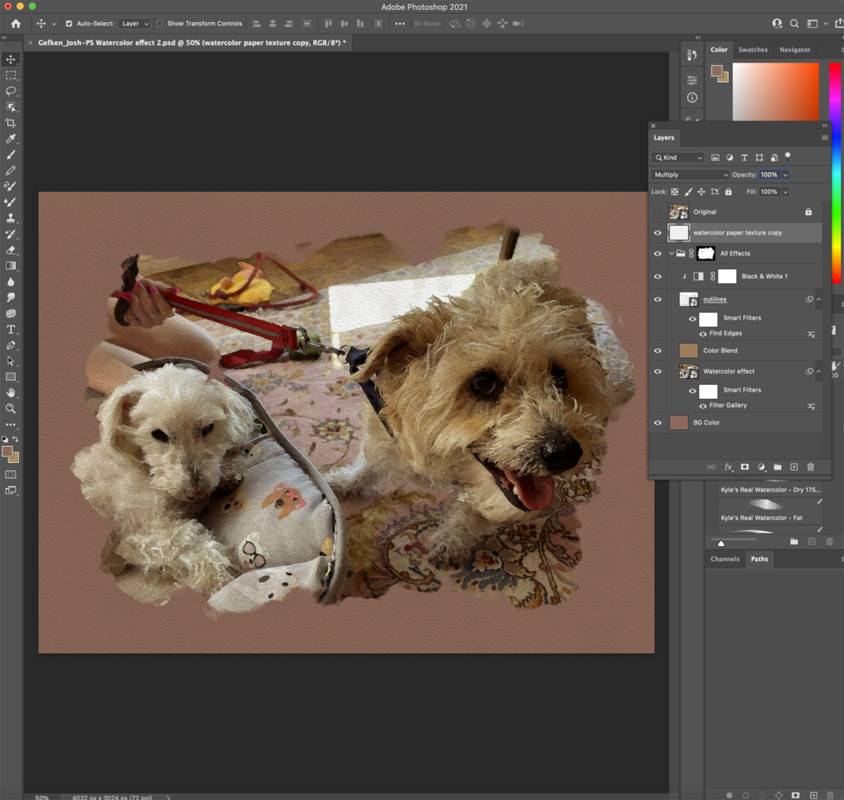
Photoshop Watercolor Painting Effect
Goal: Using the power of Photoshop, you will create a watercolor painting using Filters on various photos of your choice. You will be able to quickly apply and adjust the same settings to ANY photo.

Artist Statment
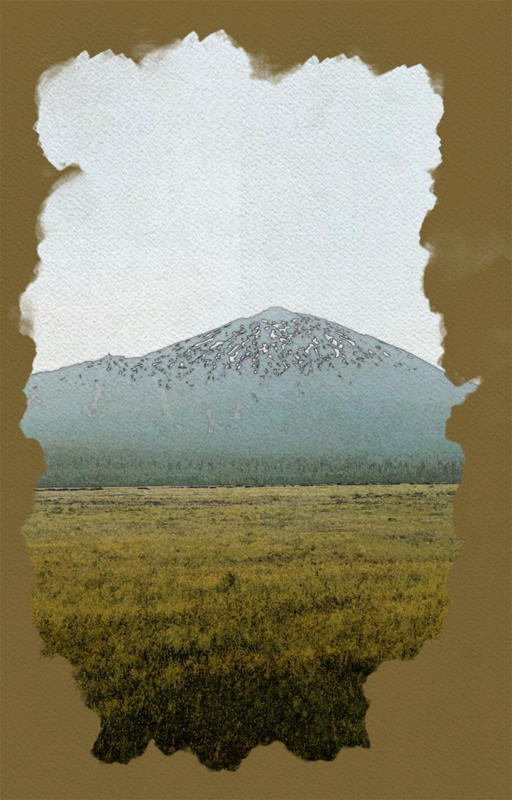
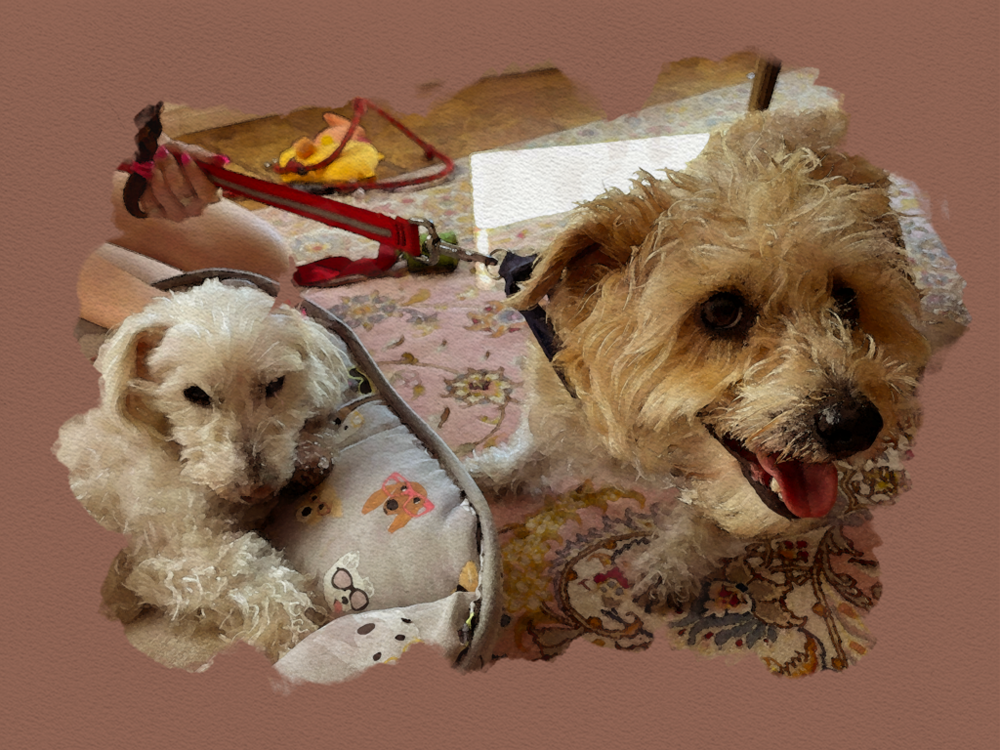
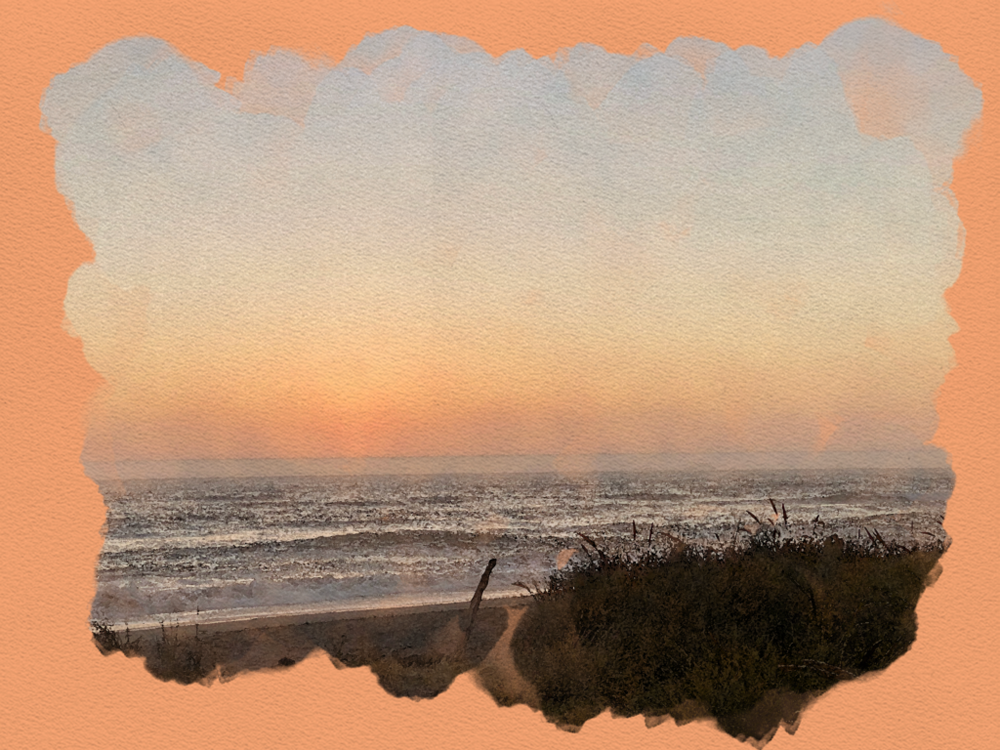
For my three photos, I chose two from my trip to Oregon and my dog Luna with her best friend Mickey. The first picture is of Mt. Balcher in Bend, Oregon. It was stunning to see it in person and I feel like it looks cool as a watercolor. The second picture is of Luna and Mickey having a playdate at Darya’s house. Finally, the 3rd photo is from the Pacific Northwest Coast at sunset.
I thought that the effects that we used were really cool. I really liked the first effect that we used. It turned the photo into a watercolor and then we added other interesting effects to the photo.
I think I can use this technique on a bunch of photos I have in the future. I am really happy with how they turned out and will definitely be using them again. I think the main reason I would do this again is for the gifts I could make people. Even Though I didn’t paint it, it’s still really cool and would look great as a print or a card.
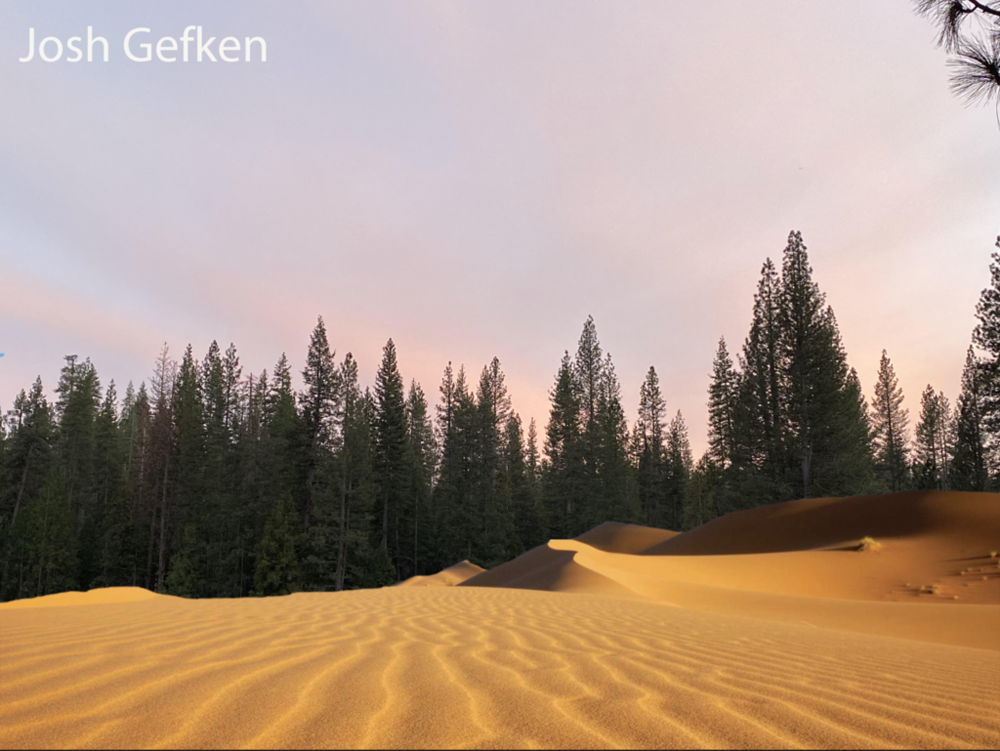
Photoshop Composite of 2 Photos
Goal: How do you composite two photos together to make it look like it’s a natural image?
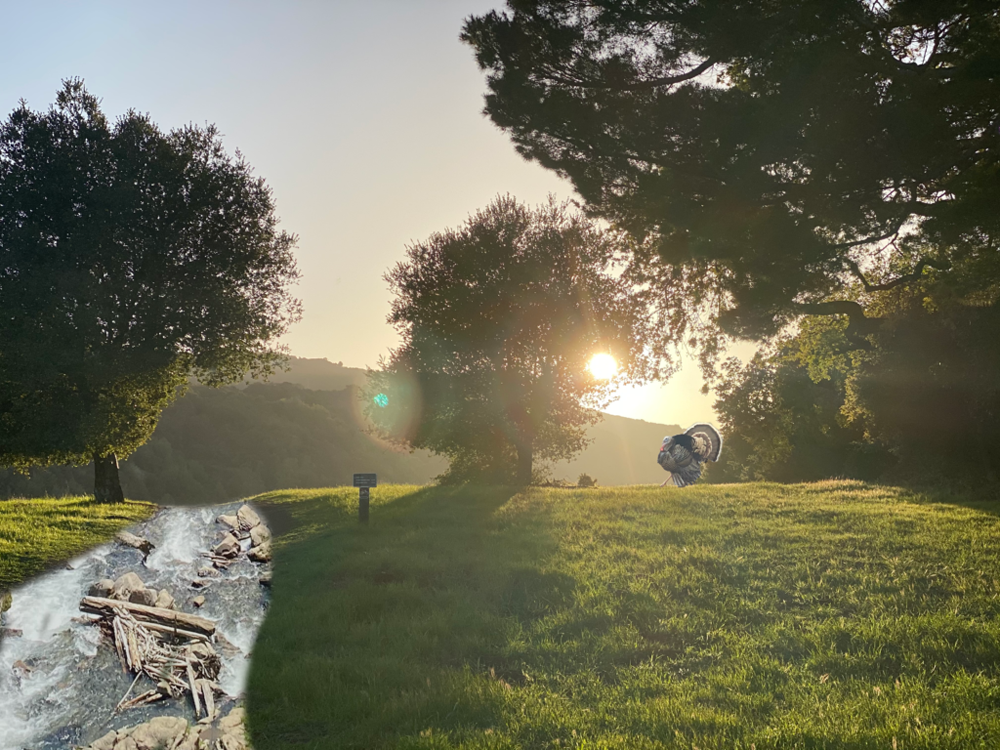
Photoshop Composite of 3 Photos
Goal: Learn more advanced compositing techniques in Photoshop to eventually apply to composite any photos (found or original) into a surrealistic photo.
Photoshop Surreal Art
Goal: Using techniques learned with Photoshop, create a surrealistic image from found or original images.


Artist Statment
I am trying to convey a sense of how small people truly are. I have always loved SyFy movies and television shows so I knew that I wanted to include that into my project. I am really happy with how it turned out. If you look closely you can see a land speeder from Star Wars!
I found that using a layer mask and using a brush to take away the unneeded parts was the best tool for me. It made it really easy and fast to combine the images. Also, the ability to adjust the opacity of the images was a huge help.
I liked them both equally because they are so different. In Surreal you can create basically anything from your creative mind. But in Realistic, you can create truly believable works of art.
Film
In Film, we first started with filming a two-minute film to jog our memories from last year. We first pitched our ideas and script for class feedback. Then we went out and shot our film. We showed our dailies in class and put together a rough cut. After receiving tips, we edited our final cut. I valued that I got to look inwards and learn more about myself. I am really excited to use my new skills while producing my Narrative film.
