Introduction
The Zenith project serves as an opportunity for students to choose and try something they’ve never done before. Zenith, which means “the time at which something is most powerful or successful”, is a very fitting name. It makes sense that at the end of our two years at Freestyle, we are at the most “powerful or successful” point of our high school careers.
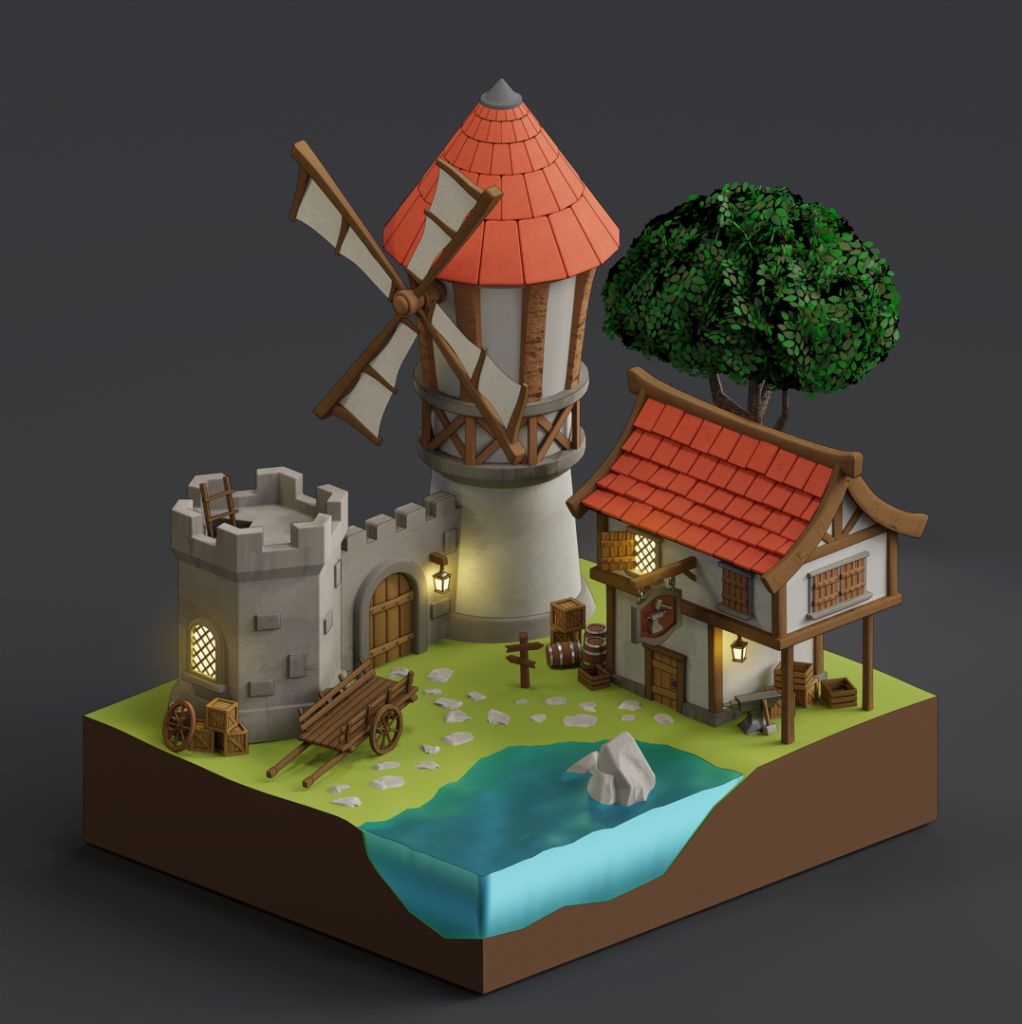
For my project, I chose to learn 3D modeling in Blender to create a mini diorama. I was very passionate about this project because I love learning new skills, and this project was a perfect opportunity to do so. My final media piece was a scene that I modeled in Blender, then rendered out as an image. This project was a risk for me because, as mentioned before, it was completely new to me. I had no way of knowing how my final result would turn out, but I’m extremely happy with how it did.
Process
Early on in this process, most of my time was spent figuring out how to navigate the 3D space inside of Blender. I also had to learn how to model, texture, and do the lighting. I watched a couple tutorials on YouTube to kickstart my learning, but figured out almost everything else by myself.
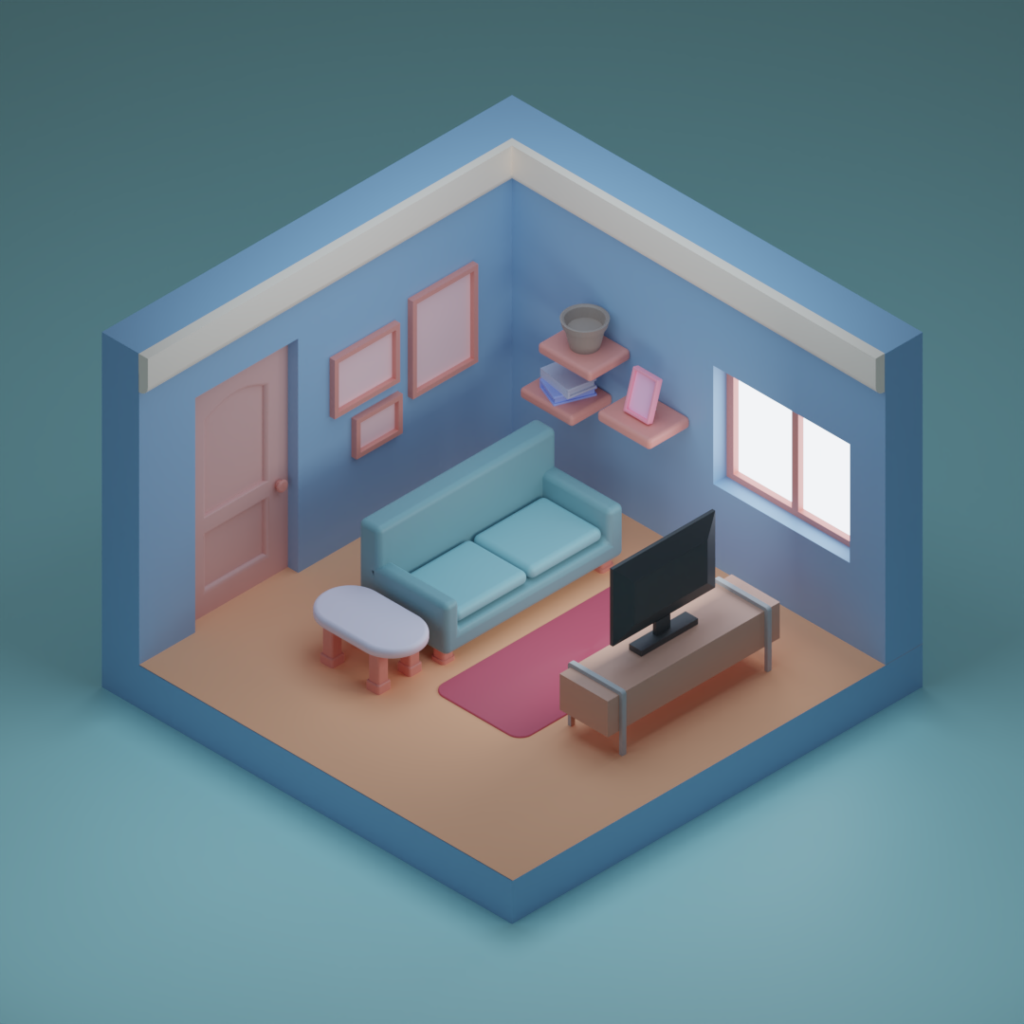
I wanted to create a test scene so that I could familiarize myself with the process of creating a diorama from start to finish. I kept the geometry of each object I modeled very simple, because I was still a bit uneasy about my modeling skills.
This is what my rendered test scene looked like.
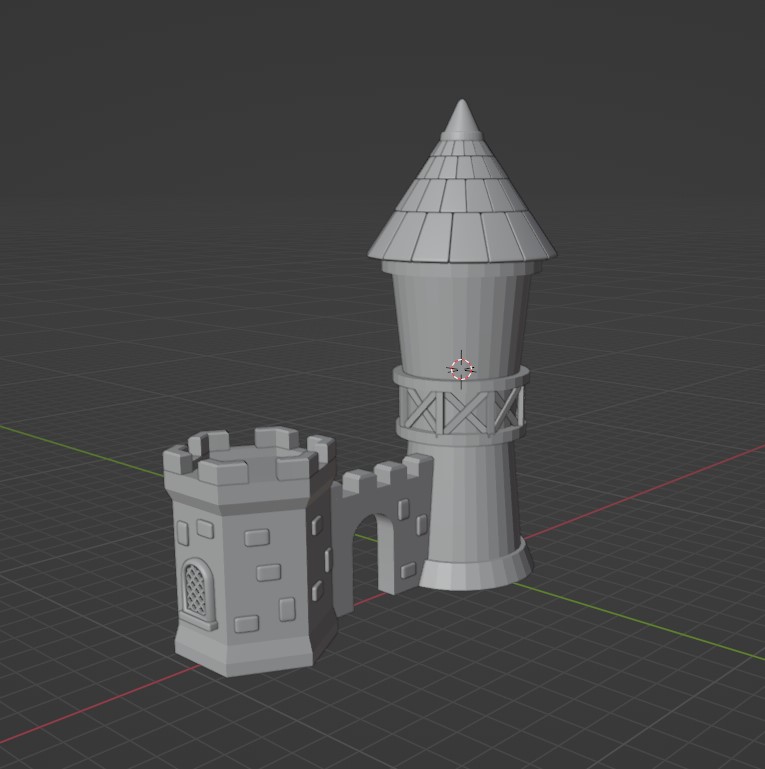
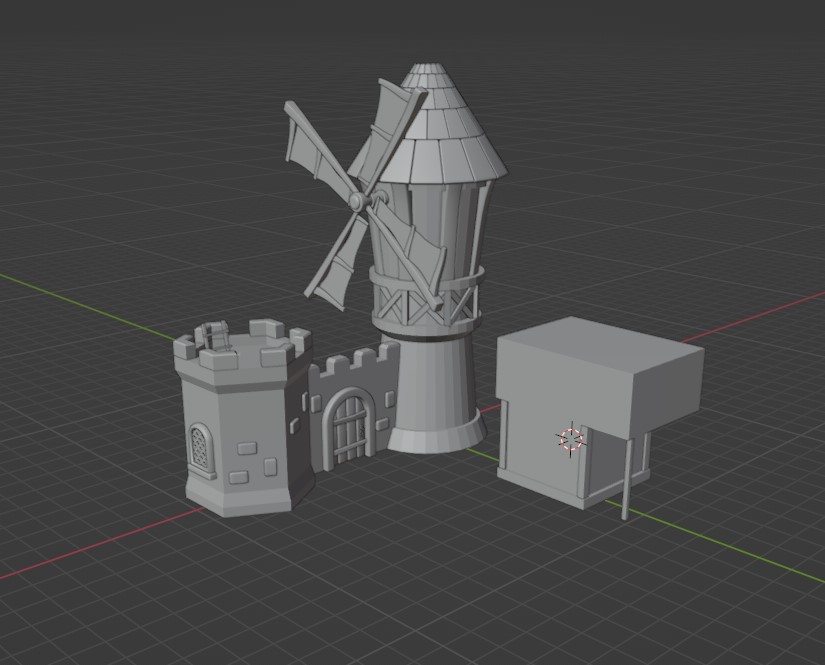
After the test scene, it was time to brainstorm and start modeling my final scene. Below is my modeling progression. I added a lot of small details like wooden crates and barrels to really bring the scene to life. I made the impulsive decision to turn the tower into a windmill, and I also turned the house into a blacksmith shop.
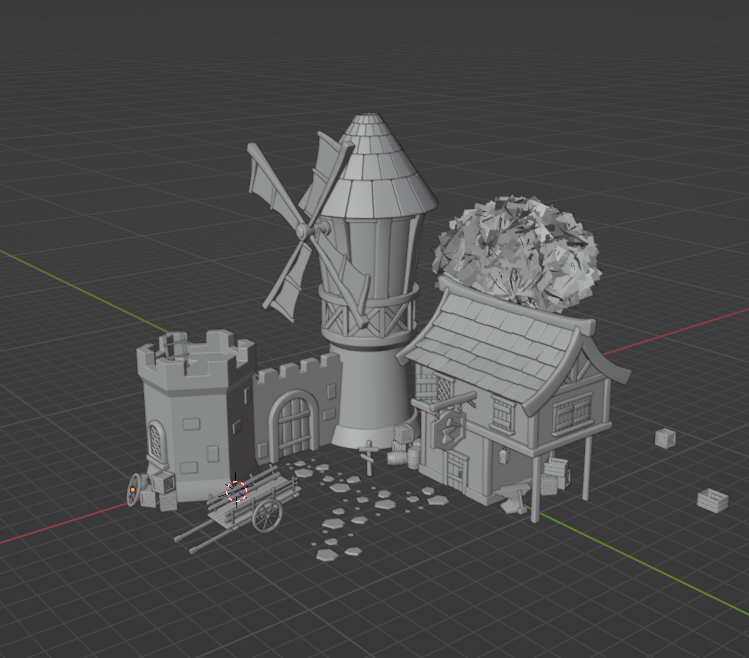

After modeling, I did the texturing and lightning. Then, it was time to render.
Final Product