My Zenith project was uploading 3 episodes (parts 1-3 of 4 of the prologue) of a webtoon and making a short animated teaser.
I will be using these terms frequently going forward, so I want to define them. A “webtoon” is generally defined as an online comic in a vertical scroll format meant to be viewed on mobile. “Line Webtoon” is a well-known online platform for people to upload and share their own webtoons. This is only its technical name, though– in their branding and in colloquial speech, it is simply referred to as “WEBTOON.” In summary: webtoon, regular noun, is the comic format, and Webtoon, proper noun, is a popular platform for that comic format. Confusing, I know, but that’s how it is.
I have been creating a story for about two years now, and it’s very precious to me. But I’ve spent the last two years mainly focusing on concept work– character building, worldbuilding, visdev, etc. I wanted to make a webtoon for my Zenith because I wanted to start bringing my story to life. Also, I thought making the first few episodes of the webtoon and uploading it publicly on Line Webtoon would give me motivation to actually write plot so that I could continue posting.
There were a LOT of risks with this project. The first and most obvious one was my wrist injury. I was unsure how fast my wrist was going to heal, so it was hard for me to know what a realistic goal was for this project. Secondly, I had never made a narrative comic before, let alone a webtoon, so I was stepping into unknown territory. Lastly, I was taking big stylistic risks. I wanted to start the webtoon with a prologue, which was supposed to be a fever-dream style sequence. That kind of abstract-leaning art is something I rarely ever do, so I was pushing myself out of my comfort zone.
I used my character design and narrative-building skills from Animation class in my webtoon itself, and my 2D animation skills from Animation class for my animated teaser.
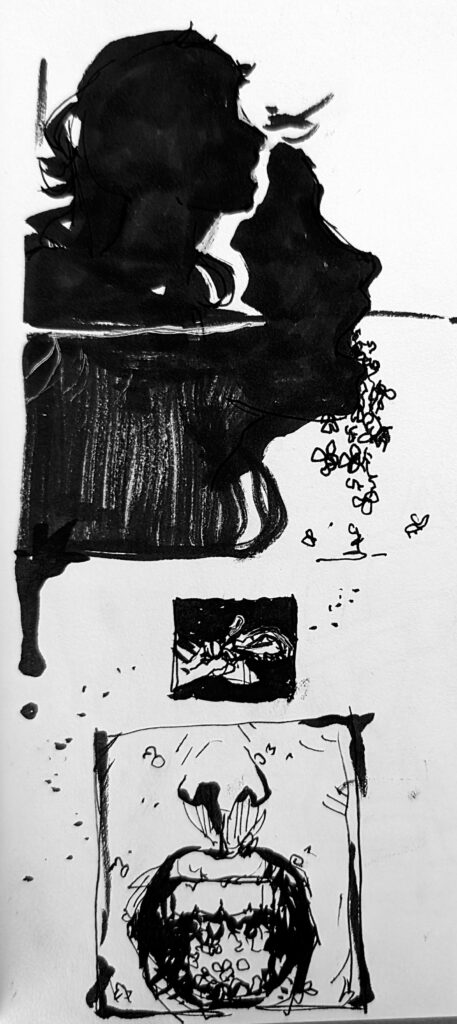
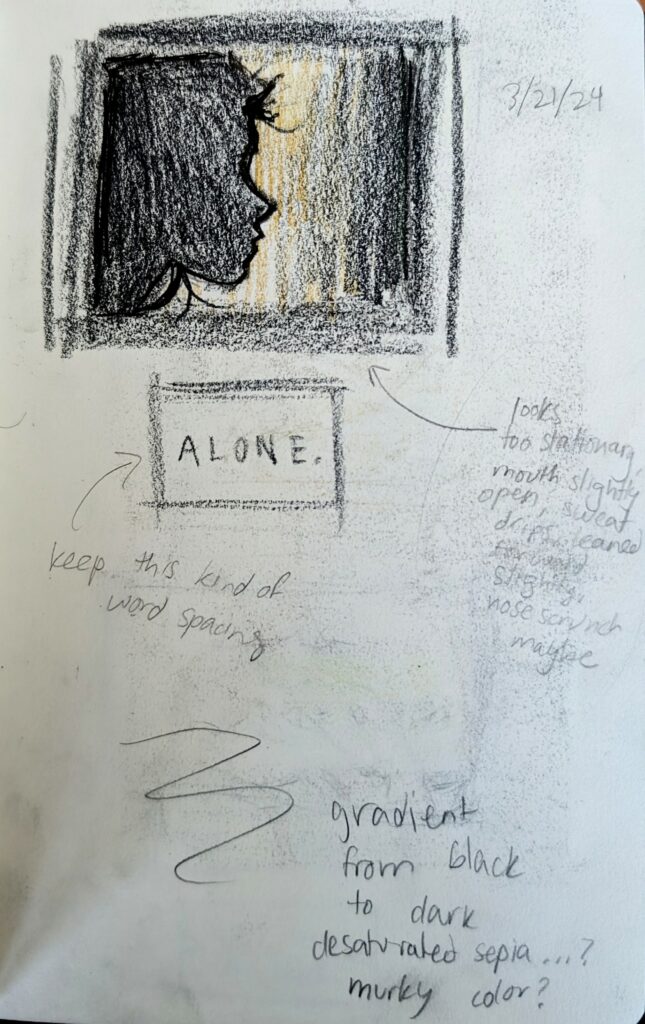
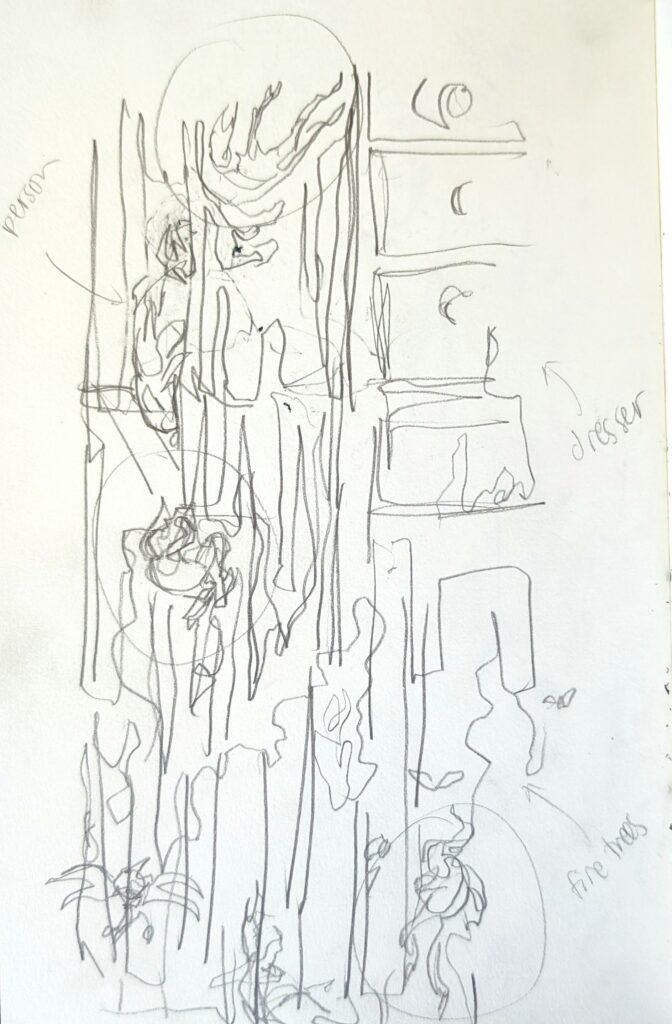
This is the first piece of concept art I made for the webtoon itself. I didn’t end up using this scene in the final, but it helped set the tone of “general creepiness” that I stuck with throughout.
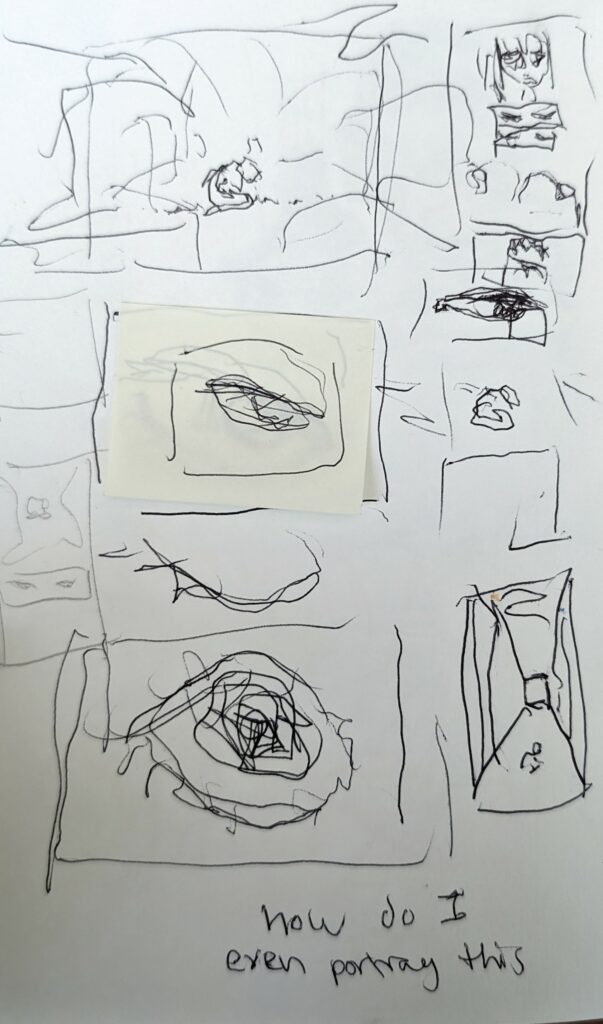
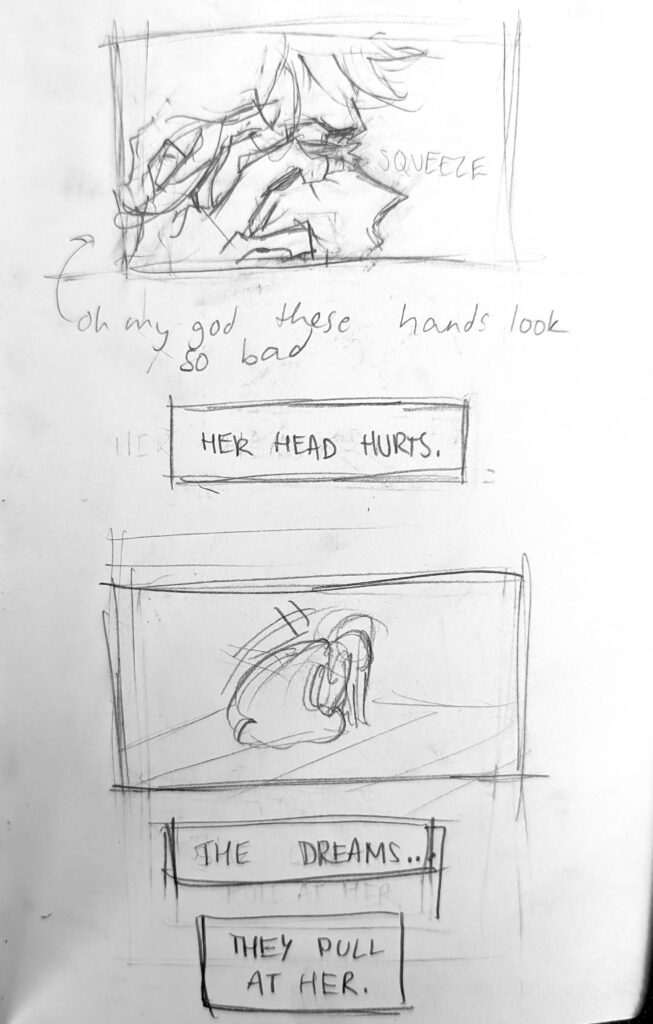
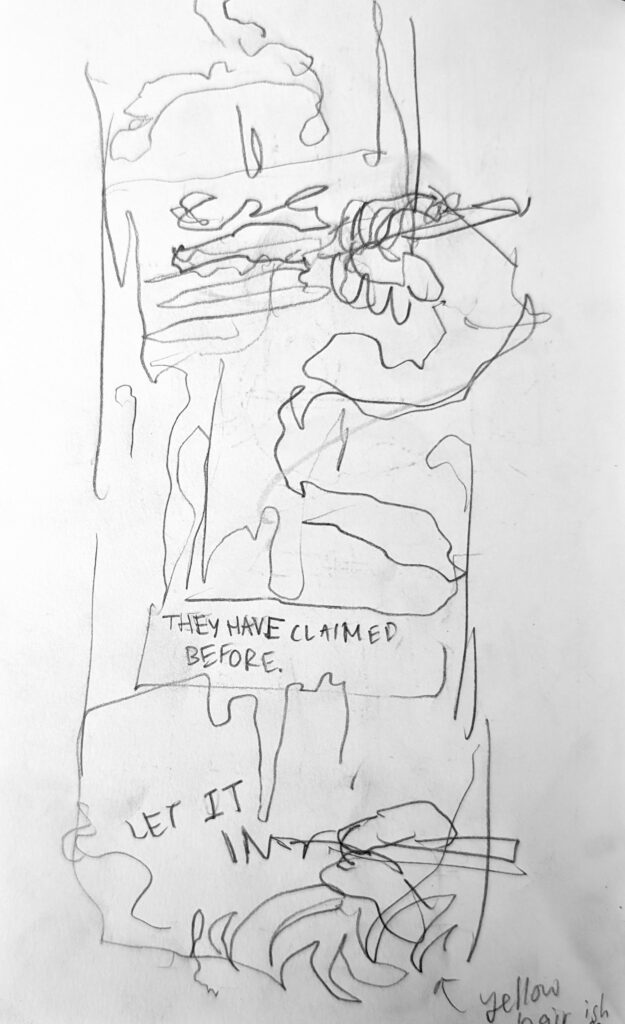
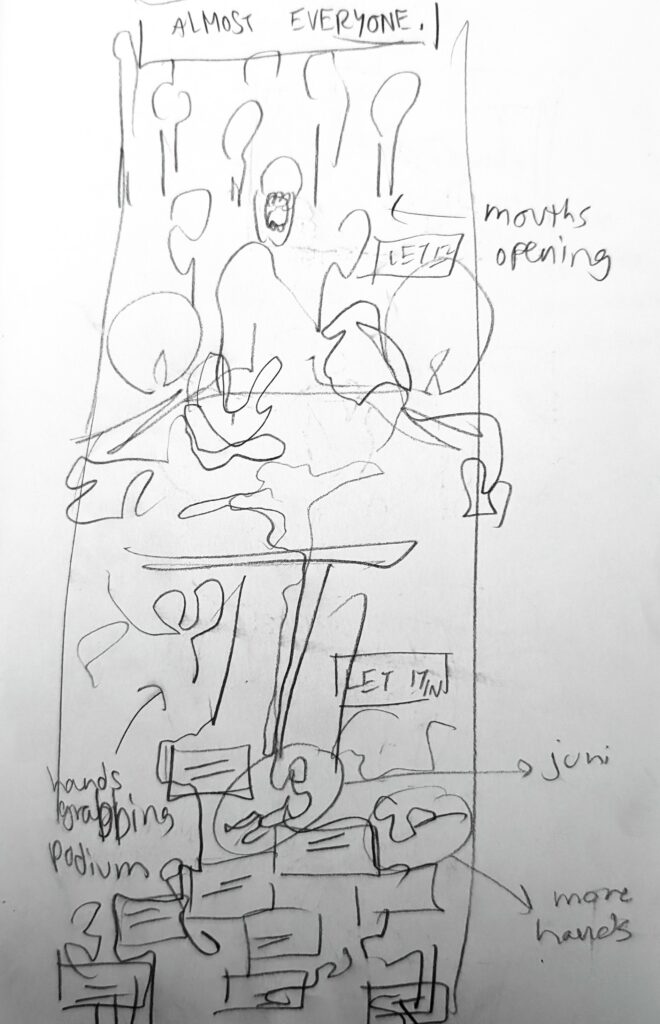
After that, I started thumbnailing. Thumbnailing is meant to be quick and dirty. They can be the most ugly, unclear, incomprehensible drawings, but if the artist understands what they’re supposed to be, then they’ve achieved their purpose. They are meant to bring a drawing idea from an abstract mental picture to something more solid. With the pressure of making it look pretty out of the way, you can race through sketches until you latch onto something you like. The sketches above were all entirely unused “false starts,” where I was still searching for a good way to begin.
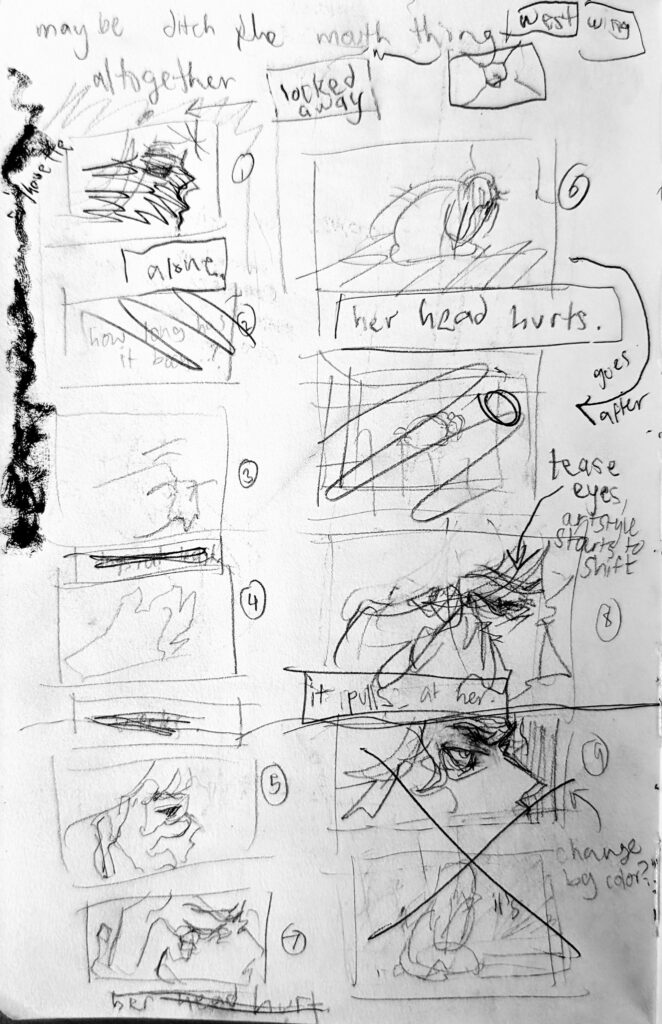
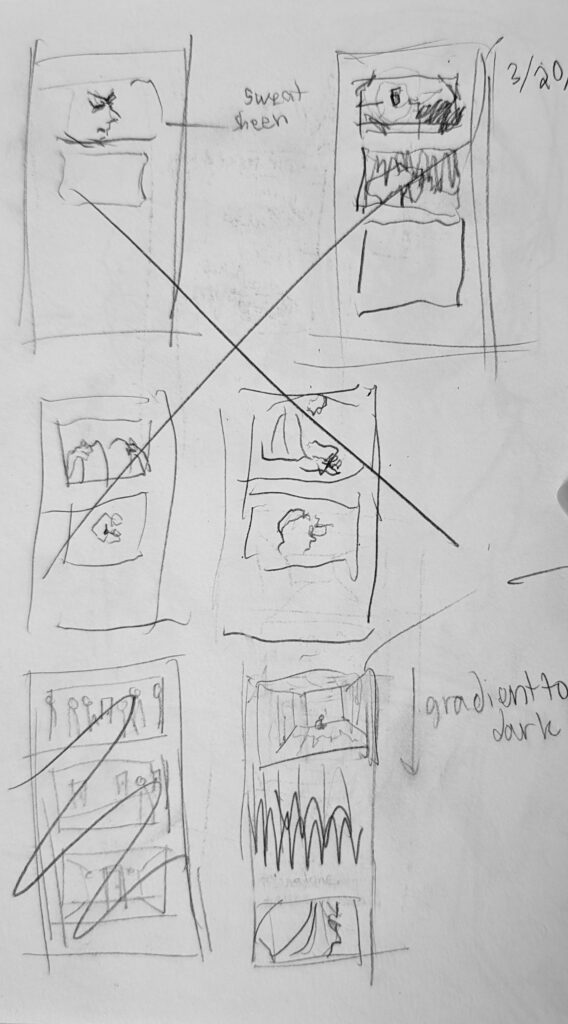
These are the thumbnails I ended up using. You can see that they’re very messy, but again, that doesn’t matter. Ordinarily, this stage is not shown to anyone else– it is only for the artist’s benefit.
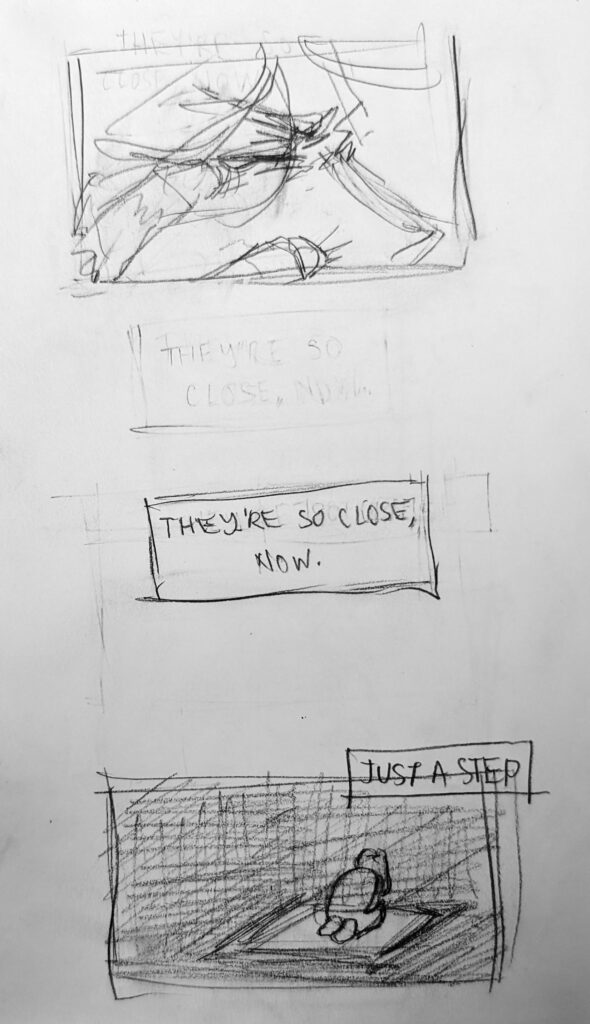
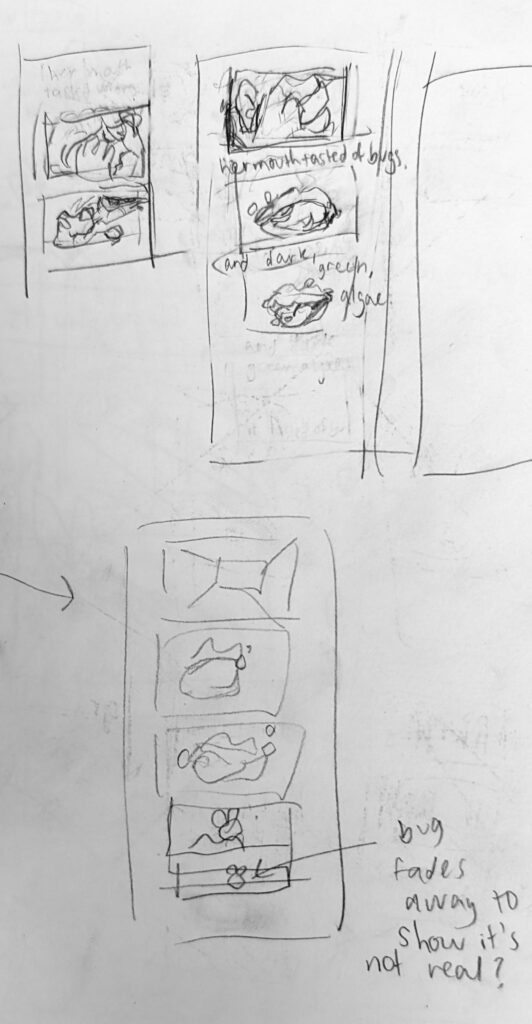
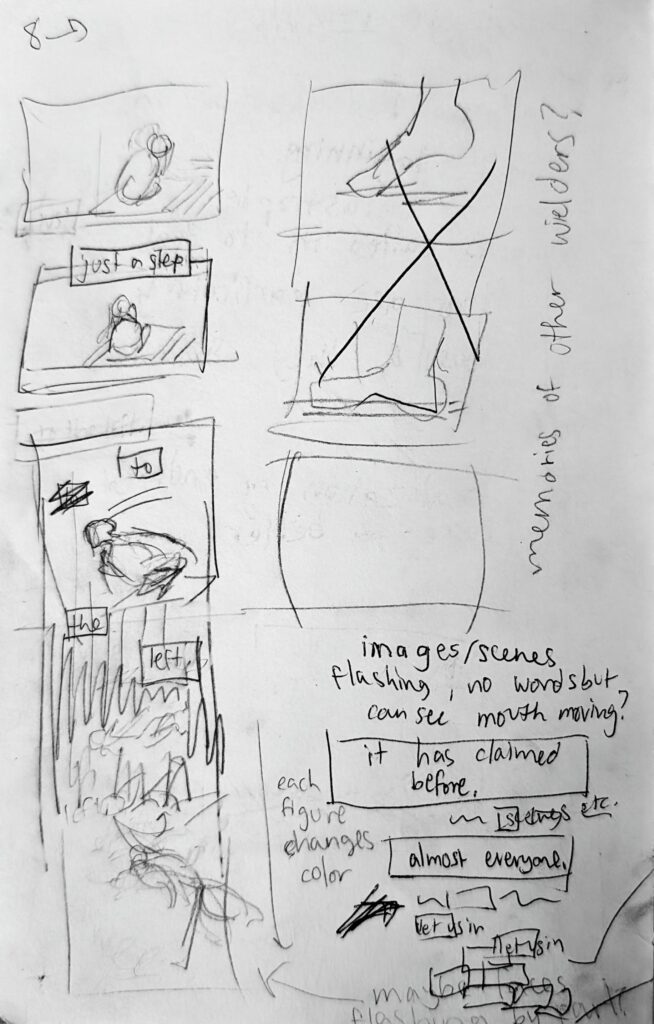
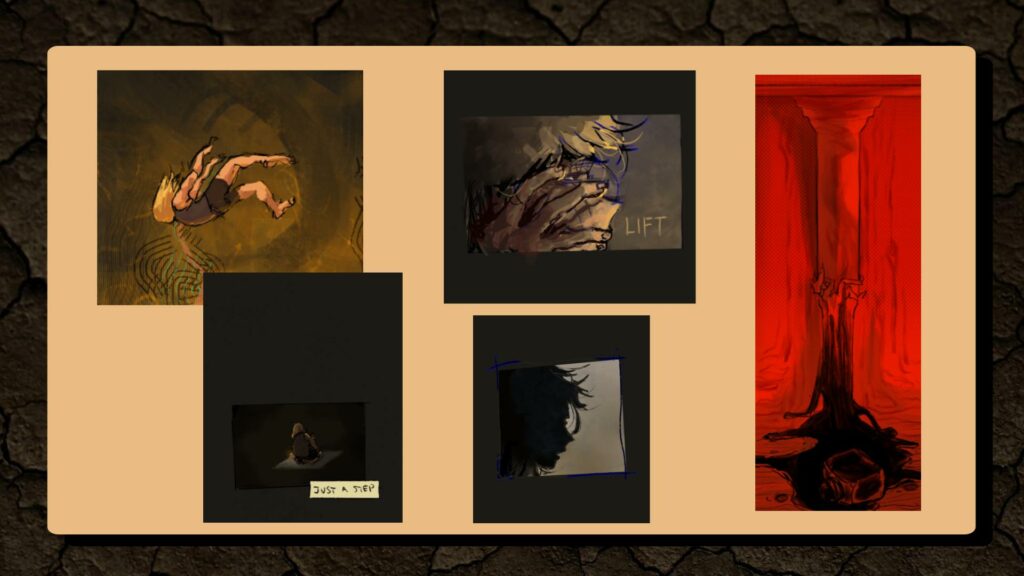
The process of doing a project like this is basically pass after pass of revisions until you’ve reached something you’re proud of enough to call final. The images above are the start of pass #2, where I begin to create something that I can use as a base later when I move to digital.
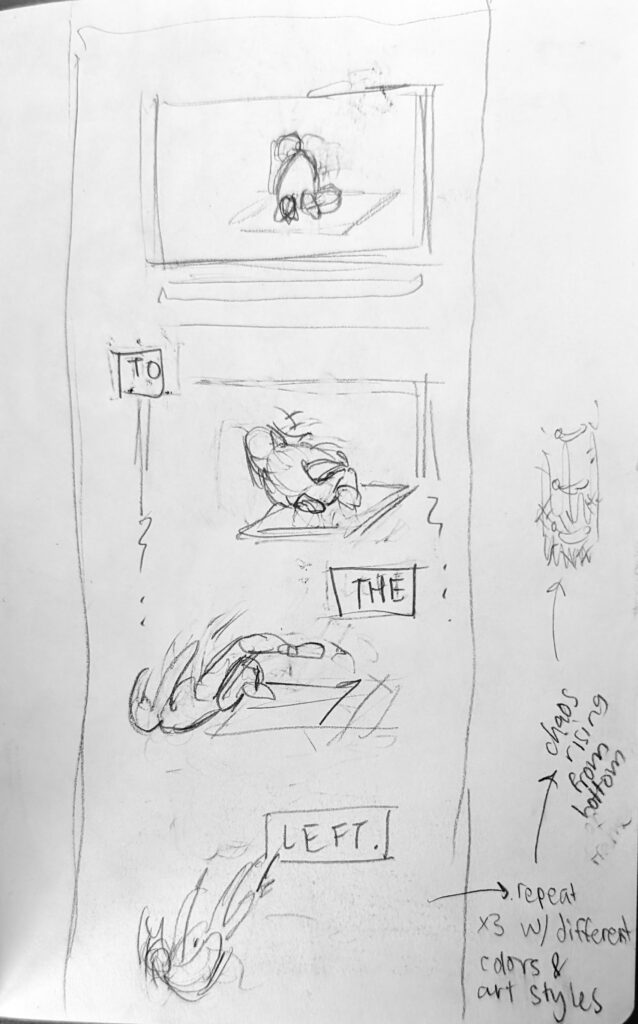
For this part, I actually had to go back to thumbnailing levels of roughness. Since I had avoided doing this part during the thumbnailing phase (I had just written, essentially, “flashing images go here”), I had to go back to that stage during this part. Again, there were many unused false starts, which I didn’t include this time. I continued this until the end of the prologue, but I didn’t include the last few sketches because they may spoil the fourth part, which I didn’t upload due to time constraints.
From there, I brought it to digital with Procreate. My plan was to create a rough digital pass, upload it to Webtoon so I could see how it would read, send it out to some trusted friends and peers for feedback, and then use that feedback to create the final pass.
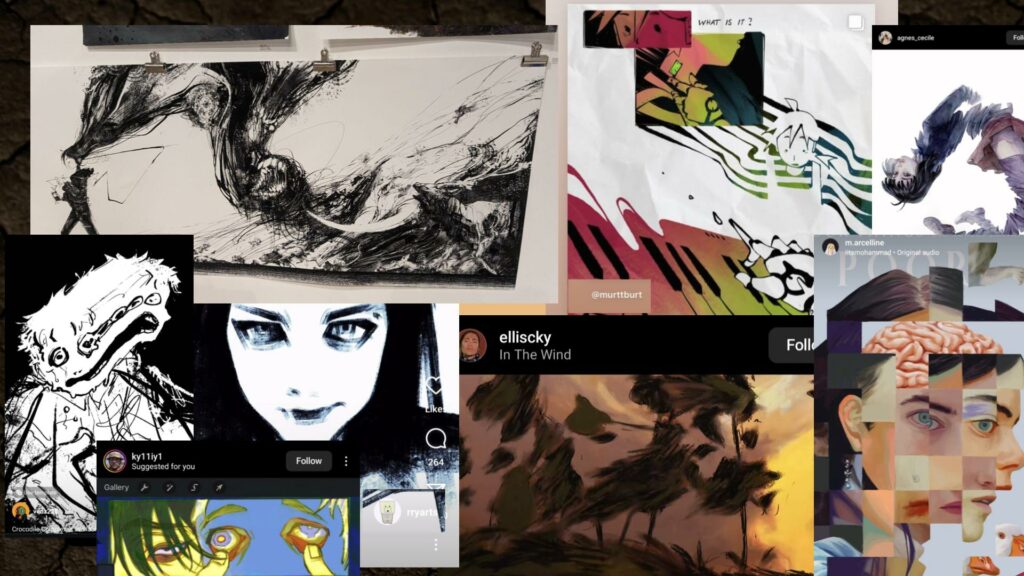
Deciding how to color the real-life portions was relatively simple. Keyword, relative– it still took a lot of trial and error, but the dream sequence parts were the real struggle. Since I had never done anything like this before, I collected a lot of references of dream/nightmare-like art that I admired to take inspiration from.
From there, I jumped right in! My iPad is very old, so it was very hard to get it to screen record my process. Procreate makes automatic timelapses, but the canvas size was so big that the video would not process. With manual screen recording, it would either crash Procreate constantly, or I would be unable to transfer the videos to my computer after recording.
The first video linked below are the best two videos of three I was able to record of my process. I purposely didn’t speed any of them up so that you could get a sense of the pace I was working at, and so the constant rotating/zooming didn’t irritate the eyes. For the second video, to make up for the lack of timelapses, I collected all of the work-in-progress screenshots I could find for the rough pass and put them together in order so you can see more of the behind-the-scenes.
As you may have noticed in the real-time process video, the panels I’m working with are very, very long. The panel size I used was 1600px by 16384 px. Line Webtoon only takes a certain dimension of images, then stitches them together to create a long, continuous scroll. To make sure all the images matched up correctly, it was easier to create them in long canvases like this one, which was the size of 6.5 of those smaller images together, then crop them using a separate program afterward. The half at the end is duplicated to the top of the next panel batch, so that they match up perfectly.
In the beginning, this worked fine, as Webtoon would auto-crop the images for me. However, as the drawings got more complicated, the file sizes became too big to upload to Webtoon to auto-crop. So, I had to use a third party website. This website unfortunately cropped the images into slightly shorter sections that I had planned on, which shifted the line at which I had to copy the end of the previous batch to the beginning of the next one. Therefore, I had to upload it to a 1600px by 15360 px canvas and reformat it to work with the new auto-crop dimensions. This was a huge pain, but I eventually figured it out.

This pass had varying levels of finish. Sections like the one on the left were really rough and required a lot of work to finish later. Sections like the middle just required cleanup, and sections like the one on the right were so fun to draw that I just went straight to the final product.
Once I had finished the rough pass, I uploaded it to a test Webtoon page and sent it out for critique. I kept the test page up, so you can check it out if you’d like!
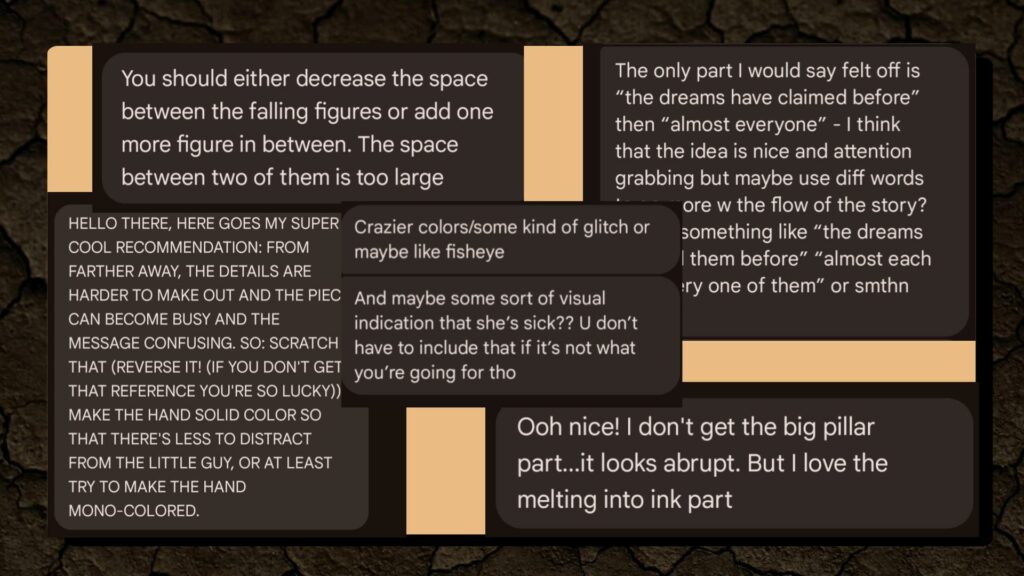
These are the few pieces of critique that I got in writing, but there’s much more I got verbally. critique is an incredibly important process of making something like this. I asked for feedback during and between every single pass I made (other than the first, which was just for me). Implementing that critique is half of the reason my webtoon turned out well at all. I’d say about 70% of the critique I implemented in some form, 20% I didn’t have time for, and 10% I didn’t use because I disagreed with it (which happens, but you have to try to keep an open mind).
After hearing feedback, I continued to the final pass.
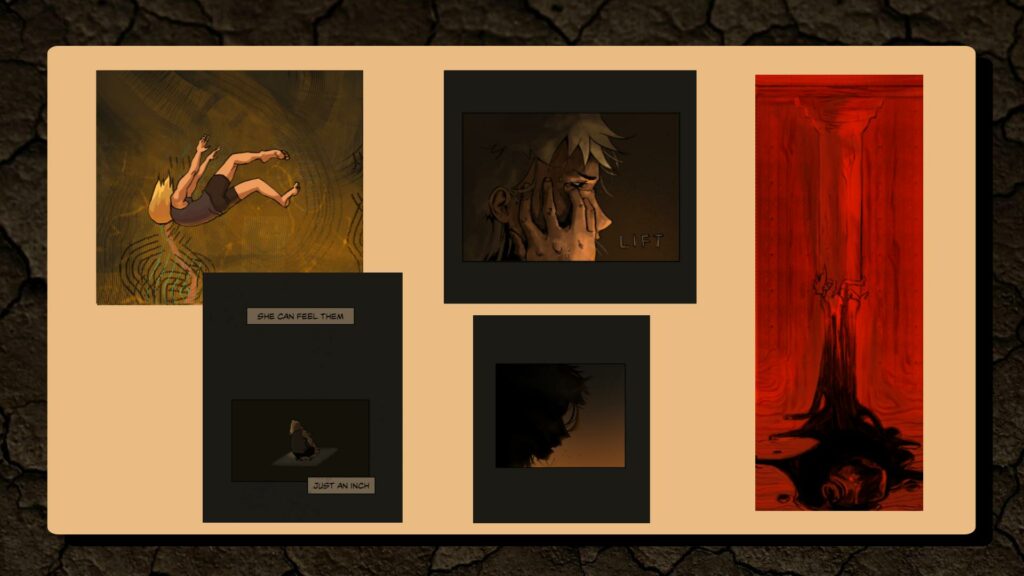
These two images show the before and after of certain parts of my webtoon from rough to final. About two days into the final pass, I drew too long and reinjured my wrist. Therefore, from panel 7 onwards (about halfway through pt 1), all of the final refinements aside from the “lift”/”squeeze” text were done with my left (nondominant) hand. I did the drawings in Procreate, then did the panel outlines + text in Photoshop.
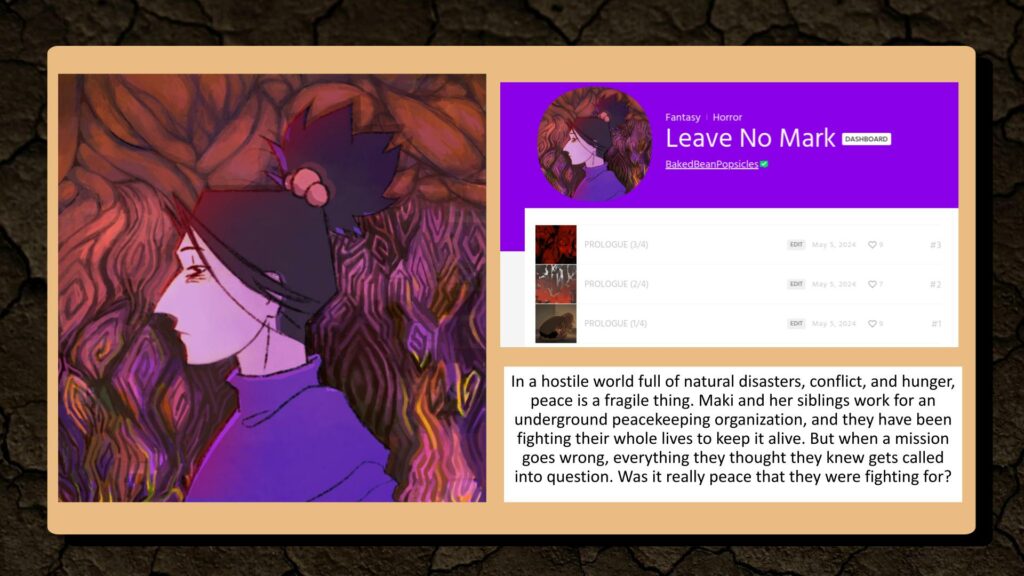
There were just a few last things to take care of before uploading. First, I had to create a “profile picture” for the webtoon, which was pretty quick (1.5 hr). I essentially took an expression drawing of my main character I had already done for college apps, took a screenshot of the end of pt 3, colored the head, painted over the textboxes + added definition in the background, and then added effects. Second, I had to write a short teaser for the webtoon bio. Lastly, I had to do the little episode thumbnails. After that, I could finally publish it on Line Webtoon!
It felt SO GOOD to publish this and send it to my friends. At this point, I had been working on this project for at least 60 hours (I only have 60 recorded hours in Procreate, but realistically including Photoshop, trad sketching, writing, cropping, etc., it was probably at least 70 hrs) so it was really freeing to see it finally uploaded and read all the reactions. I think there’s a lot of things I could’ve done better, but for a first time, it’s something I’m very proud of.
But at this point, I had only sent it to close friends. I wanted to make a short animated teaser to announce my webtoon publicly on Instagram and Youtube. Due to time constraints and, more importantly, my wrist reinjury, I decided to do most of the animation in After Effects. That way, it would go quicker and I wouldn’t have to strain my wrist by drawing too much.
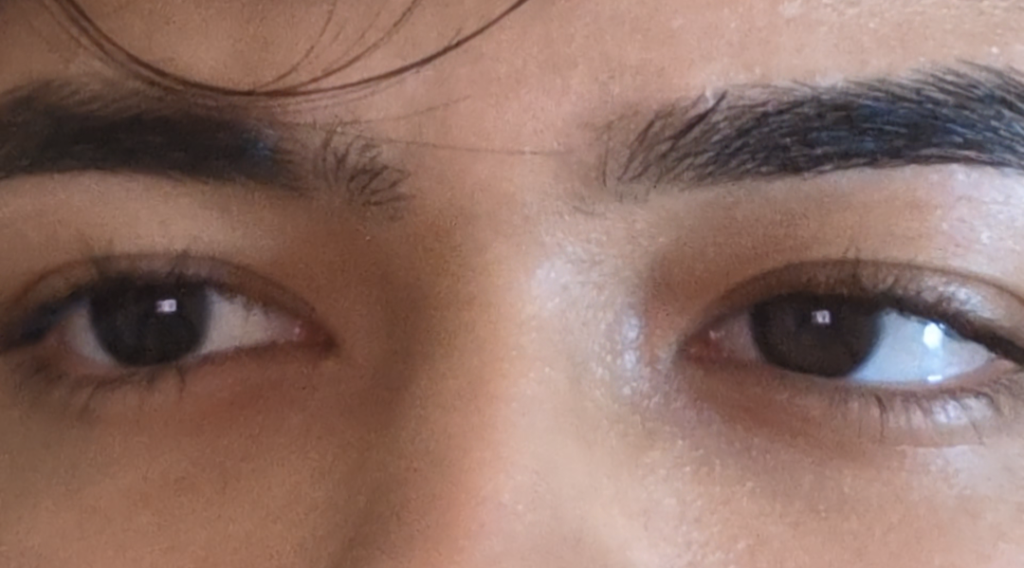

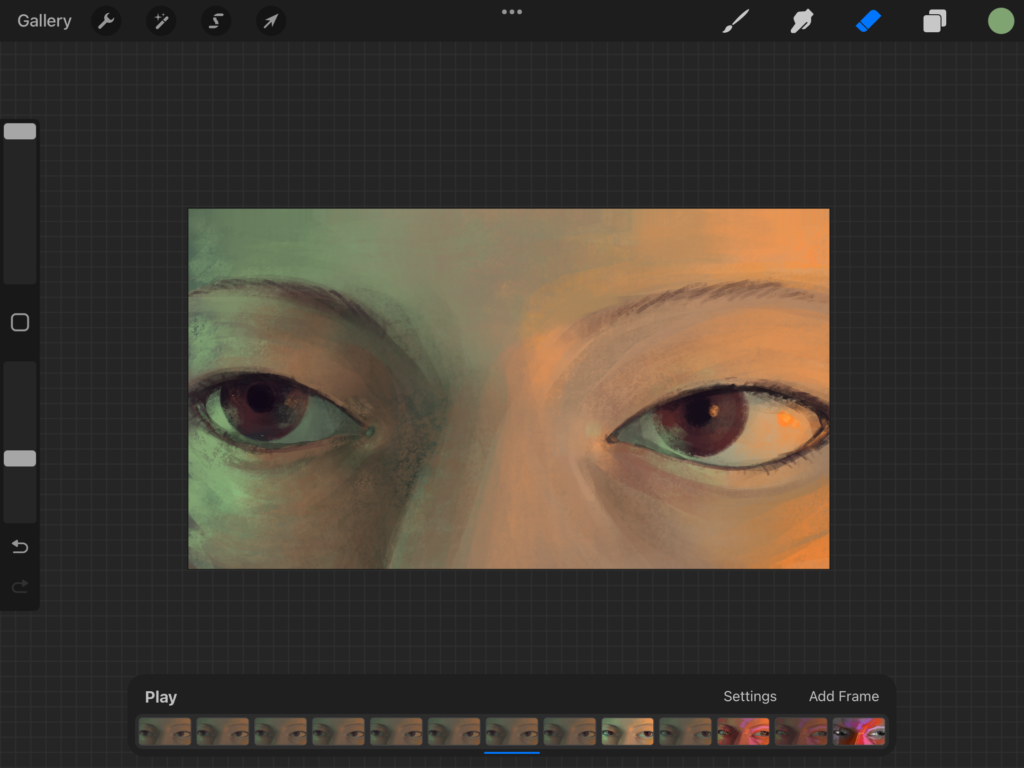
I started by taking a real picture of my eyes as a reference. From there, I did a rough color test with my left hand, then carefully and slowly refined with my right hand. I’m a little sad I didn’t get to draw the pretty green eyes I accidentally drew in the rough, but my main character has reddish brown eyes, so I had to sadly let them go. I also had a really hard time rendering the monolids that my character has. I don’t think I was entirely successful, but I tried my best. The sound design was also really difficult. However, I’m proud of what I was able to create, considering the fact that it was basically my first time trying it.
Here is a video of both a scrollthrough of the chapters I uploaded and the teaser video I made. The scrollthrough has no sound, and the teaser does. However, to get the full experience, I recommend skipping to the teaser in the video below, then reading it in the intended format on Line Webtoon. That way, you can scroll through it at your own pace! There is a direct link right below the video.
If you’re interested in making your own webtoon, I created two videos below. The first one is my Zenith presentation, which is mainly intended to share my process. The second is a tutorial video, which is similar, but also goes into some technical aspects that would have been too boring to share with everyone during the presentation.
Last but not least, I recorded a reflection, linked below, of my thoughts about the project after its completion.
If you read this far, thank you! This is just one piece of a passion project that is very dear to my heart, and I’m grateful I could share it with you. This project was a huge struggle to get through, but it was so worth it. I intend to continue this and keep uploading episodes even after I graduate. I hope one day, I can look back on my Zenith at Freestyle as the beginning of something amazing.