We had the opportunity to use Adobe Photoshop for a variety of projects in our Digital Media class. We first started by making pastel and watercolor paintings; utilizing various digital brushes to paint was fascinating. We also discovered how to give our own images a watercolor painting effect. Finally, we grasped the art of compositing images to create something entirely new that allows us to let our imaginations run wild.
Pastel Painting
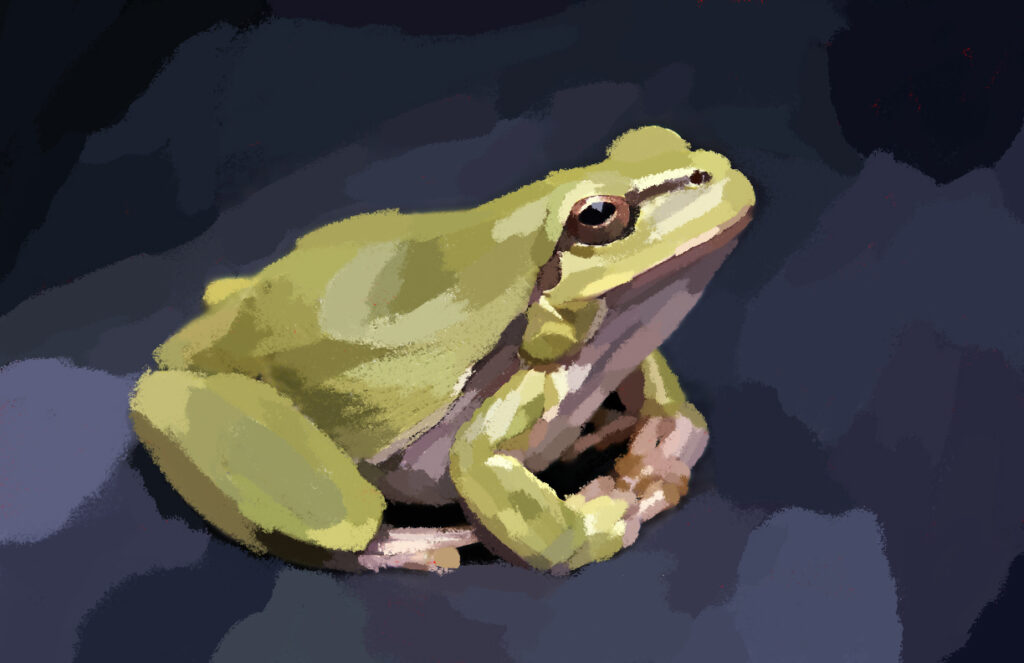
A digital pastel painting of a cute frog
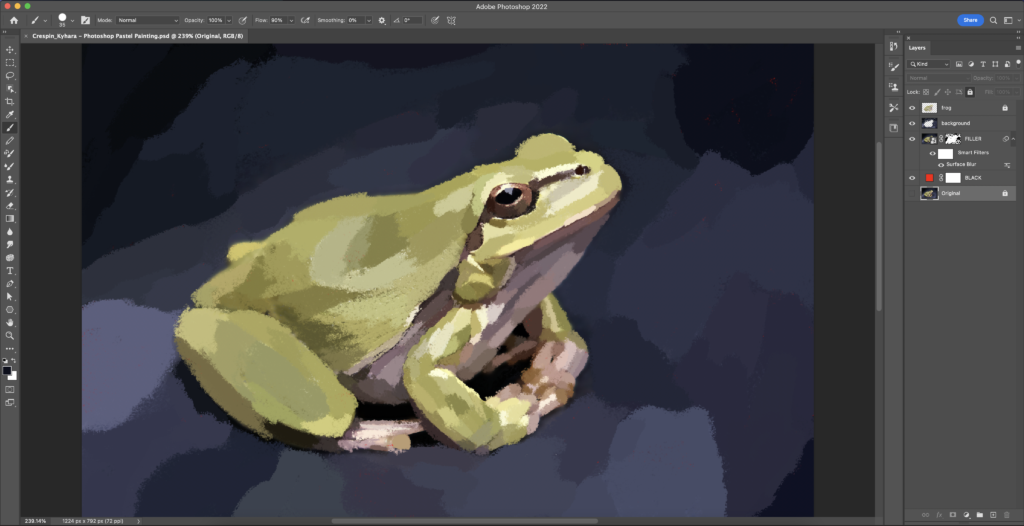
The process of my pastel painting in Adobe Photoshop
For this project, I was not sure what image I wanted to use. However, since I adore animals, I was looking for an image with an animal, and when I saw this one, I thought right away how awesome it would look as a pastel painting. I was particularly attracted to the frog’s vibrant color. Since it took a while to complete, I choose to call my project “The Patient Frog” since, throughout this process, I learned to be more patient with my artwork. Even though pastel painting was really challenging, I discovered that I enjoyed it. What I liked best about it was how the different shades of color could give my painting a lot more depth.Though while doing this project, I struggled to use the brush tool to paint the smaller spaces of the image even when I zoomed in, it turned out how I wanted at the end.
The fact that I was still able to make the painting’s background stand out and have depth makes me very proud because I was concerned the background wouldn’t have turned out well. I could use these skills for other photos that I took to make them into pastel paintings; I think the entire process was a fun experience. Now that I know how to do this, I could apply it to other of my images and perhaps get proficient enough to produce a digital pastel painting without the need for a reference image. This project took a long time, not as long as others that took longer, but I still had to be patient in order to complete it. Looking at other people’s digital pastel paintings amazed me because I was able to notice the details and the unique characteristics of each piece. I realized the time and effort that other artists put into their work to produce beautiful results and I am grateful for all of it. I was inspired to continue improving my skills in digital pastel painting as well.
Watercolor Painting
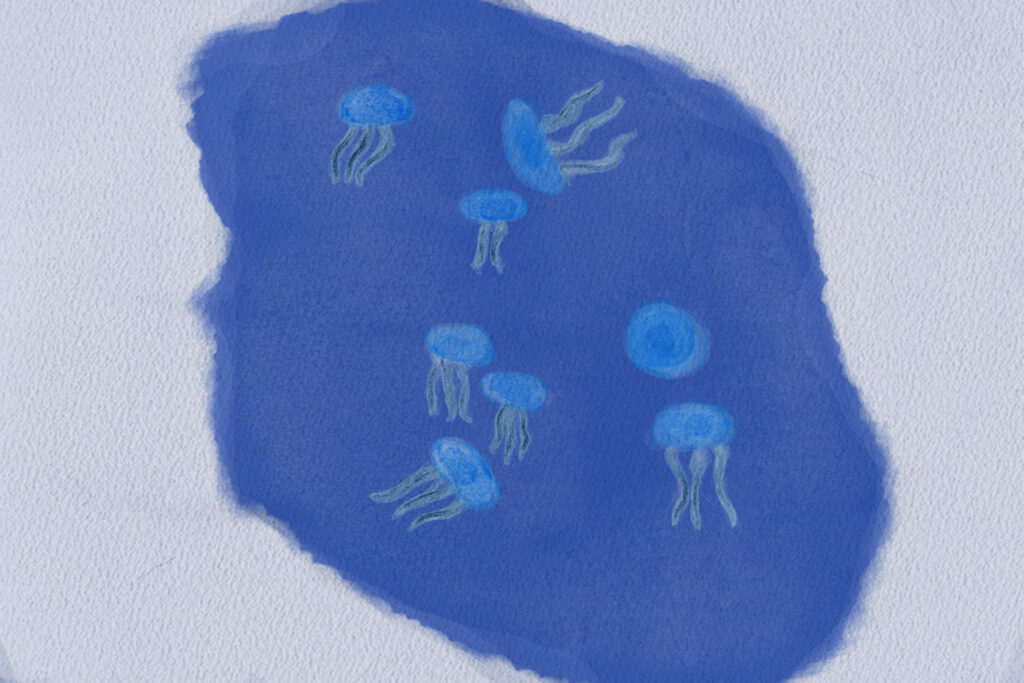
A digital watercolor painting of multiple jellyfish
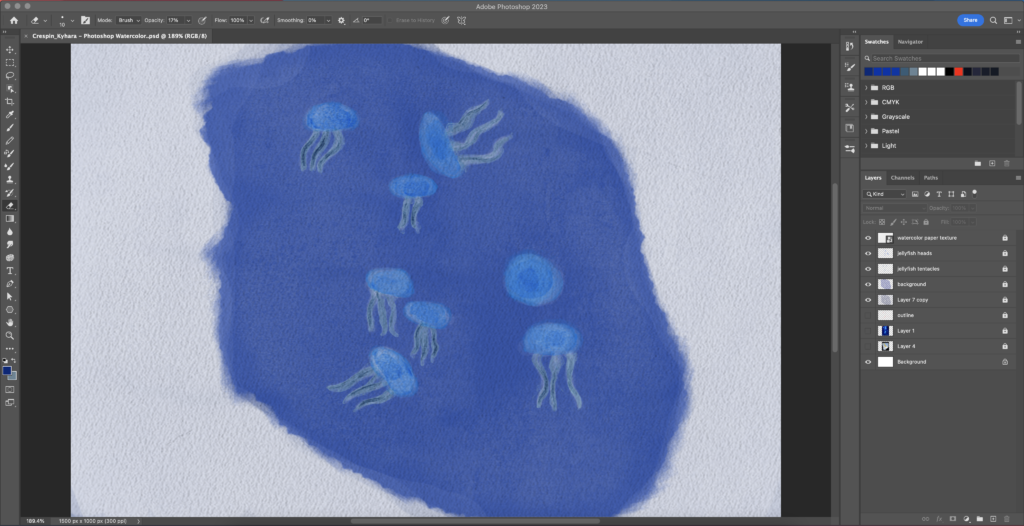
The process of my watercolor painting in Adobe Photoshop
My inspiration for this project came from a photo I took in a Texas aquarium in the summer of 2021, which was my junior year. Since visiting my aunt in Texas was one of the greatest trips I ever made, I chose this photograph since it was taken at an aquarium there and I found the jellyfish fascinating. My main goal was to recreate this image as a watercolor painting because it represents one of my greatest trips. The most trouble I had with this project was getting the jellyfish’s color to stand out more against the background. The jellyfish seemed to blend more with the background as I continued to add layers to my watercolor painting, especially when their shades of blue were comparable. In Adobe Photoshop, I used the eraser tool to make the jellyfish, the focus of my painting, stand out by making it brighter from the background.
If I were to change anything, I’d definitely choose a different image or use new colors. Despite the fact that I was satisfied with the image I selected, I believe it would have been better if it had complementary colors and the details were easier to notice. I picked up new Photoshop techniques that I can utilize to continue pursuing my watercolor painting abilities. Frankly, this has improved my appreciation for both traditional and digital watercolor artists. It’s crazy how many paintings look incredible considering how difficult it was for me to create one. Yet, I’m proud that I got to replicate the photo I took with that watercolor feel to it. Though it may not have been perfect, I’m glad I used this image as my first watercolor painting.
Watercolor Painting Effect
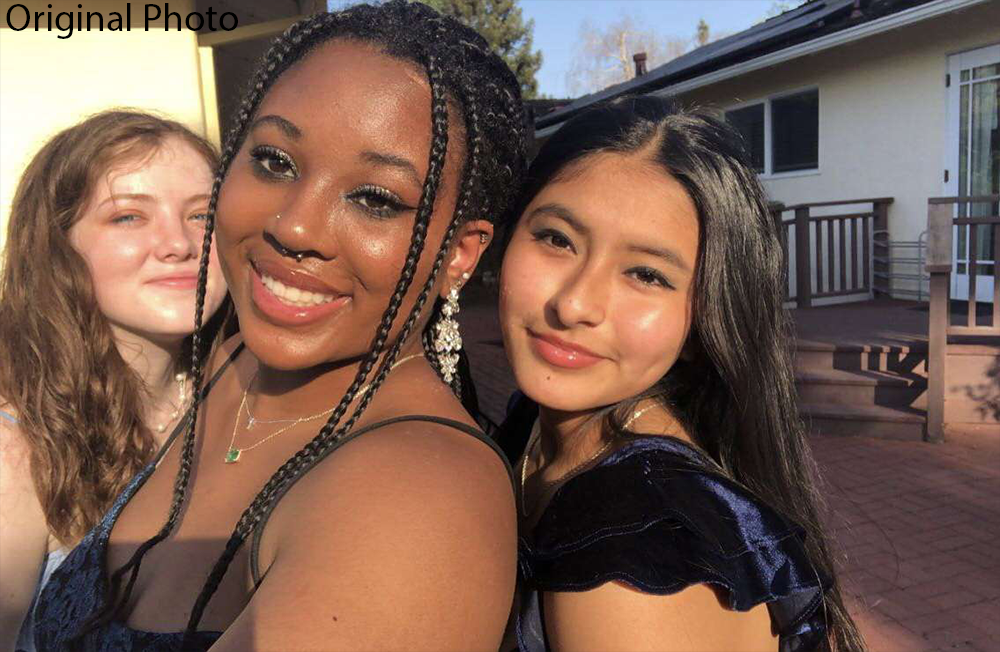
Original photo #1

Watercolor painting effect on photo #1
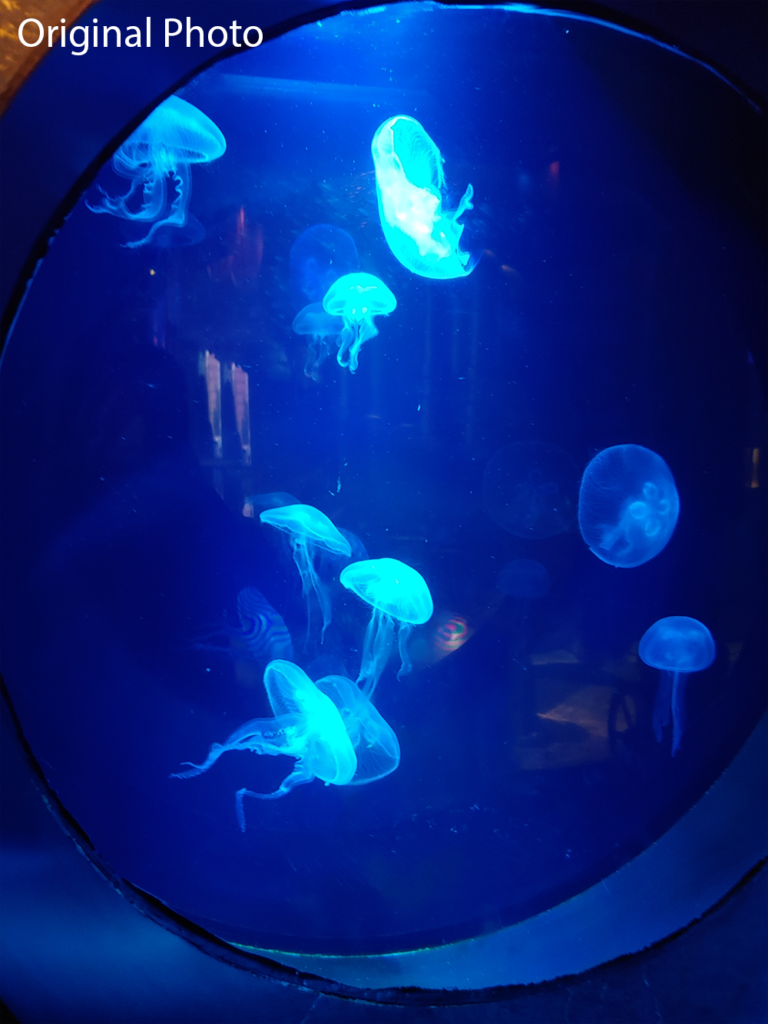
Original photo #2
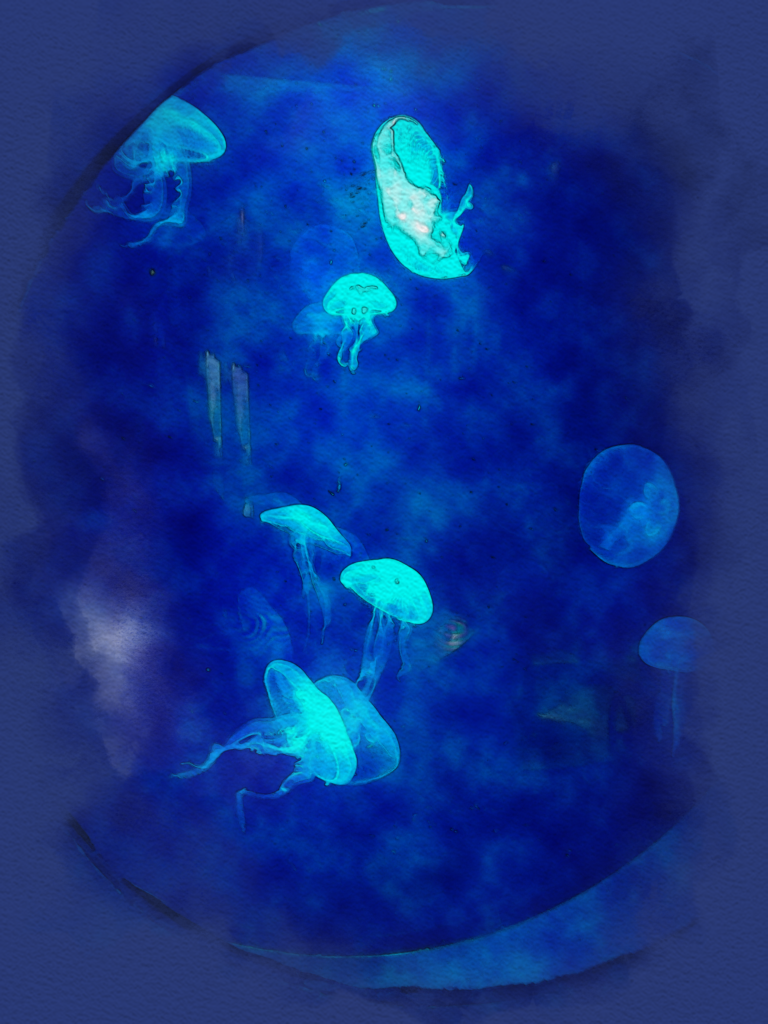
Watercolor painting effect on photo #2
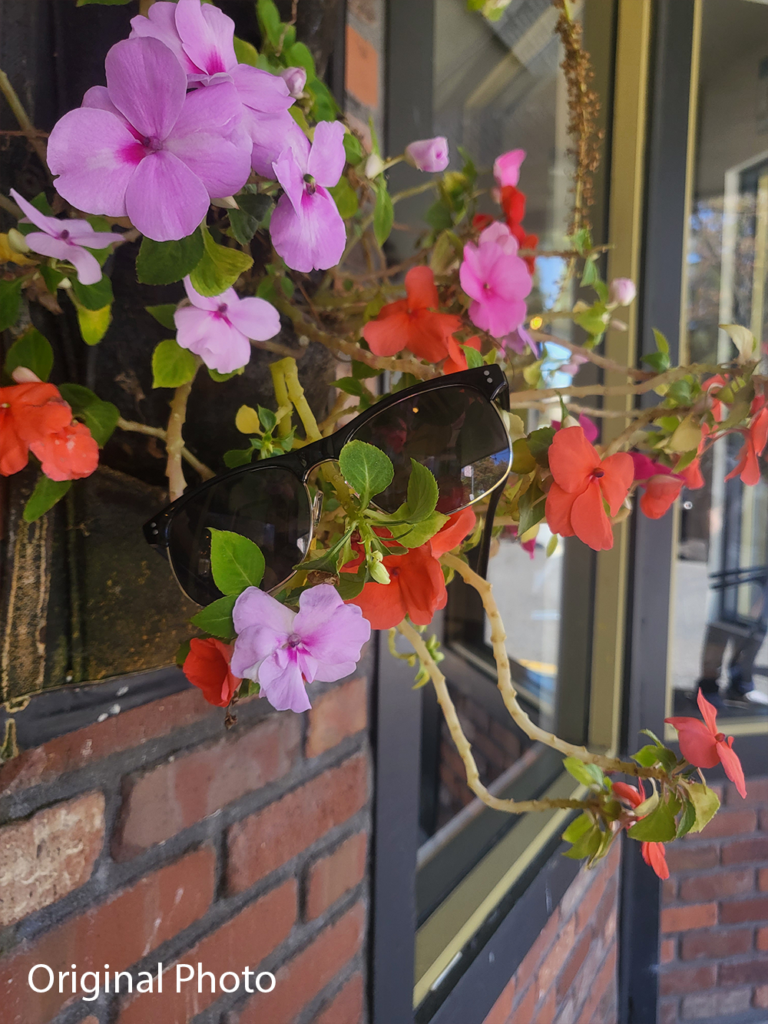
Original photo #3
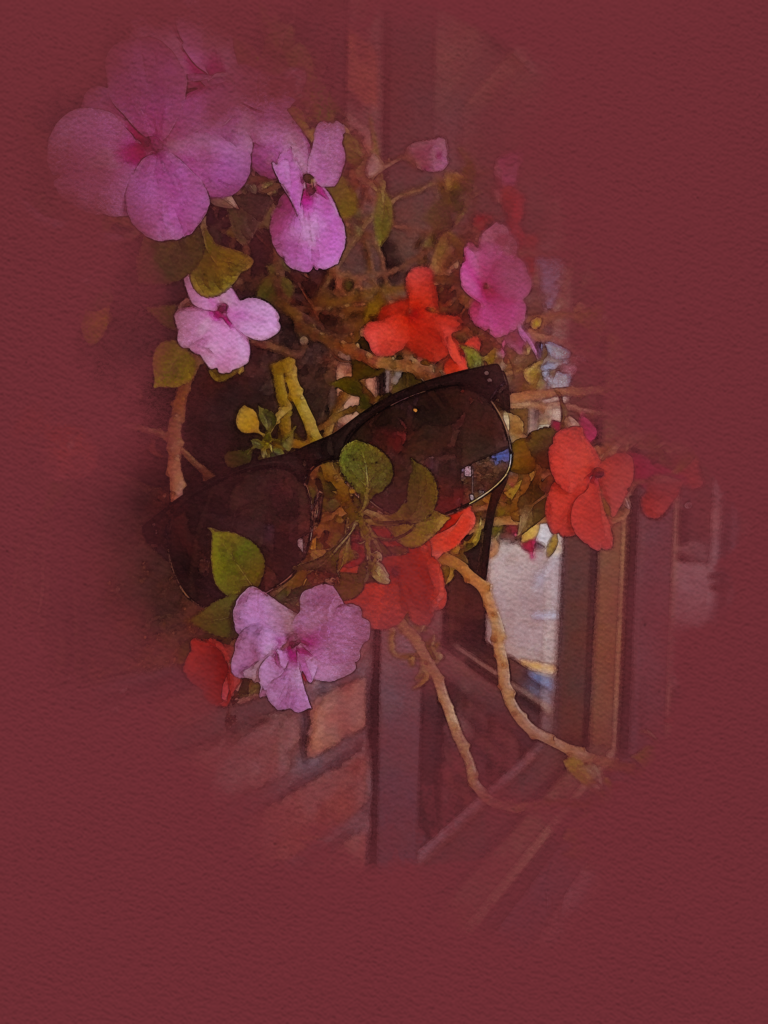
Watercolor painting effect on photo #3
Since I used my own photos to apply the watercolor effect, I decided on a fairly simple title for this project. Each image is a reminder of a special event that I genuinely adore.The first photo was taken in my junior year, I went to Freestyle Homecoming with a friend I made at that time who is still one of my closest friends today. My family and I went to an aquarium in Texas, which is shown in the second photo with the jellyfish, and it was one of our most memorable trips. Finally, the last photo I took was after school when I went out to eat and hangout out with a group of friends.
The ability to apply what I learned to other photos for myself and others, whether it be a gift or a present is what I believe to be the most valuable skill I have gained. Throughout the creation of this project, I struggled to brighten the photos so that the watercolor look would surface. Two of my photos are darker, making it challenging to appreciate the watercolor effect colors and certain details. If I could go back and change anything about this project, it would be to play more with the opacity of the photos to make them lighter and more appealing.
I believe I can use this skill anytime I want to make a gift for someone; I think it’s appropriate for any situation, and I know the recipient would love it. In all honesty, I’m amazed at how others can do the same with their own photos; it surely makes it more distinctive and unique to an individual.
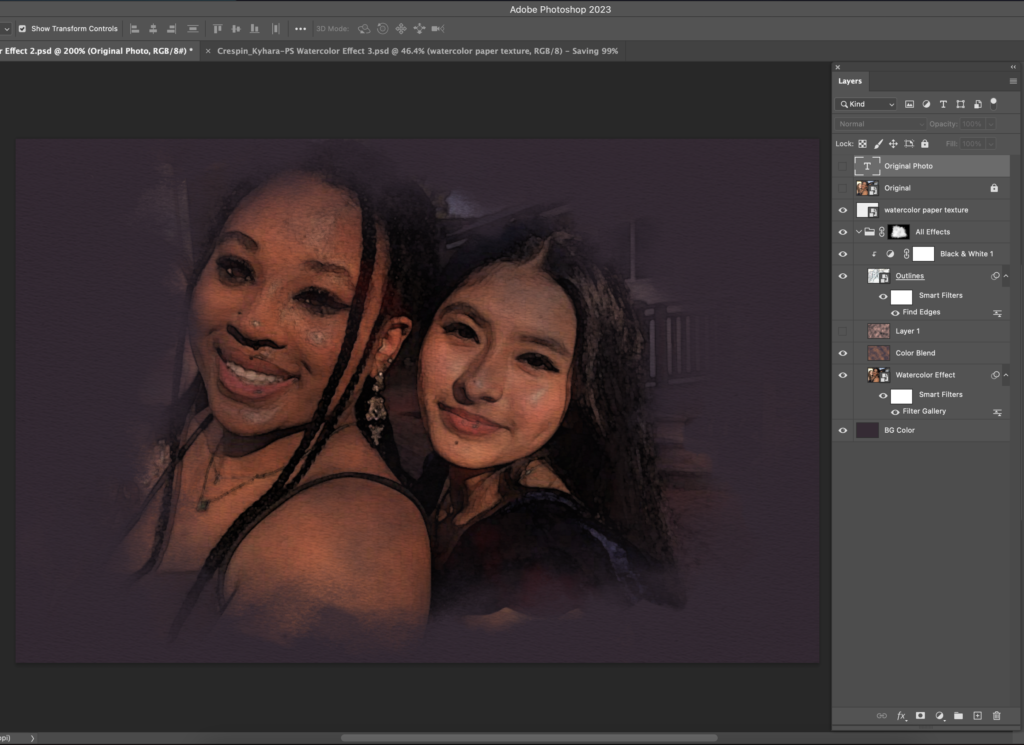
The process of making a watercolor painting effect on photo #1
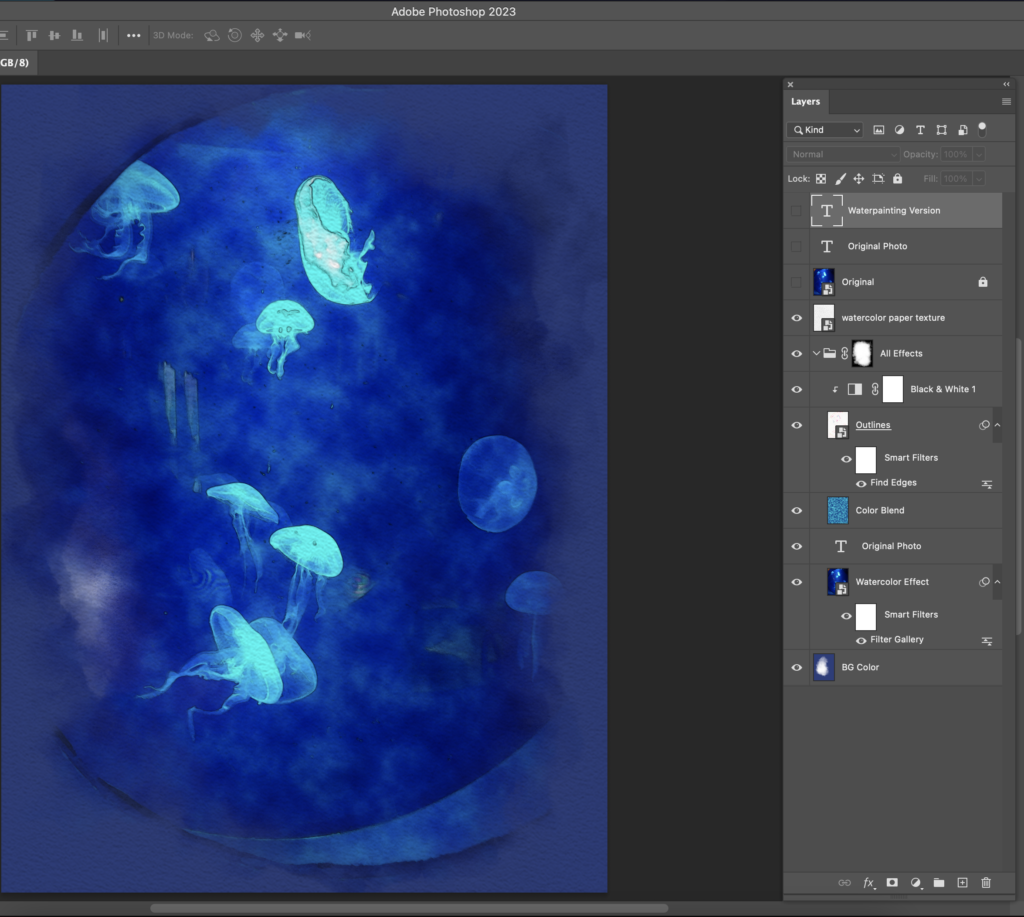
The process of making a watercolor painting effect on photo #2
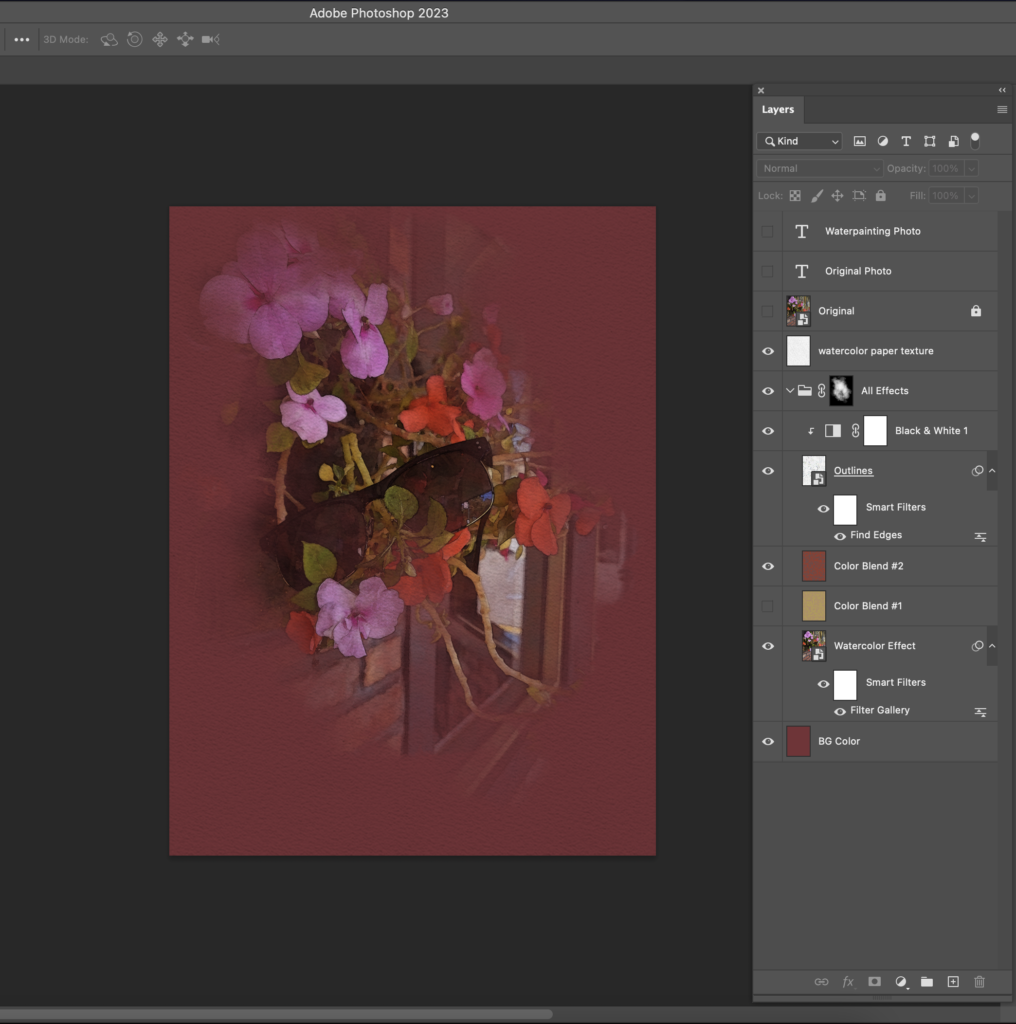
The process of making a watercolor painting effect on photo #3
Photoshop Compositing
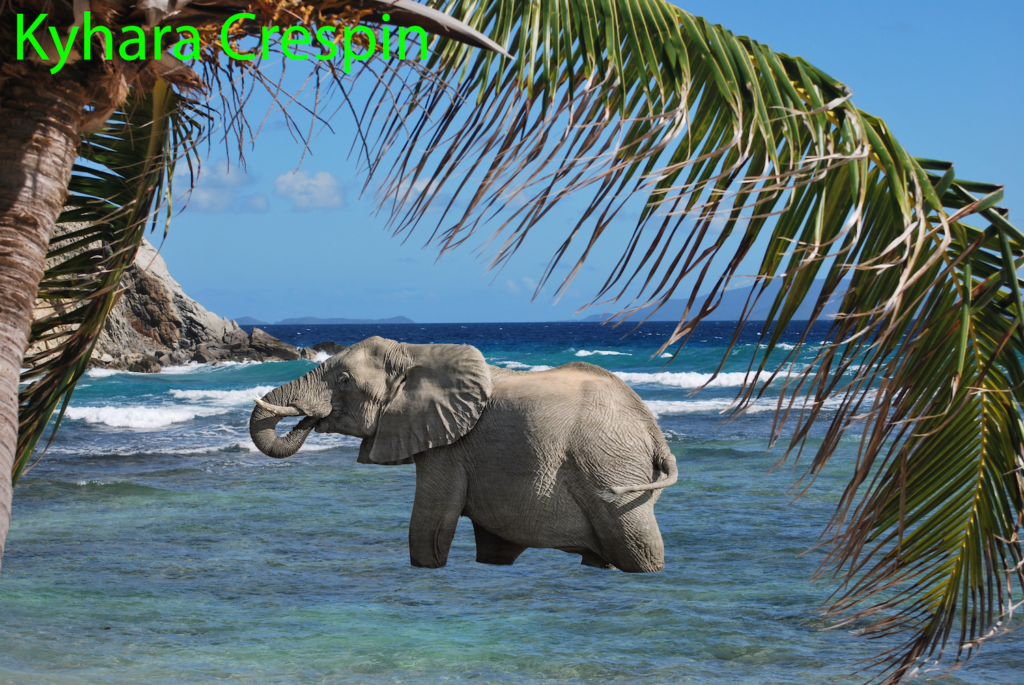
Photoshop Composition #1

Photoshop Composition #2