Reflections
Introduction
The whole goal of the Reflections unit was to answer the question “Who am I?” From this past semester, I learned a lot about myself from my creations within Digital Media, English, and Design class. From calm to crazy, I was able to find out more about different parts of myself. I found out what I enjoyed most about each project and why I did. “Why did I enjoy the mandala project so much?” It made me feel like I was able to reflect upon how I created art and why I do. It made me trust myself more which I will get to in my mandala artist statement. “Well why did I enjoy the aborigine project?” This was for a different reason. I had a lot of fun being wild with my ideas and what people would define as my “unique” personality as an Aquarius. I really enjoyed sketching out my idea for this project and getting something that demonstrates the rise and fall of my existence. When it came to essence objects I brainstormed in English, it was just the same in uniqueness. Each object represented a different part of me and couldn’t be summarized just one reason. With that, I find that what I value the most in myself is my individuality. I found out that I am someone who can’t be defined by one topic, one object, or one hobby, but a person who can be expressed in many different forms.
Mandala
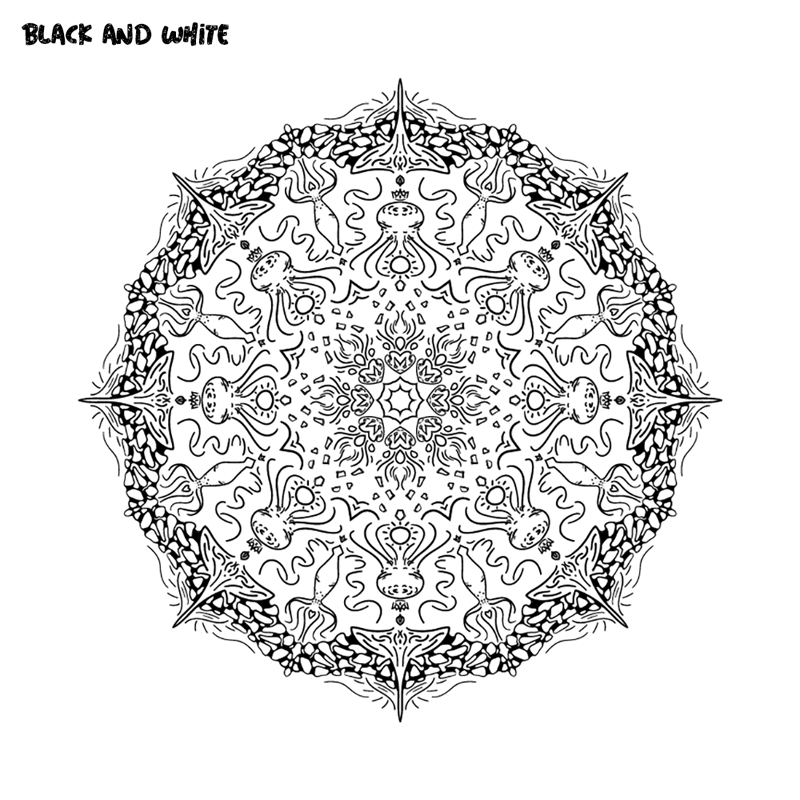
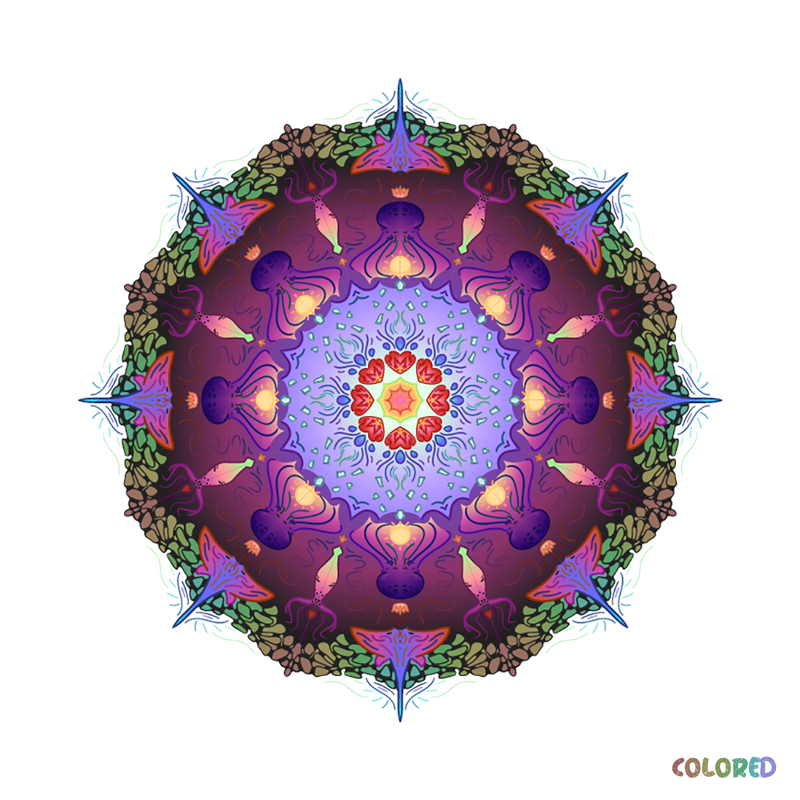
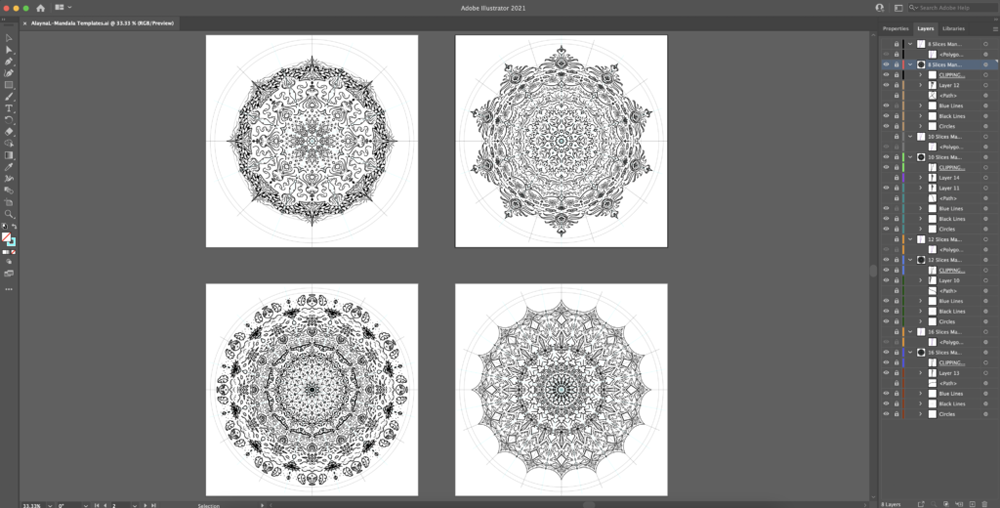
The first assignment of this school year was a mandala creation project! There wasn’t a specific topic or idea we had follow to put into our mandalas. We were directed to just create the mandala within Adobe Illustrator and let our creativity flow! Creating a mandala meant creating a template within the application to allow for the piece to reflect as it was being made (this is process is shown within the video below). For specifics on how this was created within Illustrator, it required creating clipping masks and reflecting multiple lines from each other to allow for the mandala to be symmetrical from the middle and the sides of the clipping mask. With this, I started with creating my outline, coloring my lines, and filling it in with filled colors and gradients.
Colored Mandala (8 Slices)
Use the mover below to view between my black and white outlined mandala and my finished colored one!
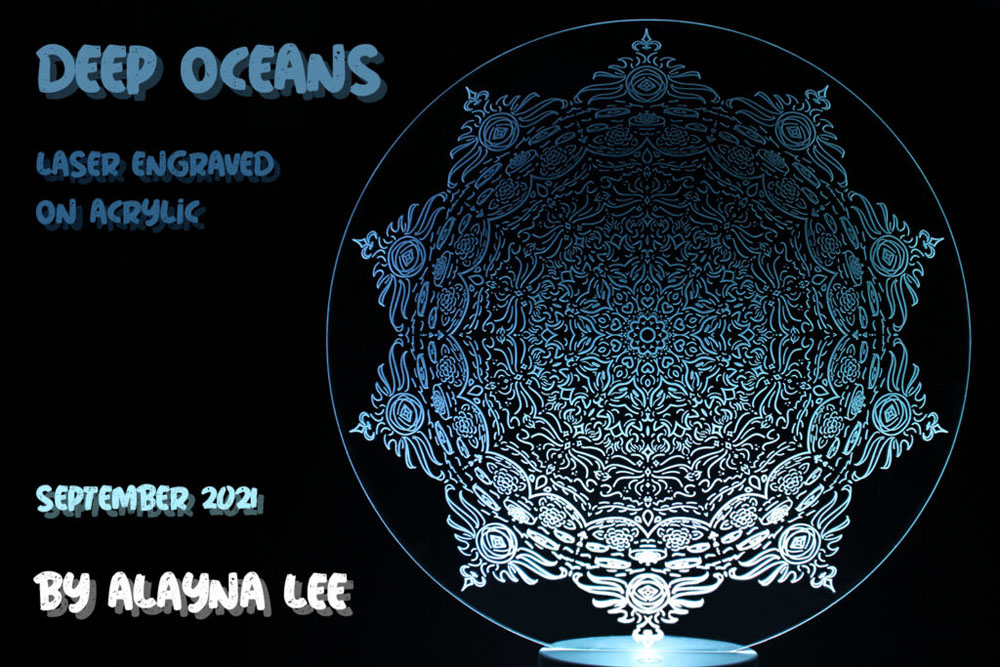
Mandala Engraving: LED (10 Slices)

Additional Mandalas (12 Slices & 16 Slices)


For this unit, we focused on creating a personal mandala. With this being the first time I’ve created a mandala, it came with some challenges. The first thing I would do differently about my mandala reveal video would be to record it with higher quality. Secondly, I would focus on making the video showing more of the process of the timeline I went through to create my mandala. What I mean by this is that there are gaps in between some of the lines I created because I ended up ordering them to go higher than other lines; thus making it come later in the video and leaving some parts seem unfinished until the very end.
One value I gained from this mandala project was being able to enjoy the process of creating this piece of art, and being able to celebrate its creation in the real world too with its existence also on an LED light. I also really appreciated the thought process of the mandalas I created this unit and think that this experience was a gain of becoming more at peace with myself and my own mind.
In regards to this reflection unit and trying to answer the question, “Who am I?” I have been able to learn to follow my intuition. This mandala taught me to let my body and my calmness do most of the work and believe that they are capable of just as much as I would thinking through it “normally.” I learned to thus trust my own intuition and not think too much about the outcome but rather the enjoyment of the process.
Photoshop Art
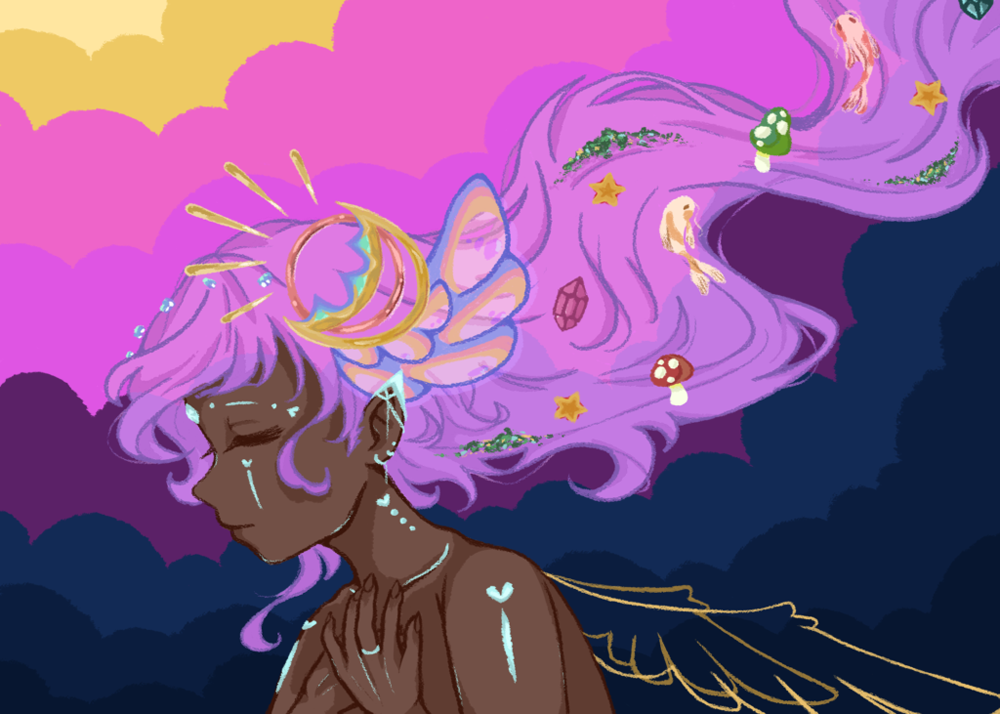
Pastel Painting
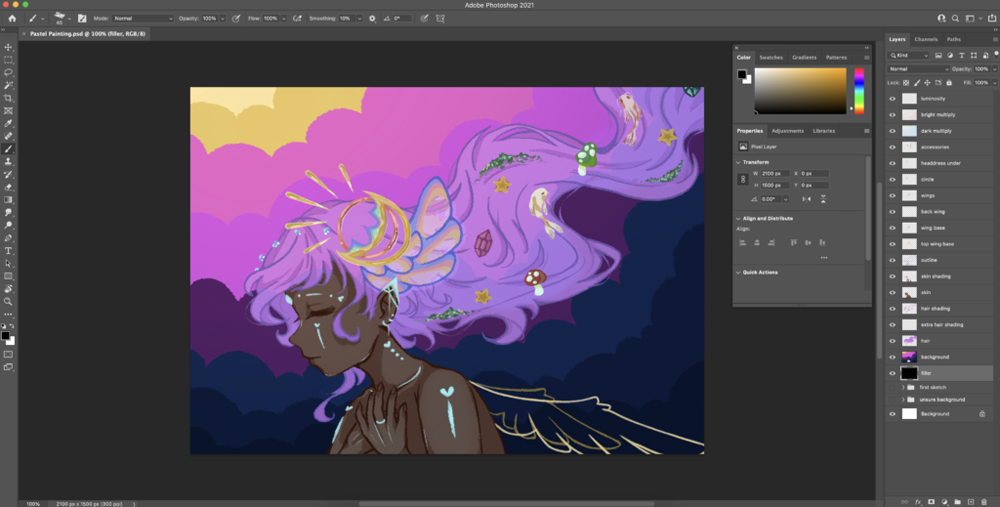
My experience creating a Photoshop Pastel Painting was really fun. I personally really enjoy digital drawing on Procreate in my free time and also find traditional watercolor painting just as fascinating. To do a project around digital art within Photoshop was really enthralling for me since I enjoy trying out new art forms in and in this case, new applications for digital art. I worked on making the best out of my digital art skills and spending a lot of time configuring my sketch and adding in different adjustment layers.
I really valued the amount of patience this piece took out of me. Even though I was shooting over the deadline to complete this piece, I still find worth in my decision since it brought the best out of me to creating the best piece of art I could have created. It pushed my skills to go outside of my normal comfort zone and test out new shading with only one brush. And in the end, I really enjoyed the time I took for this assignment and the way the final piece turned out.
As a digital artist, I learned a lot about the many different abilities Photoshop has in comparison to Procreate (my usual digital art application). Photoshop has, for the most part, the same capabilities. It was mostly just about whether I can figure out how to find and use them. I learned that I could persevere as a digital artist and was capable of creating whatever I wanted whether or not I could find these certain tools or these certain panels. I learned that there is more than one way to get to a certain end goal.
Watercolor Painting
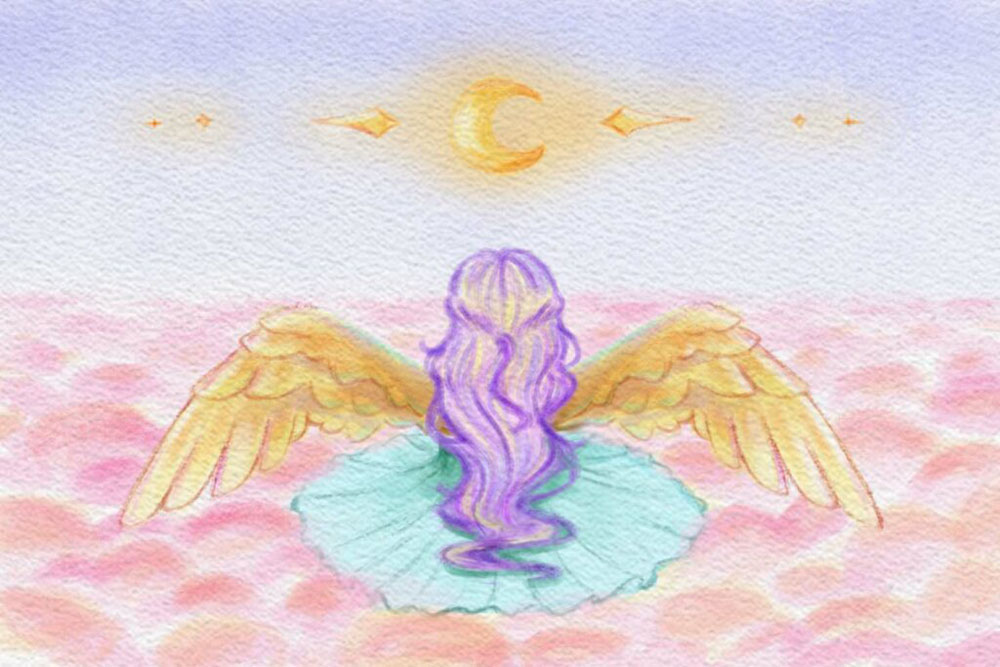
The story of my painting is the backstory of my pastel painting. I decided to create a character who acts as the creator of the universe. My pastel painting is her current state of creation and watch over nature. She runs the ocean, the sky, and the land giving all her soul to the world. I show in the pastel painting that she doesn’t have wings. This goes into the backstory of this character which is shown in my watercolor drawing. It was her who found the beauty of nature and used the moon to create the world. At the right moment in time, the stars and moon aligned and she flew up to the moon and sacrificed her wings to take care of it.
The first meaningful connection I found was to trust yourself when painting and persevering through the rough by enjoying the progress made. The second connection I made was painting when you find inspiration rather than forcing yourself to. The third and final connection I made was to enjoy the process of learning new media and different techniques.
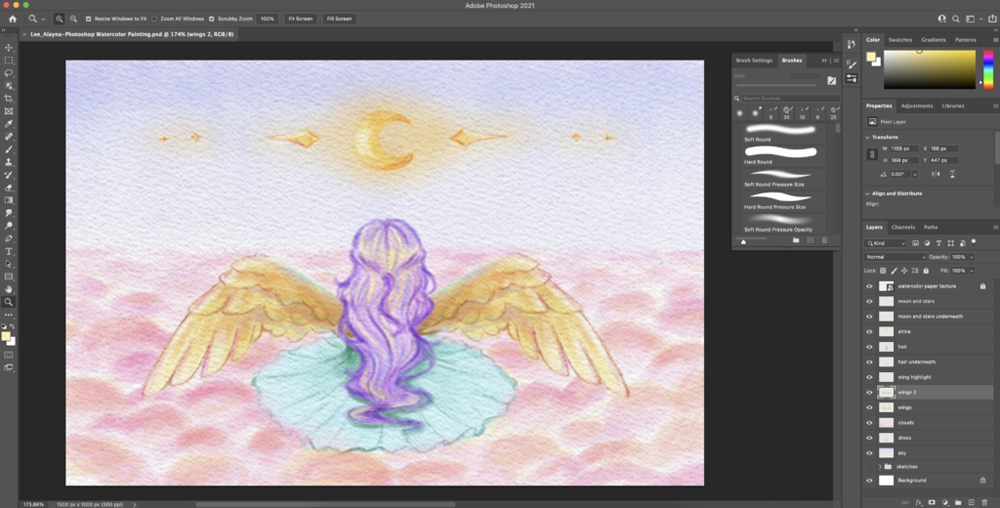
The biggest thing I valued about the digital watercolor painting rather than the pastel one was the way you had to consider the different layers. You had to take into account the idea of layering the “paint” on top of each other and how it gets more opaque when you continuously color on top of it. Although it wasn’t completely the same as analog painting, it felt closer than I expected it too, especially with how I used the different brushes. Although I really enjoy digital painting and the convenience of being able to easily manipulate the canvas, I mostly enjoy the process of analog watercolor painting more. This is because I rather have the enjoyment of creation and be better tied with the canvas and how I want to do each brush stroke and blend. It also allows me to use combined media and better express the use of texture.
Watercolor Filter
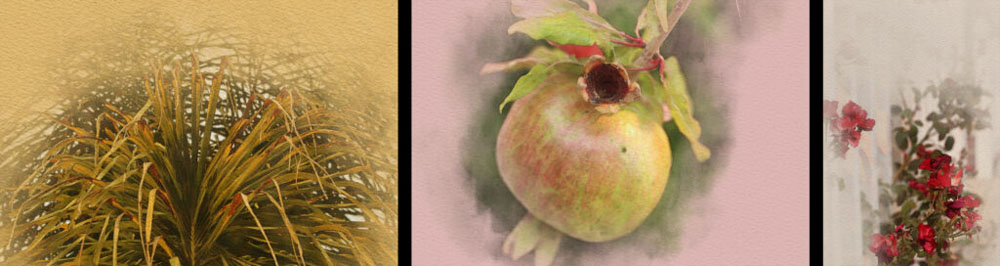
The subjects I chose to do the watercolor painting effect on were all taken from the day I was strolling through a local neighborhood. The reason I took pictures of each of these subjects was because their beauty caught my eye. I loved the reflection of light on the one with the red flowers, the symmetry of the palm tree, and the roundness of the pomegranate with its beautifully textured leaves.
I think that it was very interesting to go through this process of inserting a watercolor effect on the photos. I thought that even with this kind of technology, even though the end product looked great, an AI could never amount to the artistic values of creating an actual watercolor piece. This was great to learn though, and it showed me that Photoshop has so many properties to it that can be added. I really enjoyed the process of seeing the magic of this project unfold especially with the “All Effects” part where I used an actual watercolor brush.
I think that I may use these techniques in my own art to add additional texture to my traditional pieces. I think that this can be very beneficial if I want to give more of a physical effect to the piece when it loses the paper texture when it gets scanned. I also think that with this assignment, I can learn to use other adjustments and properties to put texture into pictures of my art.
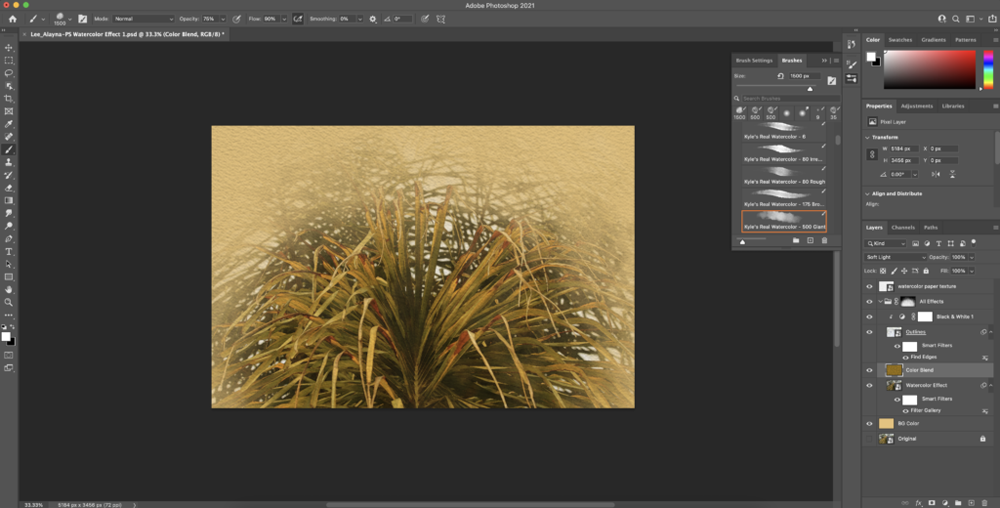
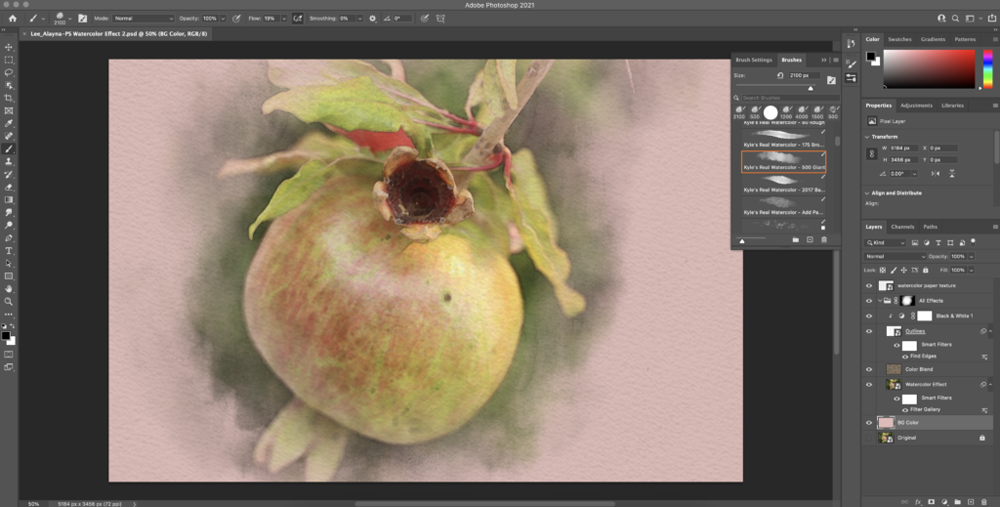
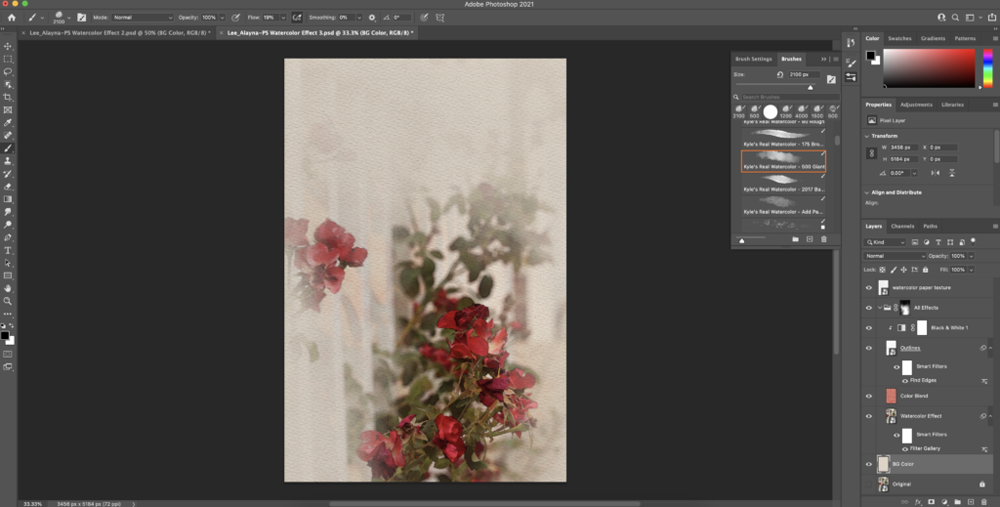
Photo Compositions
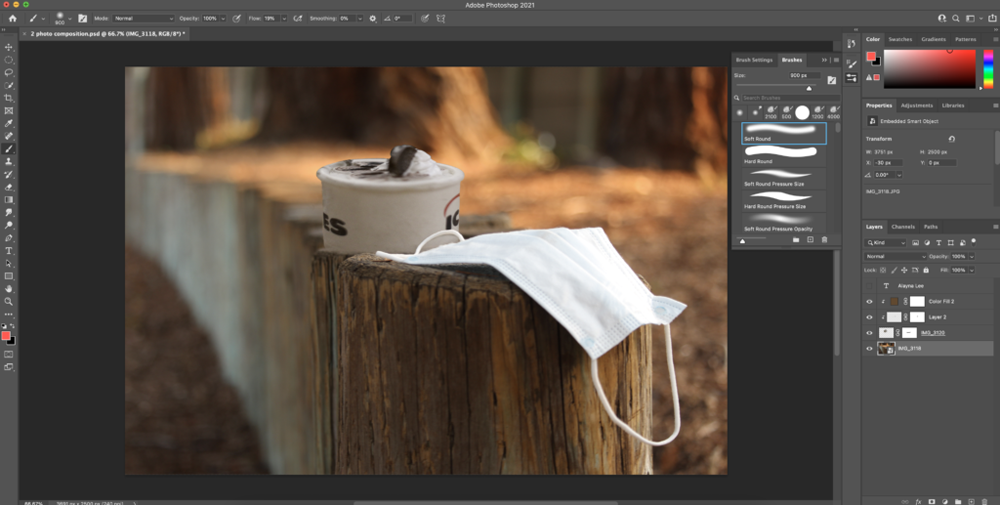
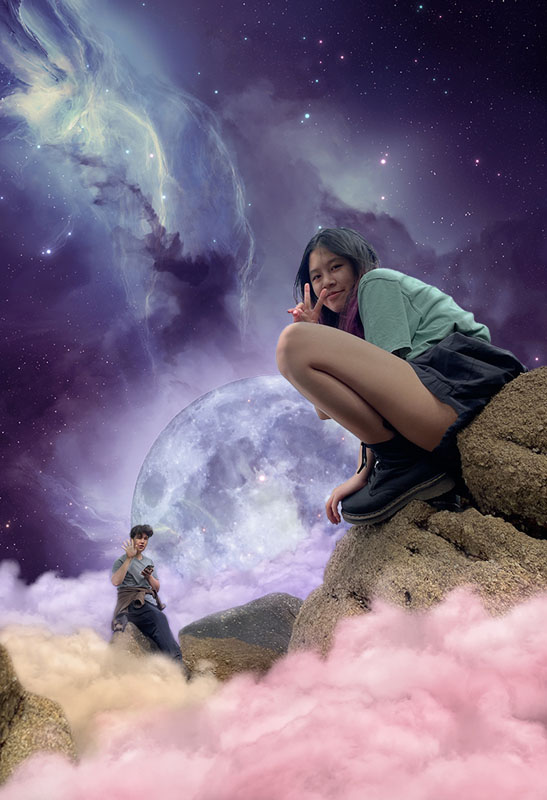
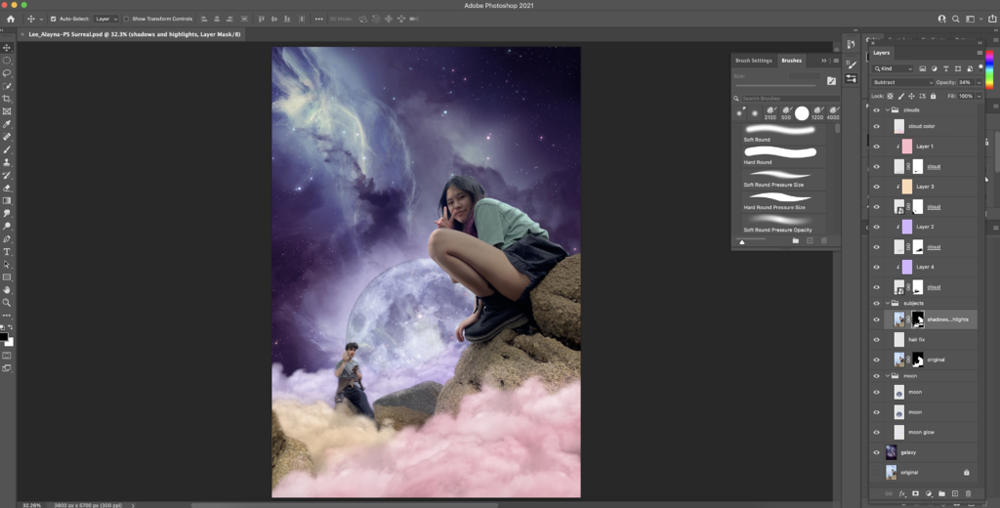
For my Surreal Composition, I was inspired by the emotions I felt from the trip I took the original photo from. The message I want to convey with my piece is the feeling of freedom and adventure I felt climbing the rocks at Monterey Bay. I wanted to represent these feelings by making the composition as if my friend, featured in the back, and I, featured in the front, were climbing above the clouds and were captured by a new universe during this trek.
The techniques I found useful for this project were the use of blend modes, changing the opacity of the brushes and layers, using quick start selections and the refining edge brush, using smart objects, and also the use of clipping masks with solid color adjustment layers. I additionally used interpretive art techniques to fix parts of the hair when the refining edge brush couldn’t get all the hair details. With all of these skills, I was able to layer each part of the piece correctly, while adding additional highlights to each of the layers to create my final piece.
I think that during the process of creating all the surreal and realistic compositions, I have been able to expand my Photoshop skills with all that I have learned from these lessons. This creative knowledge opened my eyes to new ways to edit within Photoshop and how I can even go into fixing specific details within photos which could come handy in photo editing/photography jobs.
English
College Personal Essay
While brainstorming for this essay, I knew that I didn’t have a big event in my life that I could write about. However, I knew that I wanted to study art for college. From this, I decided that I would write about my journey with art and how much I struggled with my expression of art especially when it came to describing my pieces. I talked about my struggle with English and wanted to use this essay as a guide towards realizing that English is generally not my strong suit and that it’s not required to master a language before you can try and master art. I was able to find out who I was within this essay and I know now that I am an artist. I find lots of enjoyment from creating all types of art both traditional and digital and demonstrated my growth to realize this in my essay.
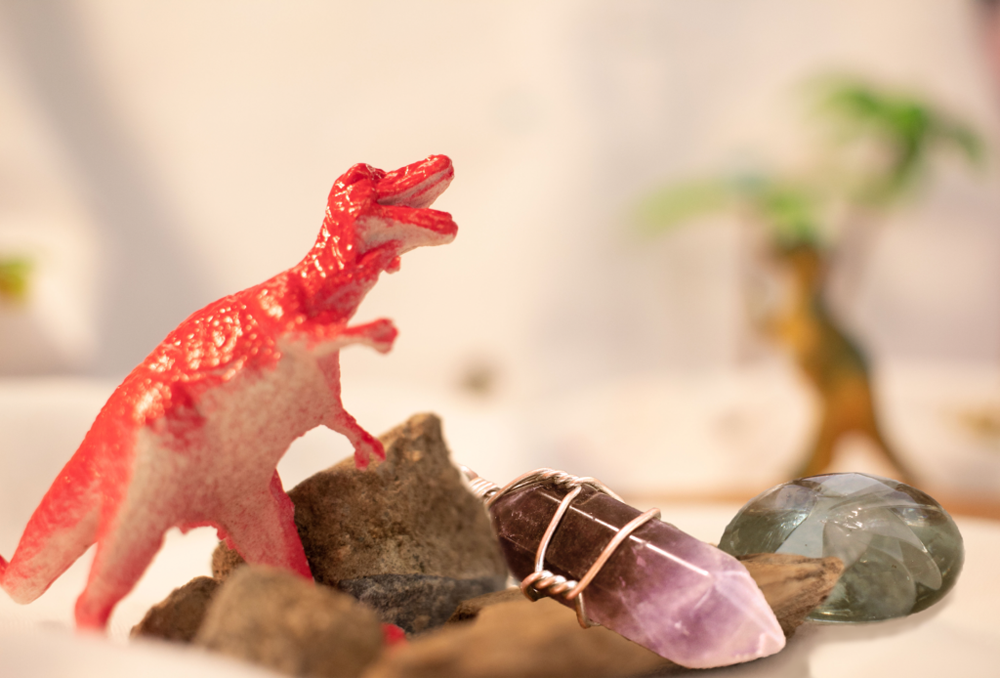
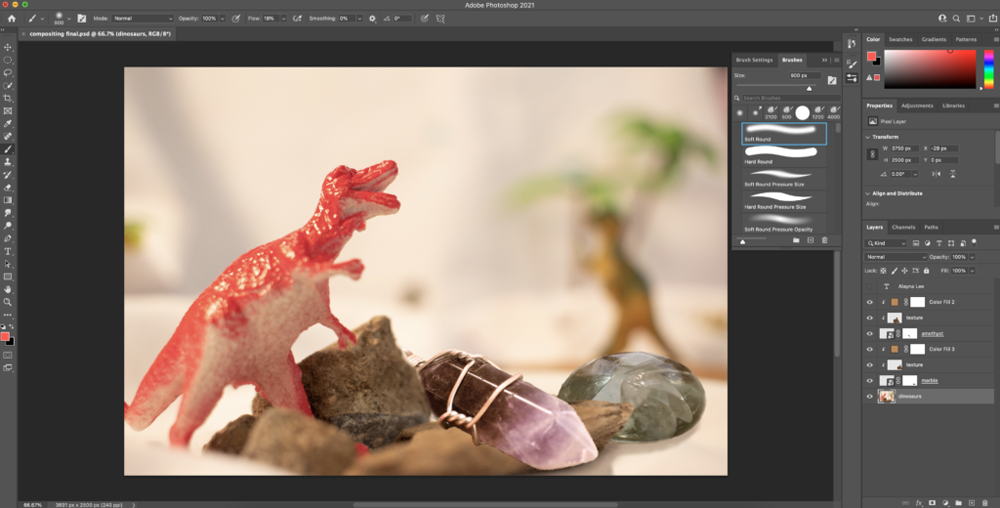
Some of the essence objects I brainstormed included my amethyst necklace, a marble I own, my jade bracelet, my dolphin plush, and my dragonfly keychain.
Written below is my full college personal essay I wrote at Freestyle. Press the button to view a PDF of my essay.
Design
Micro Macro Miniature Photo
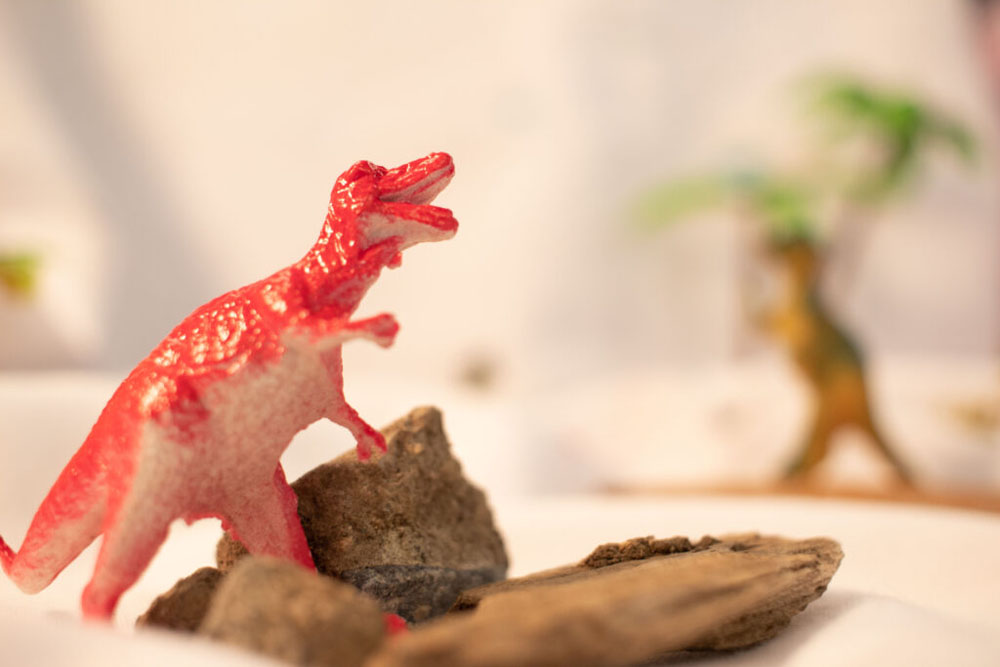
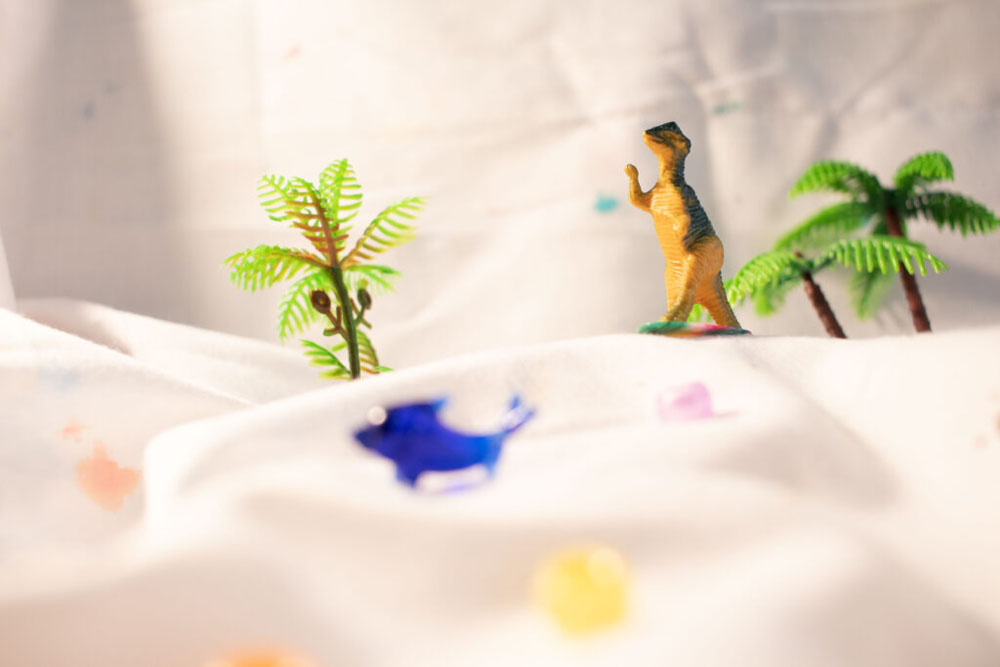
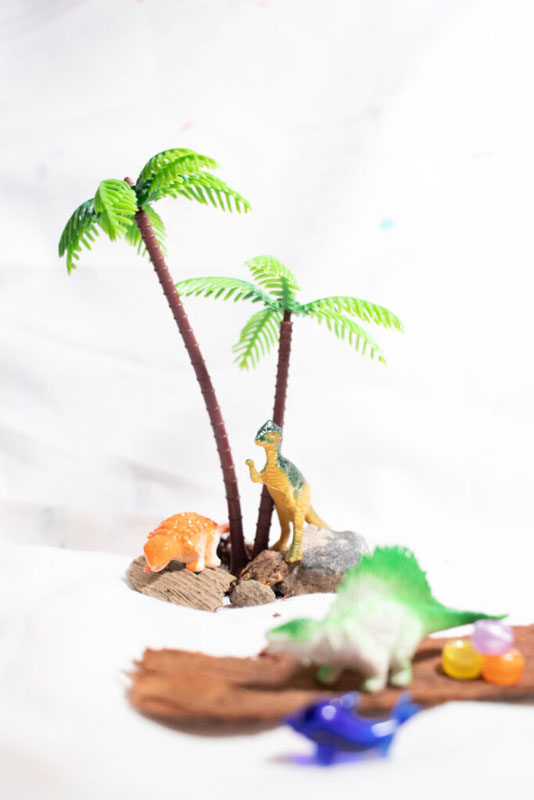
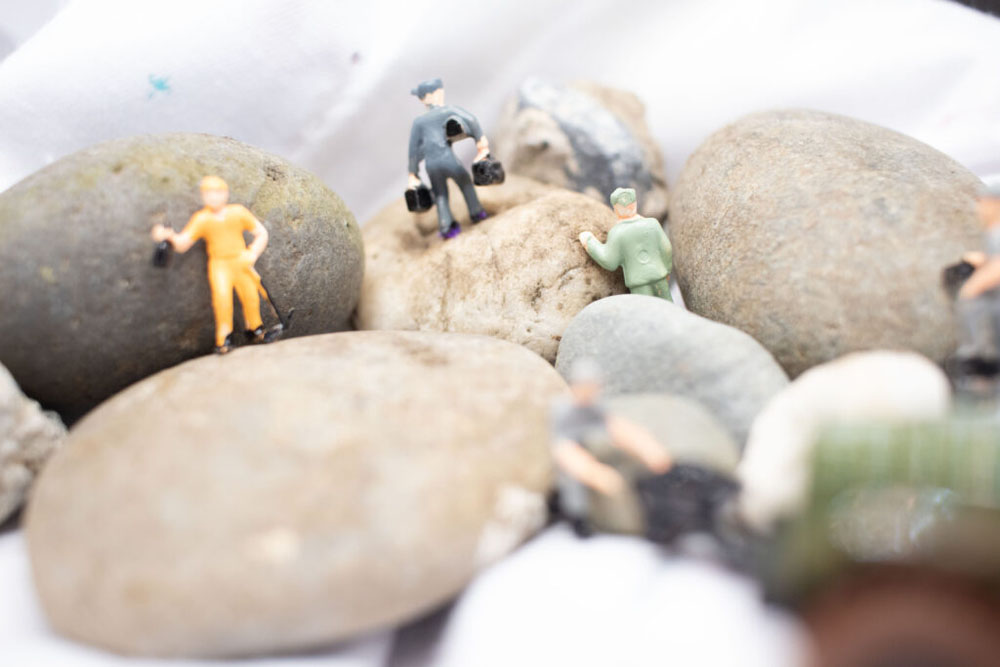
The Micro Macro Miniature assignment was based on using small objects to represent a scene that can be viewed as something life-size. I focused on creating multiple different types of scenes and settled on the one below for my final piece. This required planning beforehand on what ideas we had for this and what objects we could bring in. For example, I brought in the dolphin while I was provided the blue paper and the figures in class.
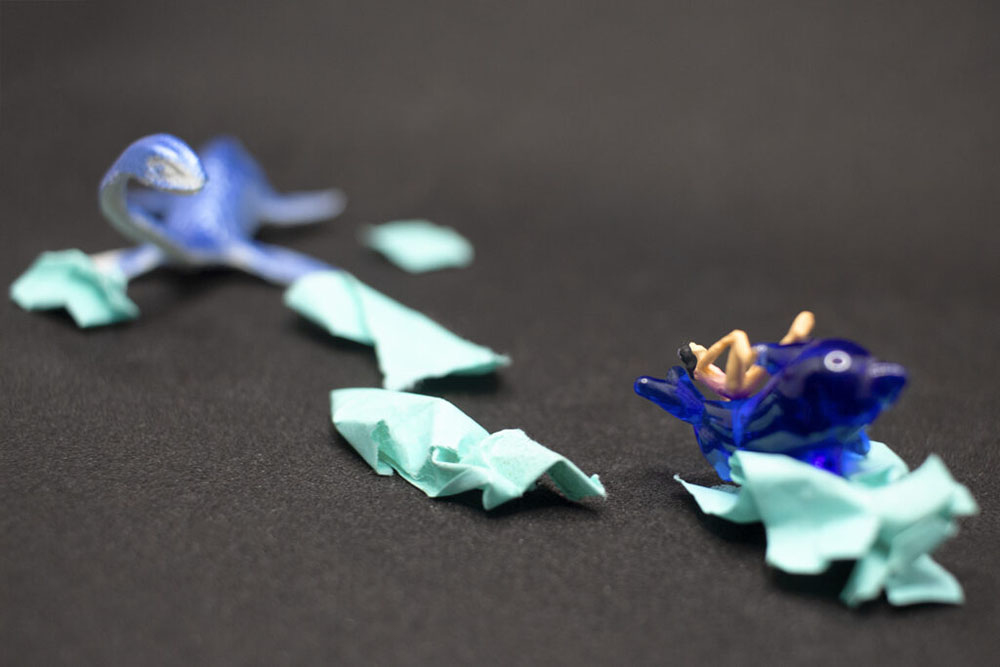
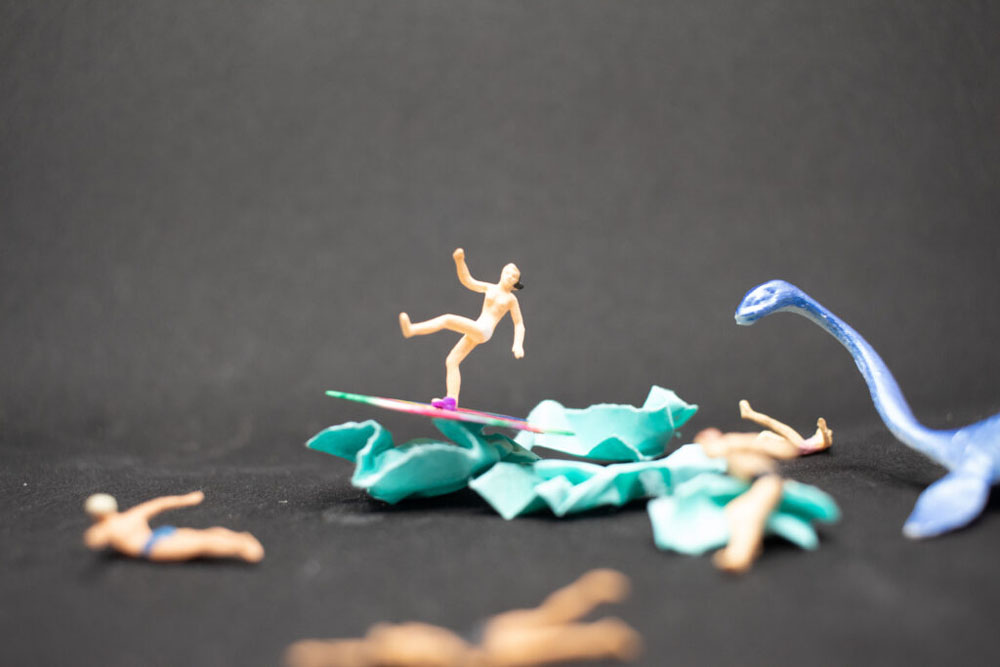
For my Miniature Micro Macro Project, I decided to create an action scene with a loch ness monster, a person, and a dolphin. Within the scene, there is the loch ness monster chasing the miniature person riding on a dolphin. The chase takes place in an ocean as indicated by the blue waves within the photo.
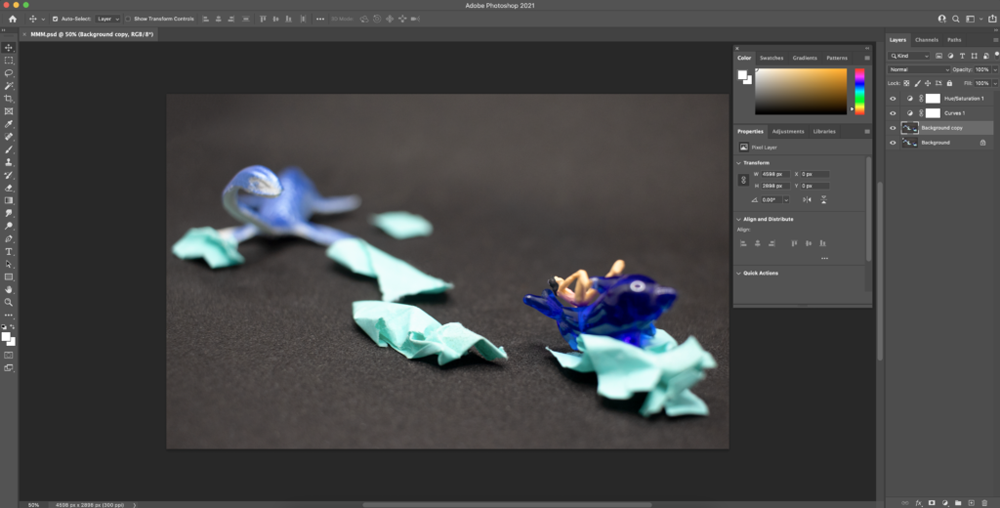
To create this action scene, I decided to use a miniature loch ness monster toy as well as a miniature person and a miniature glass dolphin figurine as the main components. I set it up in a fashion where the loch ness monster was trailing behind the person on top of the dolphin. Making the scene look like it was in an ocean setting was done by using crumpled up blue post-its as waves. I placed these blue post-its underneath the dolphin to look like the dolphin was picking up speed. I also put the post-its behind the dolphin to indicate that they are swimming away from the monster rather than towards it. After taking photos of the scene, I uploaded my favorite photo from the shoot onto Photoshop; from which I used the spot healing brush tool and added a couple adjustment layers. I used this healing tool to remove some of the dust particles in my scene as well as remove the white part of the backdrop. For my adjustment layers, I decided to add a curves layer to enhance the black of the background to add contrast as well as make the subjects’ highlights softer. I then continued to add a hue and saturation layer to augment the colors so the colors do not appear dull and do not signify the scene to be on a cloudy day.
Public Service Announcement (PSA)
The PSA project was, for most Design students, to create a public service announcement based on their English essay they wrote this unit. For me, I wrote about the interpretation of art. Other students may have written about general PSA topics including environmental issues, COVID related issues, drunk driving, bullying, etc. For this project, we had to pitch an idea and create a moodboard and sketch for what we wanted to create for our final pieces on Adobe Illustrator. This project was also about using the live trace feature within Illustrator and putting a painting like effect onto the photos we took for this project. The live trace feature, unlike filter features like in Adobe Photoshop, allow for vectorization of our photos so we can quickly edit individual parts and even change color palettes quickly. To create our photos into transparent PNGs’, we learned how to use Adobe Photoshop’s quick selection tool.
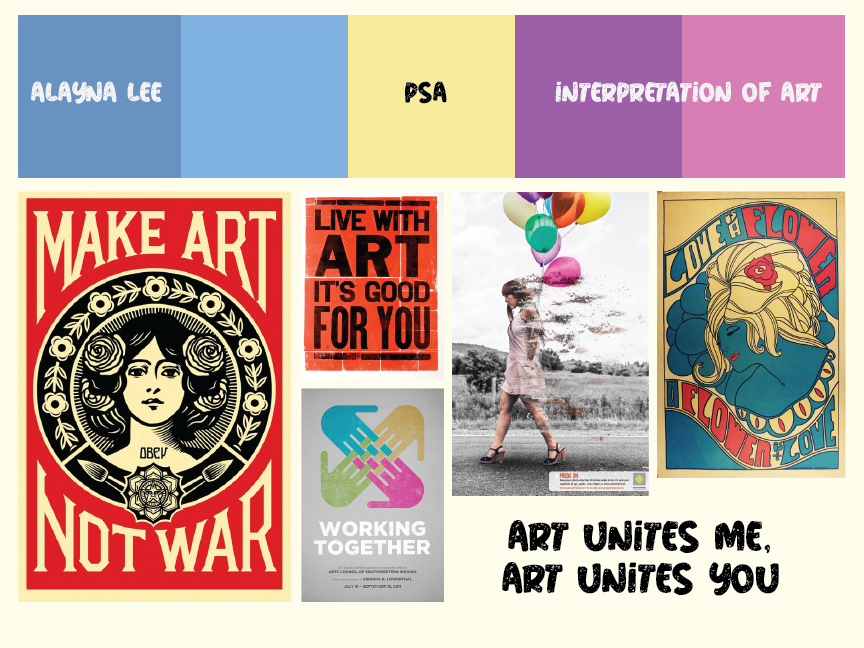
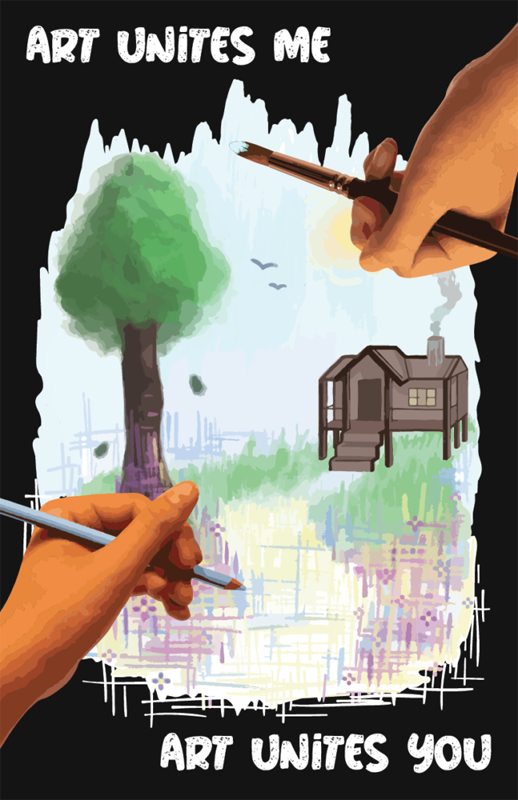
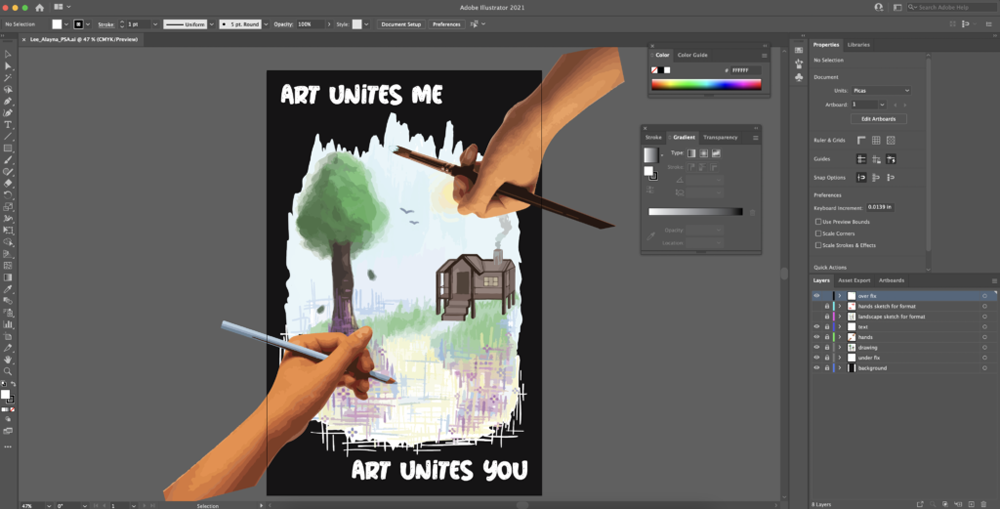
For the PSA project, I decided to create an announcement based on my English essay about how art can be interpreted differently by other people and that we give art its own meaning based on our individual perception of the world. I decided to represent this concept by showing two hands drawing a landscape painting. The two hands are meant to represent individual people who draw in their own styles. Styles can vary amongst people, so I decided to make one hand painting a realistic representation of the landscape on the top of the piece while the other hand draws a more abstract style of the landscape on the bottom of the piece. While doing this, I decided to choose less contrasting colors for the realistic part of the painting while using bold colors for the abstract part of the painting. I hope that with my PSA, I will be able to show people that art can be interpreted to have more than one meaning.
To create this PSA, I used Adobe Illustrator to piece all parts of the painting together. For the hands specifically however, I took pictures of my own hands holding a colored pencil and a brush which I inserted into Adobe Photoshop to remove the background. Right after that, I inserted the transparent PNG of the file into Illustrator to image trace both of the hands. I struggled to find out how to remove the background for this but expanded the live image trace then removed it manually. Through this, I was then able to find out how to change each of the individual colors of the live trace which I struggled with beforehand. Outside of these Adobe applications, I used my own digital art application to draw both parts of the landscape then inserted it as a transparent PNG.
Aboriginal
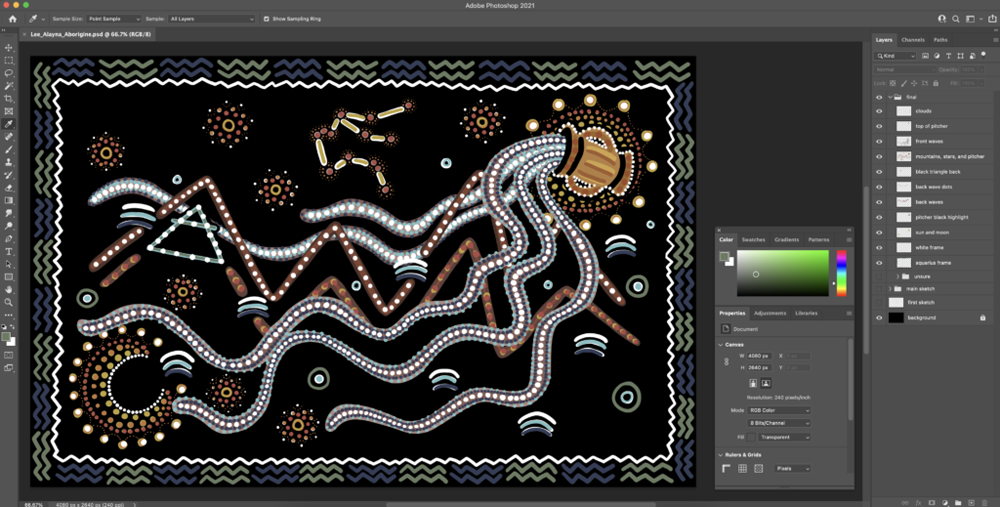
This aboriginal project was all about creating a traditional Australian based Indigenous piece using earthy colors while being able to represent our individual zodiac signs and what they mean. This requires learning about your zodiac sign, it’s symbol, it’s element, it’s constellation, and what aboriginal symbols you can use to represent these within your piece.
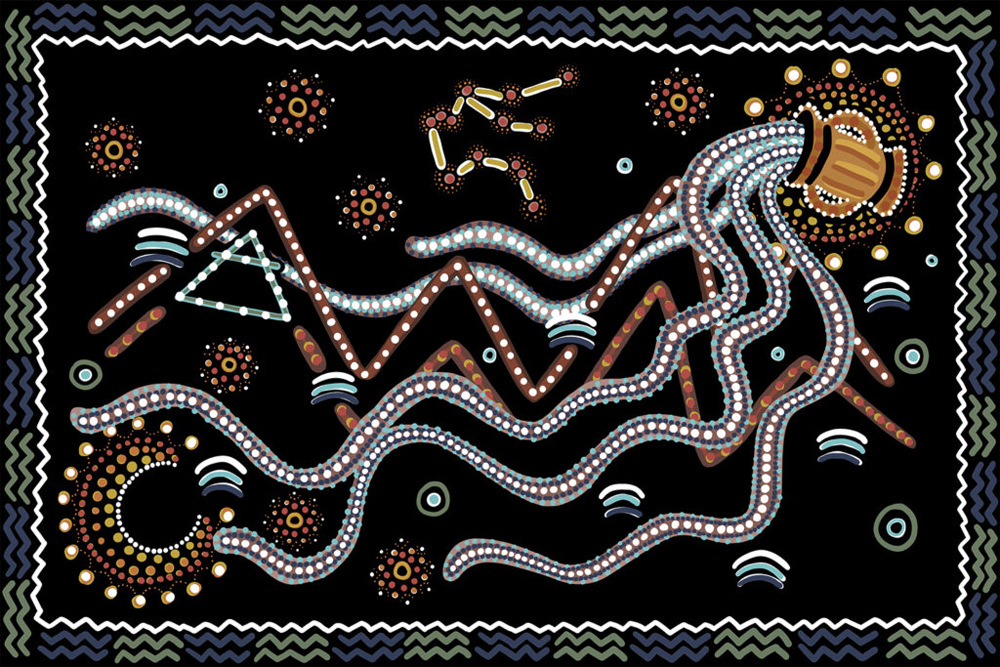
For my Aborigine art piece, I worked on creating something that best represents my zodiac through Aboriginal symbols. The symbols I used to create this piece were clouds, mountains, and stars. The reason I chose these three in specific is because Aquarius is an air sign. With that in mind, I used the symbols around the entire piece to demonstrate the air element’s connection with the other elements of land, water, and fire. Land, represented by the mountain, ties around the water from the Aquarius pitcher. It is also surrounded by the fire of the stars, moon, and sun, further demonstrating the main component of the air element’s humanitarian trait being tied to the rest of the elements. In addition, I decided to use the more well known Aquarius zigzag design, the air symbol, and the Aquarius constellation.
To create this piece, I had to keep in mind the history of Aboriginal paintings. The difficulties I went through were mostly with the creation process. I went through a few sketches trying to emulate the style of Aboriginal paintings with no specific perspective to a landscape. I also struggled with color selection, having to pick more earthy tones and increase my usage of white within my piece. I also went through the tedious process of using dots for most of the elements without knowing if they would ultimately be appealing in the end. However, I am overall proud of how the final piece turned out and think that my process would be to pick base colors first if I were to do this project differently.
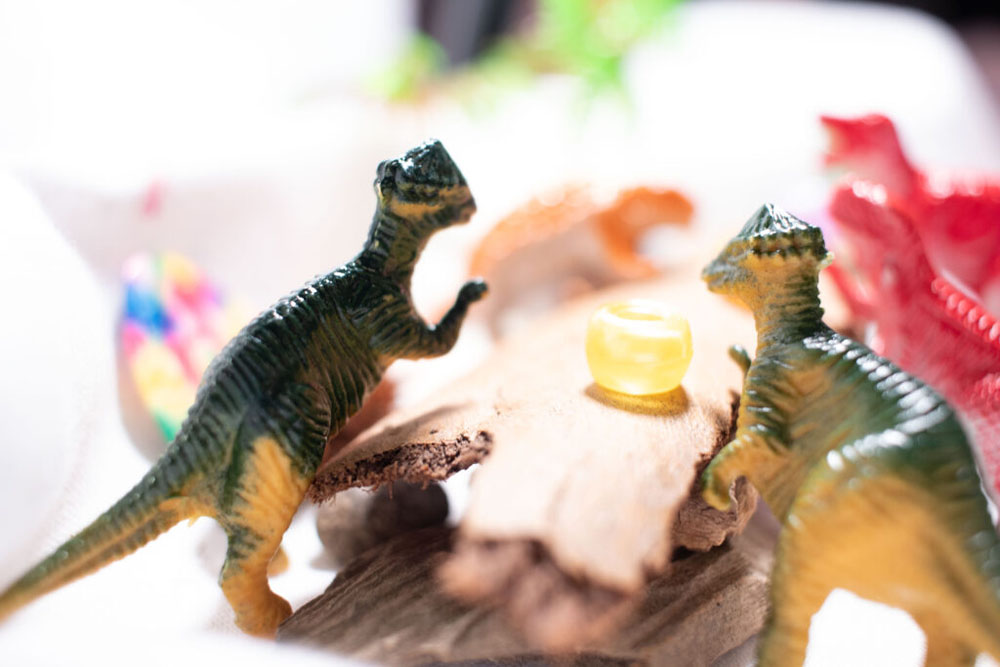
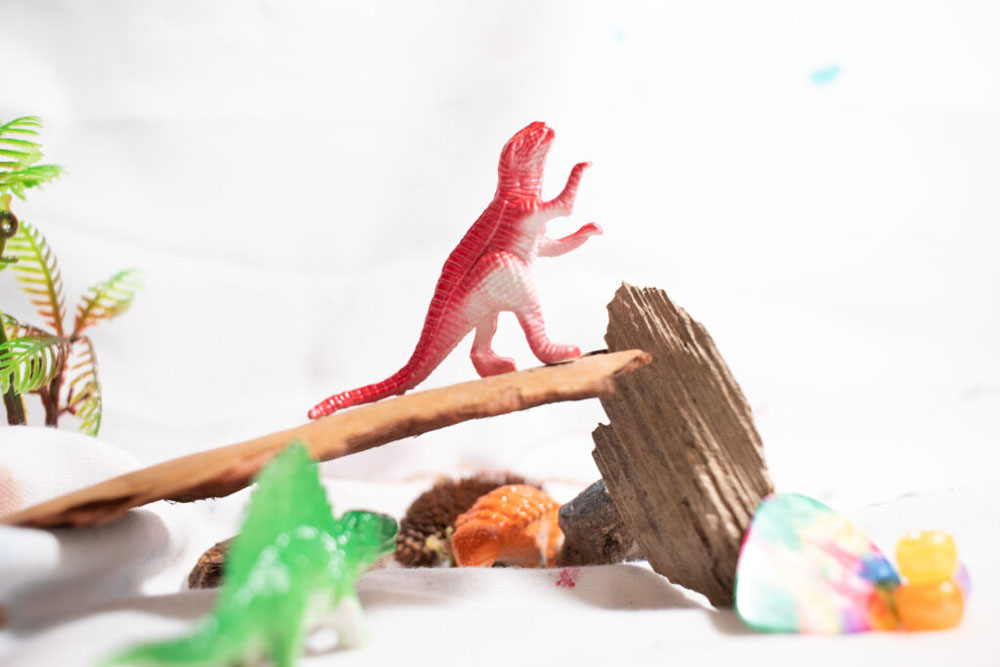
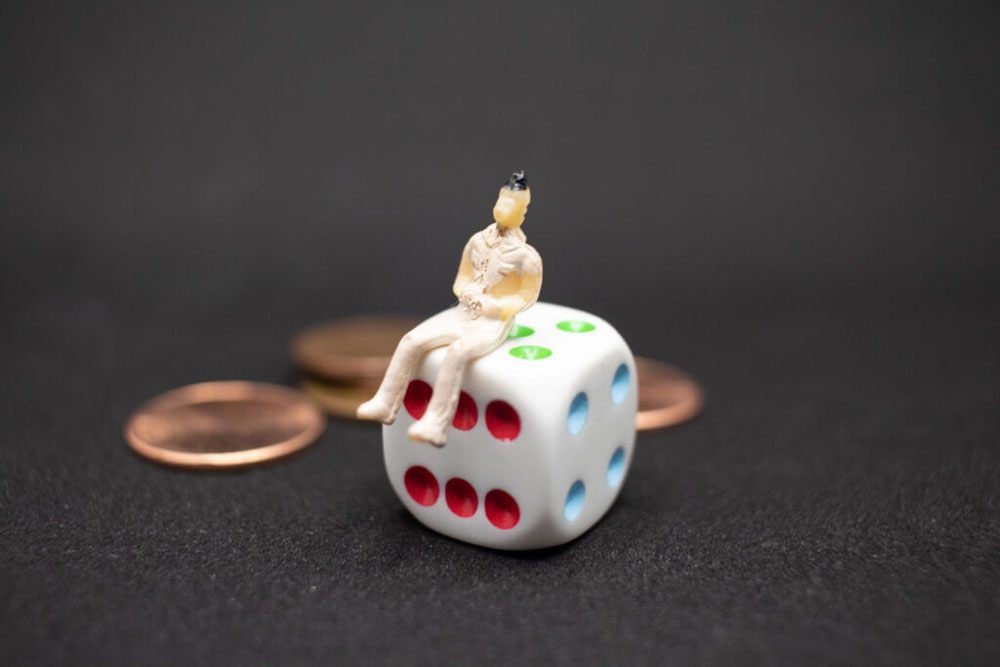
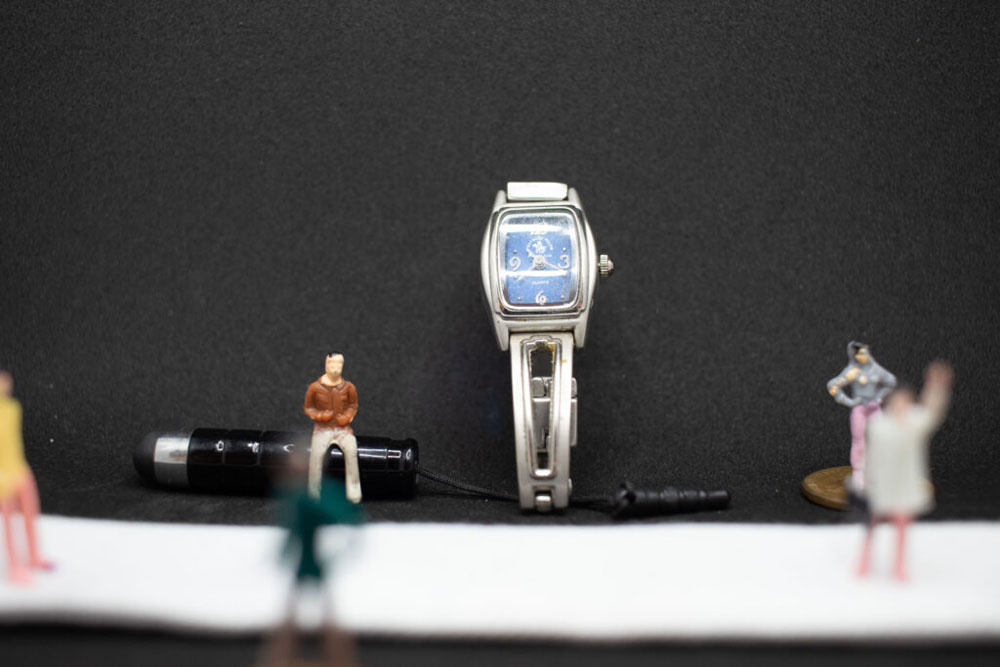
Extra Files
The below files are extra photos taken during the Micro Macro Miniature project.