This year in animation, we finally got to venture into the world of 3D modeling! I was really excited for this and have been looking forward to it since junior year. We learned how to use many advanced 3D softwares such as Maya, ZBrush, and Substance Painter 3D. We used these to create basic practice sculptures and eventually our own characters and weapons! I’m really happy I got the opportunity to learn how to create 3D models, as I hope to pursue a game design and this really helped to propel that. It also gave me lots of work that I could present for my portfolios in my college applications.
3D Character Design – Concept Design
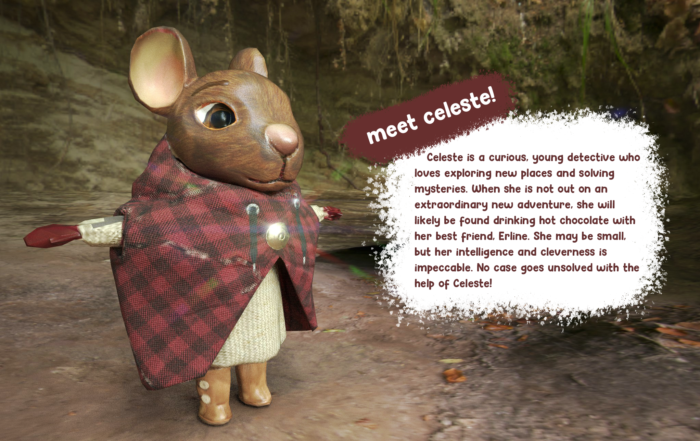
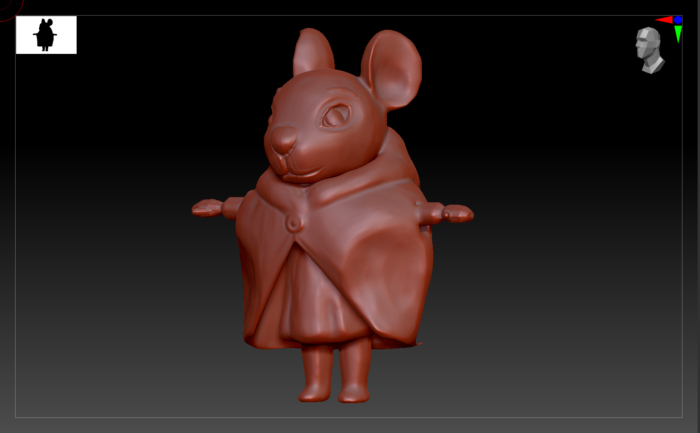
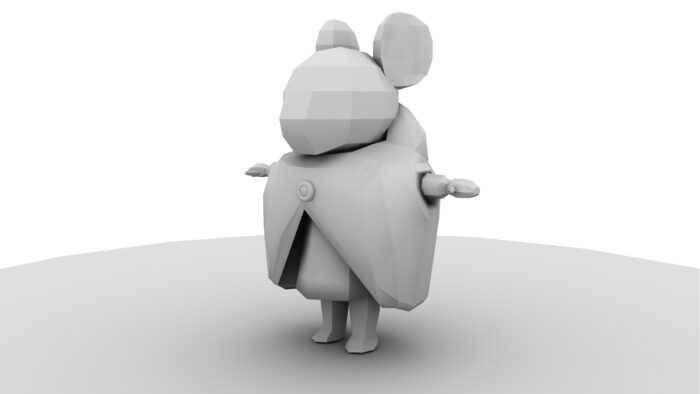
The project I am most proud of is my original character design. I was inspired by the characters in the 2D animated movie, Ernest et Celestine. I originally created a base model in Maya. I then rendered it out as a .obj file and transferred it to ZBrush, where I was able to create more details and curves on our model. Here, I added facial expressions and creases to my character using the ClayBuildup brush. After, I exported my character into Substance Painter 3D, adding colors and patterns to my mouse using smart objects. I experimented with many different color combinations before using the Projection feature to import textures from online. This allowed me to have much more freedom in what I wanted my character to look like, as I wasn’t limited by the default textures of Substance Painter. From there, I rendered out the final images of my character and gave it a character bio in Adobe Photoshop.
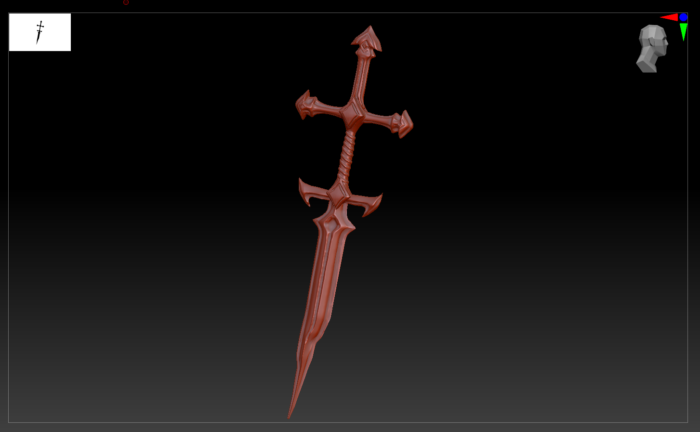
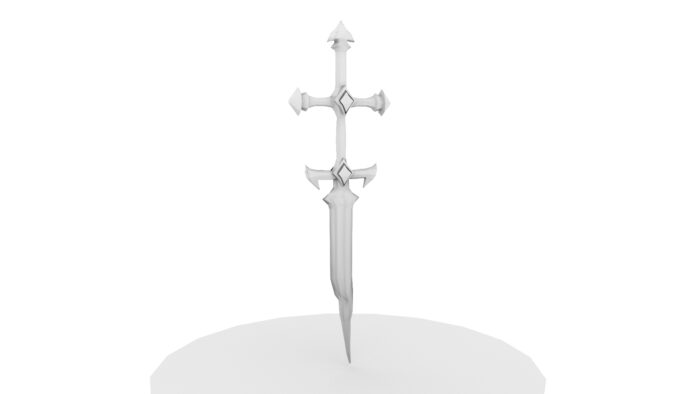
3D Weapon Model – Digital Sculpting
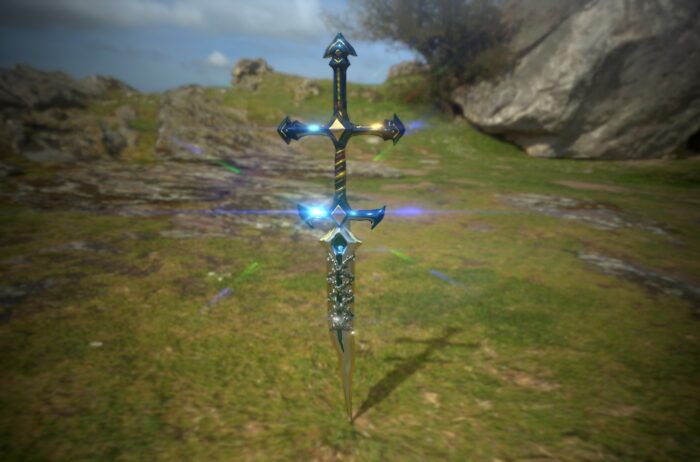
Another project I’m extremely proud of is my 3D weapon. I used references of the Ruination dagger from the popular 3D video game, Valorant. It was a similar process to creating our character model. I initially created it in Maya, then exported it out to ZBrush as a .obj file. There, I added intricate details using the ClayBuildup brush and then exported it out to Substance Painter 3D. From there, I added colors and patterns, and made the weapon shiny! Because this project was my first time using Substance Painter 3D, there was a lot of experimenting and troubleshooting with getting the license to use the application as well as working out how to use smart materials. However, I’m really impressed with how my project came out, and as someone who’s pursuing a career in game design, I really enjoyed making it.
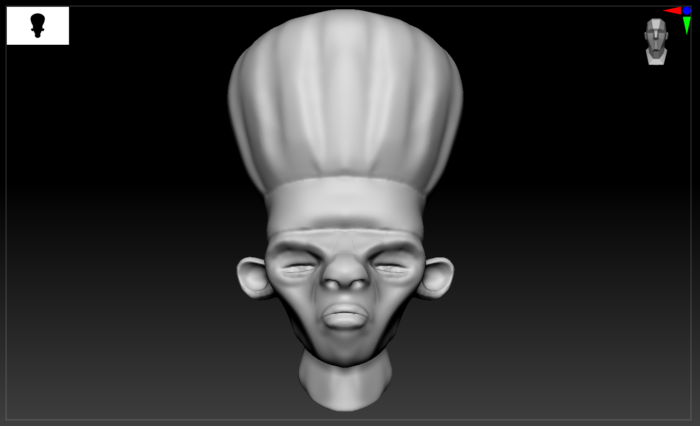
3D Character Head Model – Digital Sculpting
As one of our first projects in ZBrush, we made 3D Character Head Models! This was essentially just digital sculpting, as I didn’t import any polygons from Maya and so completely molded this myself in ZBrush from a clay ball. I chose to reference Chef Skinner’s head from Ratatouille, as he has a lot of dimension in his cheekbones and face shape and so would be really fun to mold. In ZBrush, I just used the ClayBuildup brush to create his defining features, like his hollowed cheeks and eyes as well as his wrinkles. Because this was mainly just practice, we didn’t export it to Substance Painter 3D, and it remains uncolored, but I still really like and am proud of my character head!

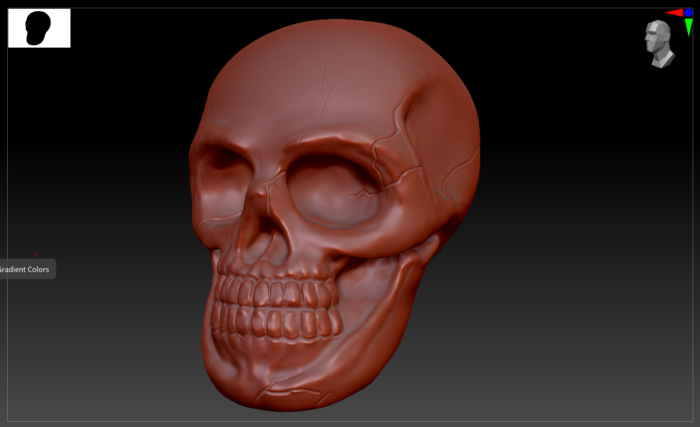
3D Human Skull Model – Digital Sculpting
Similar to the character head model, this project was also just digital sculpting and was completely molded in ZBrush and was not exported out of Maya. It was our first project that introduced us to ZBrush, and it included lots of experimentation and troubleshooting in learning how to use the interface and control the brushes. I used the ClayBuildup brush(like usual) to create features such as the jaw and eye sockets, and changed its size to make small intricate fractures in the skull. Although this was just a practice project, I still really like how it came out! I think it looks pretty realistic.
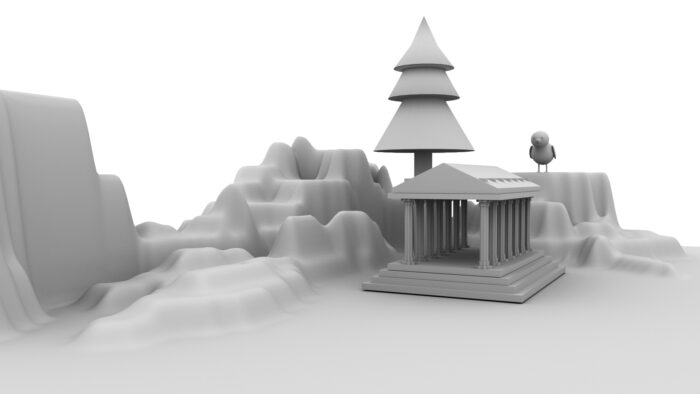
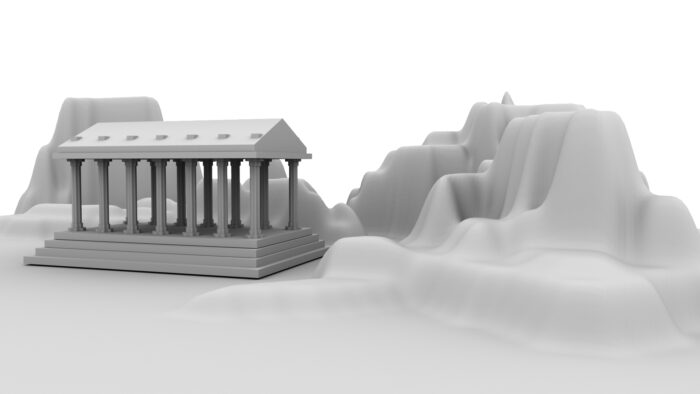
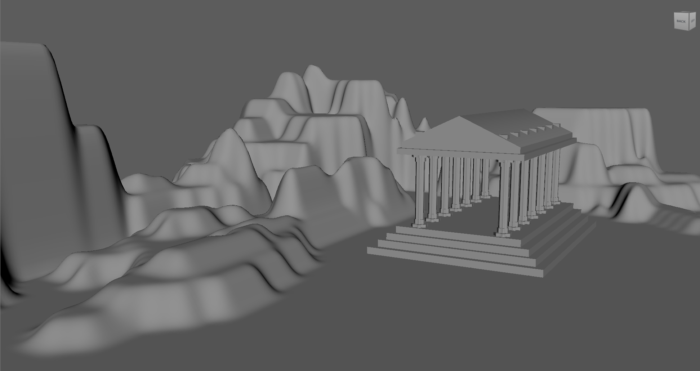
3D Greek Temple – Environment Modeling
As one of our first introductory projects to Maya, we created a 3D replica of a Greek Temple. I started out with basic square shapes for each element and used features such as extruding and cutting to create layers in my blocks. In order to create the mountain ranges, I cut out a random portion of the ground and lifted it up, and repeated that process with small chunks in the mountain. Finally, I rendered it out using Maya’s Arnold Rendering system! We didn’t take this project past Maya into ZBrush or Substance Painter, but I think it still looks really nice!
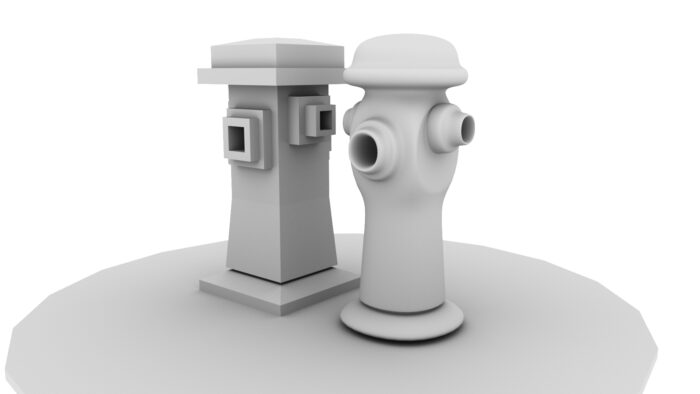
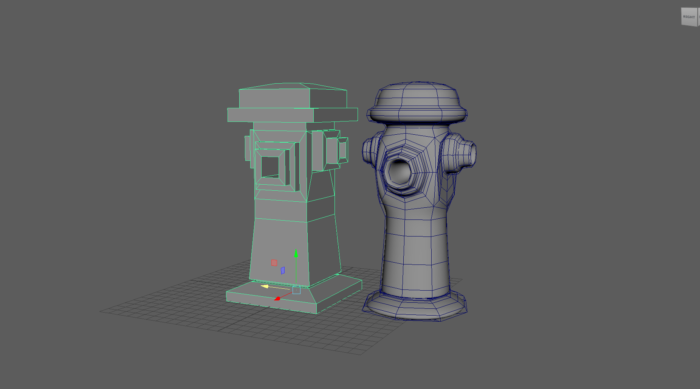
3D Fire Hydrant – Prop Modeling
Another practice project we did in Maya was creating 3D Fire Hydrants. This was a pretty similar process to the Greek Temple. We created multiple versions in order to experiment with Maya’s smoothing and texturizing features. Similar to the Greek Temple, I used many extruding and cutting process to create multiple layers on each side of the fire hydrant. Finally, I put in a SkyDome light and rendered it out with Maya’s Arnold Rendering system.
Overall, I’ve really valued having the opportunity to learn and use professional 3D equipment. It’s allowed me to expand my creativity and be more sure in my goals of pursuing a career in game design. I’m really proud of all of my projects and I can’t wait to dive into 3D animating next semester, and perhaps even in college!