Introduction
For our Junior Explorations Project, we were challenged with the question,
“How can you find, explore, and/or expand your passion?”
With our final project of the year, we were given the opportunity to research and dive into our own passions. We refined skill sets that helped us to improve upon our 21st Century Skills: Visual Literacy, Technological Literacy, Creativity, Self Direction, High Productivity, Teaming and Collaboration, Social and Civic Responsibility, and Risk Taking.
For my Explorations Project, I chose to explore 2D Game Art in order to assist alongside one of my final projects in my AP Computer Science course, a graphical adventure game. It’s pretty challenging and tedious to create graphics using code itself, so I chose to draw all of mine and then integrate it into my game using code. The video game industry is one that is predicted to continuously expand and may be a bigger part of society in the future. I wanted to be able to apply my drawing/art skills to a real project outside of Freestyle while also dipping my toe into possible career paths. I improved upon my Technological Literacy skills by learning more about coding and how to incorporate drawn images through imports and variables. I also developed my Creativity skills by coming up with my own storyline, character design, and more for my game art.
Context


I had previously created colorful graphics in past APCS projects using just code. However, this was tedious and painful because I had a very limited selection of simple shapes I could use and it was difficult to truly create a visually pleasing background. Additionally, creating graphics using code is essentially drawing blind; you can’t move your graphics in real-time, but rather have to adjust coordinate numbers using math and/or your imagination and then re-run and re-compile your code each time.


However, to make coding graphics less miserable, there is a way to import images to use as visual graphics for your objects and/or background. I chose to use this feature in some of my previous APCS projects, as well. However, these graphics were not original and were taken from the internet, rather than my own creativity.
The Planning Period


Before I began my Explorations Project, my backgrounds and objects were visualized by simple shapes that I had created using simple code. In my opinion, these original graphics were boring and unexciting, and overall didn’t entice you to participate in my game. My goal was to eventually draw by hand every single item that appeared in my game.


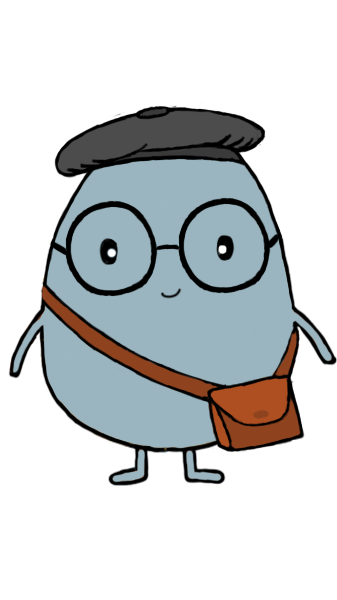
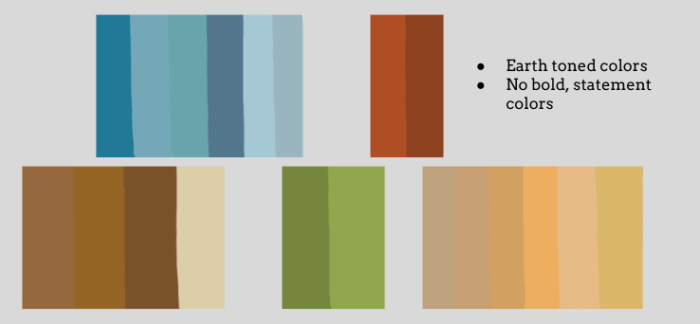
I compiled many reference pictures in order to get inspiration for how I would approach my art. I wanted to use an art style similar to that of indie games, which includes earth- toned colors and soft lines as opposed to bold, harsh shapes. Additionally, I tried to get inspiration for what kind of storyline I would communicate through distinct characters. Through these references, I eventually developed a color palette that each element of my game would eventually be derived from.
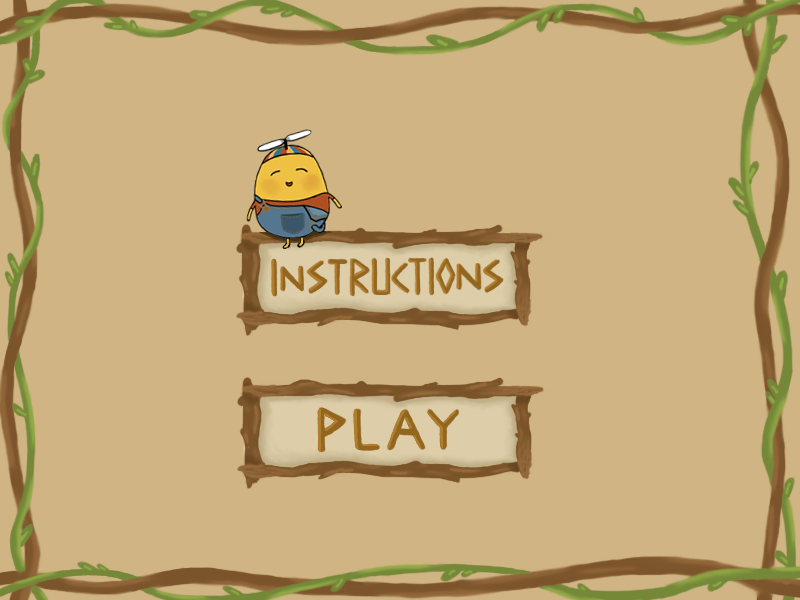
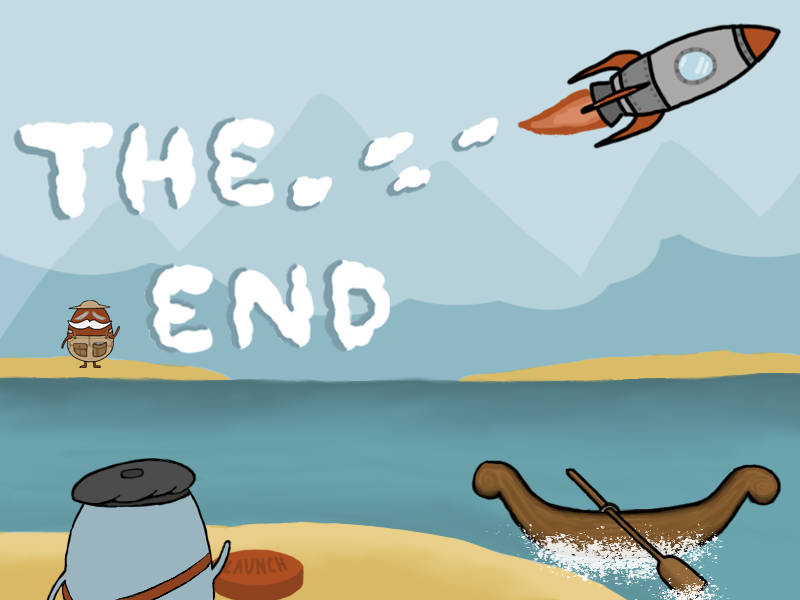
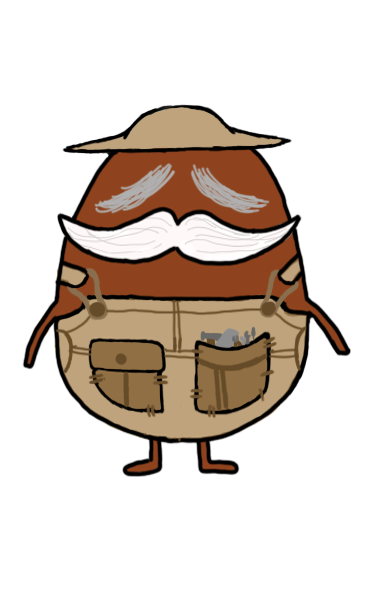
The Completed Elements
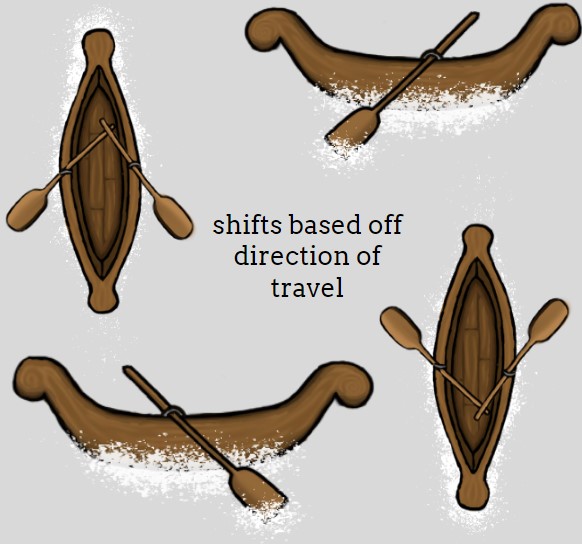
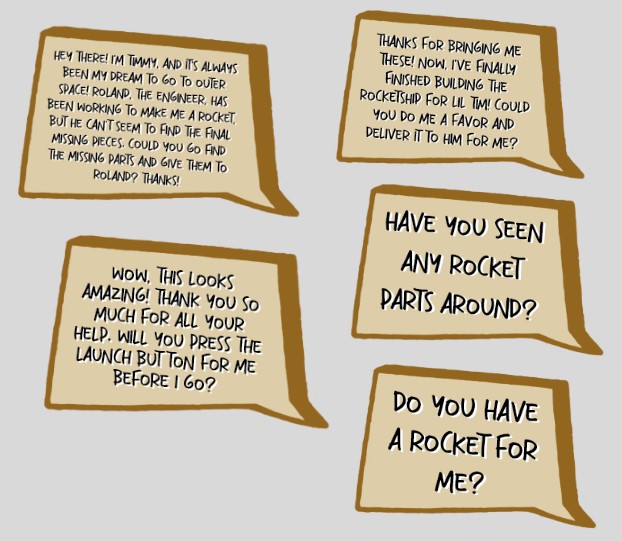
One by one, I began drawing each character, object, or element of my game. Ironically, I ended up drawing the end screen first, which later helped me choose my colors for the large map. As you look through all these elements, you can see each of their colors are derived from the color palette above. See some of them below!

The Making of the Map
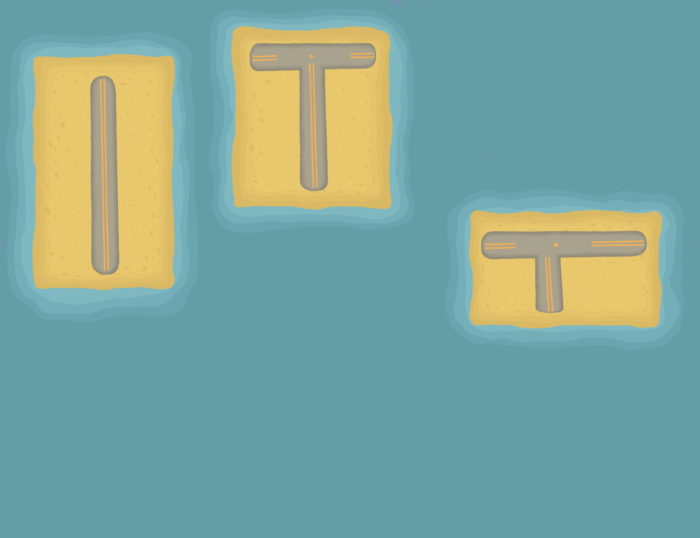
The most daunting element I had to draw for my Explorations Project was the map, as its coordinates and island locations needed to be precise in order for it to work cohesively with my code. In my code, I used collision detection code to detect whenever the player collides with objects such as the island, water, and the boat. These use very precise numbers, and if the location of an island on my drawn map was off, the game wouldn’t work properly visually.

So, in order to ensure that I would be able to line my code and graphics up correctly, I drew my map based off an outline I created using the Adobe Photoshop “Info” tab. This allowed me to plot points in the exact x and y coordinates where the islands were located. And it worked! When I imported my completed map, my game still functioned as it was supposed to. At first, I thought my finished map looked a bit odd, however when I saw it zoomed in during the game, I immediately loved it and how it fit with the rest of my drawings.
The Product


Every variable and instantiation of graphics in my code!
And voila! After almost a month of neck cramps, COVID, and debugging code, all of my graphics met my code to create this short adventure game. See the game demo video below, where you’ll find all of my graphics that I created! Enjoy!

Reflection
Through the Explorations Project, I valued that we were able to explore and research our own passions with almost no limits. It allowed me to really reflect on myself as an artist and what kind of art or career I’d like to pursue in the future. It was also great that I could dedicate time to creating nice graphics for my mini APCS games, as I’ve previously tried to do so in the past but never really had enough time on my own to create graphics to this extent. I benefitted as a digital artist here in a way that I was able to apply my creativity and artistic skills to something completely unrelated to Freestyle. Making games or hand-drawing graphics is not something people conventionally do in either Freestyle or a typical highschool Computer Science course, so it was nice having a unique project in both courses. Overall, I’m really happy with my final product, especially considering the fact that I started very late and didn’t think I would even finish in time. Hopefully I’ll be able to expand the game in the future when I get the chance to!
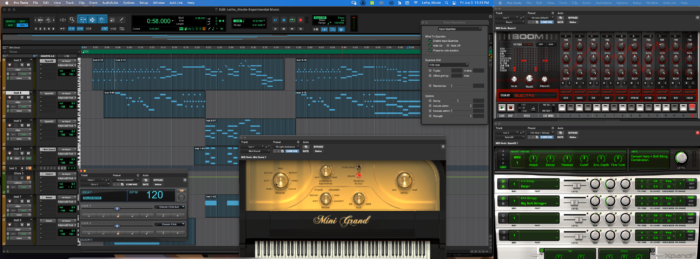
Experimental Music
Almost 2 months ago, we were taught how to use Pro Tools to create music without actual instruments. We learned how to use virtual instruments such as the Boom Drum Machine, the Mini-Grand piano, the Vacuum synthesizer, the DB-33, and XPand!2. Using these instruments on Pro Tools, we were challenged to create our own tempos, notes, and harmonies to altogether create our own original experimental music.
I was inspired to create a mystical themed piece that gave off an ethereal feeling. The title, “Jardin de fées”, translates from French into “Garden of Fairies.” When creating this piece, I envisioned a beautiful fantasy world illuminated by sunlight and shimmer. To try to convey this, I used lots of high notes and soft instruments that flowed smoothly rather than bold, staccato instruments.
Listen to my song below!
I am proud of how I was able to intertwine the Boom instrument with the harmonic soft instruments, especially in the middle part of the song. I was able to give moments of the song strong impacts while also preserving the mystical tune of the song. Overall, I also valued being able to work with a number of different instruments all through just one application, even not knowing how to play those instruments in real life. It was nice being able to play around and mix and match different tempos, tunes, chords, and beats to ultimately find patterns that I liked.