Funny Images & Surreal Composition Project:
This unit was about mastering Adobe Photoshop and Illustrator to create fun images and grow our digital art and photo editing skills. I learned a lot about these two applications and am excited to try more projects like these in the future.
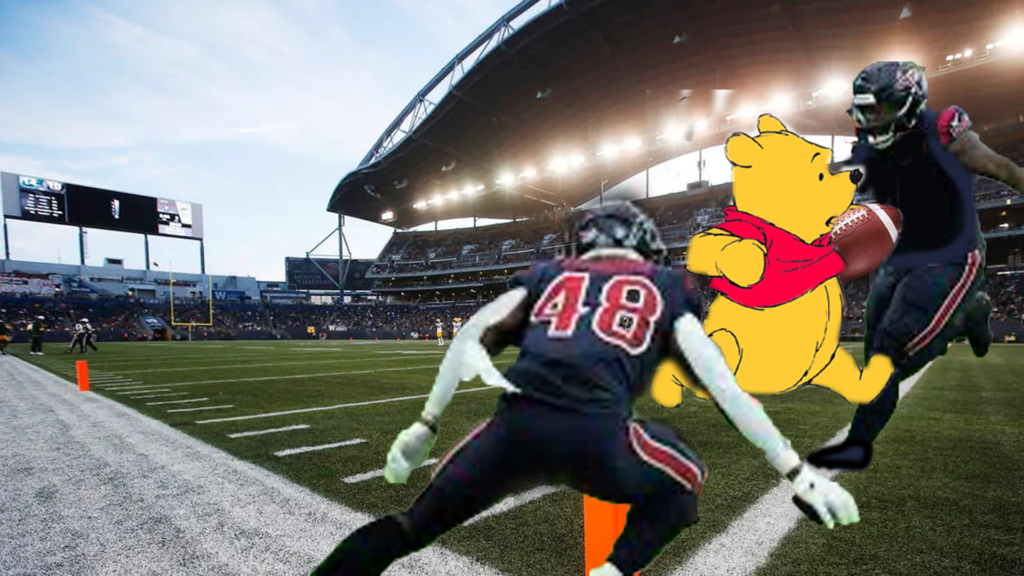
My two funny images are combinations of some of my favorite things. The first one shows Winnie the Pooh scoring a touchdown. I thought this would be a funny scene and Pooh’s facial expressions are perfect for someone being chased down by elite athletes. To create this composition I used a mask to select two football players our of an image and to get a picture of Winnie the pooh by himself. Then I layered the three images together to create depth and snuggled the football between Pooh and the last defender.
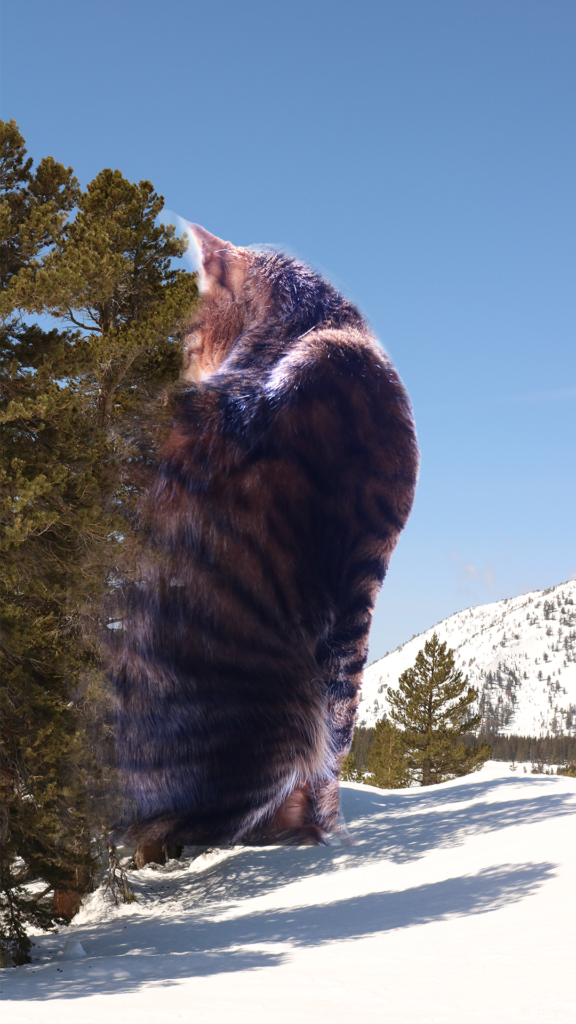
For the cat, I wanted to show my love for cats and snow. I had a picture of a tree that I had used for a photo blog and realized the branches aligned with my cats stripes. I used a mask on top and white strokes with different opacities to blend the cat into the tree to create a smooth seam. I also changed the direction of light on the cat to match the shadows on the floor. It was fun to use the masking strokes really carefully to get a precise effect. I’m happy with the result, and it’s not really funny but I think its a happy image that is kind of fun.
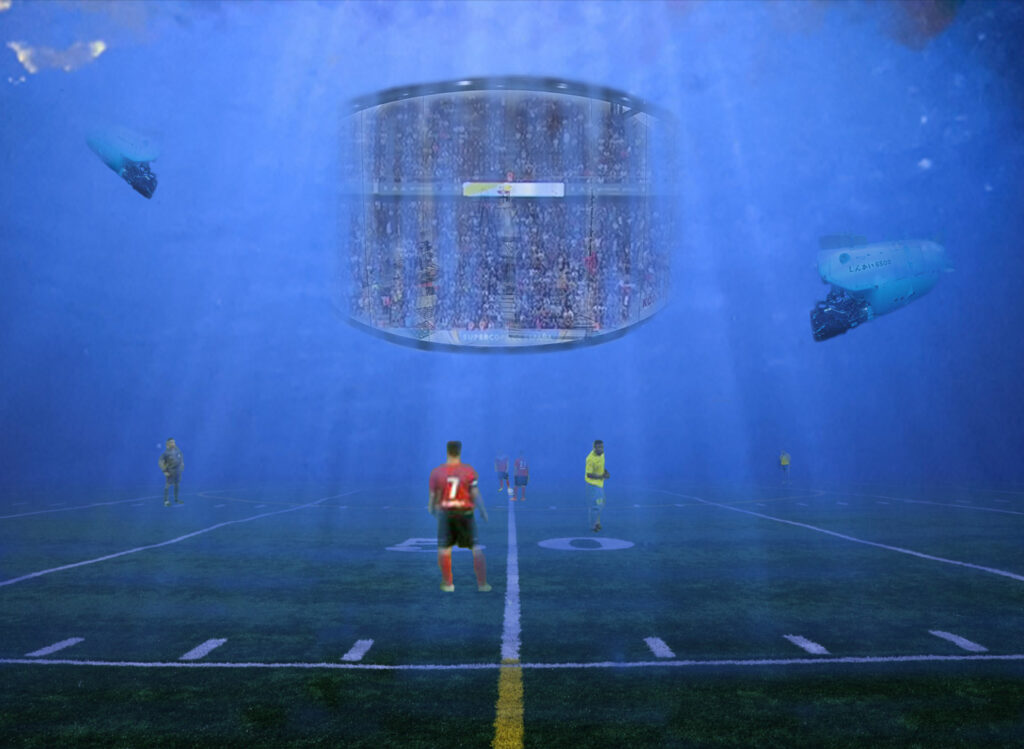
For the surreal digital art composition I wanted to create an underwater soccer game. I started by using my photograph of a soccer field and putting an image of the surface of the ocean behind it. I made this a mask and smoothly blended the images together to give the effect the field is underwater. Then I added player cut outs and similarly blended the ocean with them to give the same effect. Then I took an image of an audience and an image of a glass wall and put these together to create the feel of an underwater viewing room. I also added submarine cameras. Then I added highlights and shadows on everything in accordance with the lighting from the water image.
Multi-Layered Art Project:
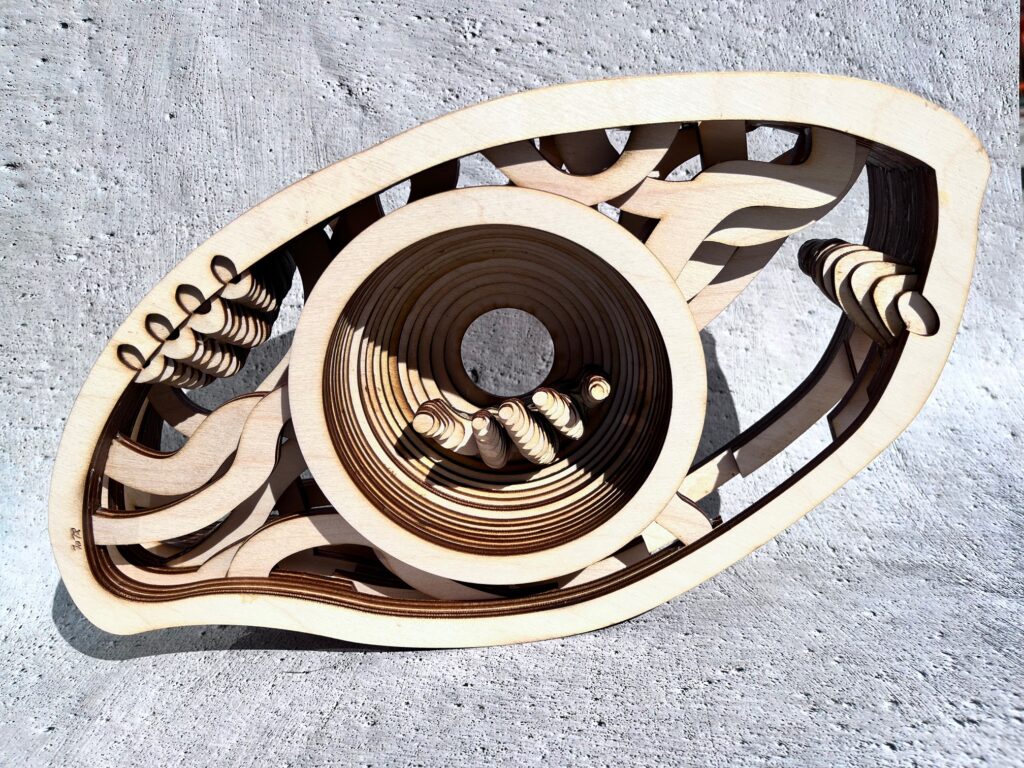
I used Adobe Illustrator to design an artwork layer by layer. The idea for this project was to make a 2D drawing and give it dimension by separating it into layers. These layers were laser engraved into wooden pieces, and then the pieces were glued together to create a rendition of the initial idea with form and dimension. My ambition for this project was to create a piece that can be viewed from all angles, to take advantage of the 3rd dimension.
My initial plan was basically just a flat drawing of what I wanted my creation to look like from the top. We were meant to allude to our narrative world building project, and I had the idea of an eye with hands reaching through to convey the concept of memory stealing.
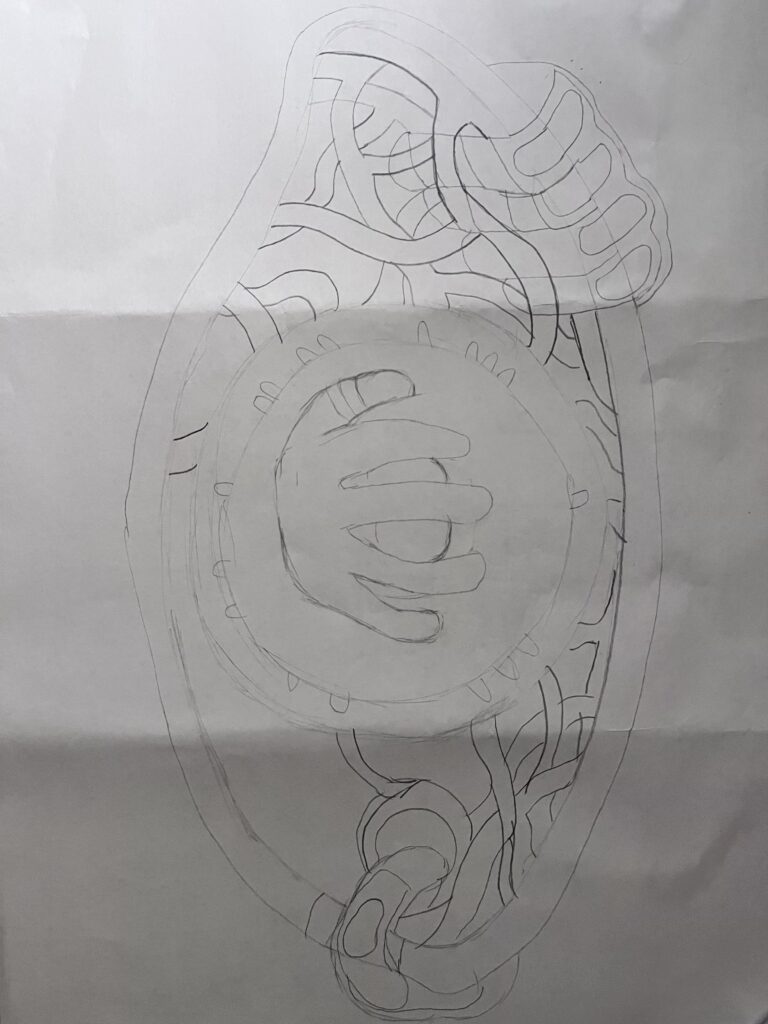
With the sketch done, I used colored markers to illustrate each layer. I drew this as if I had flattened out the eventual 3D object. Each color represented two wooden layers I would stack. The plan was for a 20-layer construction so it would be around 3 inches tall so there could be volume. (It ended up being a little more because of the wood glue). I designed these layers so that the walls of the object would have gaps and holes so it would be more interesting and you could look through the side.
The final sketch was all about proportions. I drew the physical hands I wanted to create from different angles, and calculated how many millimeters wide each finger needed to be to match my theoretical height. I also planned out when each finger needed to be increasing size, staying the same size, or shrinking as I went up in layers to help me conceptualize how to sculpt the 3D objects with consecutive 2D layers. I also did some research to find the equation for the radius cut-out of a sphere given the true radius (at the center/widest) and the distance from this point so I could calculate how big each layer should be to form a semi sphere with all 20 of them. Though I tried my best to plan out all of this thinking, ultimately I had to make some changes in my head and rely on my imagined conceptualization.
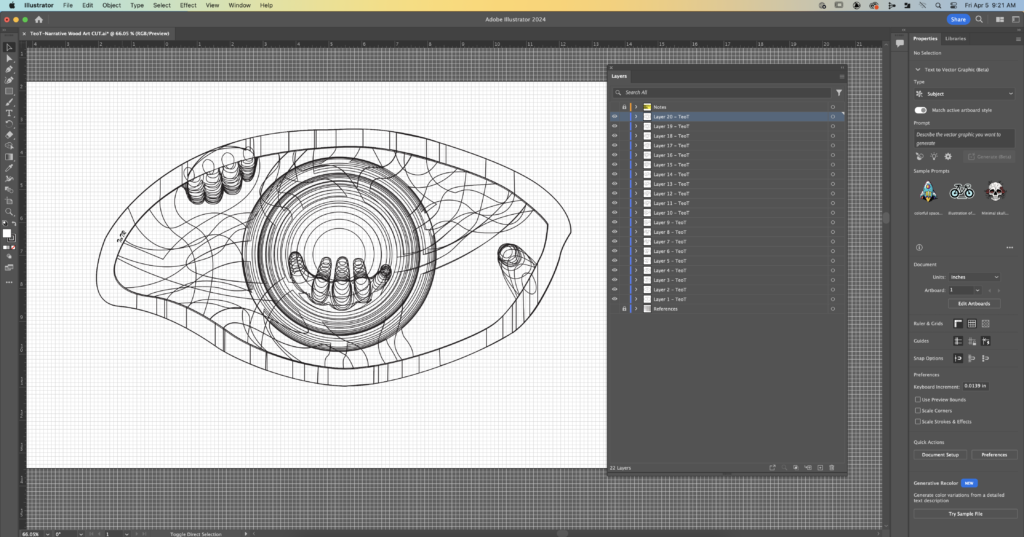
This is my Adobe Illustrator interface. All 20 layers are separate drawings using the pen tool. The most difficult part was tracking the shape of each part and how it was supposed to grow or change. Ultimately, my fingers were not the best, and I had them shrink too fast so they are more pointy than they should have been. I still think I did a pretty good job, and it was a really fun challenge to try to wrap my head around it.
3D After Effects video showing al the layers in 3D space. We learned how to use the AfterEffects 3D space to create this and how to use special lighting and shadows to make it look cooler. I animated the camera to show the different perspectives.
Time-Lapse of constructing final piece with the carved wood layers. Also some photographs and a video of the final composition. I am really happy with how it came out. After spending 4 hours (the video is one minute of time-lapse footage on 2x speed) I became really proud of what I made. I think it’s pretty cool, and it was very fun to use so many different applications and technologies to create an artwork that is unique and that you likely won’t see very many other pieces similar to.